20 Silhouette Photography Tips: Take Stunning Silhouettes Easier
When you purchase through affiliate links on our site, we may earn a commission. Here’s how it works.
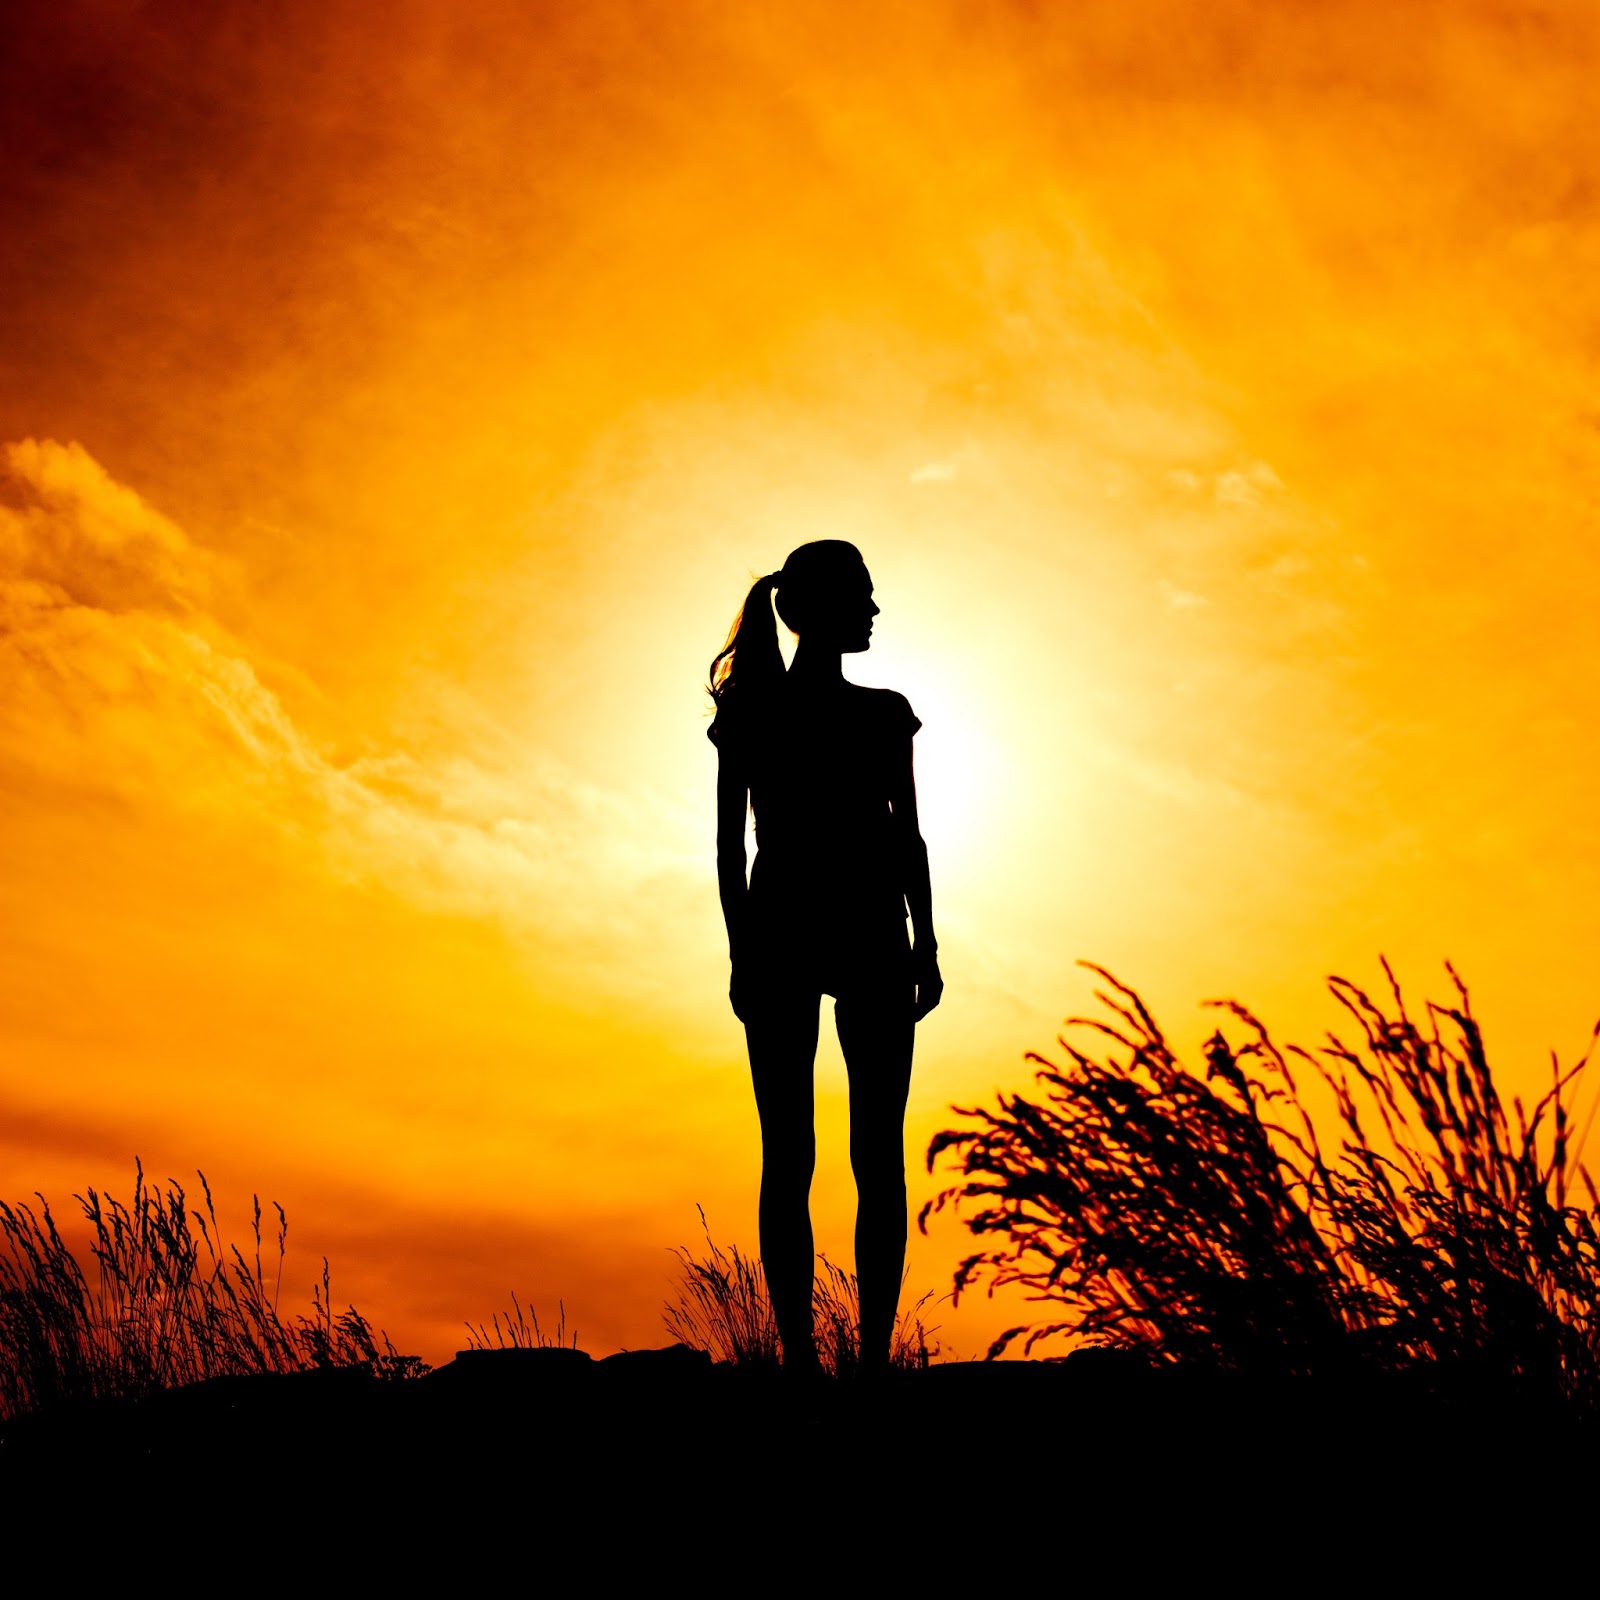
Silhouette photography is an outline that appears dark in front of a light backdrop. It means that the subject looks like a black figure with all of its details being unrecognizable because of the bright backdrop.
A silhouette can be created with almost any type of powerful light source but the most common choice is the sun during dusk or dawn. Read the guide below and discover how to take silhouette photos like a pro.
20 Silhouette Photography Tips
Check out the information below to learn the basics of silhouette photography and find out which camera settings you need to use to take professional pictures.
1. Do Not Aim the Lens at the Sun

First off, you should never aim the camera directly at the sun. If the light is abundant, it will fall on the subject. If the amount of light is insufficient, the background will appear grey.
2. Avoid Extra Light
Always check if all strobes or flashes are turned off, and, preferably, avoid taking photos near any secondary light sources that might alter your silhouette photo. This tip is applicable regardless if you’re shooting in a studio or outside.
It takes some time getting used to since in most other cases, you’re advised to do the opposite. But this suggestion is essential to remember.
3. Shoot During the Golden Hour
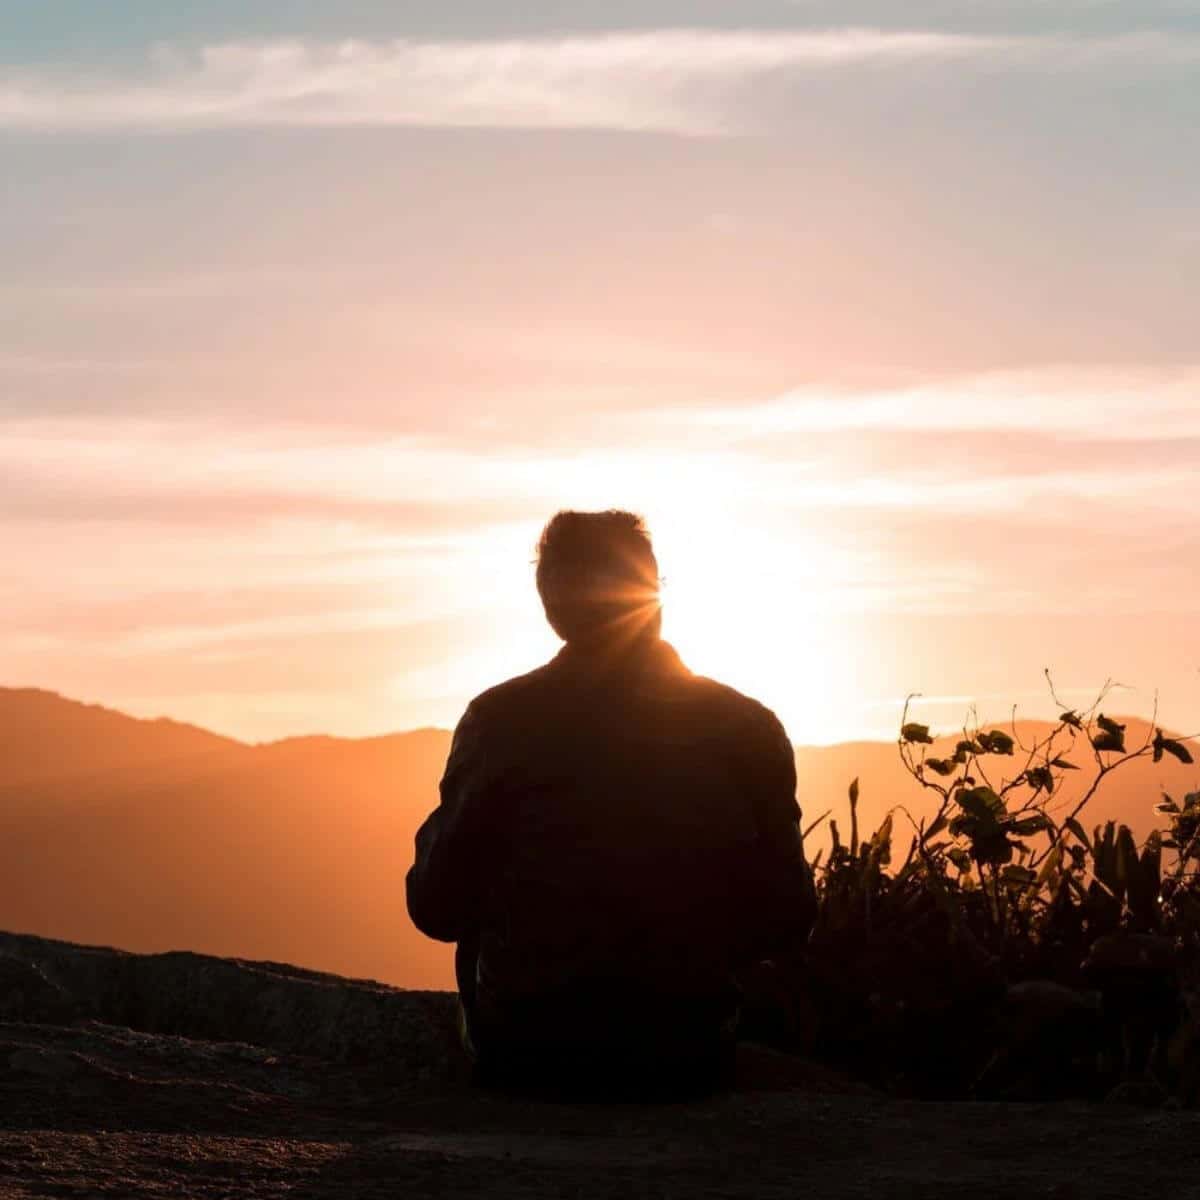
The golden hour is the perfect timeframe for silhouette photography. Plan your photoshoot to take place either at the break of dawn or at sunset when the sun is near the horizon. Golden hour photography significantly increases your chances of having a warm-colored sky in the background and just the right amount of light that won’t overwhelm it. Besides, this type of lighting is great at achieving a gorgeous lens flare effect.
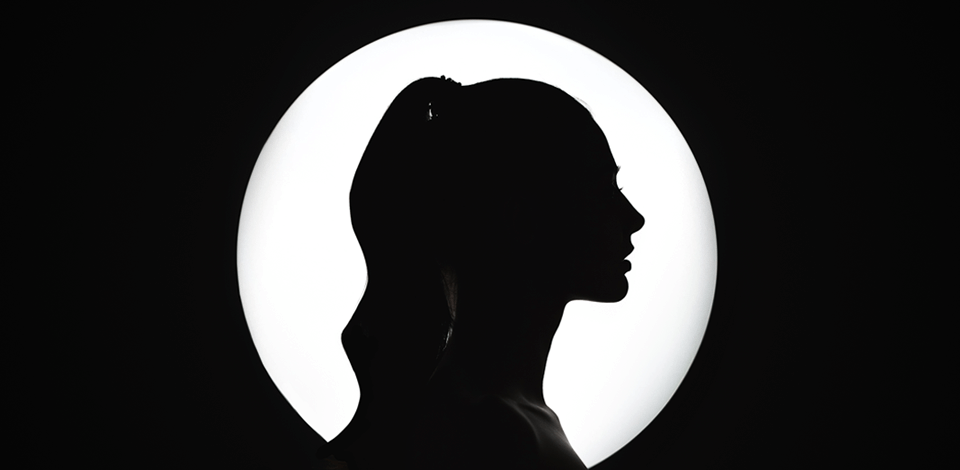
4. Focus on the Outline

You should always strive to have the subject look as clear as possible. For instance, if your model is standing in the middle of a crowd and you take a frontal photo, they will not look good as a silhouette.
Meanwhile, having the model in one of the many relaxed poses, standing upright and in profile, while they're either walking, running or jumping, is the perfect foundation for an eye-catching silhouette image as the subject’s shape will look a lot sharper.
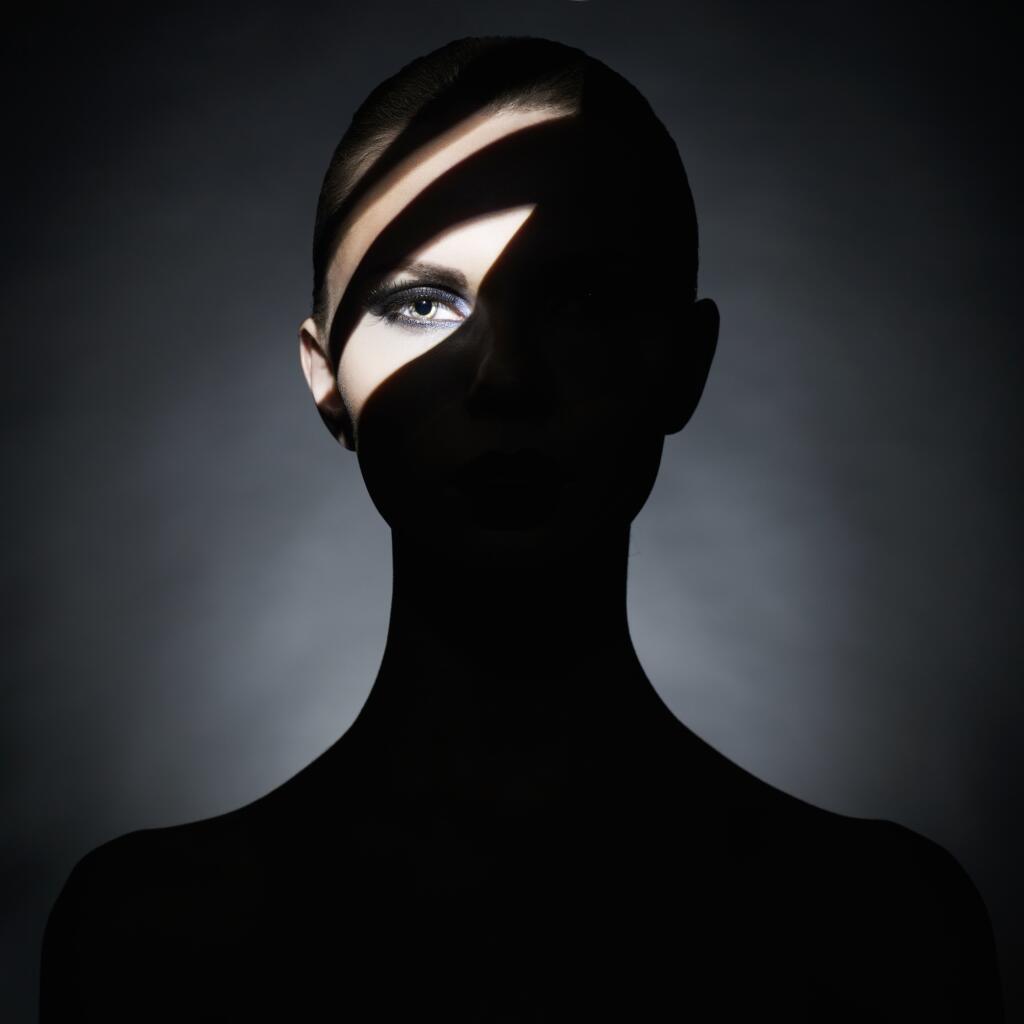
5. Create Partial Silhouette

Consider taking a partial silhouette photo where you can recognize some of the subject’s detail. At times, a dash of light can make the image look more three-dimensional and impactful.
Another benefit of bracketing your photos is that you can later choose between full and partial silhouettes.
6. Hide the Sun Behind Your Subject
Place the subject directly in front of the sun. This way, you’ll avoid a common problem of having the sun blow out large shot areas and ruining the image.
If the subject is slim (like a standing person), the photo will have some interesting shadows falling in your direction. If you shoot from the knee level (or even lower), you can make those shadows appear even bigger, which can be fantastic as they lead the viewer’s attention straight to the subject.
7. Take Photos from a Low Angle

While you can get plenty of terrific photographer silhouette shots while standing, low-angle photos are also quite important since they can be useful for enhancing the environment around the subject. Don’t shy away from kneeling or even lying down – the result is worth it.
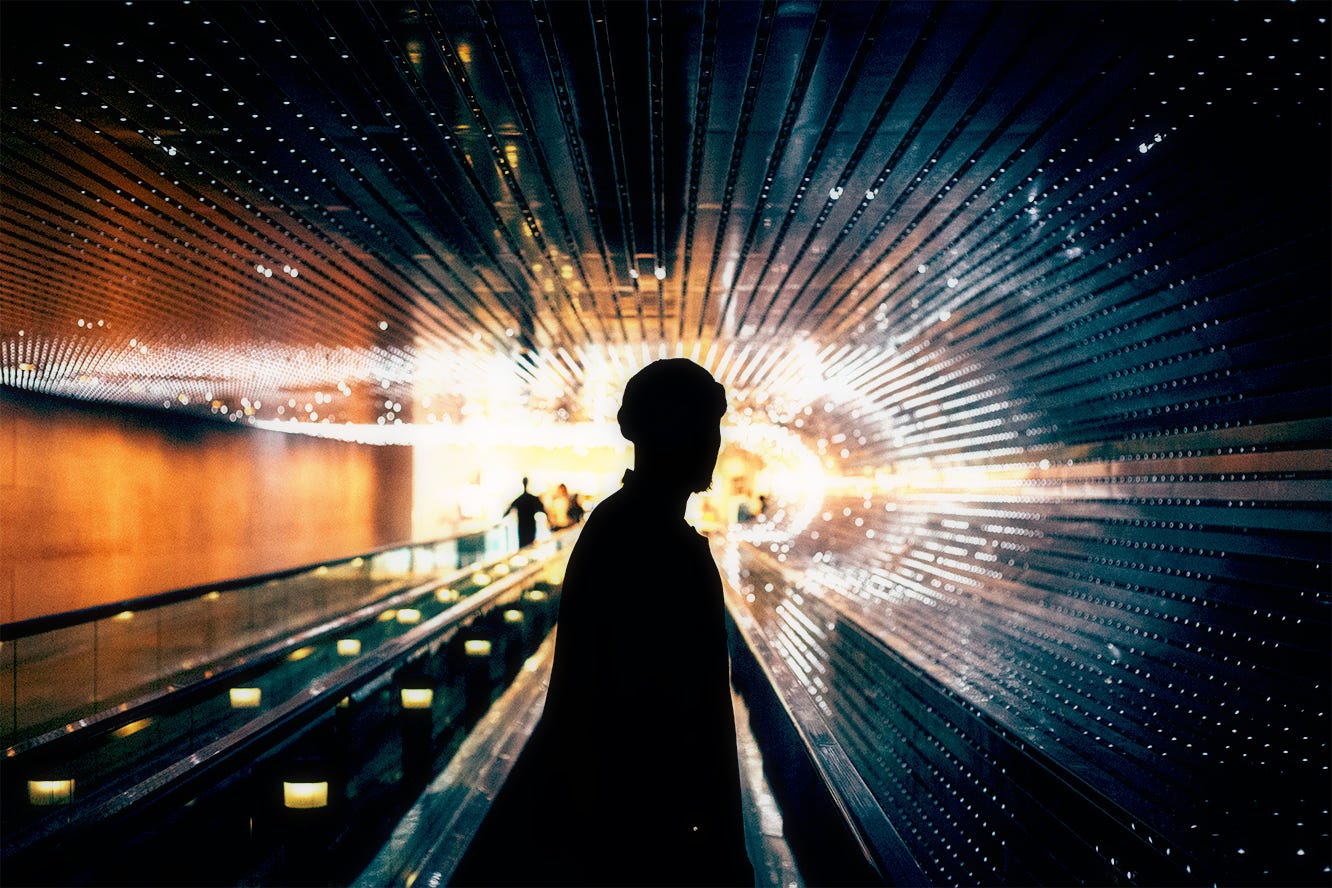
8. Shoot Against Doors and Windows

Even though the majority of silhouette photography is done outside, you can also take creative photos indoors as long as you have a powerful light source to shoot against. Such images look especially great if the light falls through a window or doorway.
9. Emphasize Silhouettes in Post-Processing

The majority of photographers enhance their photos in Lightroom, Photoshop or both. When editing a photo silhouette, it’s typically advised to increase the contrast, saturation, and blacks.
If you employ sliders during picture post-processing, increase the contrast to make silhouettes sharper and more eye-catching. If you’re using filters, apply the ones that don’t soften the blacks or highlight the darker image areas as they will deemphasize the main subject of the photo.
10. Camera Settings

Making sure the camera settings are chosen correctly when taking a silhouette shot as it can be quite difficult.
If you’re shooting in auto mode, aim the lens at the skies and press the shutter release halfway. Next, aim the camera at the subject and take the photo. Most modern cameras will calculate what exposure has to be used when the shutter is half-pressed, so you’ll receive a great silhouette image as a result.
11. Use Narrow Aperture

Adjust the aperture and depth of field to increase the area that will be in focus. A smaller aperture (a high f-stop value) will allow you to make the foreground and backdrop of the photo look clearer.
You should stick to apertures of 8.0 or larger for 2 reasons: 1) It will give you a better depth of field and keep all the details focused; 2) It will help you minimize chromatic aberration that can be a problem when shooting against the sun.
12. Increase Your Shutter Speed

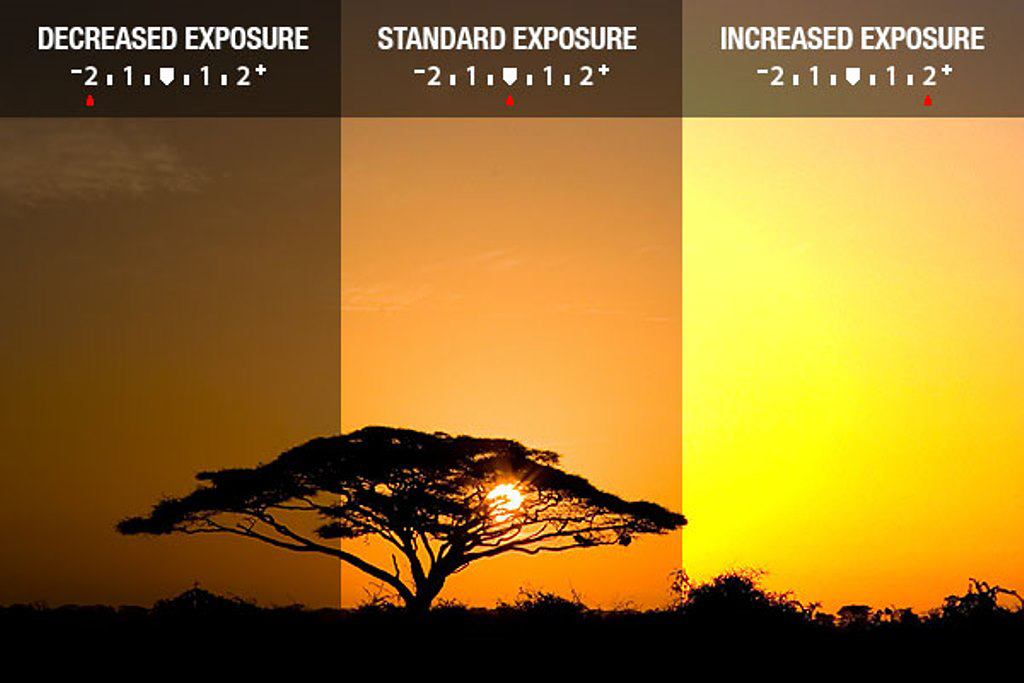
The main concept of a silhouette photo is underexposing a model. If you increase the shutter speed and your picture is still not dark as it should be, increase it again. Begin at 1/125 if the model is still and 1/250 if he/she is moving. Increase these values to make a photo darker).
13. Keep Your ISO as Low as Possible

After the sunset, you may want to increase the ISO. You can do it, but remember that if you increase it too high, your photos may have too much noise (or grain). It will be especially visible with blacks.
Also, it partly depends on your camera. Some cameras create noise at the ISO of 800. Other cameras show noise only with an ISO of 2500 and more. If you don’t know how your camera will do, choose the low ISO.
14. Trick Auto Metering

The majority of cameras define exposure levels automatically when you press the shutter button halfway down (simultaneously with focusing). Thus, aim the camera at the brightest part of the frame and press the shutter button halfway (without releasing it). After that, move the camera back to take a picture of the desired subject and complete the shooting.
15. Use “Spot” Metering Mode

Some digital cameras also offer “spot” or “centered” measuring modes, which you can enable, as they set the measuring at the center of your frame, instead of many points. It means that you will be able to tell your camera how bright the background should be for exposure.
16. Use Bracketing
Bracketing is the process when a camera takes several photos (usually three): one photo that you measured for, one photo that’s one stop above what you measured for, and one photo that’s one stop below what you measured for.
Basically, this is the picture you have taken, one picture that is slightly underexposed, and one picture that is slightly overexposed.
17. Look for Interesting Clouds

If you want to have the sky as the background, try to find unusual patterns and formations in the clouds to see how you can match them to your silhouette to achieve an interesting silhouette photo.
18. Look for Open Space

Location is also important if you want to achieve a stunning photo silhouette. Open space is the best area for such pictures. You can shoot on a flat field with grass, a beach near the ocean or a riverbank.
However, ensure that there aren’t many distracting objects at your location, such as cars, trees or buildings. They can easily distract the viewer’s attention from the subject.
19. Try Double Exposure Photography

Double exposure photography is a great editing method, using which you can merge two photos together and create an interesting blended photo. Silhouette photography is frequently combined with double exposure photography. The main secret of achieving a good picture is to shoot a silhouette on a plain background.
Also, remember to use a precise silhouette. The texture and color of your model will not be visible, so the silhouette should have a strong, attractive, distinctive and non-cluttered shape.
20. Combine the Silhouette with a Perspective Photo

Forced perspective is a method used mainly in photography, filming and architecture. It creates optical illusions and makes an object seem larger, smaller, farther or closer than it actually is.
Using forced perspective photography ideas, you can create unique and bright silhouette photography pieces. With a wide-angle lens, you will make closely placed objects large, and objects that are in the background will look smaller and visually farther. Use closed aperture (F/8, F/11, F/16, etc.) when taking your photos and you will get the necessary depth of field and make both the foreground and background sharp.
Freebies
If you want to get amazing silhouette photography editing effects, check out these free tools. Using them, you will be able to add a beautiful tone and nice contour to your photos, make the process of editing pictures easier and create amazing results.
Incredible Landscape

With these actions, you can make your silhouette images brighter and more interesting. The actions are suitable for any style of photography. You can use them for pictures of landscapes, real estate images, portraits, product images, graphic designs, etc. These Photoshop actions are universal and easily adjustable.
Incredible Landscape
With these actions, you will be able to achieve gorgeous wedding photos. It doesn’t matter what style of the wedding is, you will definitely find a suitable action to emphasize the amazing atmosphere of this event.
Magic Silhouette
Using these actions, you will be able to add beautiful shine and contrast to your silhouette photos. With their help, your images will look warmer, saturated and colorful.
Perfect Film
It is a set of presets that will be helpful for both beginners and professionals. Using them, you can create black and white silhouette images in a matter of one click. You can apply these presets to wedding, portrait, landscape photos, etc.
Sunshine
Using these presets, you will be able to make your images more vivid and shiny. They add warmth and a special summer vibe to your photos. For better results, apply them to pictures taken with natural light, especially the ones you shot at sunset. These presets will help you create beautiful cinematic images.


