20 Urban Photography Tips for Beginner & Seasoned Photographers

What Is Urban Photography?
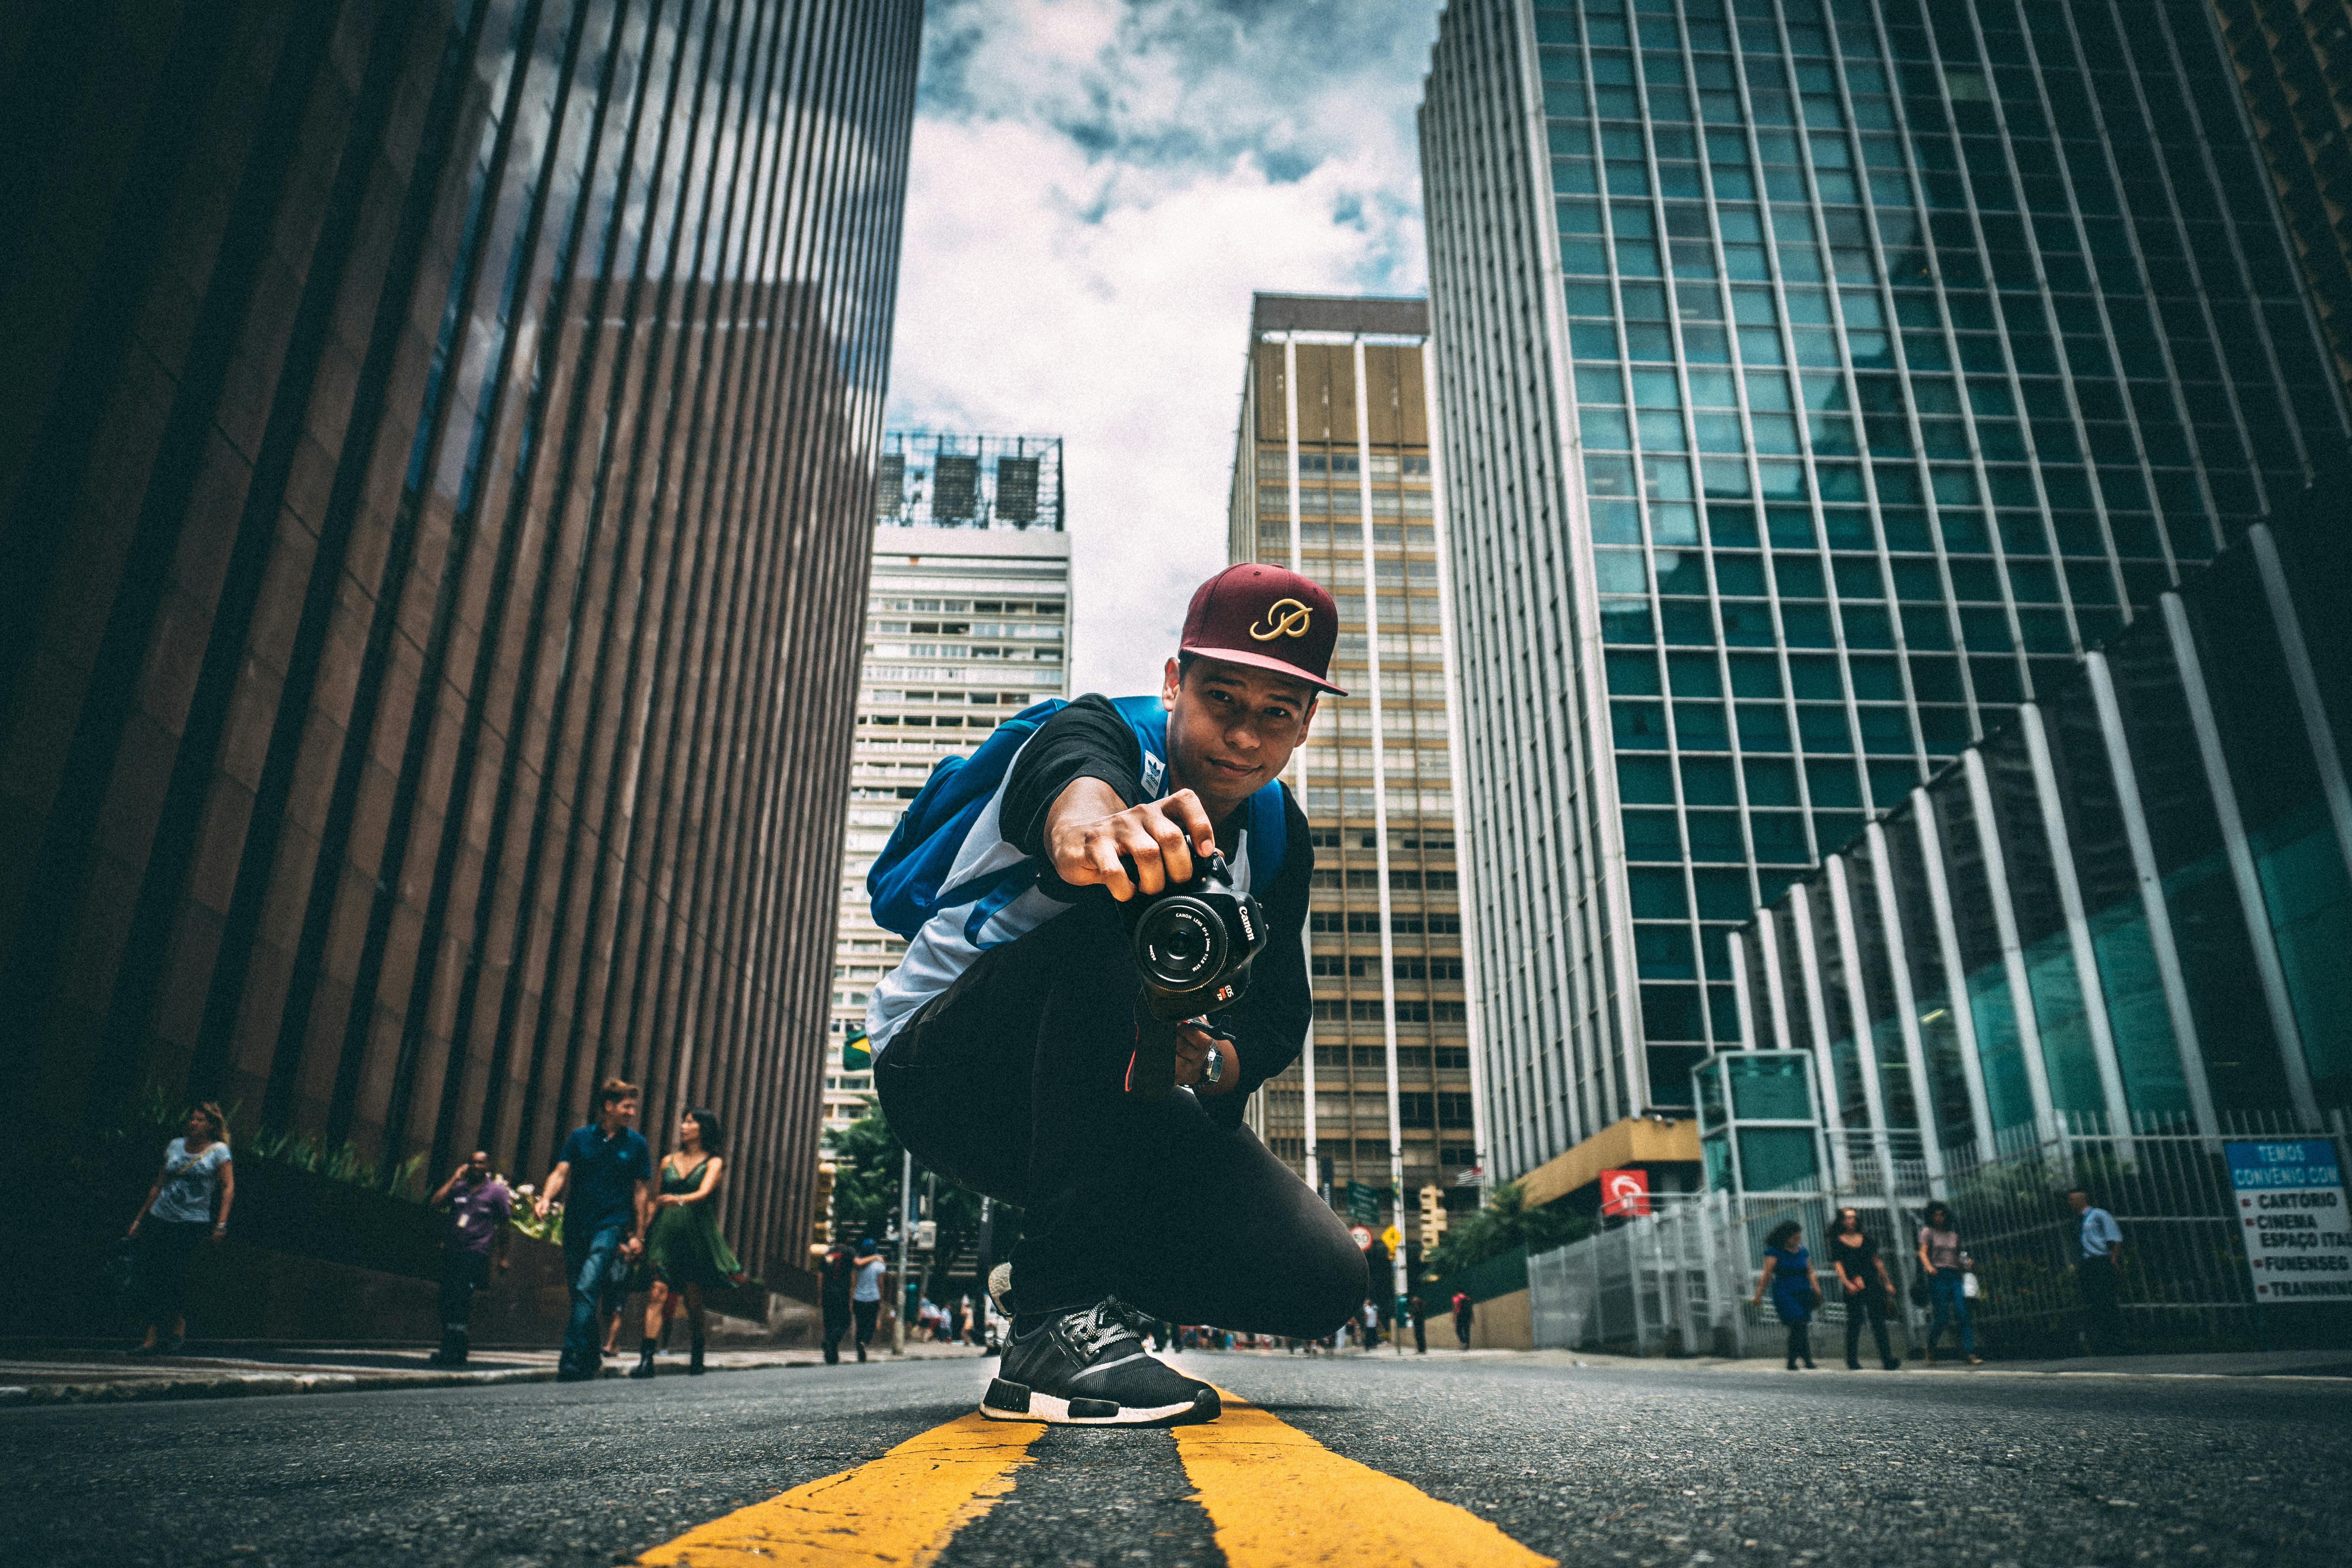
According to the urban photography definition, it is a multidisciplinary sphere of visual art aimed at evoking emotions and showcasing urban locations as well as the day-to-day lives of the people working and residing in those locations. It can be related to different photography genres such as architecture, landscapes, portrait photos, journalism, fine art, historical, street, object, etc. Each photo genre plays an important part in displaying how diverse and complex the city can be as a visual space.
How Is Urban Photography Different from Street Photography?
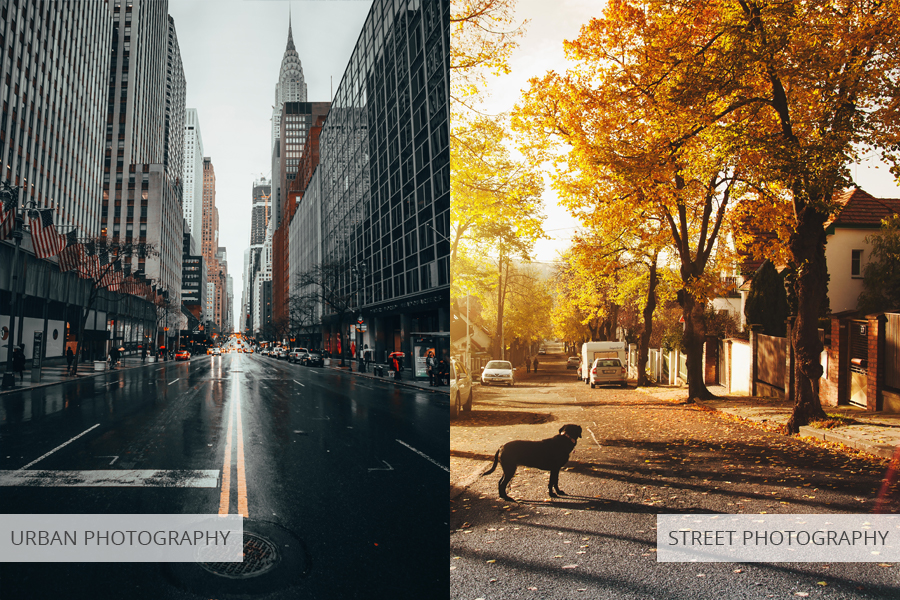
The primary distinction between these two types is that street photography relates to how a picture is taken, while urban is related to the location of where it is taken.
20 Urban Photography Tips
Cities are always full of life so there are so many things you can photograph. Look through these nightlife photography tips to take high-quality and conceptual photos or “city’s landscapes”.
Tip 1. Scout Out the Locations
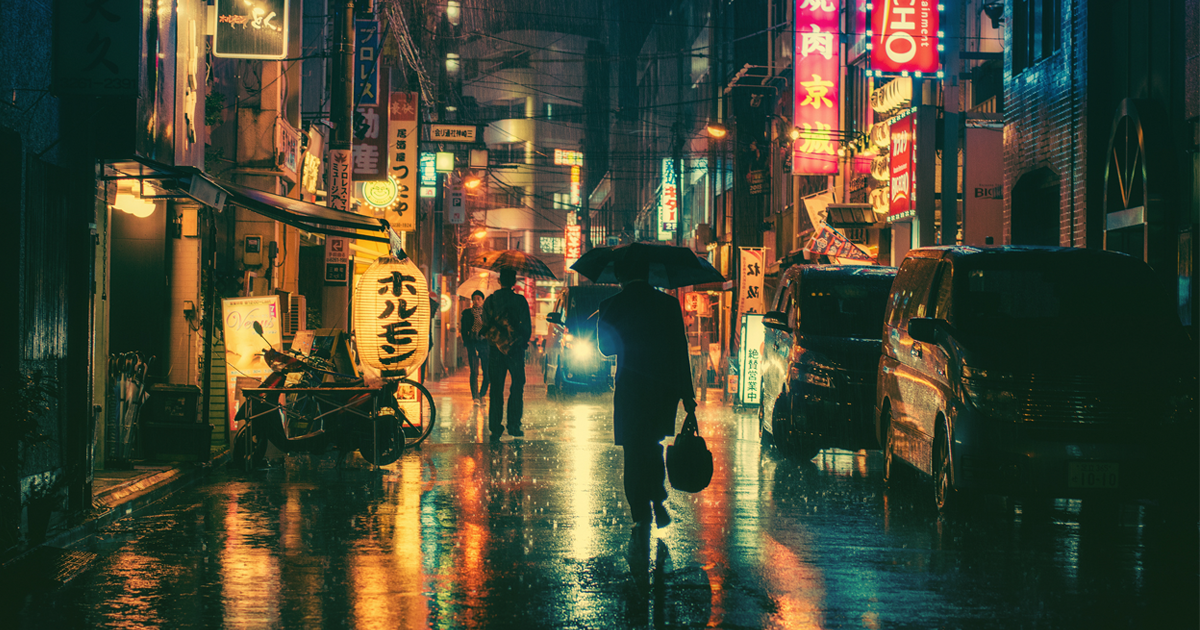
You don’t go on a landscape photography trip by simply driving your car to a random forest or mountain and hoping everything works out. Likewise, the quality of your urban photography will highly depend on the level of the preparation you’ve done beforehand. I suggest downloading this app when planning your path.
Recommended app:
Spotted By Locals
You can’t find someone who knows a town better than the people who live in it, that’s the motto used by the Spotted by Locals developers. This app gives you tips provided by hand-vetted spotters on which places you should visit and which locations aren’t worth your time.
Tip 2. Use Auto-Exposure Feature
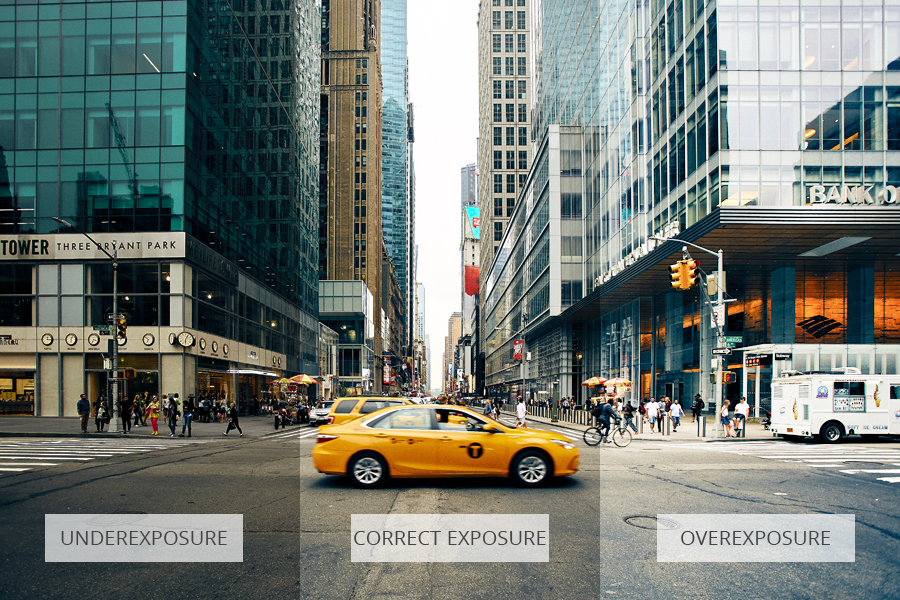
When working as an urban photographer, speed is a vital skill to have. You always need to be prepared to capture opportune moments when they come. You never want to be stuck adjusting the settings of your camera while something important or memorable happens in front of you.
The majority of modern DSLRs and mirrorless cameras have a Program Shift mode that deals with this problem. It enables you to assume direct control over the settings by rotating the dial and choosing the shutter speed and aperture. Similar to other exposure modes, changing one setting will adjust the rest of the values accordingly.
Tip 3. Shutter Speed Should Be at 1/125 or Higher
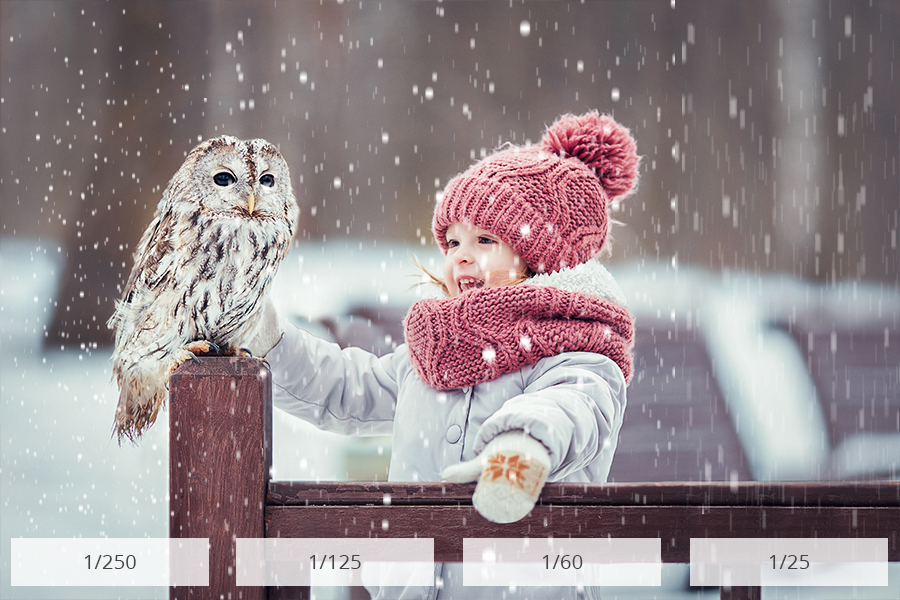
Usually, when taking urban photos, you’ll want to pause and capture any movement in the shot. This is done by setting the shutter speed to a minimum of 1/125 sec. The shutter speed has to be the same as the focal length so that you can shoot while holding the camera in hand comfortably. The suggested speed of 1/125 is the correct setting in most situations.
Tip 4. Optimal Aperture Is about f/5.6
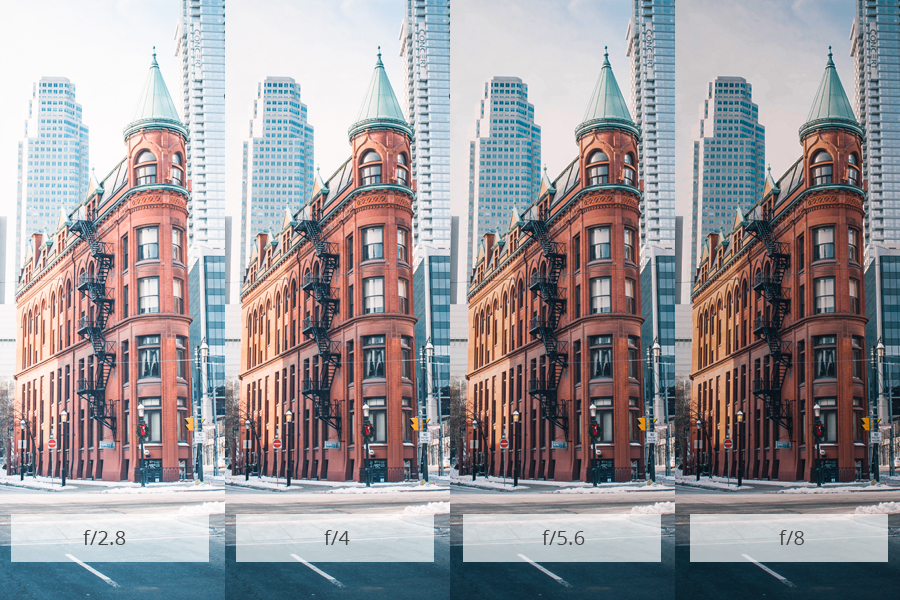
I think that setting the aperture at f/5.6 will provide your photos with a softer backdrop that will draw more attention to the subject, while still having all the details and objects easily recognizable.
Tip 5. Let the Auto White Balance Feature Do Its Job
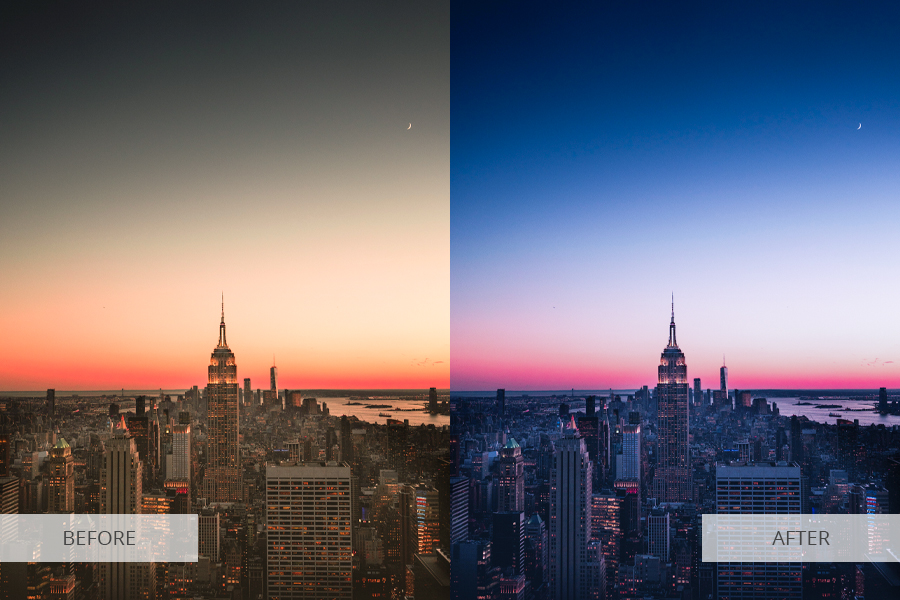
Just like the ISO setting, automatic white balance in most cameras is getting better and better with each new generation. When I’m taking urban photographs, I almost always have the Auto WB mode ON since it’s great at adjusting the city color tones correctly. You should let that mode do its job while you focus entirely on the composition of the shot as well. Join An Expert Guide to Street Photography course by Zack Arias if you want to know what camera settings matter in urban photography.
Tip 6. Use Continuous Autofocus
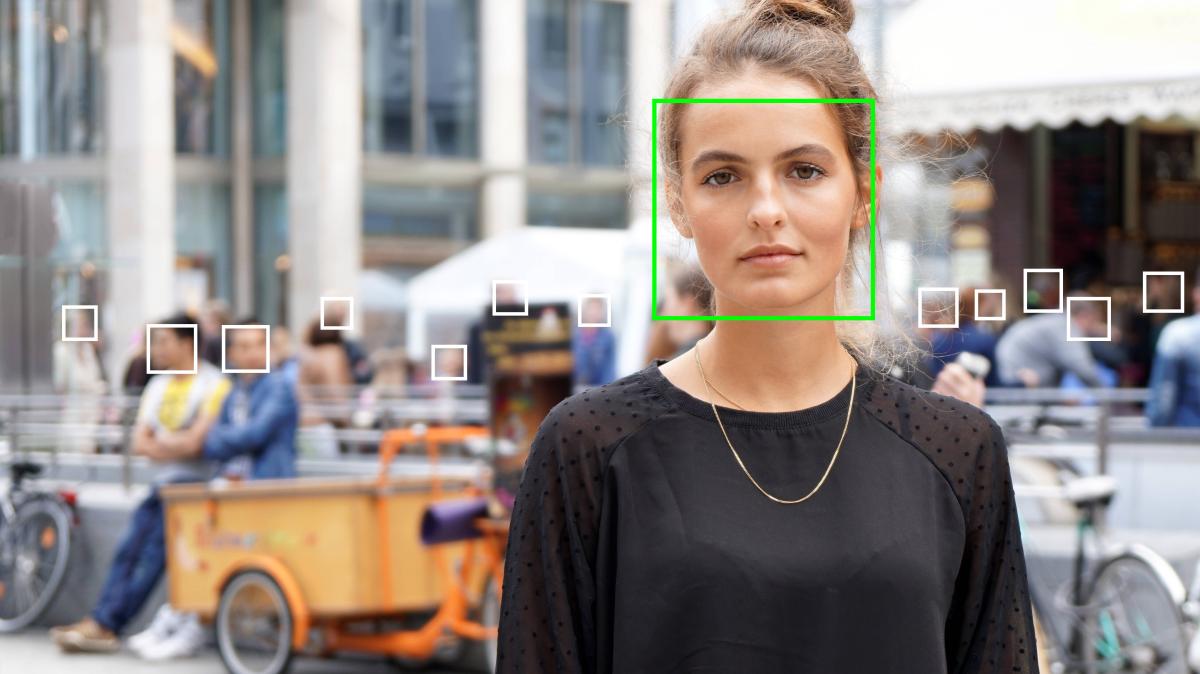
Other than those rare situations when you’re taking photos of living statues, you won’t find a lot of static subjects suitable for your photos. Usually, you’ll have to adjust the composition and other settings several times before you get the shot you need. This is when the continuous AF mode comes into play and saves you lots of time. If the camera for street photography is in C-AF mode, it automatically readjusts the focus when you semi-push the release button. This way it’s possible to photograph moving objects with high speed and accuracy.
Tip 7. Mind the Importance of Image Editing
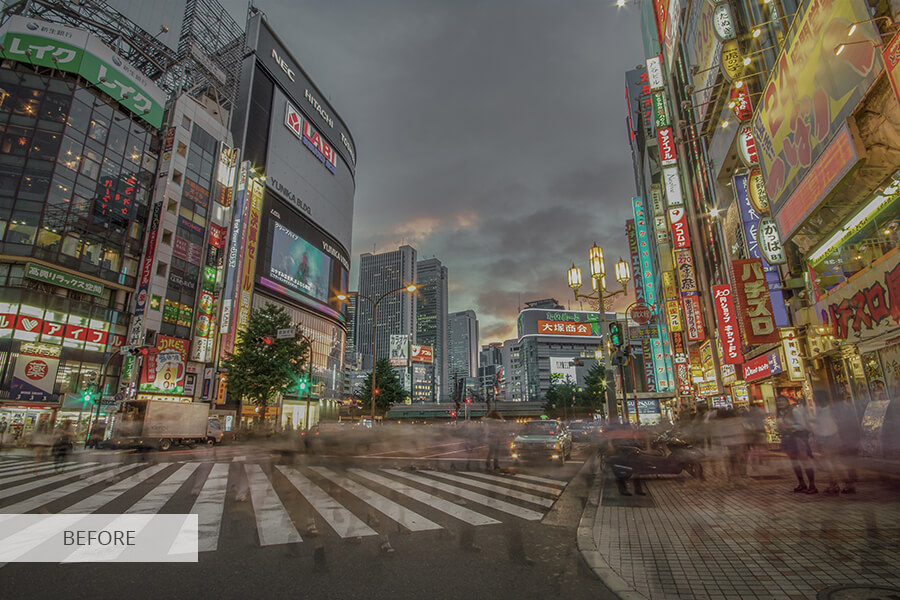
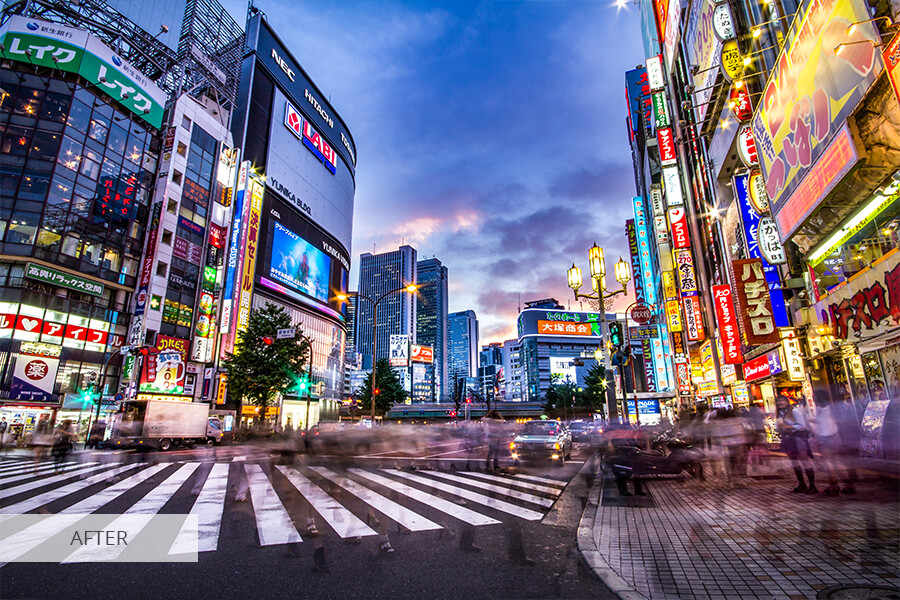
- Get professional color correction services for about $0.20 per photo.
I think that image post-processing is crucial for successful urban photography. Some people assert that these pictures must look more realistic, comparing them to documentary or journalistic shots. I partially agree with them. But I still think that photo editing is a chance for a street photographer to highlight some aspects, show his/her individual style. It looks like hyper-realistic art. The images are real, although they are a little bit enhanced.
Tip 8. Regulate Exposure
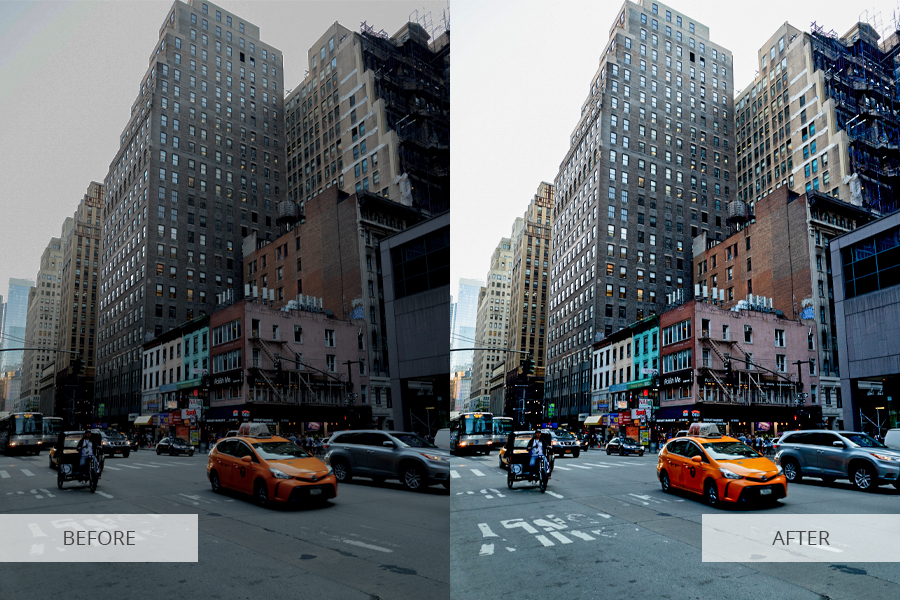
One of the main urban photography tips is to adjust the exposure. I recommend underexposing pictures in-camera of around 1 stop. It’s a good idea to use a triangle in such a case. Underexposure is also a better option, if you use a flash. You can also improve the exposure, using photo editors, like Lightroom. In order to avoid noise, I usually set ISO at 100.
Tip 9. Mind White Balance
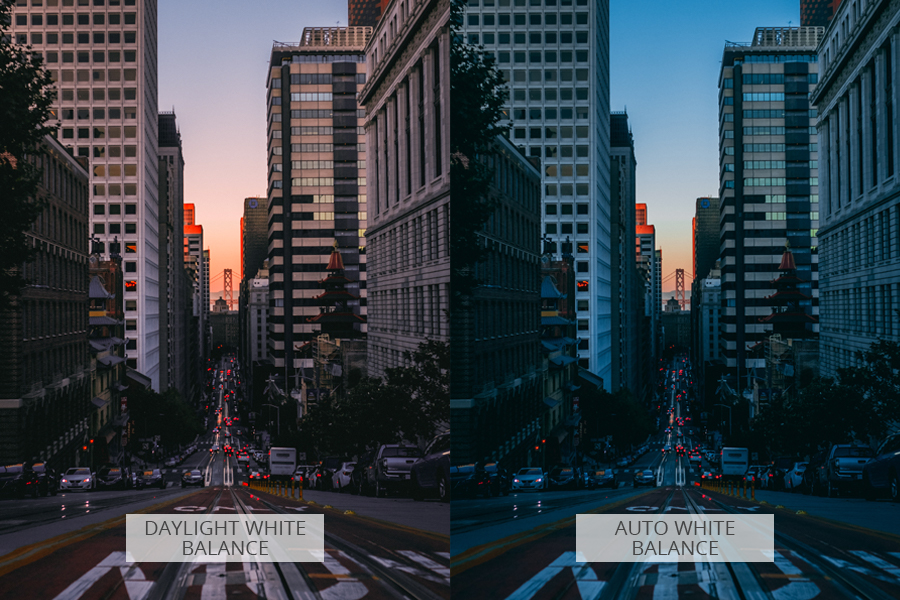
The next photography urban tip is of no importance for those, who take mainly black and white photographs. As for colorful shots, you can use automatic detection. Remember that if the white balance is extremely off, you will receive pictures with unappealing white and yellow shades.
Tip 10. Play with Contrast
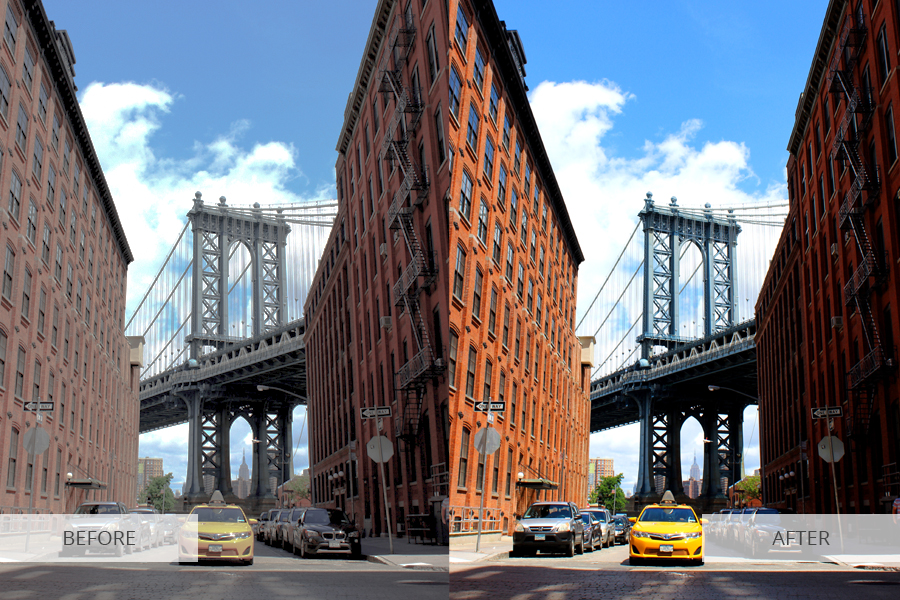
Don’t forget about this useful button, which splits darker parts from brighter ones and improves the image greatly. Working with black and white urban photography, experiment with the contrast. You can get a more dramatic or calm effect, using this setting.
Tip 11. Try Cropping while Editing Photos
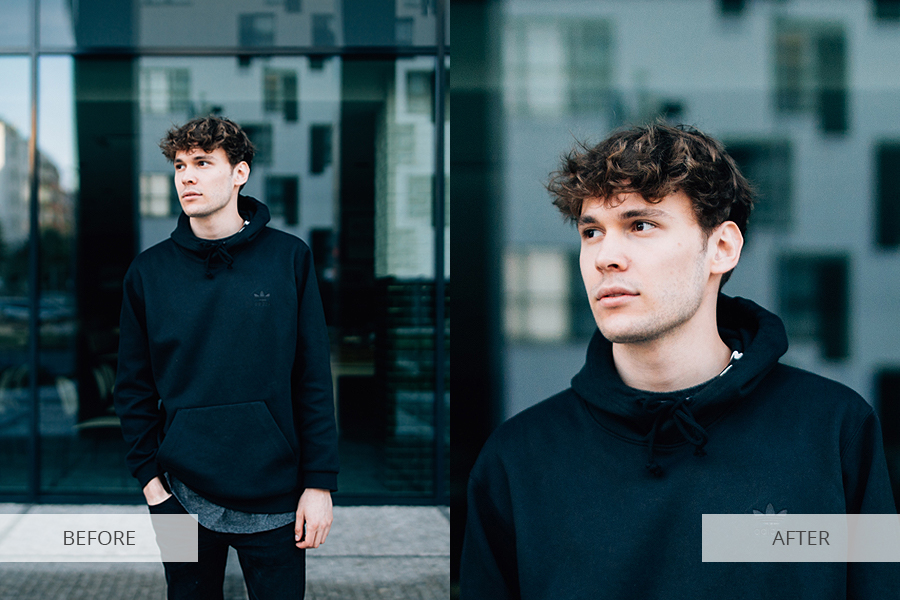
No matter how skillful you are at city photography, you won’t do without cropping. Of course, the best situation is when you have the right frame in the camera. But the specifics of this genre require from you quick action. You usually don’t have time to make the composition spotless.
Tip 12. Have the Best Possible Light

The intensity, hue, and angle of the lighting has a significant impact on any image, and this fact is particularly relevant for urban photography. Something that looks bland and ordinary at noon can become mind-numbingly beautiful a few hours later. Similar to landscape shoots, forcing yourself to get up before the sun shows its warming face will enable you to work in lighting conditions that will compensate for your lack of sleep. The golden hours, those short periods after the sunrise and just before the sunset, can show the city in a light you’ve never thought possible and let you take incredible twilight photography.
Recommended book:
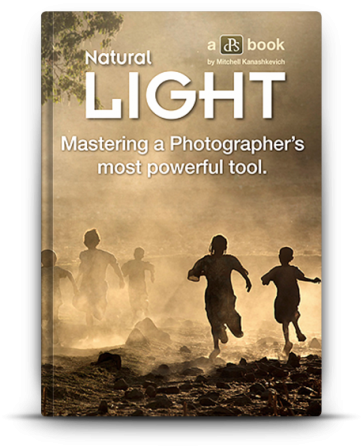
Natural Light
I recommend this book for those who want to become a master of lighting even in the most difficult conditions. Moreover, with the help of this book you will learn how to create creative photos with ambient light and find interesting decisions for incredible frames.
Tip 13. Experiment with the Day-to-Night Technique

This unique method deals with taking photographs of the same subject during several hours or even the entire day at a set interval. Afterward, all the photographs are merged together to showcase how a single location changes from dawn till dusk. This technique requires a sturdy backpacking tripod and a place that you can freely take for several hours. I recommend using graduated filters to correct the shot’s exposure throughout the day or at dusk. This method goes well with panoramic shots and allows you to capture vast cityscapes.
Tip 14. Try the Fisheye Technique

Even though fisheye lenses are usually used for fun due to the distortions they create, but they can be also used for taking some serious urban photographs.
Tip 15. Use a Polarizer
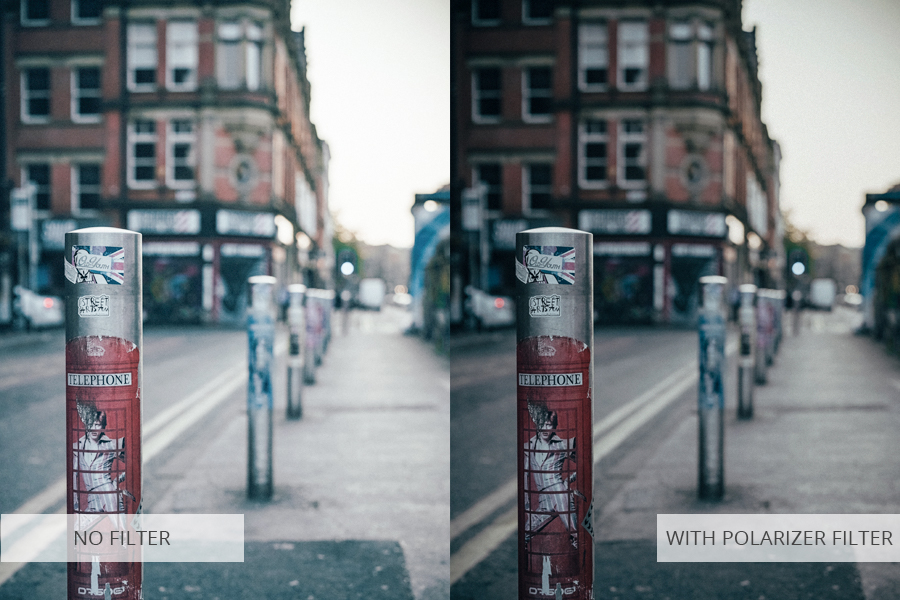
Attaching a polarizer filter will enable you to add more volume to the photographs and make them more dramatic. It’ll make the sky color deeper, which complements the geometrical shapes of modern architecture (as you can see below). Such a filter is also useful for dealing with glares and reflections from glass-like materials. Remember that a polarizer can deepen the sky only when set at a 90-degrees angle to the sun while being efficient at reducing glares regardless of the angle.
Tip 16. Include People to Your Shots

While you might want to avoid adding people to most of your images, sometimes you just have to go with the flow and accept them as a natural part of urban photos. Mind camera settings for portraits as they differ from street photos. Same as with traffic, people can add a unique touch to your work when shooting with a low shutter speed, and you can even use them as your main subject.
Tip 17. Incorporate Movement

Dynamic city photography always grabs the viewer’s attention with impact and drama. Use a low shutter speed as you strive to capture the life of the ever-changing city, where people are always hurrying from one place to another. A red bus, a yellow cab or a green truck will make the photos more dynamic and colorful, adding life to them and making the architecture in the background more appealing.
Tip 18. Try Out Black and White Urban Photography
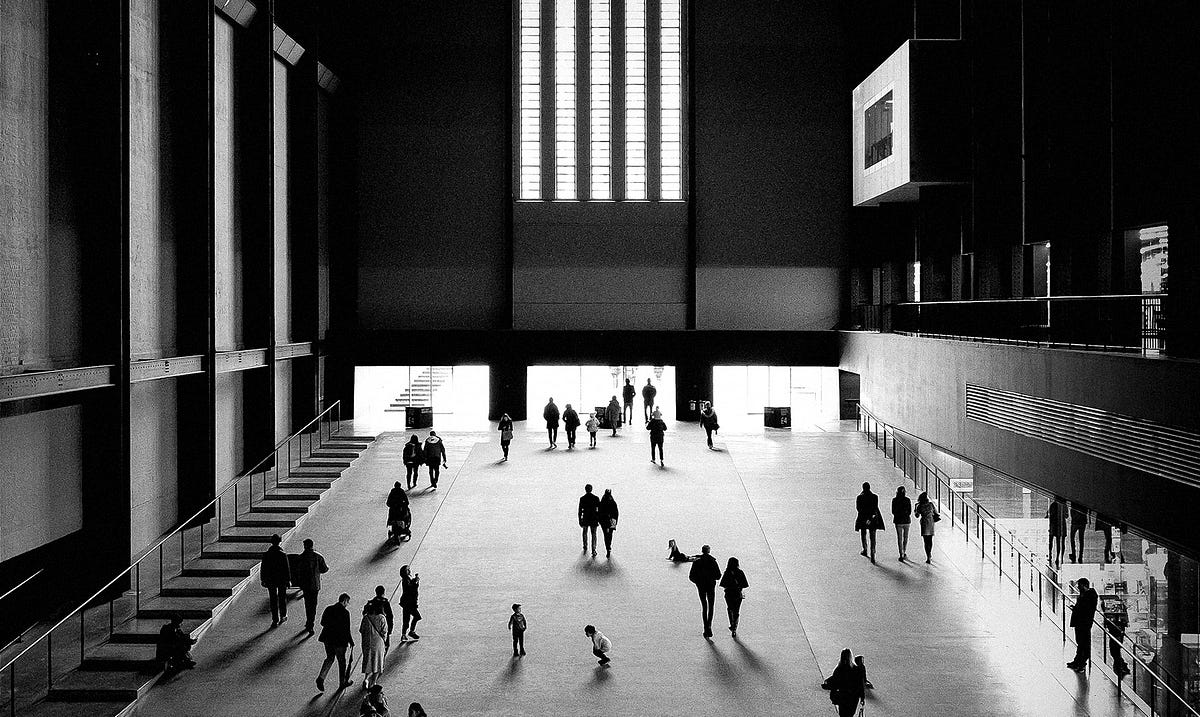
As evident from the presented photographs, black&white effect makes urban scenery moody, impactful, and dramatic. You can further enhance that effect and the overall atmosphere of the images during the editing stage by experimenting with tones, lighting, and shadows.
Tip 19. Use Creative Urban Street Photography Ideas
If you’ll get exceptionally lucky, you might find yourself capturing the heart of a town in a single picture. Several photos that you can see below have managed to achieve that goal successfully and you can use them as inspiration to do the same.
1. Use Street Art to Enrich the Photo
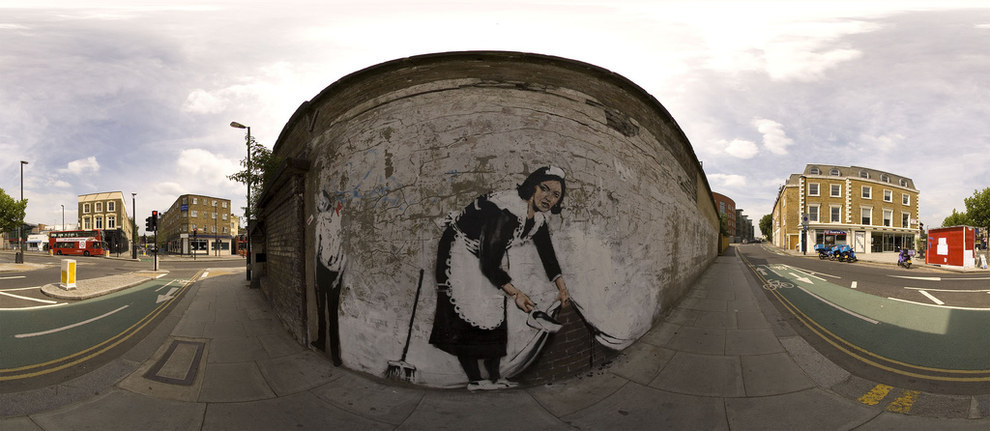
Graffiti and other urban art can become a part of your work and make the images more lively and colorful. Finding leading lines and light pockets while having the graffiti in the background allows taking photographs that have a lot of meaning and depth.
2. Search for Eye-Catching Geometrical Shapes

Houses, landmarks, stadiums, theaters, and streets can all provide you with interesting lines that can help you compose the shot. Incorporate leading lines to immerse the viewers into your urban photograph.
3. Use Hard Lighting

Unlike portraiture, rough shadows and emphasized highlights suit urban photography well, since they display the light’s real direction and present the scenery in a realistic manner. Have your subjects in direct sunlight, and change their angle and position until you reach the perfect balance between the shadows and highlights.
4. Let the Town Lights Be Your Background
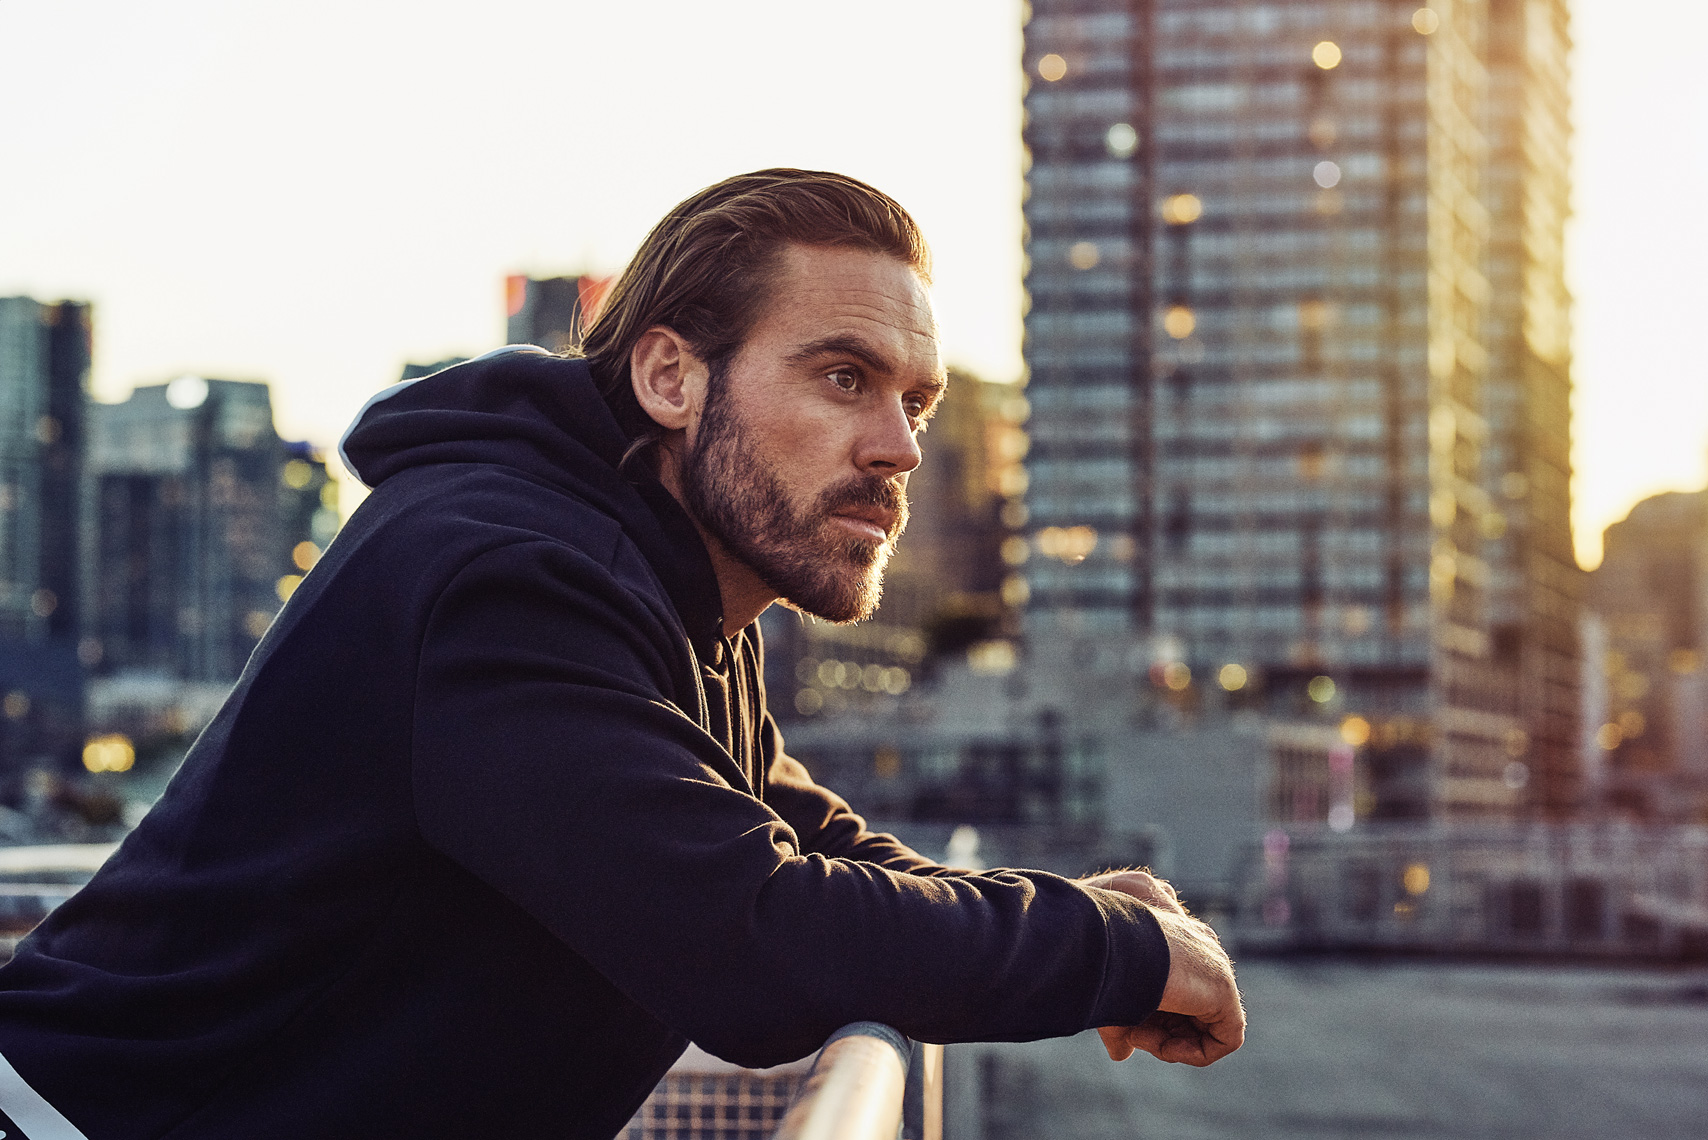
I’ve found that one of the things urban photographers do best is taking pictures of city lights. The added gentle touch of bokeh when having the city in the background always produces terrific results. Use a telephoto lens with a focal length of 70-200mm and the lights will gain a nice blur.
5. Make Use of Shutter Dragging

You can use this simple and very efficient trick for city street photography. Regardless if you plan to use this method on moving vehicles or pedestrians, remember to mount your equipment on a tripod to deal with camera shake. Take a plate picture to have a simpler time fixing the composition of the photo in PS afterward.
6. Rely on Ambient Lighting During Night Shoots

Using ambient lighting when taking neon photographs is perfect for setting the tone and atmosphere. However, you should always make sure that featuring your subject near a bright neon sign is the correct way to go.
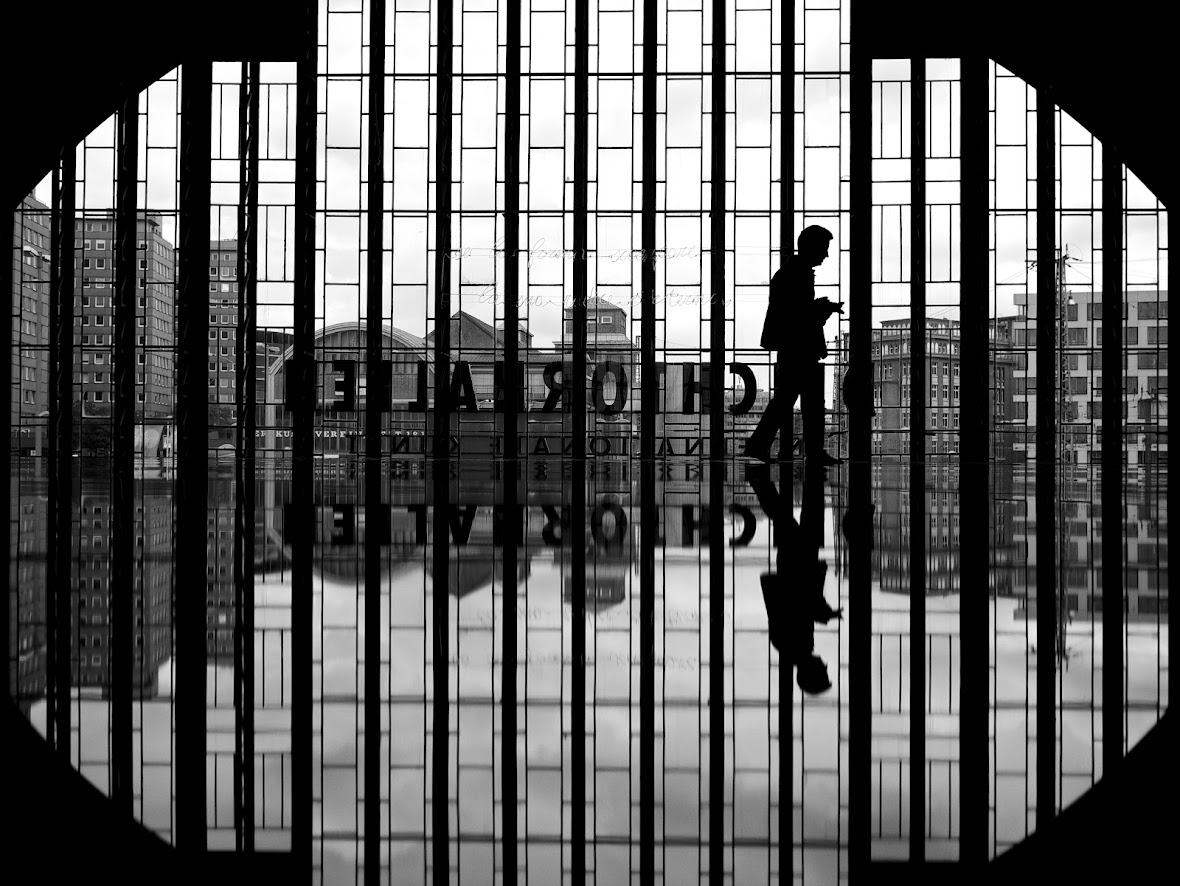
7. Experiment with Reflective and Glass Surfaces

It’s not always possible to implement this bit of advice depending on your location, but you should try to be on the lookout for reflective surfaces or glass you can shoot through when traversing the streets. It would have been impossible to take this photo in a vintage café without doing some serious territory scouting beforehand.
8. Incorporate the Surrounding Environment
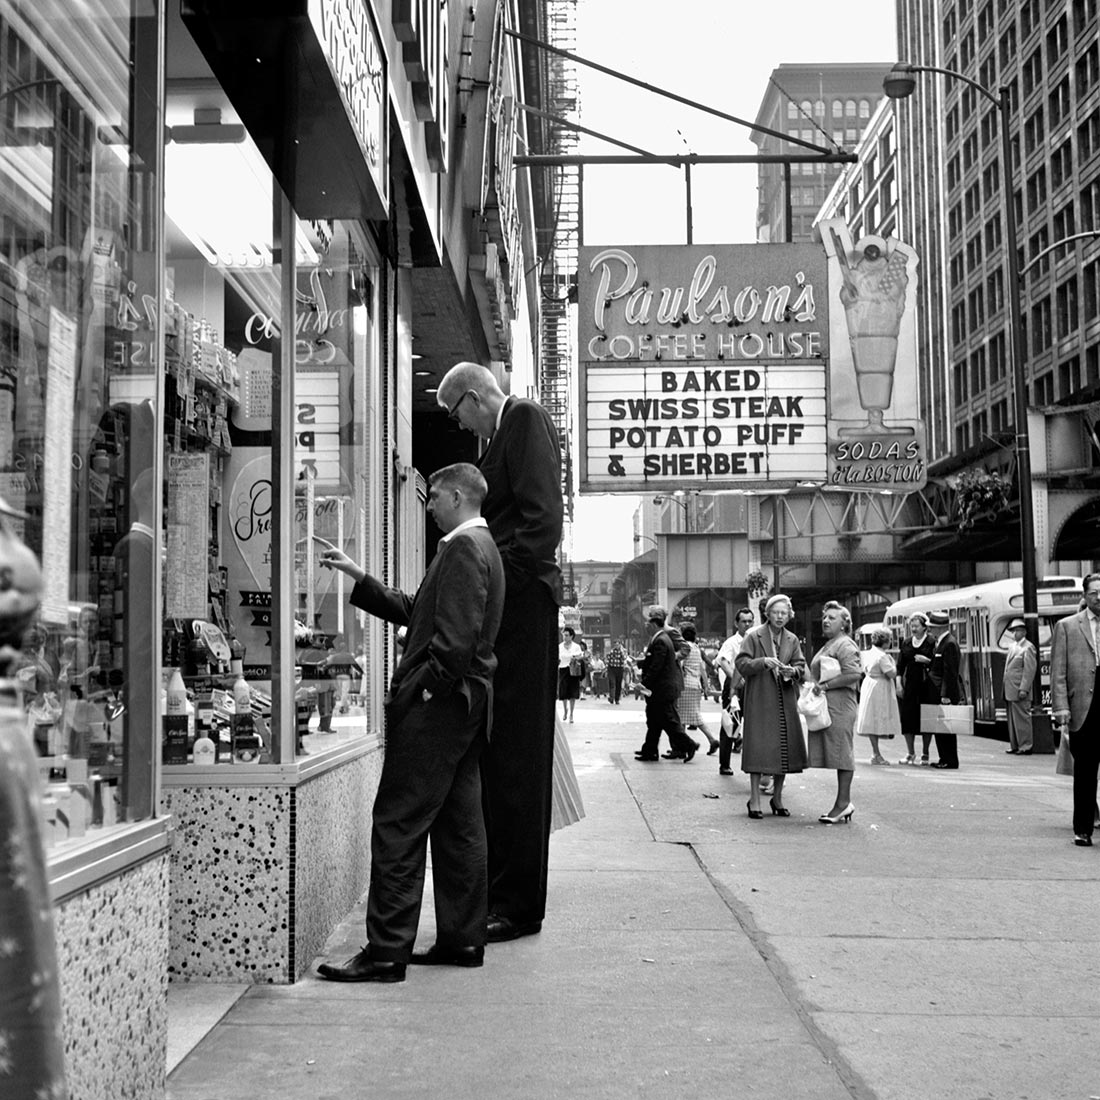
Various imperfect details make an urban photograph more interesting, simply because they’re a natural part of the environment. Including objects that are already in the shot instead of hiding them from sight will help you show the city how it really looks and make your work more sincere.
9. Texture & Buildings
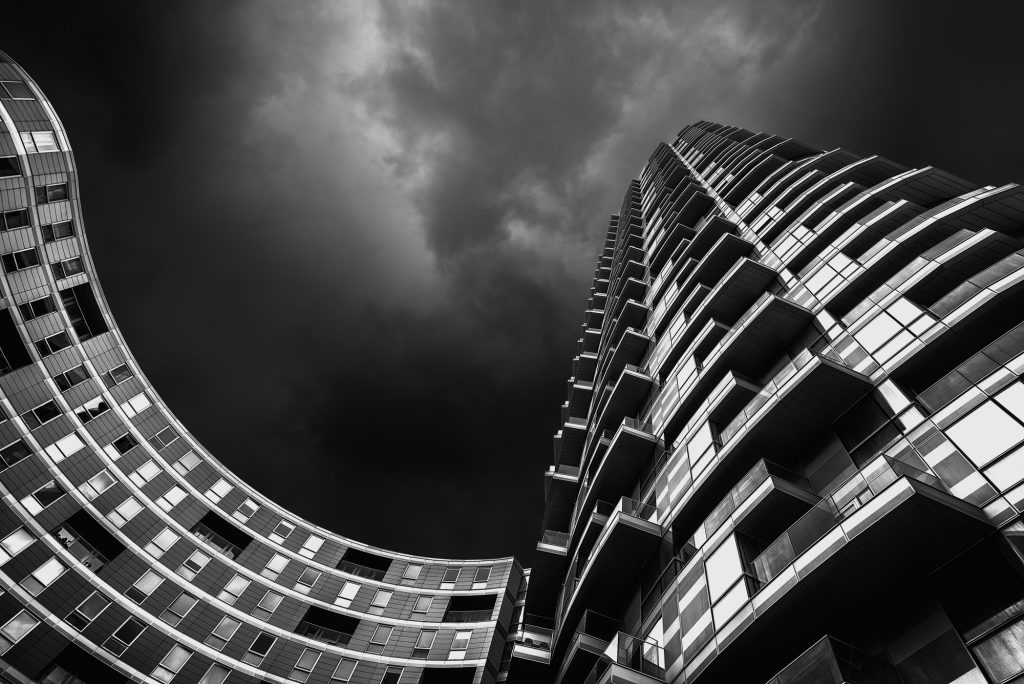
It’s possible to create attention-grabbing architectural photography by capturing interesting textures and shapes of the structures around you. If your subject is near the backdrop, its texture will be highly detailed and easily recognizable. Experiment with various distances and take artistic photographs with the help of architecture.
10. Editorial & Unconventional Poses
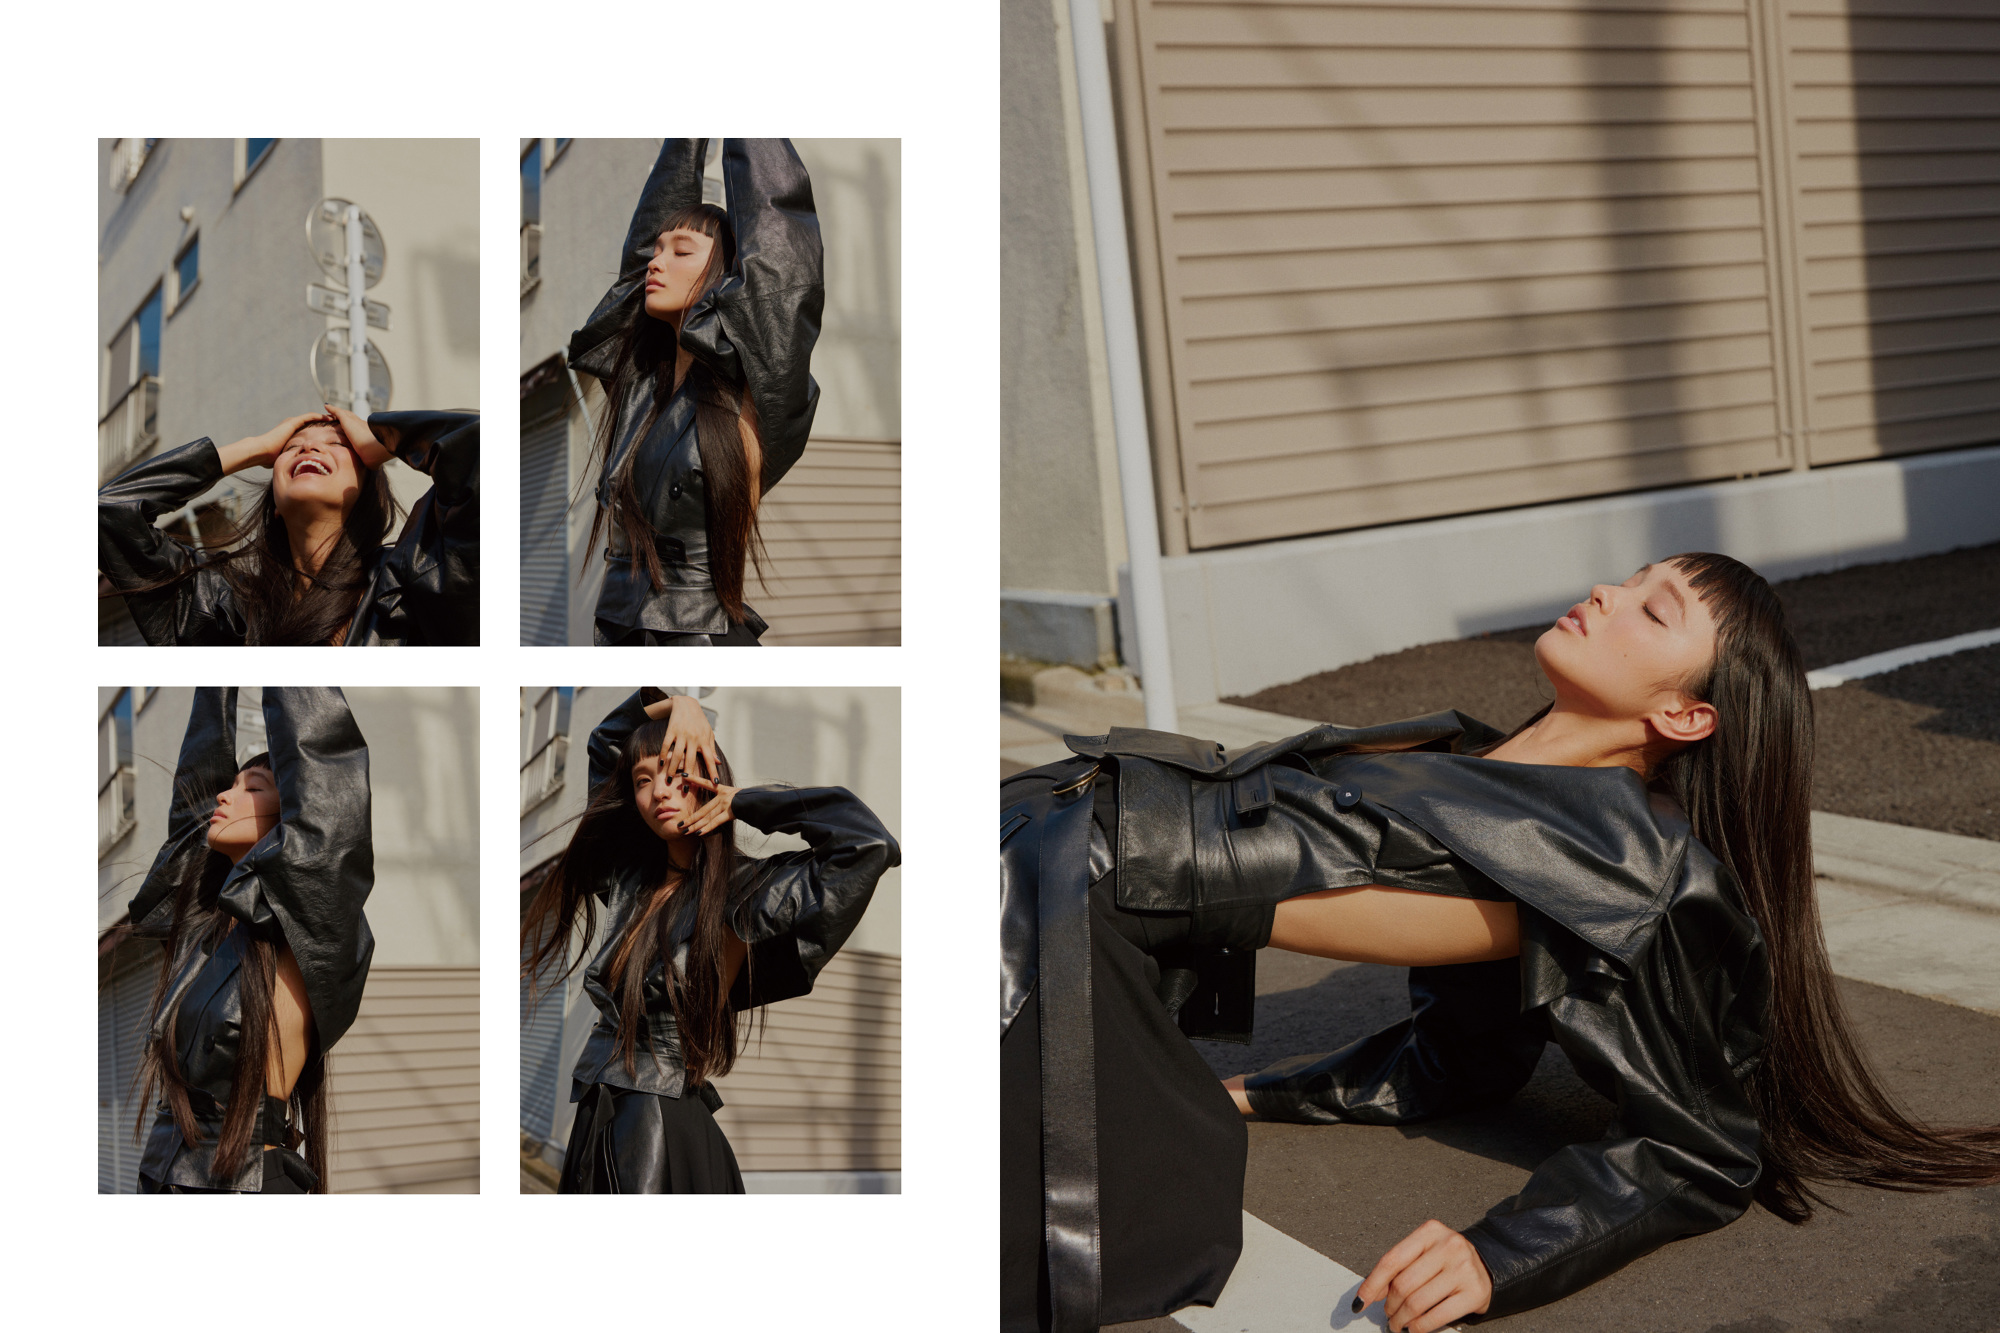
The relevance relies on the personality and mood of the model. Overall, this photography style goes well together with editorial poses considering a large percentage of fashion sessions are held on location in towns.
Tip 20. Follow Famous Urban Photography Artists
If someone specializes in urban photography, his/her work is focused on the composition of various random objects harmoniously combined in a photo. If you want to find out the secrets of the most talented street photographers, read below.
1. Thomas Leuthard Website
2. David Alan Harvey Website
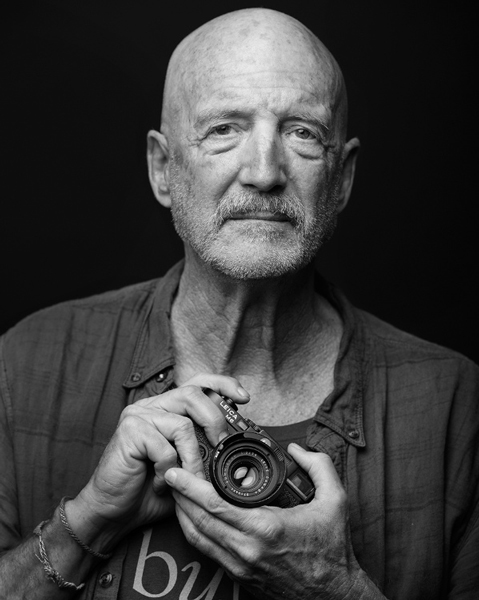 This expert in urban photography lives in the USA and shares his experience with students. He is one of the most respected photographers in the world, who worked for National Geographic and other famous companies. David shows how to take bright, emotional shots in his regular workshops.
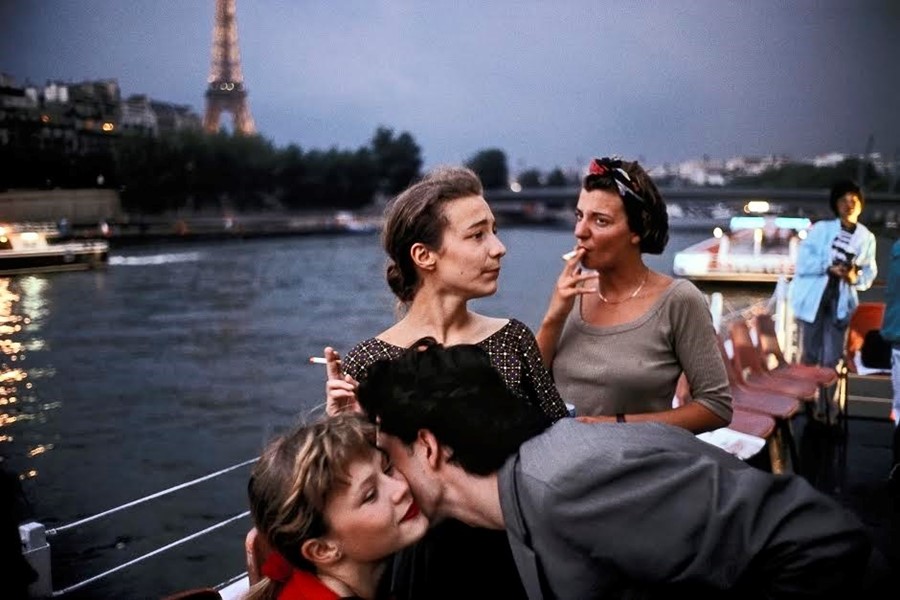
3. Vineet Vohra Website
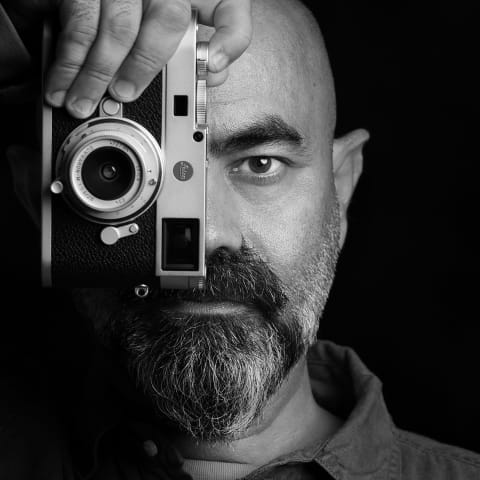 Demonstrating the unique character of Indian streets, this photographer pays attention not only to architecture, but also to people. His models are ordinary citizens of Delhi and other cities. His urban photos are full of color and have amazing compositions. Sometimes, they may look strange, but they always have a special charm.
4. Rui Palha Website
 This successful European photographer worked also in Vietnam, Thailand, and other Asian countries. His online portfolio on the personal website is organized in a quite creative way. You can notice his love for architectural photography, enjoy the harmony of buildings, people and animals. Constantly experimenting with light and color, he receives charming and professional urban photographs.
5. Robert Doisneau Website
 Robert Doisneau was a French urban photographer. In the 1930s he took photographs on the streets of beautiful Paris. He was a champion of humanist photography and with Henri Cartier-Bresson a pioneer of photojournalism as a photography genre.
6. Elliott Erwitt Website
 Elliott Erwitt is an American advertising and documentary photographer known for his black and white candid photos of ironic and absurd situations within everyday settings. The famous French photographer loves both fine art and urban photography. Except for the beauty of architecture, he also emphasizes the character of the citizens. He doesn’t want to get an ideal picture, but to demonstrate the true life of city streets.
7. Yanidel Website
 Thinking on French urban photography, you may imagine a romantic atmosphere, loving couples, glamorous people and cute moments of everyday life. In this case, Yanidel will show you exactly what you expect. In his urban photography portfolio, you will find nice soft colors, elegant women, kissing lovers and famous masterpieces of Paris architecture. The unique mood of this legendary city inspires him to take amazing images for personal website and Instagram.
8. Linda Wisdom Website
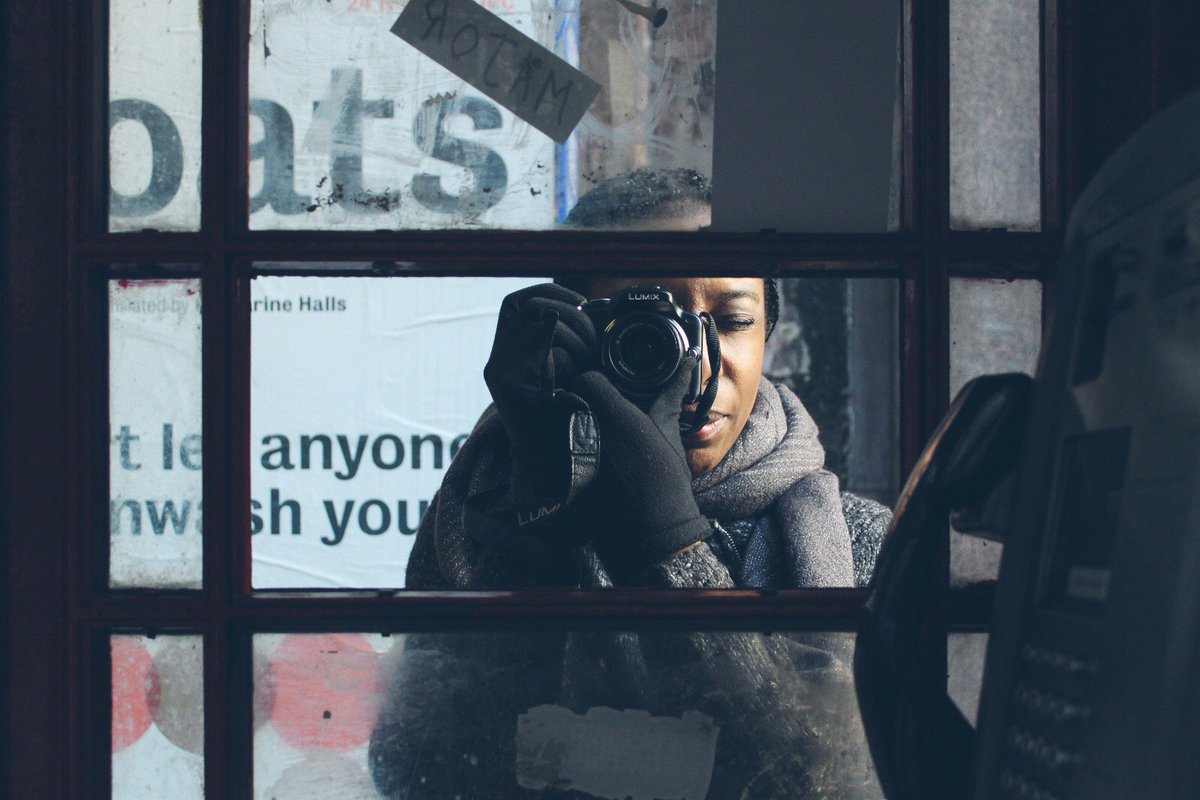 Black and white urban photography is the best way to show the character of London citizens. Knowing that, Linda takes perfect pictures of old and young, happy and sad, alone and loving people. She emphasizes their mood and feelings, capturing the brightest moments of urban life. Except for this, she also travels and invites students to her professional workshops.
9. William Klein Website
 William Klein is a talented professional, who became famous in the 20th century, thanks for his innovative techniques and unique style. Being also a filmmaker, he used lots of amazing effects and contributed a lot to the development of city photography. You can still enjoy his works not only on the web, but also at different exhibitions around the world.
10. Janette Beckman Website
 With their rich history and unique atmosphere, Paris and New York provide wide opportunities for creative people. Artists, specialized in street photography, aren’t an exception. The example is the pictures of this talented urban, documentary and portrait photographer. She is focused on rebels, extraordinary characters and groups.
Tip 20. Try FREEBIES for Fast Photo Editing
To edit urban photography, you shouldn’t spend a lot of time studying all the nuances of Photoshop or Lightroom. I’ve prepared a collection of plugins, created for pictures of this genre. Using them, you can significantly simplify and speed up the process of picture editing and color correction.
1. Street Photography Lr Preset "Golden Hour"
Use this preset to make your pictures look softer, reduce contrast and too bright colors. I typically use it for portrait photography or studio images. In some cases, it can be also used for cityscapes and outdoor pictures. It will modify the highlights and shadows to enhance the details and create a balanced exposure. It often lifts shadows to reveal hidden details and tones down bright areas to avoid overexposure.
2. Preset Lightroom HDR Free "Landscape"
It’s the easiest way to transform the whole picture, change its mood and atmosphere. Use this plugin to achieve natural coloring of city streets, buildings or plants. This effect is quite suitable for seascapes, landscapes, and of course, urban photography.
3. Free Lightroom Preset "HDR"
If you want to make your urban photograph captivating and original, use this preset. The clarity and contrast it adds can make you worry, but you should just experiment to find the right balance. Improving the intensity of colors, tones and shadows, this effect can bring quite creative results.
4. Cross Process Preset Lr "Vintage"
Vintage and retro effects are very popular due to their charm and uniqueness. This preset saves the idea of your picture, but adds some cute details. You can combine it with other effects of various styles, to get a fashionable look.
5. Lightroom Preset "VSCO"
This preset looks luxurious and bright. It was created to add warm colors to dull pictures. It’s realistic and intriguing at the same time. Use it, if you want to golden glare to your pictures. It’s also a nice idea to use a dark layout for such bright preset.
6. PS Action "Soft"
The new Photoshop action allows making urban photography more emotional and dramatic. The combination of contrast colors and clear lines makes us look deeper into the frame and feel the character of the city streets.
7. Bokeh Overlay Free "Motion Background"
Do you want to make your images look like illustrations for a fairy tale? Then, I recommend you this cool overlay. Using it, you will get small colorful lights in the images. The amazing bokeh is a nice choice for love stories, cityscape and landscape photos.

