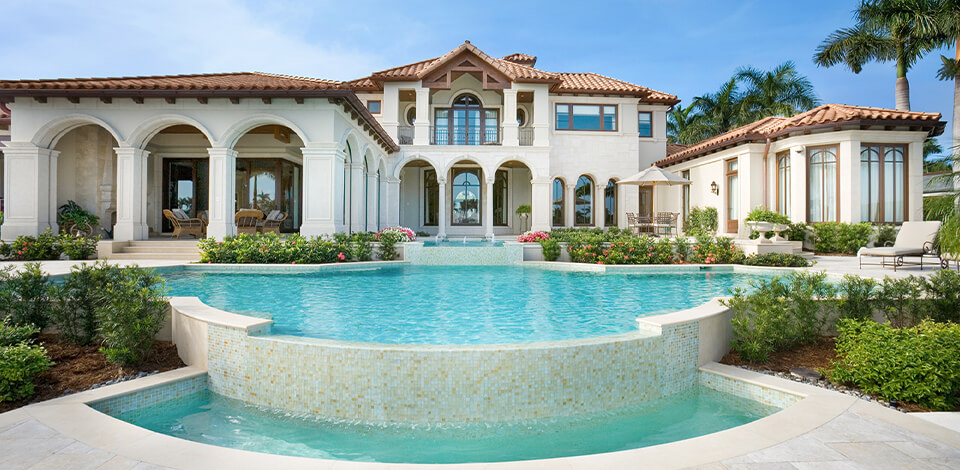
Photographers who specialize in high end real estate photography take pictures of luxurious interiors and exteriors of hotels, cafes, restaurants, mansions, and other elite buildings. Such pictures often appear in magazines or are used by real estate agencies.
To provide clients with high-quality, engaging visuals of their property, a photographer must know all the intricacies of this genre. If you're thinking of getting $2,500 for one photo shoot, then you should know more about this genre.
Unlike landscape and portrait photography, this genre is less popular with photographers. This means you can have fewer competitors and get more revenue.
There is a standard list of photographs for each property.
You can use this list as a reference when photographing real estate.
Start by preparing your shooting space. In everyday life, we get used to a little mess in the house. A person sometimes doesn’t notice various small objects in the room, but they will stand out in the luxury house images. Make sure that countertops, coffee tables, and other surfaces are clean.
You can keep 1-3 decorative items. Experts do not recommend capturing cabinets unless there is something special about them and they are custom-made.

Natural light is a priority. Therefore, before shooting, open large windows if there are any in the room and let in more light. If necessary, add artificial light sources.
It is a bad idea to use cool fluorescent and warm incandescent bulbs at the same time. All bulbs should have the same color temperature. Otherwise, you should shoot with a flash.
Photo editing is an important part of high end professional photography for real estate. You need to do color correction, fix white balance, adjust contrast, saturation, work with curves, change day to dusk. Besides, you can remove unwanted elements, replace the sky or background, correct lens distortion.
If you are unsure of your photo editing skills or you are limited in time, you can turn to professional services. An experienced team of picture retouchers can handle any challenge and provide flawless photographs of commercial properties, homes, or other buildings.

Your photos should showcase the true size of the property. Make sure to follow the same rules as for commercial real estate photography. To convey a realistic representation of the property's size and proportions, consider capturing it from a corner or diagonal position, creating an illusion of depth that allows viewers to better understand the spatial dimensions. Emphasizing the room's dimensions, hallways, and other areas is achieved through this technique, providing an accurate portrayal.
Including foreground elements contributes to the sense of scale. Placing familiar objects like furniture, plants, or people in the foreground helps viewers gauge the size of the space.
For instance, positioning a chair or table near the camera serves as a visual reference point, enhancing their understanding of the object's size.
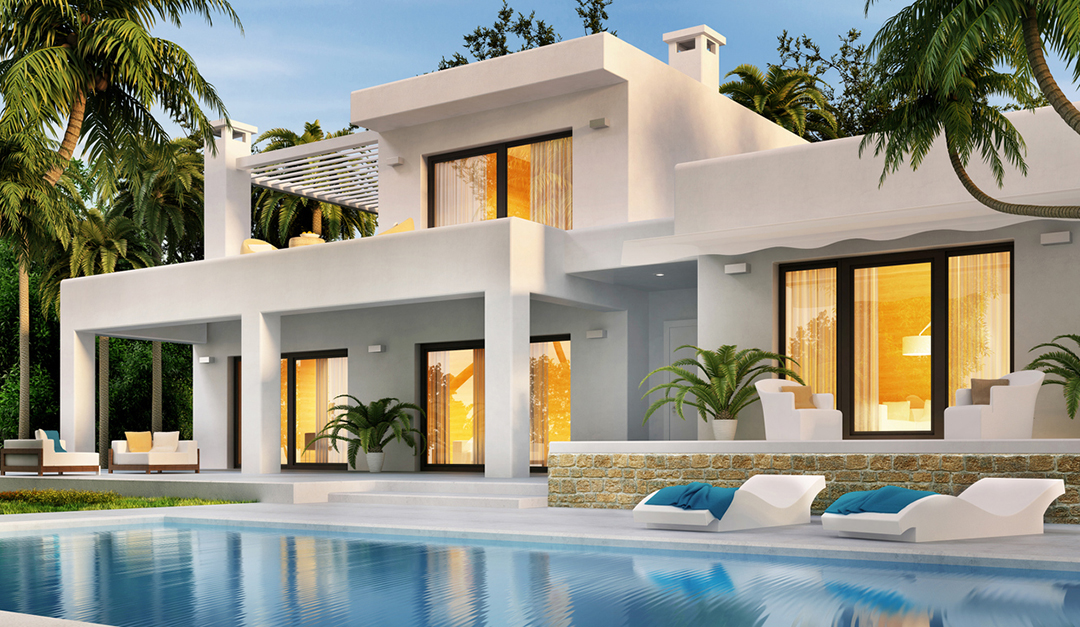
You should keep your camera at a height of about 150 cm. Though each house is slightly different, this camera position will produce the most natural and balanced shots.
If you lift the camera too high, there will be too much ceiling and not enough living space in the frame. If it is too low, then you’ll get a lot of furniture and there will not be enough real room in it.

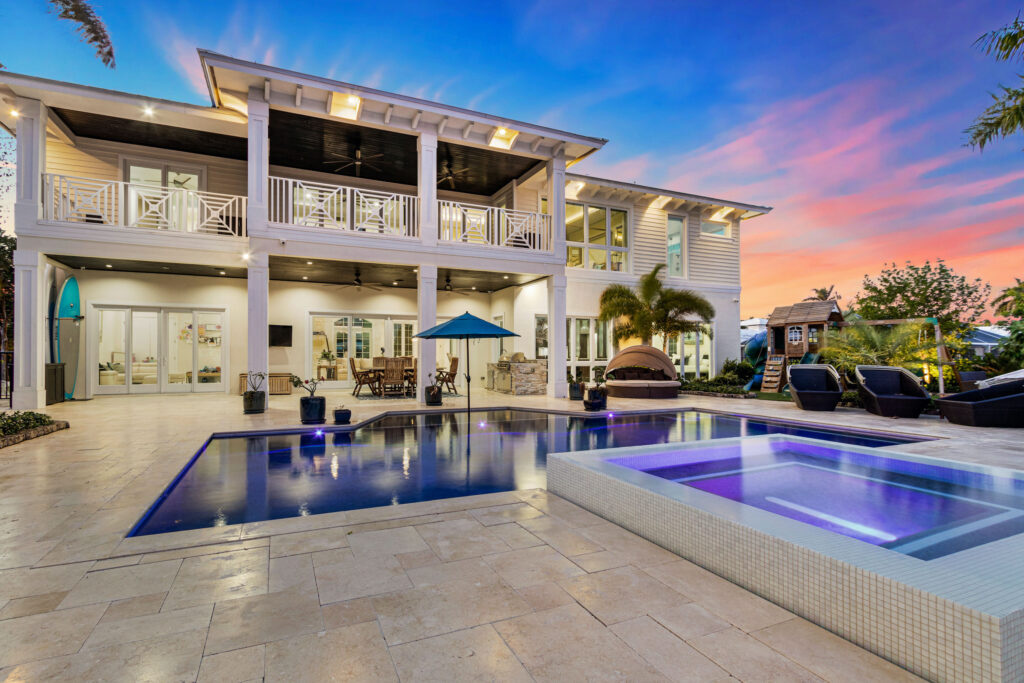
At night or twilight the house looks truly breathtaking, highly increasing online rates. When we have a warm glow interior in the beautiful blue exterior, and the sea of city lights underneath us, it's an awesome picture.

If high end real estate photography is the only genre you work in, then face-tracking autofocus systems or fast continuous shooting modes will be useless for you. A good DSLR camera is a great choice. Many shooters recommend the Canon 5D Mark IV as base equipment. The camera works well at ISO up to 6400. It can also provide good quality for web publishing at significantly higher sensitivities.

Now drones become more popular. With their help, it becomes possible to take photos, 360 panoramic views, and make videos of the house from different positions, angles etc. Any pro photographer takes real estate aerial photography for luxurious property for potential clients to see every detail of a house, the neighboring objects and surrounding.

If you deal with high end photography real estate, you probably know that the wide-angle lens is the best option for this genre. It is especially useful if the building you are photographing is surrounded by other structures.
Plus, a wide lens is an indispensable thing for interior shots as it allows you to capture as much as possible. My recommendation is to use the Canon 17-40mm f/4L or buy the best Canon wide-angle lenses.
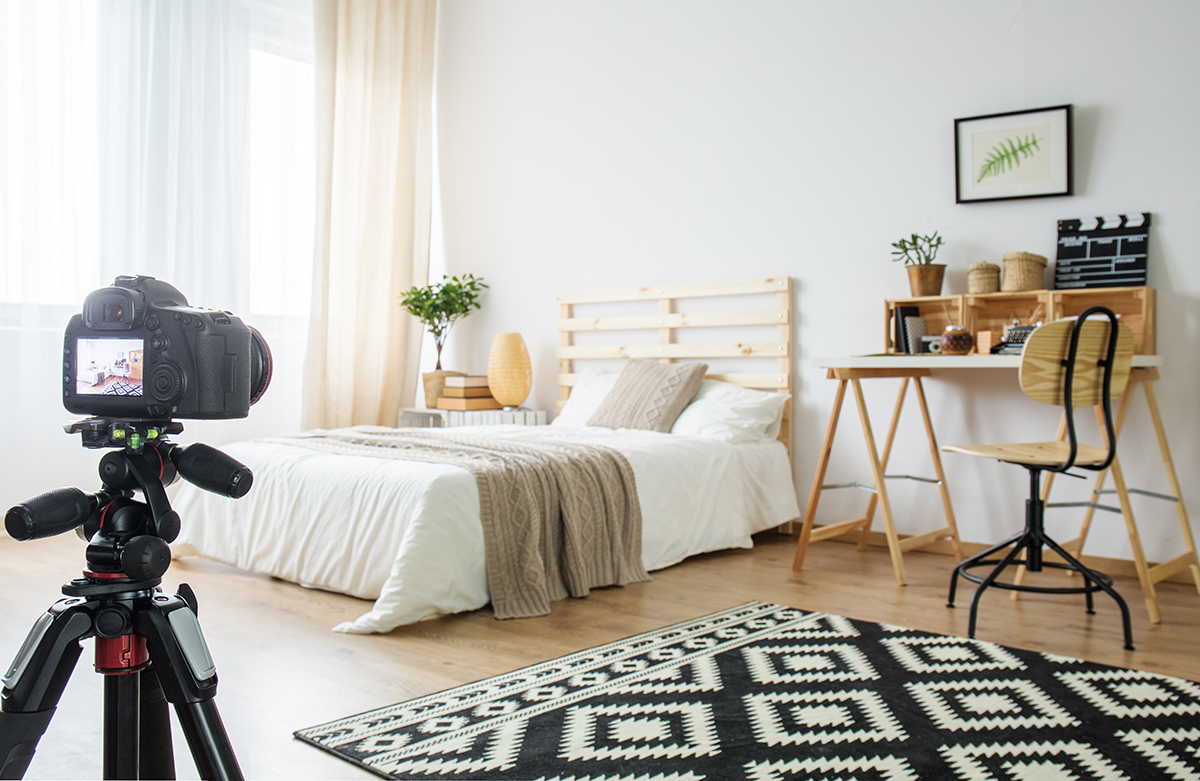
Camera shake can cause a lot of imperfections, so using a tripod from efficient tripod brands is a good solution. If you are photographing interiors, then you should also keep an even horizon and perspective in mind. They are more important in this case.
The Amazon Basics tripod is made of a special aluminum alloy. It is not heavy and performs well in interior photography. With its maximum height of 158cm, this tripod is suitable for rooms with 3m ceilings.
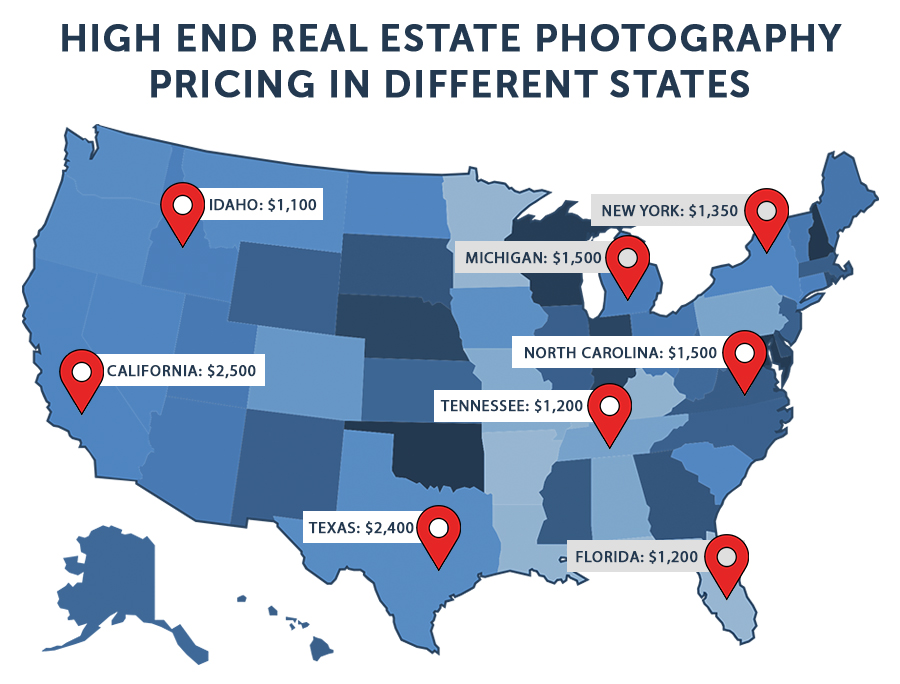
Real estate photographer salary in California is about $2,550 per a shoot (shooting with drone costs $700). San Diego’s price is $1,700, it is the rate for Premium package of property photos, flyer design, social media collage, deep retouching on all images up to 3000 square feet ($2,300 a la carte value). In Miami, it will cost from $1,000 to $2,500 depending upon the square feet of the house.
Atlanta real estate photography price is $1,000 for 20 high end photographs + $650 for 10 images made by drone. If you want to do real estate photography business in Detroit, price starts from $1,500 for 4-6 photos, bundled with shoot.
I recommend to set an hourly pay that will be based on how many hours you spent on the photo session and editing. I think every photographer of this genre should have several real estate photography packages that are based on the quantity of final images sent to the agent.
Each package must have its own time limit: 30, 45, 60 or 90 minutes. If the owner or agent has not prepared the house for the photo session before your arrival, I recommend charging an additional fee, for every unplanned 15 minutes.
Do not forget to exclude the cancellation of a photo session. If the customer calls me before I can leave, I do not charge any payment. But, if I am called between the time I left or during the photo session, then, I take 25% of the total fee, as I understand that I don’t have to edit anything.
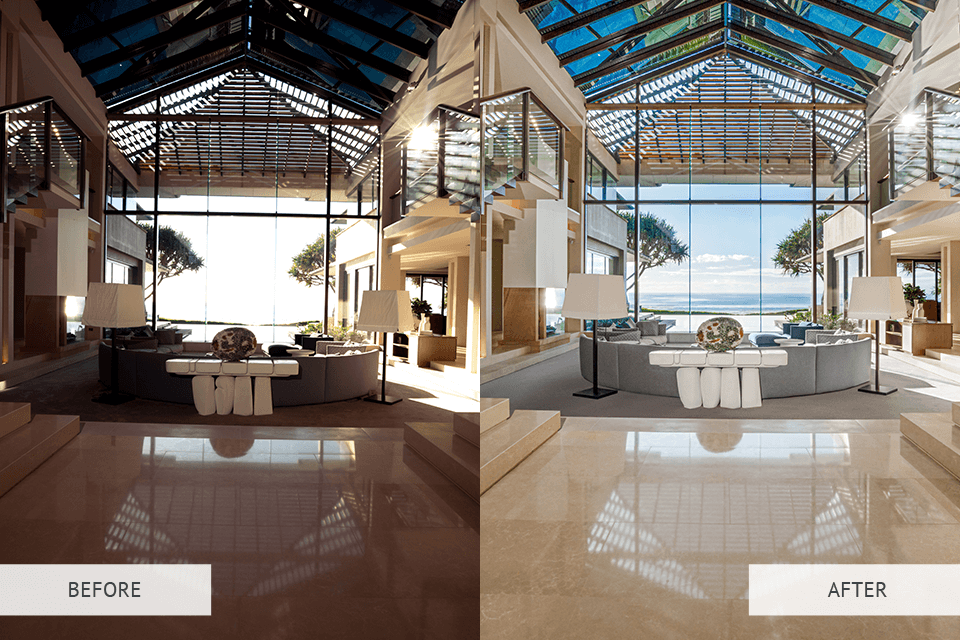
Interior lighting, camera settings, outside weather conditions, and other factors can affect the color gamut of real estate photos. With color correction, you can improve the overall look of your luxury house images. However, you must be careful and avoid changing colors too much.
Both Photoshop and Lightroom let you make your images more beautiful with color grading. You can enhance flat colors to make your picture more captivating. Plus, you can change saturation and hue settings for a more natural look.
By the way, if you choose Lightroom, then I advise you to use the free interior Lightroom presets to get incredible images.
Lens distortion is a common issue in real estate photography. Some lines may seem curved while others appear curved. Below, you will learn about the main types of distortion.
You may observe the bending of the vertical lines outward in the center of the frame due to the barrel distortion.
The unnatural angle of lines inclination is caused by perspective distortion. However, you can easily fix these distortions in Photoshop. You just have to be careful and not forget about them.
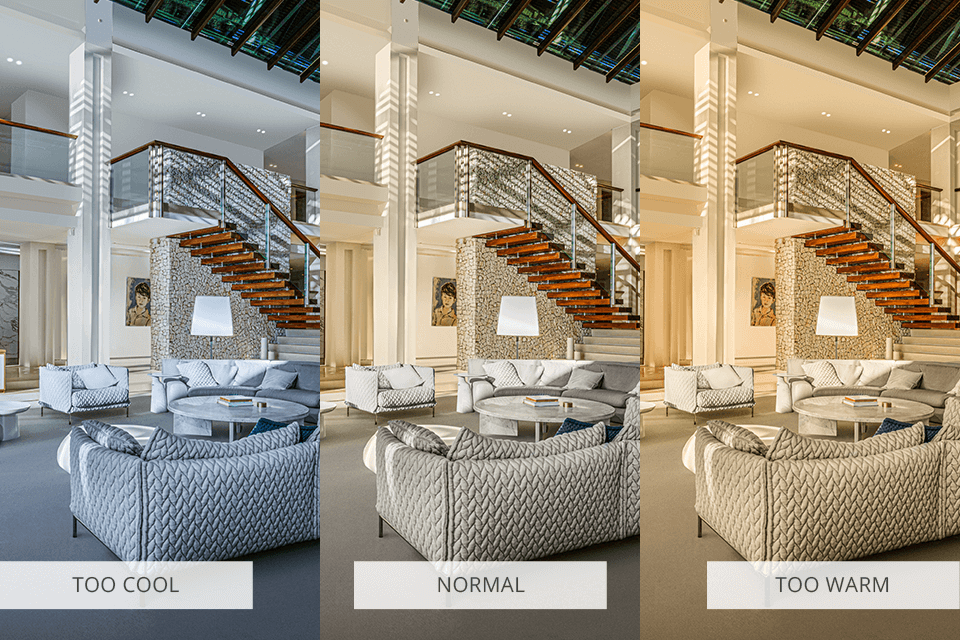
The photo can often look more yellow or bluer than in real life because cameras do not estimate the amount of white in the color correctly. You can fix this very easily. However, keep in mind that color perception is subjective and may vary depending on the device, so don't overdo it.
I recommend using the Eyedropper tool in Lightroom. You can adjust the temperature or tint. Another option is the automatic feature. However, you should stick to the main rule of estate photography high end editing and keep things looking as natural as possible.
Sunny and bright days are ideal for real estate shooting. Colors look rich and saturated. On the other hand, cloudy or rainy weather can ruin all your plans and make pictures dull and uninteresting.
If you were not lucky to shoot on a sunny day, you can enhance your pictures by replacing the background. After carrying out all the necessary manipulations, you will get a picture of a beautiful building with a blue sky instead of an overcast background.
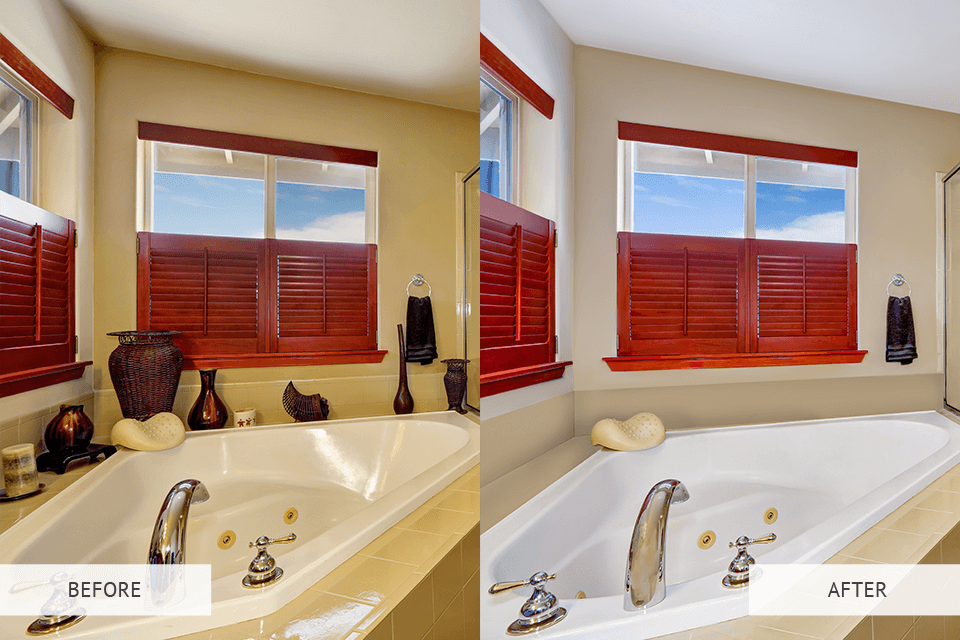
Objects cluttering up the space of a room or yard can distract a viewer from the property itself. Therefore, you need to remove unnecessary things. You can cut out electrical cords, machines, tools, and other non-fixed objects.

Cropping is useful if you need to focus on an object, change the aspect ratio, or adjust the framing.
However, when shooting real estate photos, you should keep in mind that electrical posts, water towers, and other permanent fixtures must remain in the frame.
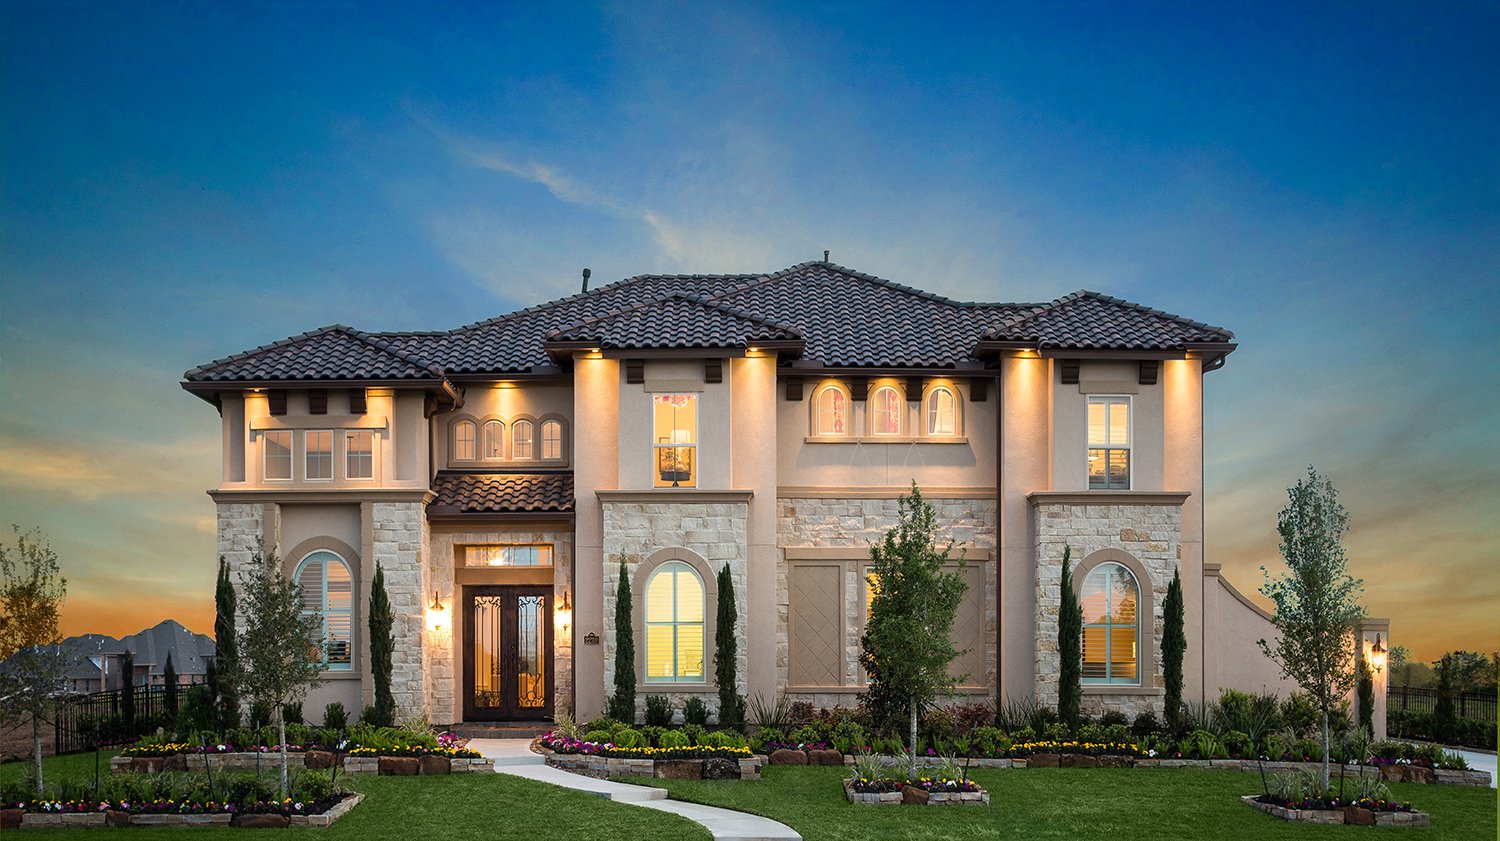
High end real estate photography often features non-intersecting vertical and horizontal lines. However, the room’s shape, the location of the camera, the curvature of the camera lens, and other factors can lead to their distortion.
Perspective correction helps cope with the above problem. You must align the lines with the picture frame. This technique allows you to achieve a natural look and draw people's attention to the main subject.
The adjoining territory is often overlooked when editing high end real estate pictures. However, an unkempt front yard can ruin the overall impression of a luxury home. Spend a few minutes making the grass greener and hiding the imperfections of the lawn.
If there are no trees, you can add them to the photo. Such manipulations will make the property look more captivating and attract potential buyers.
You can speed up photo post-processing with this collection of effects. These filters were created taking into account all the nuances of exterior and interior photography. Thanks to these effects, your pictures of buildings, interiors, and spaces will become unique and interesting. You can apply them in Photoshop CC and CS6.