Commercial real estate photography primarily deals with property images that are used for marketing and raising brand awareness. Professional photoshoots for commercial real estate are essential for presenting a property in the most illustrative and attractive way possible.
High-quality commercial real estate pictures can make even the blandest building attract potential buyers as long as you rely on the most effective photography practices. In this article, I’m going to share the most important tips on property photography as well as its pricing, while also going over the main platforms where you can use such images.

There are two primary pricing strategies when it comes to commercial real estate photography – per image and per day. Photographers can request between $150 to $400 for daytime photos and about $700-$900 for evening/dusk images.
Real estate photographer salary can be estimated by accounting for the amount of image editing and post-production that needs to be done as well as the number of produced pictures. Given how different those numbers can be, you can expect a photoshoot to cost anywhere from $1500 to $15000.
Other factors that affect the license rate are usage type, image adjustments, processing, duration and location of usage, etc. Next, I’m going to give you a couple of estimation examples for various project types so you can have a better idea of what you’re getting into when you begin a real estate photography business.
Photographer services: $1400 (includes a preliminary examination of the premises, photoshoot day (exterior, interior) + Image post processing services: $600 (includes RAW file processing, about 10 finished high-resolution TIFF files, unedited JPEG files);
Additional expenditures: $400 (including assistant fees, transit, expendable items, etc.);
Total: $2400.
Photographer services: $1100 (includes a preliminary examination of the premises, photoshoot day (exterior only) + Image post processing services: $400 (RAW file processing, about 5 finished high-resolution TIFF files, unedited JPEG files);
Additional expenditures: $50 (includes transit, expandable items);
Total: $1550.
Photographer services: $2700 (includes preliminary property examination, 3 photoshoot days (exterior, interior + evening time shoot) + Image post processing services: $1000 (includes RAW file processing, about 15 finished high-resolution TIFF files, unedited JPEG files);
Additional expenditures: $600 (includes fees for 2 assistants, transit, expendable items, etc.);
Total: $4300.
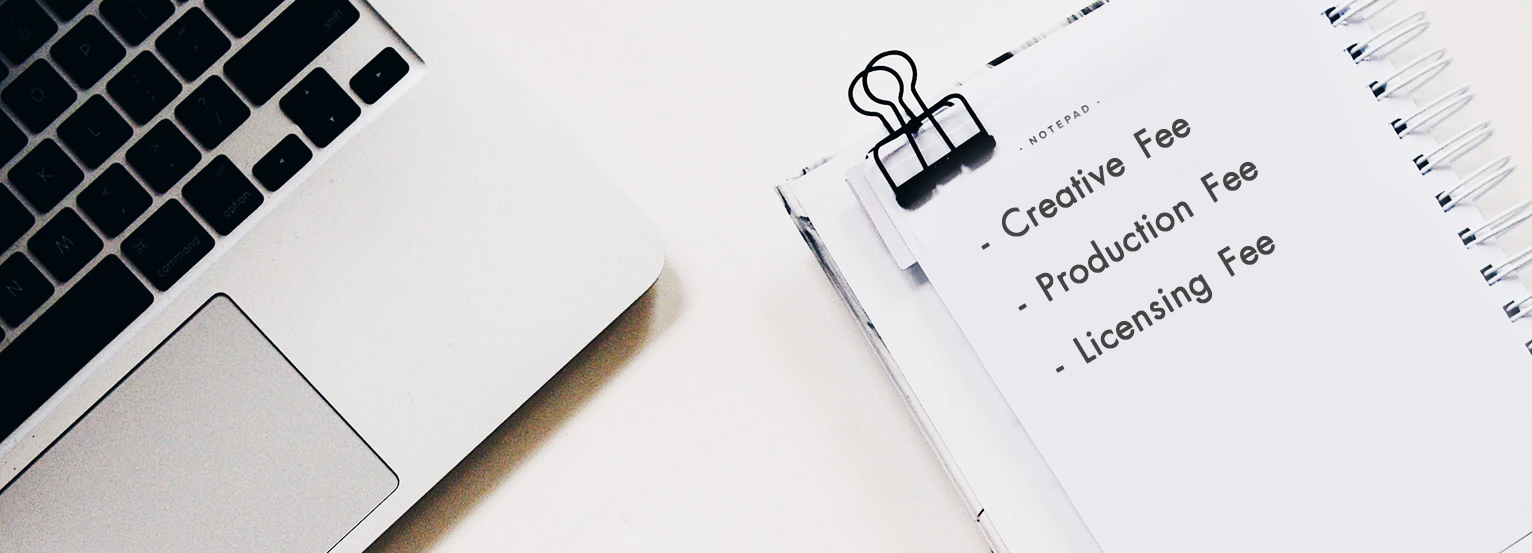
The license represents a deal made by a photographer and their client that regulates how the latter can use the ordered commercial real estate photos. It functions similarly to a lease license that goes over the terms of the lease.
Usually, photographer fees come with a marketing usage agreement that covers the majority of commonplace marketing image usages. However, all extra usages that aren’t covered in the agreement will come at a separate price. That’s why you have to ensure all terms are clearly described and signed to leave no room for misinterpretation and avoid possible conflicts.
Remember, that a real estate photography contract protects your rights in case of photography copyright violations as well as unforeseen client problems.
Usually, the licensing price is larger than the creative price. If the customer is confused by that fact, you have to explain what a licensing fee is. The easiest way to do so is to draw a comparison. For example, remind them that when a person purchases Microsoft software, they can only use it on a single PC rather than all the computers in their office.

The same is true for commercial real estate photography. If the client will use the photos 10 times, they'll have to pay for 10, if the number of usages is increased to 100 then the fee won’t be 10 times higher, but will still be noticeably larger as well.
Never forget the Nike logo example. When the company was starting, they ordered a logo for just $35 and since the designer didn’t negotiate a licensing contract, he never saw any more money than that even though his logo has since become one of the most widely used in the world.
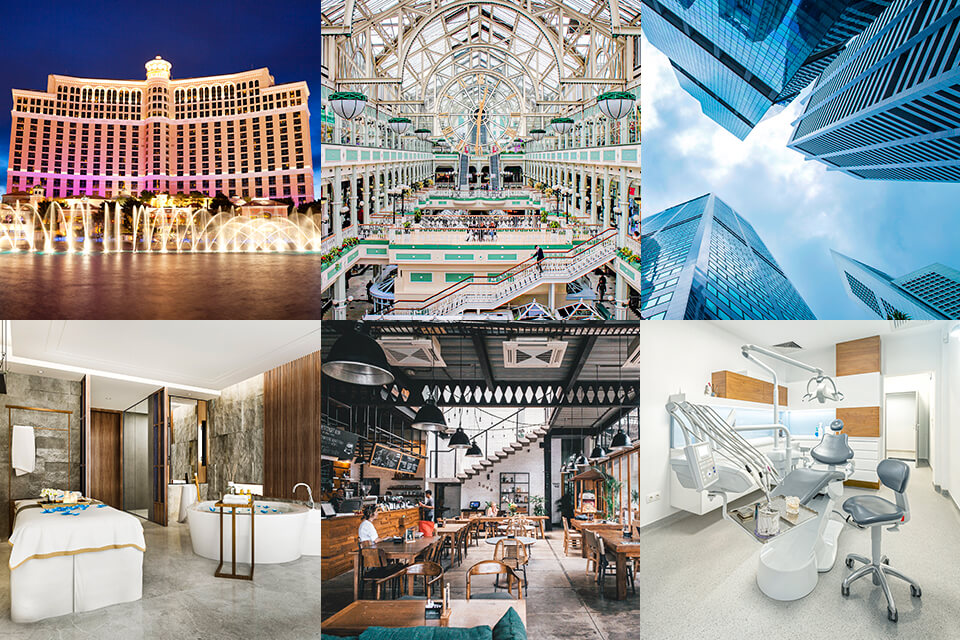
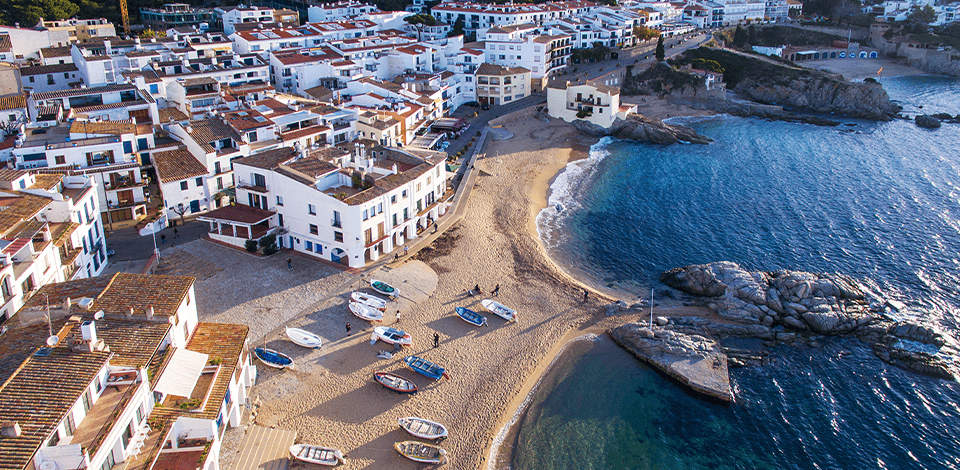
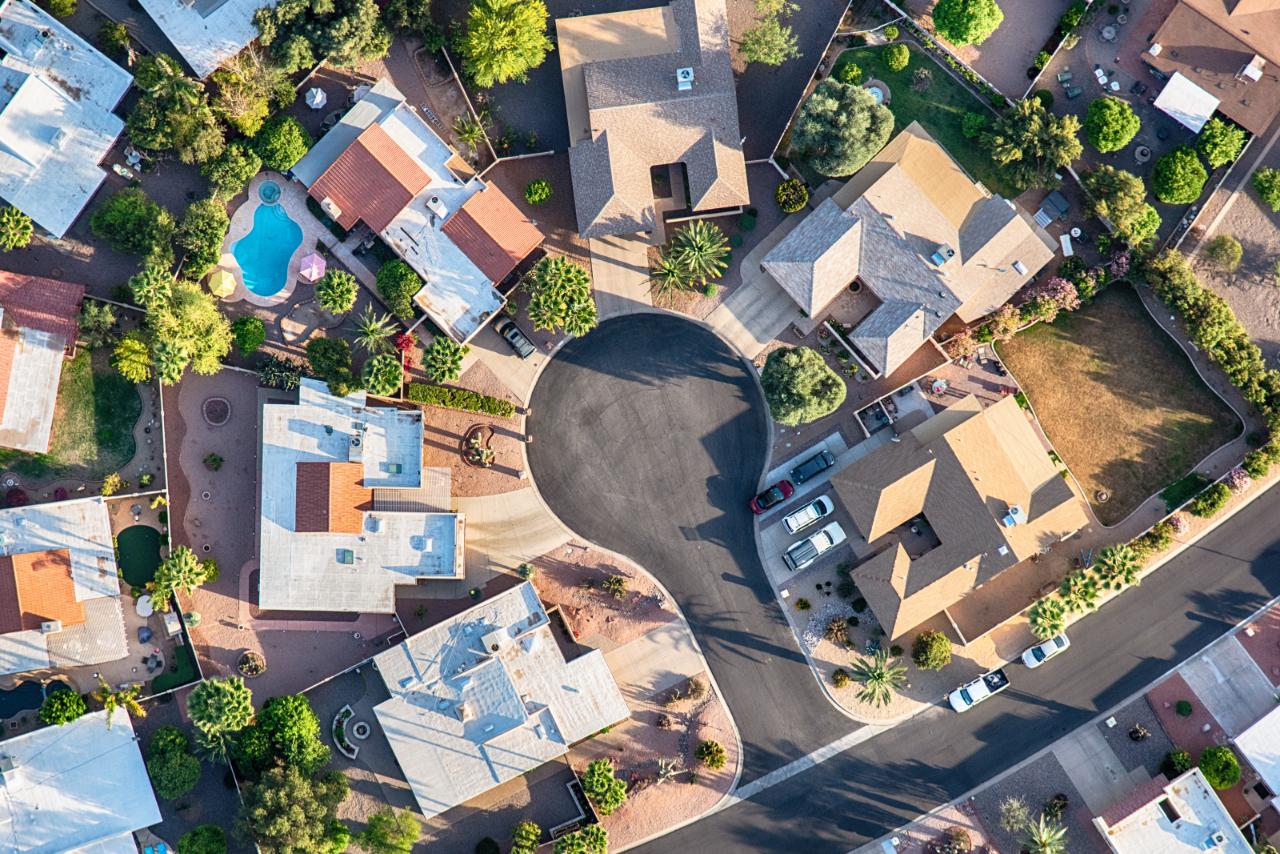
This genre isn’t drastically different from regular real estate photography, as it also includes interior and exterior property photos, a street view, virtual tours, and possibly even real estate aerial photography. The main distinction comes from where the pictures are later used. For instance, you can see such images on Rentals and similar platforms. Commercial real estate photography can be categorized into:
Clients realize that good informative photos can attract more clients that are solvent. However, you as a photographer how to understand which important photography principles you have to follow and what real estate equipment you should have to take terrific commercial real estate images.

Ordinarily, if you’re taking exterior photos of commercial real estate, then the street view shot is the most important one you have to get right. Look at the sun’s direction, as most venues look their best when it’s low and sheds light onto the building, hence why you should establish what time of the day allows you to achieve such conditions, like the magical transition from day to dusk.
If the property is facing north, you’ll never receive direct sunlight, meaning all you can do is avoid scheduling the photoshoot for when the sun is behind the structure and sheds light right into your camera. Typically, you can deal with that issue by taking photos at dusk or with an overcast sky.
If you’re not taking photos of a large hall with 4-meter ceilings, then the optimal camera height is about in the middle between the floor and the ceiling. Such height is the best at correctly conveying the scale of everything in the room and allows achieving even perspective lines.
Of course, you can adjust them during image post processing, but it’s better to avoid resorting to that necessity.

In interior photography, it’s always handy to consider what format suits each shot better. For instance, a waiting room with a couch and a coffee table looks better horizontally while a staircase should typically be shot vertically. Learn to take photos in both formats. This will particularly be useful should you plan to work with magazines or commercial real estate apps.
Similarly, it can be beneficial for you to learn how to build vertical shots in interiors where otherwise you’d have to choose a horizontal composition. You can check out samples of vertical property images on the PhotographyForRealEstate website to figure out what to start with.
Your photos should reflect the scale of the office or building area. Here you have to follow the same rules you do when taking photos of apartments or houses. Take photos at an angle, creating an illusion of space and perspective.
By capturing the property from a corner or diagonal position, it creates an illusion of depth, allowing viewers to better gauge the size and proportions of the space. This technique helps emphasize the dimensions of rooms, hallways, and other areas, providing a more realistic representation.
Additionally, including elements in the foreground can contribute to the sense of scale. Placing objects like furniture, plants, or people in the foreground can help viewers gauge the size of the space relative to familiar objects. For example, positioning a chair or table near the camera can provide a visual reference point and enhance the understanding of the object`s size.

Firstly, check if your camera is set to take photos in RAW. This mode allows you to deal with poor exposure and small flaws during image post processing with ease. Once you’ve taken the pictures in RAW, you merely have to copy them to your PC or laptop and edit them using the tools included in Photoshop and Lightroom.
By the way, if you choose the latter, then I suggest using free interior Lightroom presets to make your room, café, restaurant, and mall photos look professional and eye-catching.
During the image editing stage, you have to perform color correction, white balance adjustments, and tweak the contrast and saturation settings. Additionally, you may want to delete unnecessary objects, replace the sky or backdrop, deal with lens distortions, etc.
If you want to enhance your commercial real estate photography professionally, be sure to reach out to our service. We’ve been involved in editing real estate images for over 17 years now, helping clients purchase, sell, and rent out houses and commercial venues around the world. Also, our expertise as a virtual staging company can help with transforming empty spaces into beautifully furnished and inviting environments, allowing potential buyers to envision the full potential of the property.
LiveView might not be the favorite feature of professional photographers, but it’s incredibly convenient when it comes to taking interior commercial real estate pictures. It allows you to view and evaluate the shot before taking it, analyze the composition, and ensure all objects are placed perfectly, while also checking out the color scheme, which is very important since color plays a vital role in interior shots. You also shouldn’t forget about using the rule of thirds in photography when framing your real estate photos.
For interior photoshoots, it’s best to have a tilting screen that allows you to view the display more conveniently since you won’t need to lower yourself to the tripod’s height. I suggesting looking at the Canon EOS 90D since it allows you to take highly sharp, beautiful real estate pictures with minimum effort.

If you have a real estate photography business, you’re likely aware that a wide-angle lens is irreplaceable when it comes to commercial property photoshoots. In commercial real estate, where square footage matters, wide-angle lenses help create a sense of spaciousness and grandeur. They can make small rooms appear larger and enable the viewer to appreciate the overall flow and design of a space. These lenses are particularly useful when photographing expansive interiors, such as hotel lobbies, office spaces, or event venues.
Wide-angle lenses also excel in capturing exterior shots, highlighting the property’s curb appeal and surrounding landscape. They can capture sweeping vistas, showcase architectural details, and emphasize the relationship between the building and its environment.
However, it’s important to use wide-angle lenses judiciously to maintain visual accuracy and avoid distortion. Careful composition and positioning can ensure that the images remain realistic and inviting to potential buyers or renters. I suggest going with the Canon 17-40mm f/4L or picking from other best Canon wide-angle lenses available on the market.
Usually, I recommend using a tripod to avoid camera shake. However, in the case of indoor photography where the main subject is the interior, it’s more important to keep an even horizon line and perspective. That’s when you need one from an efficient tripod brand.
Additionally, it’s important to note that rooms typically have insufficient lighting compared to the outdoors, which is why you’ll have to set a high ISO to get a good shot. This can lead to the problem of excessive noise, which is successfully solved with the help of a tripod.
The Amazon Basics tripod is made of a special aluminum alloy, which makes it lightweight and is perfectly suited for interior photoshoots. The maximum operating height of this tripod is 158cm, which allows comfortably working in areas with ceilings up to 3 meters high.

A great way to spread the light evenly is to use flash. However, the flash unit that is built into the camera may not be sufficient for this task since the produced light has to fill the entire space. If you direct the flash at a wall or the ceiling (the latter is the optimal option since walls are often overly dark or brightly colored), the lighting will spread evenly across the room.
Another way to do it is to remove the flash from the camera and aim it at the ceiling separately. The flash can be activated with an external remote that allows you to place it wherever you need.
The universal flash Godox V1C is compatible with most cameras made by leading brands, and it will surprise any commercial real estate photographer with how much power it can put out.
Having proper website design and structure, as well as an active online presence is essential to becoming successful in any photography niche. At the very least, your site has to:
a) Offer convenient navigation;
b) Provide quality high-resolution images that can be quickly downloaded;
c) Contain contact info on each page.
If for some reason your webpage is done in Flash, it still has to contain an HTML contact footer, allowing potential clients on smartphones to reach you via email or call.
You can do this yourself with the help of the best WordPress photography themes, or by approaching a digital marketing company that will provide a fully-functioning website that fulfills all your requirements in the shortest time possible.
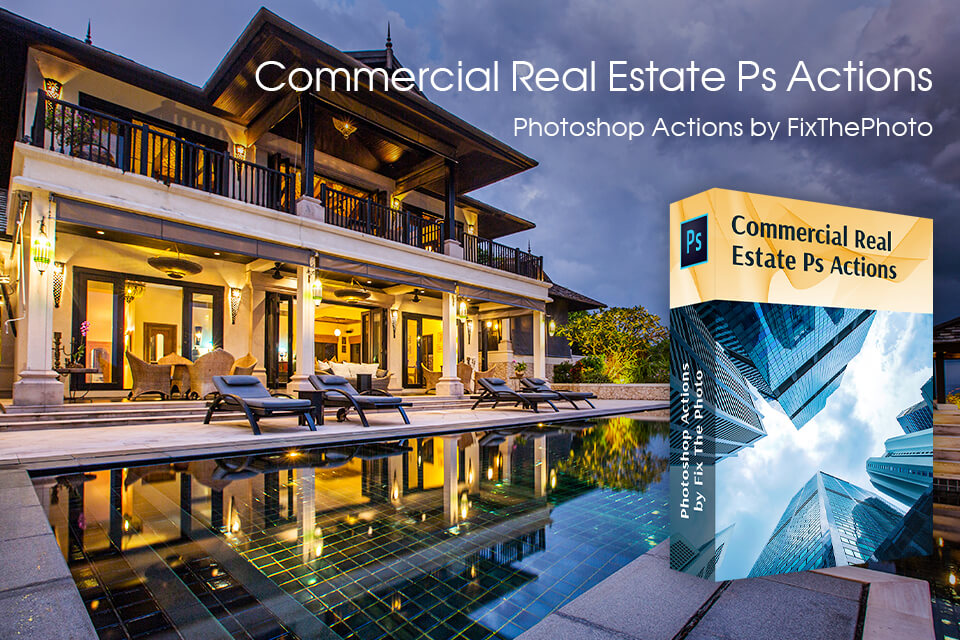
To produce professional-level commercial real estate photography, you’ll have to use the tools I’ve prepared specially for you. Check out this selection of professional Photoshop actions that allow you to quickly and efficiently adjust the colors in your photos while making them look more appealing.
These actions allow you to enhance pictures of buildings, houses, office spaces, and interiors while being compatible with the latest versions of Photoshop (CC and CS6).