Architecture is a difficult subject even for a professional photographer since it takes a lot of skill to photograph historical buildings, modern skyscrapers, or various architectural details. To succeed in this genre, use these architecture photography tips to take photos like a pro.
While there are many techniques suitable for particular situations, you can still follow some basic rules in each case. Even if you are a beginner, it’s crucial to pay more attention to framing, creating a well-balanced composition, and using the right lighting.
In architectural photography, the composition is everything. When you see a magnificent building, it might seem that it’s easy to quickly snap a photo of it. However, if you don’t know how to fit it into the frame, you might get an average-looking photo.
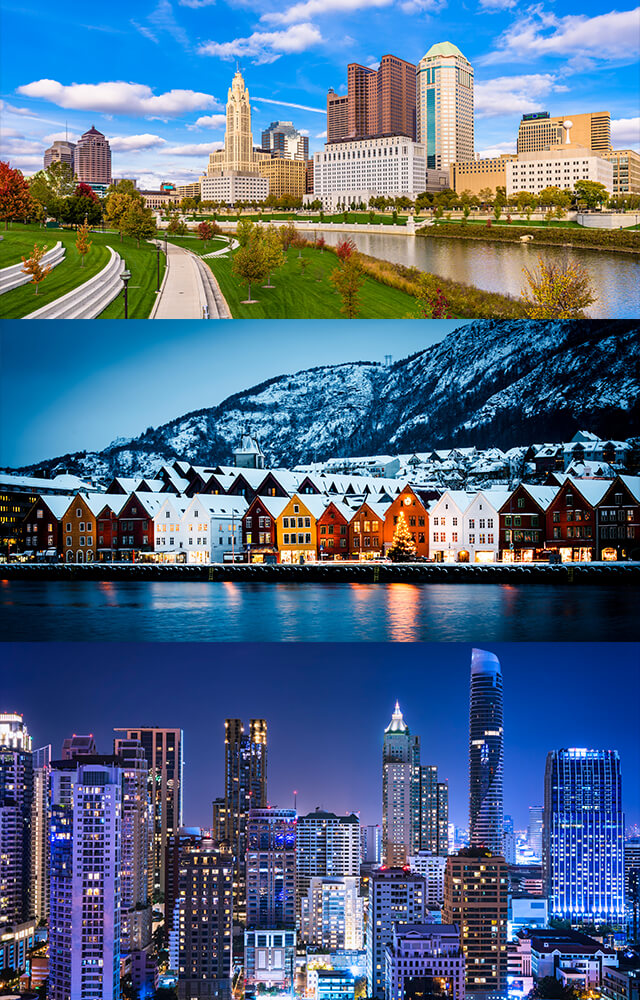
Try to capture various looks in the frame, by returning to the shooting location several times a day. By photographing one place at a different time, you get completely different shots as a result. The choice of the time to photograph buildings directly depends on the direction they face.
If you want to capture east-facing buildings, it’s better to shoot them in the morning before overhangs start casting shadows on the front.
Speaking of south-facing buildings, it is recommended to photograph them around noon to get nice and even lighting in the photo.
West-facing buildings look perfect in the frame in the afternoon before the shadows start lengthening.
The most difficult thing is to photograph north-facing buildings. It is recommended to shoot them at dawn to get golden hour photography that will add beautiful tints to the photo. You will capture window reflections, long shadows and fantastic hues.

Architecture pics taken in good sunny days aren’t that impressive. Use weather conditions to your benefit to create fantastic shots. Cloudy skies, snowfall or some rain-soaked surfaces will greatly look in the frame.
They will add dramatic touches and special mood to your architect photography. Experiment in any weather and don’t depend on its mercy. Moreover, it is a great idea to shoot the same building or construction in different seasons.
In late fall, winter and early spring the sunlight creates an ideal environment for twilight photography. If you don’t have any architect photography ideas, get inspired by Fernando Guerra, a world-known architectural photographer from Lisbon.

Like any other genre, architectural photography requires some preparations. Before photographing architecture, you should explore the angles of the building and look around every side. Don’t limit yourself to the only front look of the building. Try to find interesting details, like extraordinary ceilings, strange staircases or something that will help create an impressive shot.
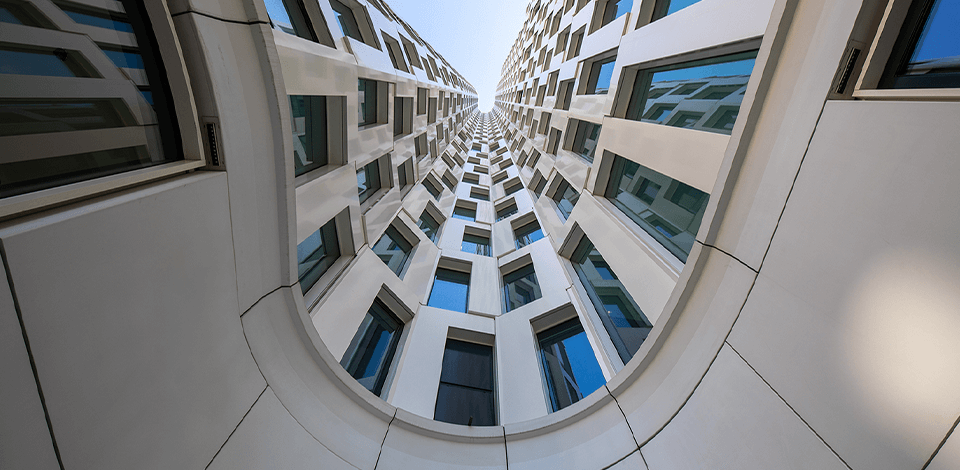
One more thing that should be also considered in architect photography is the height you take the picture from. Stop photographing from the eye-level. Taller heights will help you create fantastic pics, emphasizing shapes and minimizing distortion. If you shoot looking up, you will make the image look dominating.
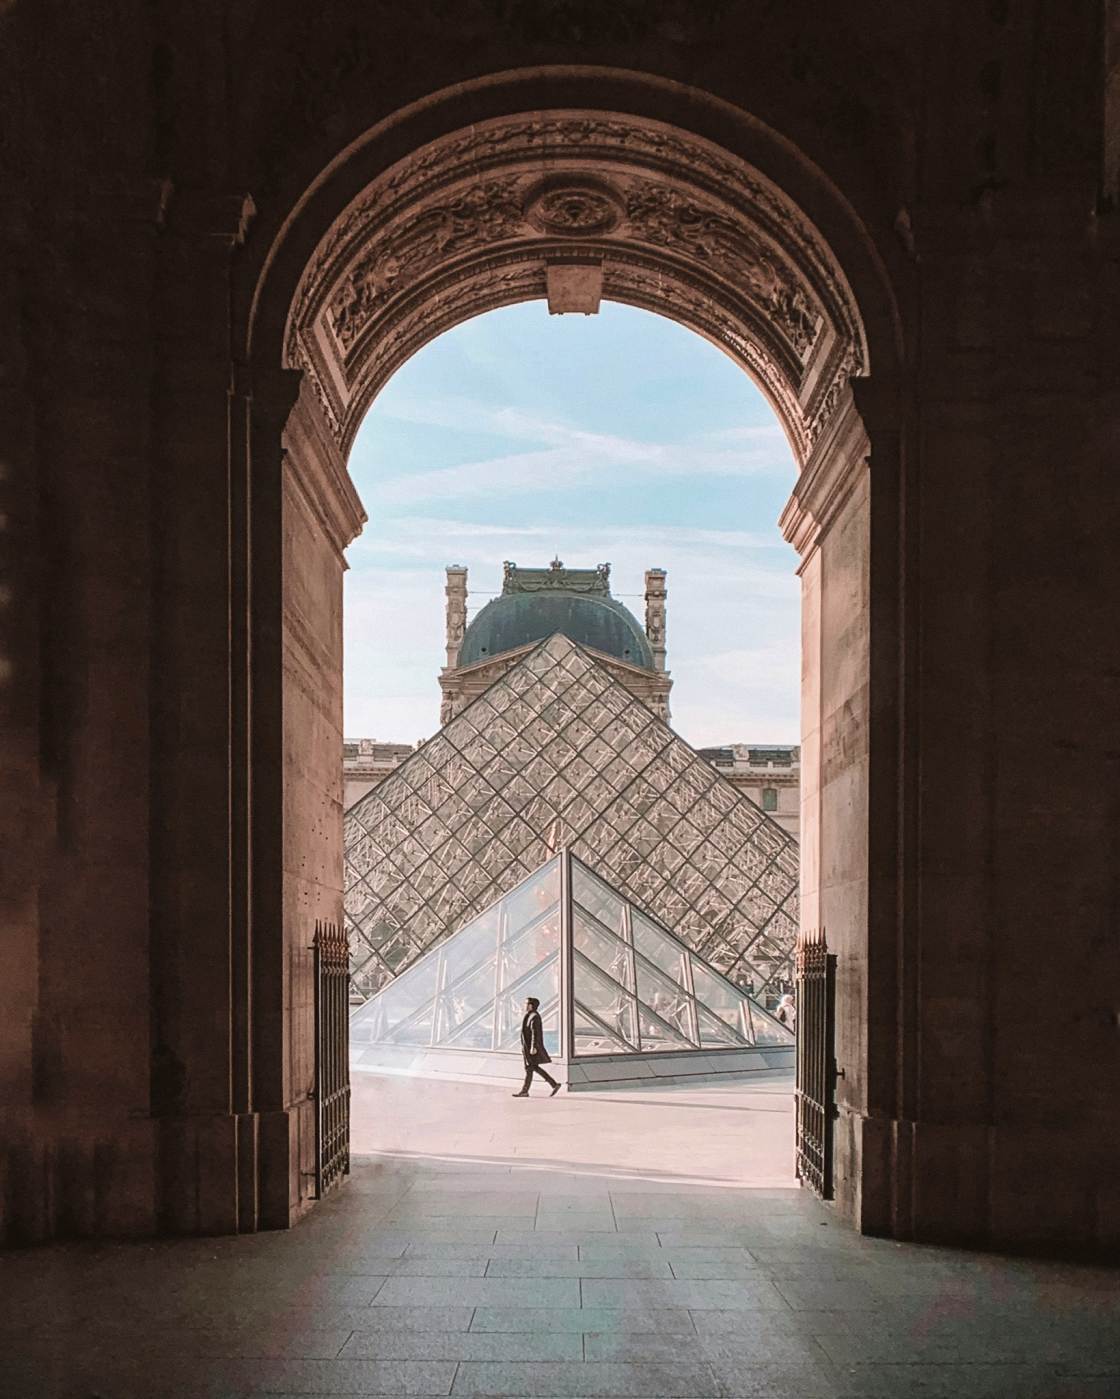
Architectural photography requires sticking to basic rules of photo composition. For instance, you may find some archway or opening to frame a picture. You may also use the leading lines photography that will lead your viewer’s eye to the main object.
The most eye-catching ones are symmetrical compositions. They are very powerful and instantly attract the viewer’s attention. These may be buildings or bridges since they are often designed featuring symmetry.

Don’t forget about the rule of thirds in photography to achieve aesthetic photography.
To use advanced photo editing techniques, make sure to shoot pictures in RAW. It will allow you to fix the exposure, remove small defects, etc. If you have taken photos of buildings in RAW format, you just need to upload them to your device and enhance them with the help of the tools available in Adobe Photoshop or Lightroom.
When editing pictures of architecture, you need to perform color correction, fix the white balance, adjust contrast and saturation. Besides, you can remove unwanted items, replace the sky or the background, fix lens distortion.
If you need to enhance architecture photos, make sure to contact our professional service. We have been retouching real estate photos for 17 years to help people buy, sell, or rent the best houses and apartments.

You will not get the desired results without knowing the building. You can’t just come to the location for the first time and capture impressive shots. One of the best architecture photography tips is that you should read about the history and the context of the site.
In such a way, you will be able to concentrate on the most important things that have significant meaning for this place. This info will help you make the plan on how the shooting will go on.
Moreover, it is recommended to do some research on practical things, like how the sun travels and where the shadows are. Mind to check out different access points.

When taking architecture pictures you might notice some issues caused by sudden transitions from light to shadows. It might affect the light meter in your camera, which will make it more difficult for you to take good photos.
If you still want to take a shoot and include as many details as possible despite the uneven lighting, you can use the exposure bracketing technique. Then, you can edit your photos with the help of professional software to merge them into an HDR photo.
Another way to achieve the same goal is to use the Expanded Dynamic Range (XDR) feature. If you have a Nikon camera, look for the Active D-Lighting option. Start from the minimum level and gradually rise it until you get the result you are looking for.

If you are a lucky owner of a drone or have enough funds for a helicopter ride, you can take photos from unusual angles. Otherwise, you can just take pictures from the ground, however, in this case, it might be difficult to fit the full length of a building in the frame.
To find the right angle, find a corner and cross the street to take photos from the other side. This way, you can capture the whole building without making your photo look too cramped.
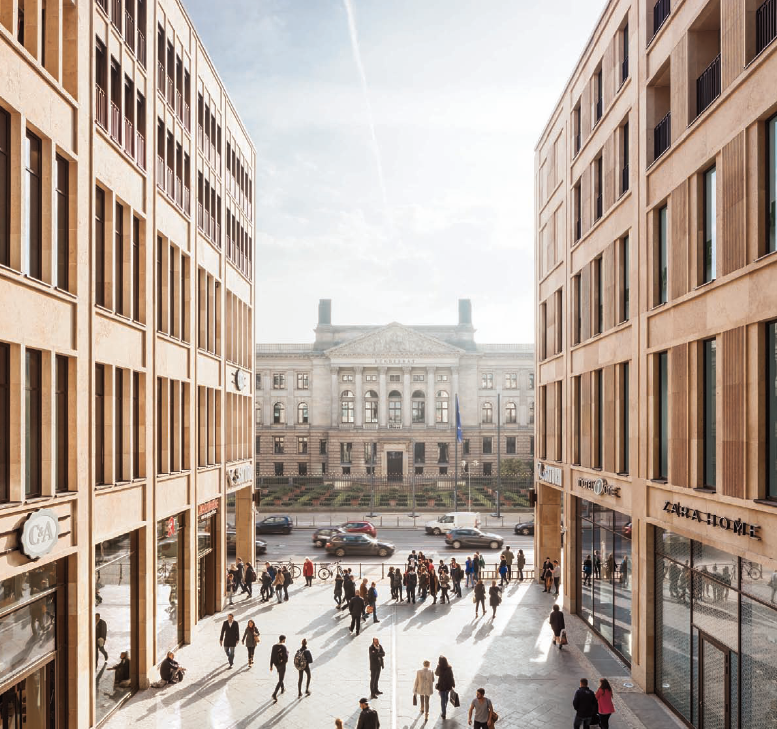
Some shooters believe that people in the frame ruin architectural photography. However, people may breathe life into the scene and make it real. By including humans, you may convey different messages, like the one that there is a close connection between people and architecture or show how they use it.
If you see that people distract the viewer from the architecture, combine it with long exposure photography to make people blurred. Such pictures show the timeless properties of buildings since the structure is still while the crowd is blurred.
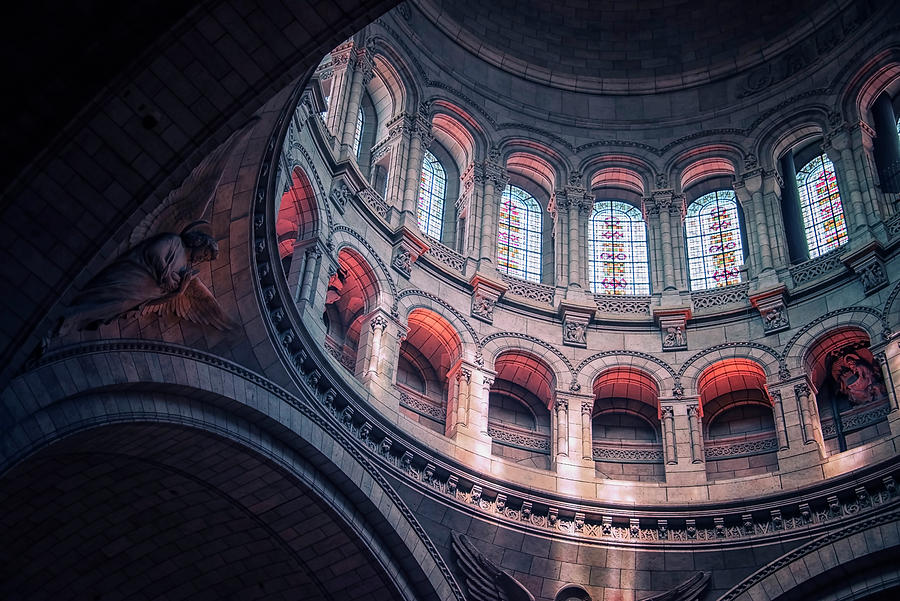
When taking pictures of old buildings, there is no need to experiment with composition since the straightforward approach usually works best. By using basic composition rules and architectural photography techniques, you can show the true beauty of a building.
In some cases, it might be better to include some objects from the surroundings in the frame to put a building into context.
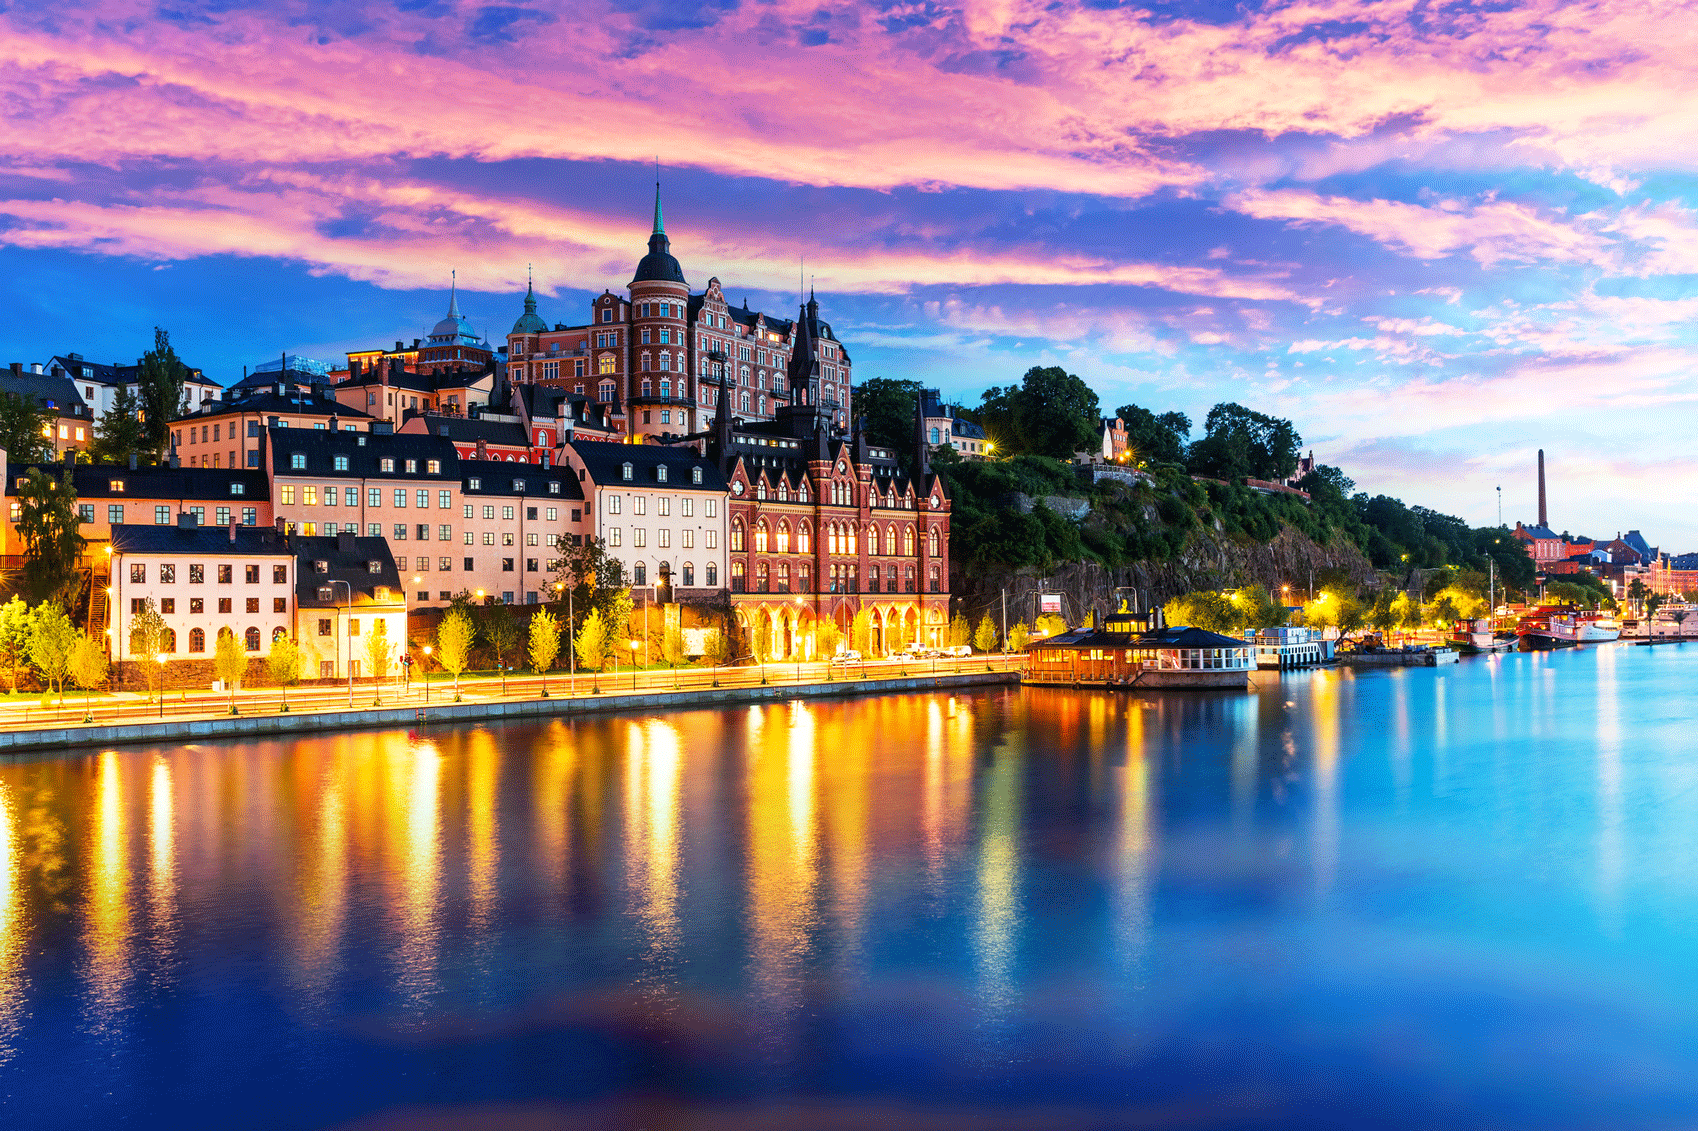
HDR photography is a technique that involves capturing the same scene with various exposure levels and then creating a single photo out of several ones. It is a great solution for artistic architect photography.
You take several pictures and then fuse them into one using the best free HDR software. Thanks to the fact that every picture is taken with different exposures, the final photo appears to be dynamic, dramatic and eye-catching. This method is suitable for exterior shots.
Don’t forget to check out the list of the best backpacking tripods since this type of photography is impossible without such an accessory.
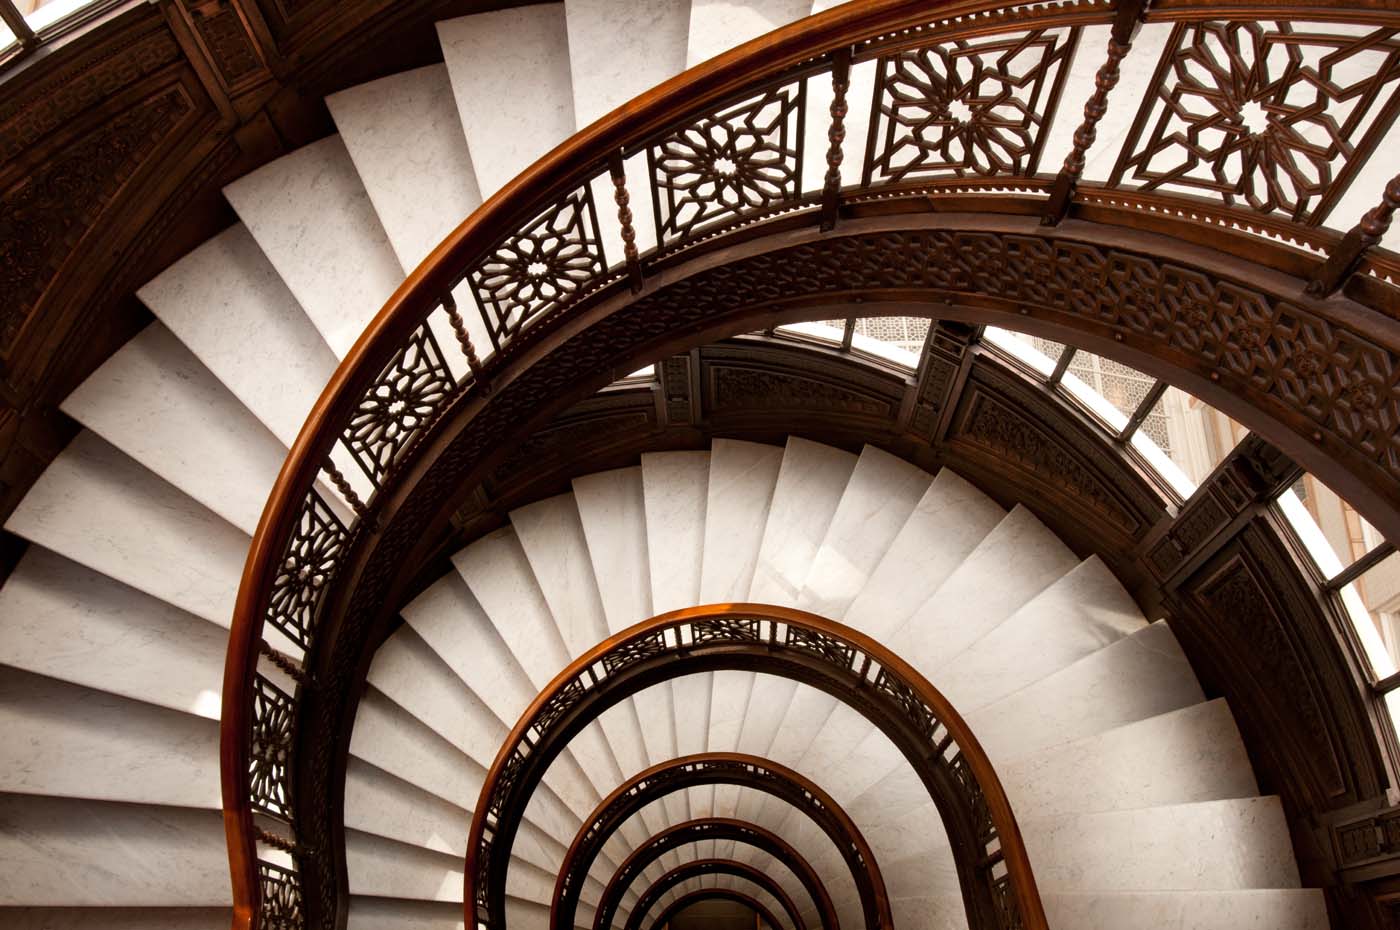
Architect photography is not just capturing huge buildings and showing their greatness. To achieve the best results, you should use macro photography. If you work with old buildings, focus on geometric patterns and details. The things that others might not notice may become cool objects for your images.
Pay attention to the lines and how they interact with each other. Research how light influences the building materials. Focus on the shadows and how they behave. Come closer to windows, arches, brickworks and columns of a building. Pay attention to patterns, textures, spiral stairways and curving lines.

Reflections may turn an ordinary shot into a work of art. Use them correctly and you will add mystery to the photo. You will make your compositions deeper and create symmetry.
You are wrong if you think that there are a few surfaces to create reflections. These may be large mirrors in the halls, pools or fountains in front of the main entrance, etc. Use your creativity and you will find “reflection-friendly” surfaces in or near every building.

To emphasize a shape of an object, you don’t have to use colors. Sometimes, the abundance of colors in the frame distracts a viewer from a well-balanced composition. If you see that there are too many colors in the frame, there is no need to change the location or the object that you are taking photos of.
Try learning more about black and white photography since it allows you to use shadows and highlights to focus the attention of a viewer on composition and lines in the photo.
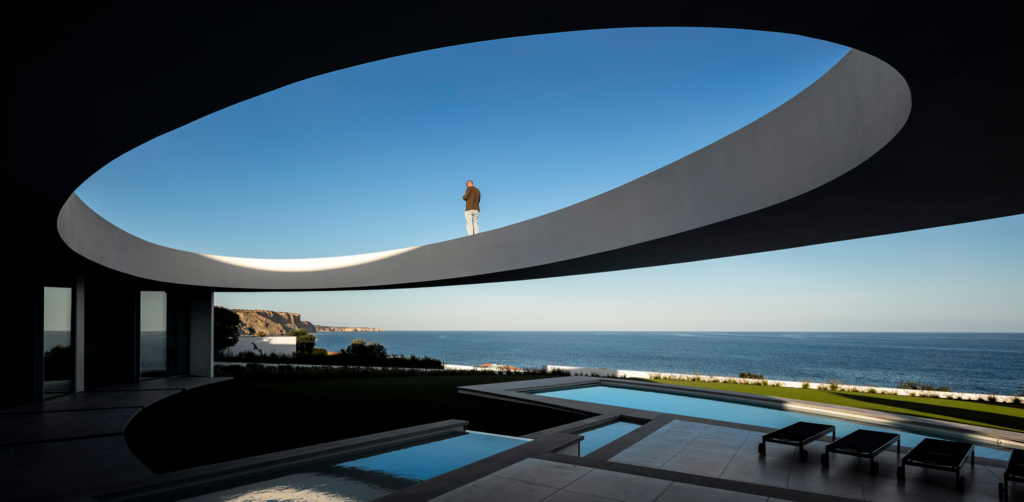
To show the true scale of the building, you can include other regular objects in the frame. For instance, you can take photos of streetlights and traffic lights to help a viewer compare the size of buildings and statues in the frame.
You can also help people see the true scale by working with the perspective. However, in this case, it might be more difficult to see the real size of a building.
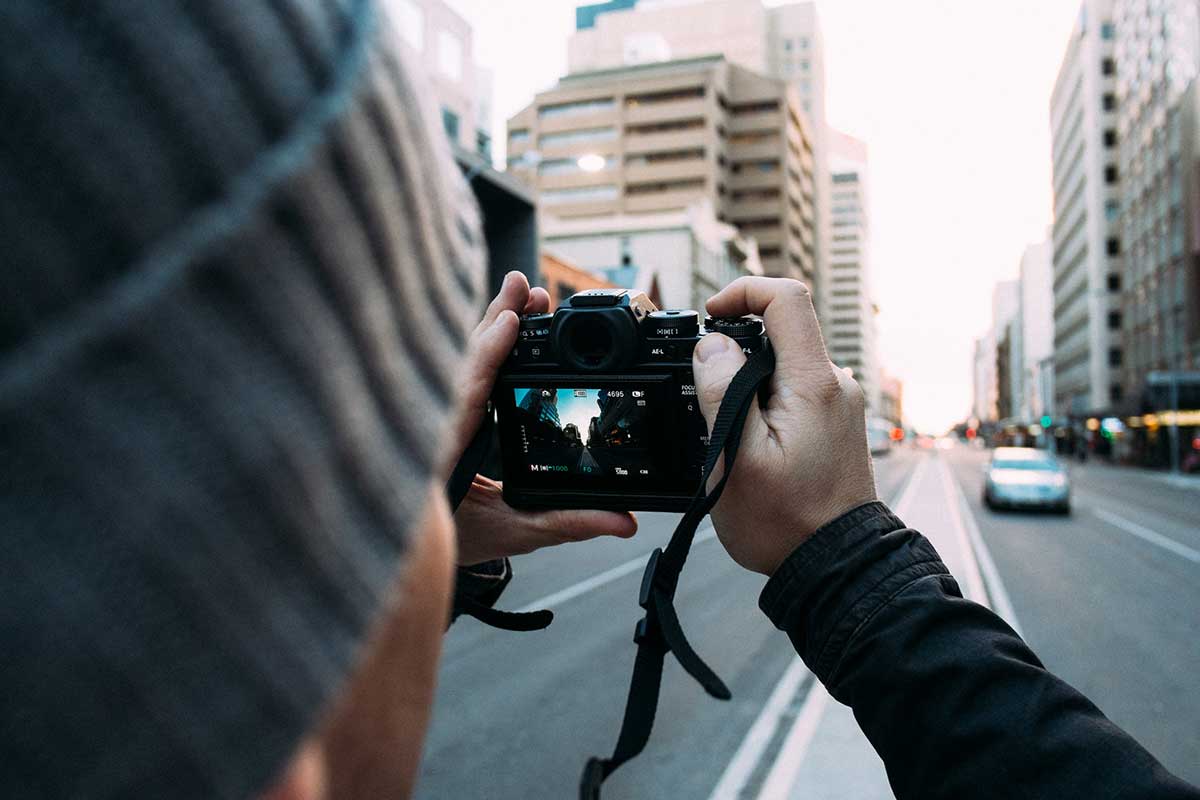
If you are involved solely in architect photography and need a camera only for these purposes, don’t focus on portrait or action camera features, such as fast continuous shooting modes or face-tracking autofocus systems. You just need a qualitative DSLR, like Canon 5D Mark IV or Nikon D750.
Thanks to top-notch quality and perspective control, DSLRs are the best option for those photographing architecture. If you are short of money but still need a full-frame DSLR, you may consider some second-hand devices. Such older models as Canon 6D Mark II and Nikon D610 are worth the money they cost.

If you are involved in photographing architecture, you probably know that the best setup for it is a wide-angle and a tilt-shift lens.
A wide-angle lens is particularly useful if the building you photograph is hemmed in by other constructions or if you take interior shots and want to capture as much as possible. My recommendation is to use Canon 17-40mm f/4L or choose among other best Canon wide-angle lenses.
We use tilt-shift lenses not only in tilt shift photography. They are also great helpers in interior and architectural photography. It is a suitable tool to adjust composition, frame the field of view without tilting the camera down or up and correct distortion. One of the best models is Canon TS-E 24mm f/3.5L.

Even if you follow all these architecture photography tips, you can’t do without a tripod and I will explain why.
Sharpness. If you use a tripod, you may be sure that your camera will not move during the exposure. Moreover, if there is not enough light, for example, in the evening or indoors, you can’t use your camera handheld because the photo will not be sharp. So, a tripod is a must-have here.
Bracketing and long exposure techniques can’t be applied without a tripod. A tripod guarantees the images are lined up throughout your multiple exposures and help you capture the motion.
I recommend Sirui as the best tripod brand for architect photography. It is a great device at an appealing price. Moreover, it is suitable for travel shots.
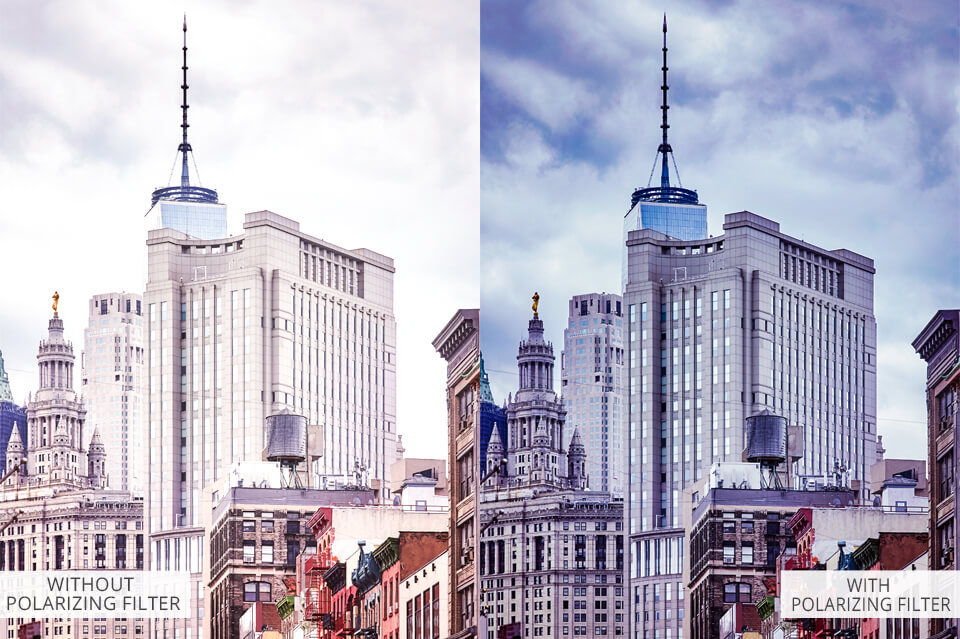
A polarizing filter is great for photographing architecture, for many reasons:
Controlling reflections. It is a perfect filter to increase or decrease the effect of a reflection in the frame, for example, reflections of water or windows.
Intensifying colors. With this filter, you will improve contrast in the photo and make the colors brighter and clearer.
Eliminating glares. If you work indoors, a polarizing filter will eliminate glares on coffee tables, floor, glass, wood walls, etc.
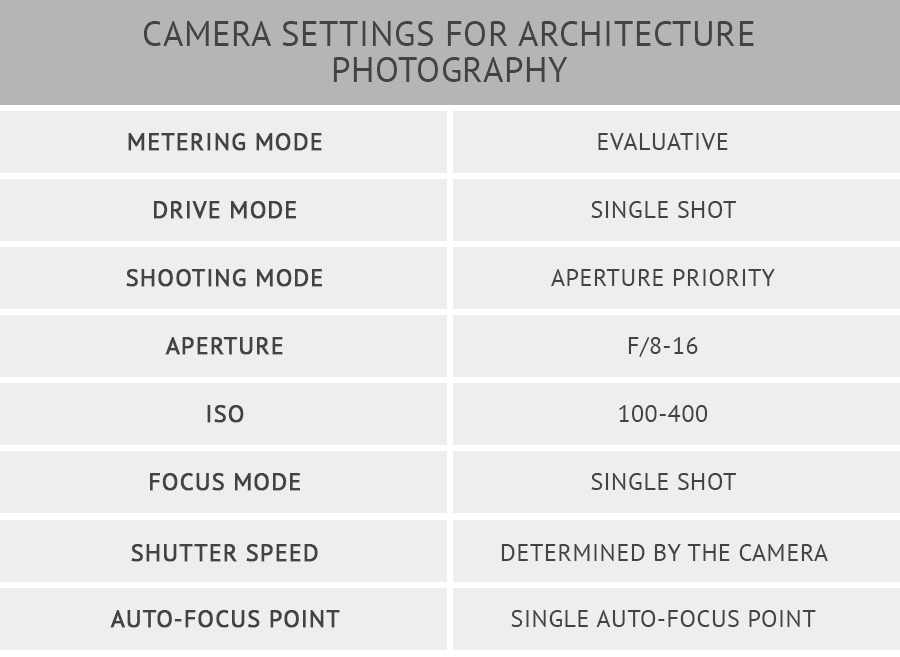
As stated above, details play a great role in architectural photography, so you should try to capture all of them. That is why shooting at a narrow aperture, such as f/11, and at a low ISO, such as ISO 100-400, is a perfect combination to get the sharpest images. Use Aperture Priority (AV) or Manual modes.
If there isn’t enough light or you can’t use a tripod, open up the aperture but try to stay at f/4 or wider. A mid-range ISO of 800-1600 will still ensure capturing enough detail. It is recommended to photograph in RAW format and then correct the shot at the photo post-production stage. In such a way, you will adjust the white balance, reduce noise, etc.
To get pro-level pictures of architecture, you need to use advanced photo processing techniques. Take a closer look at this collection of professional Photoshop actions that will come in handy for those who need to tweak colors and make images look stylish in a few clicks.
With these actions, you can embellish photos of buildings, urban spaces, and interiors to make them look more creative. These effects are compatible with Photoshop CC & CS6.