20 HDR Photography Tips – How to Shoot HDR Photos?
When you purchase through affiliate links on our site, we may earn a commission. Here’s how it works.
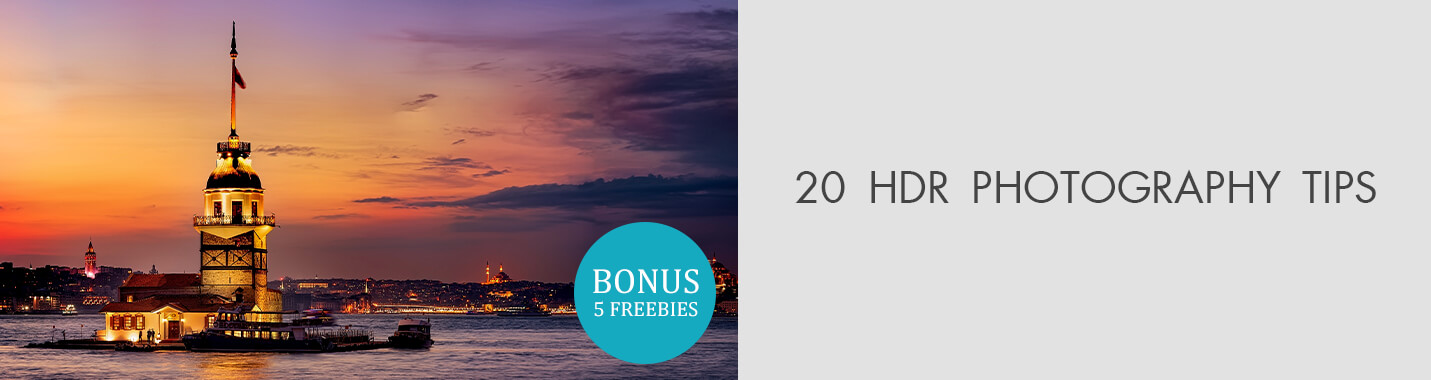
20 HDR Photography Tips
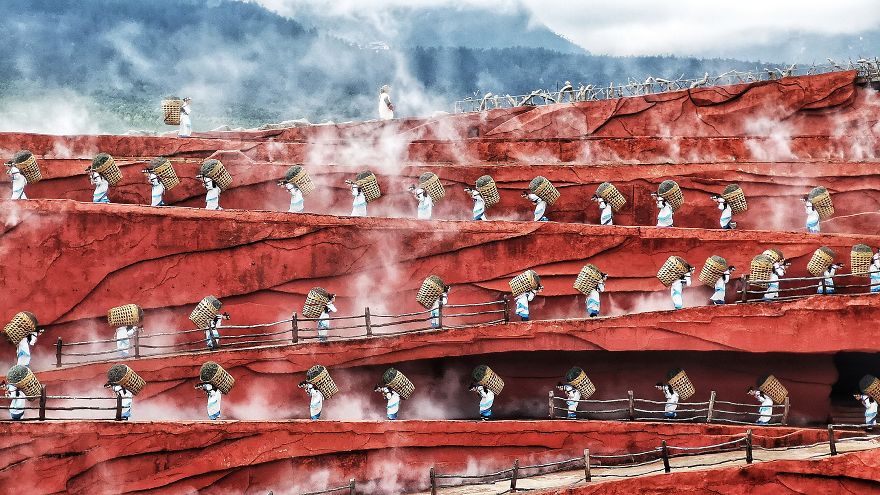
Nowadays, high dynamic range photography is a widespread technique among amateur and professional photographers of cars, because such photos require displaying many small details that differ in the degree of illumination and the environment: either a room or a street, where the sky is bright or the surrounding evening shadows are deep.
The HDR technique is also helpful when it comes to creating virtual tours. This is a panoramic shooting that displays elements of landscapes, settings and interiors in the smallest detail.
1. Know When HDR Is the Perfect Choice

It isn’t enough to know “What is HDR photography?” to start using this approach. You also need to understand in what cases HDR perfectly suits your needs.
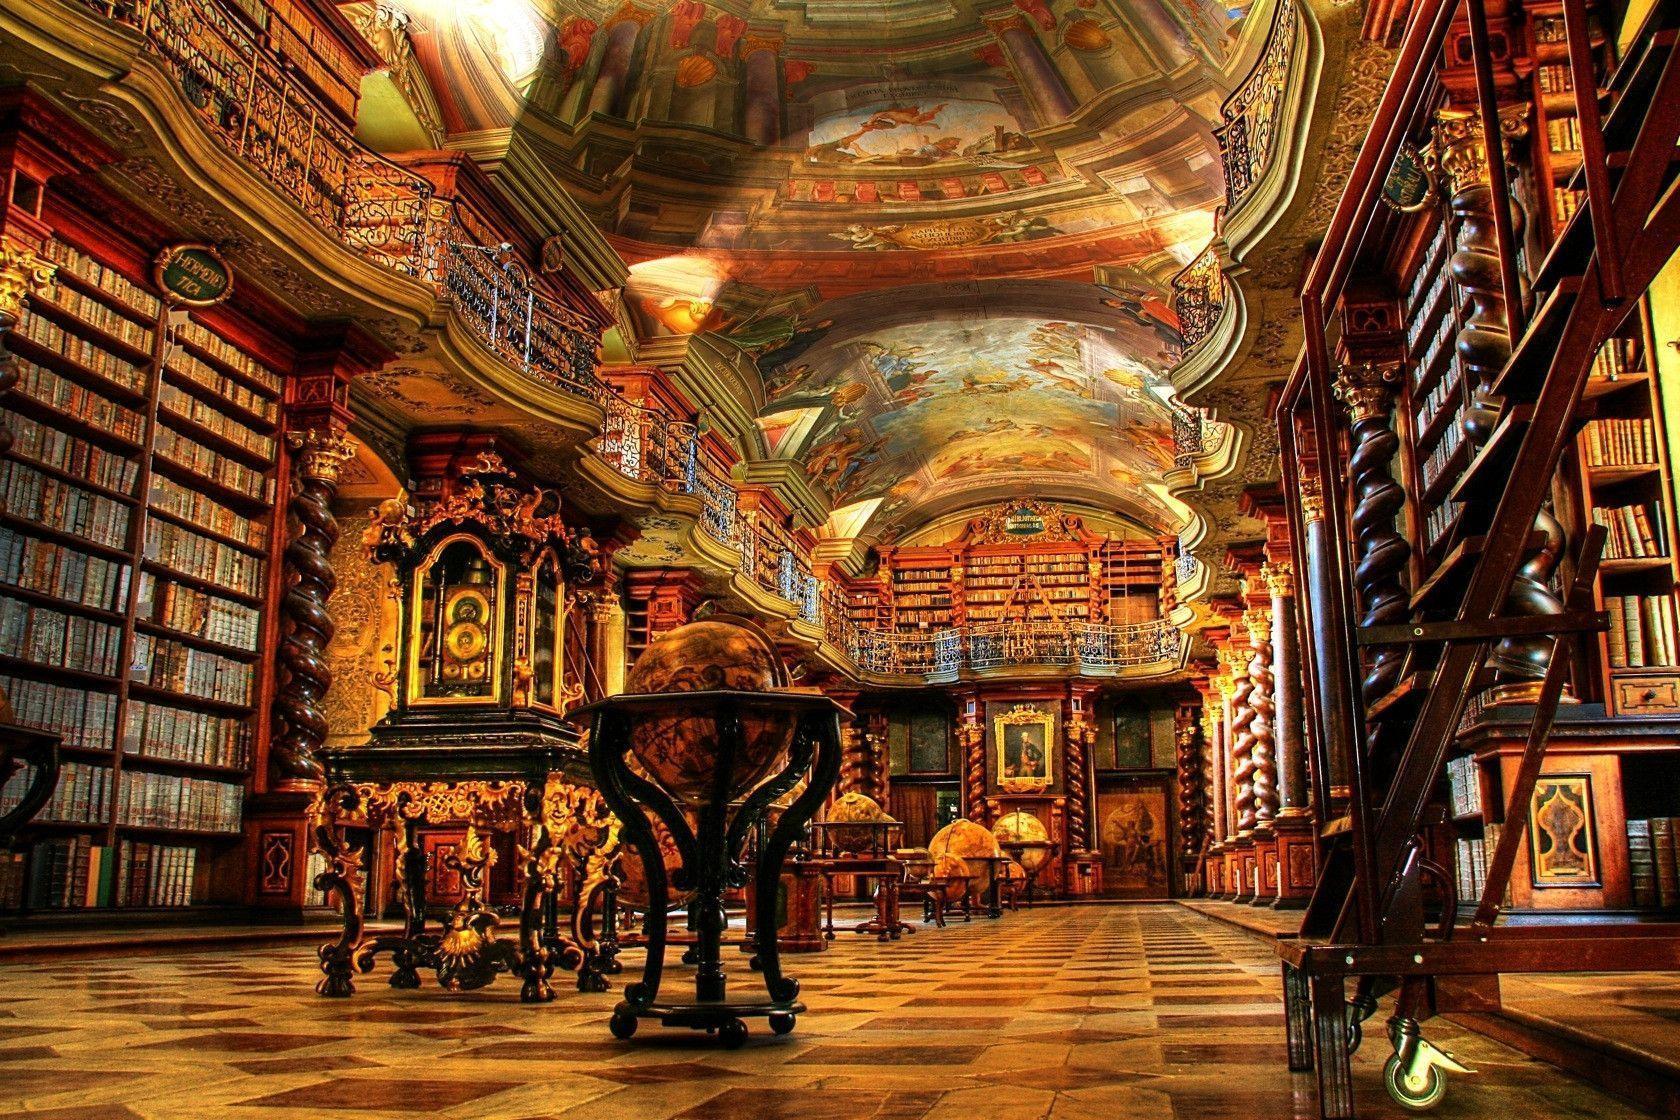
Since HDR excels at putting emphasis on details, you can use it when you take pictures of architecture, man-made structures, etc. Besides, HDR is a perfect match for landscape pictures with plenty of textures, colors and shapes that are shot at any time of the day, including sunrises and sunsets.
But you should remember that there may be good and bad HDR photos, so the main rule is not to overdo it with the settings and picture post-production.
- Learn more about types of photography.
2. Learn How HDR Works

In simple words, an HDR pic consists of multiple shots (2+) taken at different exposure levels and combined in the software for the optimal result. Of course, in practice, the entire process is more challenging.
I have only given you a generalized explanation. In fact, firstly, a photographer takes a set of bracketed shots. These are images of one subject taken with different shutter speeds in order to get a set of pictures with different luminosity.
After that, a photographer merges the shots together in professional picture editing software and creates one shot consisting of the most vivid, properly lit and focused areas of the scene.
3. Use a Tripod

I wouldn’t say that a tripod is an absolute must but it greatly simplifies the shooting process and helps get stable shots. I took many photos HDR while holding a camera in hands but they can’t be compared to photos taken with the camera on a tripod.
One more argument in the favor of using a tripod is that you are going to combine multiple shots of one scene and all of them need to look practically identical.
If the camera has slightly moved, the scene may be represented inaccurately, with visible blurry areas and ghosting. Even though the majority of HDR software can fix the differences in pictures, it is still better to take proper shots in the first place.
- Check out good and affordable tripod brands for HDR photography.
4. Shoot with Hands in Some Cases

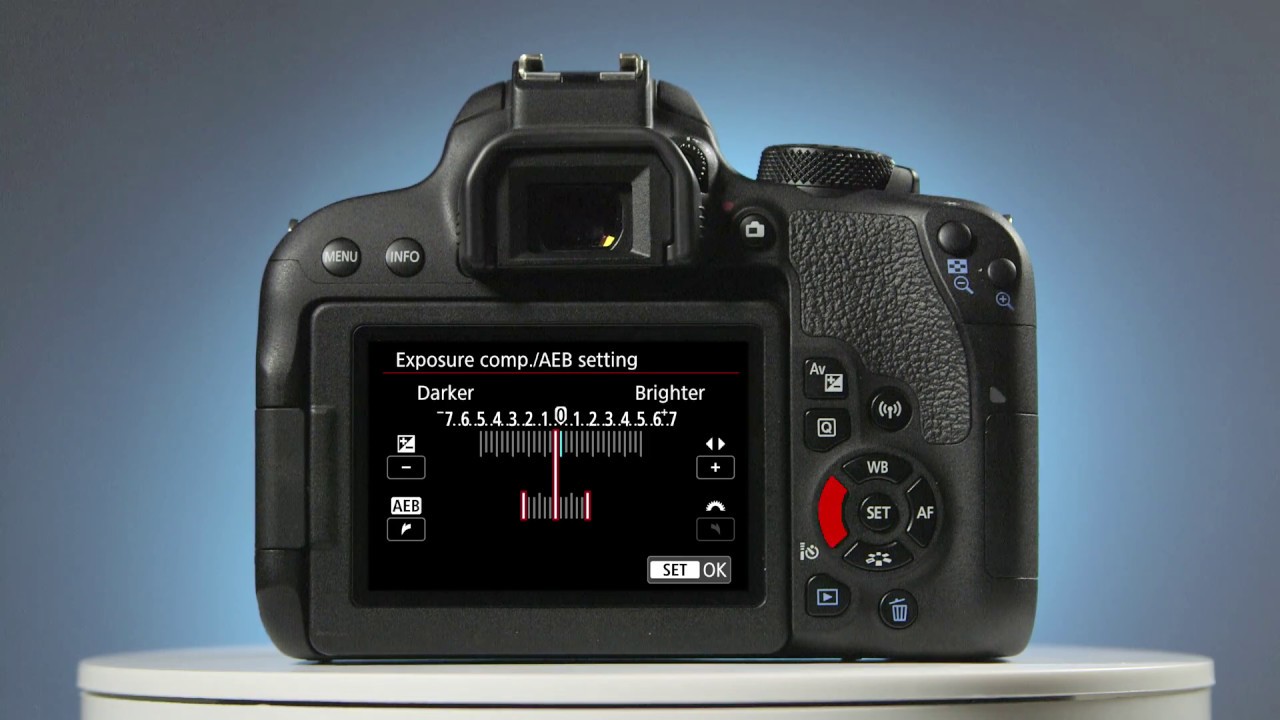
In cases the tripod is unavailable or can’t be used, bracketing (AEB) in combination with continuous shooting mode can help. Bracketing set by +/– two steps is usually enough for qualitative HDR photography results.
In this case, it is best to use matrix exposure metering. If possible, I recommend leaning against a wall or column to reduce the difference in frames caused by movement.
When shooting HDR, set ISO to a minimum value, as most programs don’t handle HDR noise very well. If high ISO values can’t be avoided for some reason, it is better to use Photoshop. This software excels at eliminating noise in HDR.
5. Set the Camera Level
A tilted horizon is the most unpleasant mistake in HDR images that may be easily corrected in the software. But why should you make unnecessary adjustments if you can do everything right in the first place? Some tripods have integrated levels.
However, in case you don’t have one, you can buy a separate bubble level, which is attached to the hot shoe.
6. Use a Cable Release

A cable release is a great tool that can help you avoid camera shake once you initially press the release. Without a cable release, chances are high that the shots will be blurred since the camera has shifted a bit when taking the first exposure (or each exposure in case you don’t shoot with a continuous mode).
7. Use a Camera with AEB
A camera with an Auto Exposure Bracketing (AEB) feature is another important component of HDR photography equipment. Again, it isn’t a must. But thanks to this feature, you don’t have to tweak camera settings manually after every picture.
The camera will stay still and will be able to capture the subject while it is in that particular position, without any breaks. So the entire shooting process won’t take you long and you will get pictures that are ready for HDR.
Personally, I use Canon EOS 5D Mark III when taking HDR shots.
- Pick the best camera for photography.
8. Invest in a Good Tone Mapping Program

Now that you have successfully taken a bracketed set of shots, it is time to merge them in the most efficient way. Plenty of programs can cope with this task, but I prefer using HDR Soft’s Photomatix Pro or Nik Software’s HDR Efex Pro.
You may find free alternatives to this program but they typically don’t provide decent tone mapping results. In fact, tone mapping is carried out according to a certain algorithm. So, if the program’s algorithms are correct, a remarkable result is guaranteed.
But if you are not satisfied with the final result, then I advise you in some cases to contact retouching professionals for color correction your photos.
- Read more about the best free HDR software.
9. Use a Low ISO Setting

If you don’t want to see plenty of noise in the final shot, set a low ISO value. Look at any HDR photography example and you will notice that they have a great amount of noise and grain.
Even though you can remove noise in picture post-production software, I still suggest adjusting low ISO in the first place.
10. Take as Many Brackets as You Can

If you have many brackets, you get a wider range of choices at an image post-production stage. The final picture with nine exposures combined will look more qualitative than the one with three exposures. Premium DSLR cameras let you take three, five, seven or nine exposures.
Take more exposures of one scene rather than shoot from a variety of angles. In case you worry that the camera’s memory won’t be enough to store all your HDR photos, just take extra memory cards with you to the shoot.
11. Shoot in Continuous Mode

The majority of Nikon’s and Canon’s DSLR cameras provide continuous shooting modes. With this mode, it is possible to take all the bracketed shots after you click the release.
So you don’t have to press the release for every exposure you take. Continuous mode ensures that the camera won’t shake, so you will get a crisp HDR photo.
12. Shoot in Aperture Priority Mode

Aperture priority mode influences the depth of field perceived by the camera. In case you set aperture priority mode (A mode on Nikon and AV mode on Canon), the camera preserves the fixed aperture for each shot you take.
As a result, there won’t be any changes in the depth of field that can negatively affect your HDR photography. Mind that it is just my recommendation, so feel free to photograph in Program or Manual models as well.
13. Set Up Focusing
If you take from 3 to 5 bracketed exposures, the camera may try to refocus after every shot. It may miss or make a slight shift, which will lead to serious consequences. How to prevent it from happening?
Those having cameras with an AF/AE-Lock button (Nikon models have it to the right of viewfinder or eye piece), may enable it to secure both exposure and focus. After that, press the button down to secure both, hold it in and press the shutter button to start shooting.
14. Shoot in RAW

Shoot in RAW format in case your memory card is of large capacity. JPG files are heavily compressed to reduce their size and, therefore, may lose many details.
RAW files provide the best possible quality but are being processed by the camera and written to the memory card during a long period of time.
To ensure a great result, purchase a class 6 or class 10 SD card used by famous HDR photographers. They are rather fast and will speed up the process of storing RAW pictures on the camera after shooting.
In the example above, you can see the final result when shooting with RAW and subsequent processing. In the case of shooting in the JPG, the final result would not differ from the picture on the left.
- Learn more about the highest quality image format.
15. Use HDR in Indoor Photography
Shooting indoors is quite a challenging process for all photographers. Unless you have professional equipment at hand, you will have to work with the available lighting.
Natural window light with a bright view outside or uneven indoor lighting are perfect to experiment with HDR photography. This technique is most suitable for photographers, who work in the real estate sphere.
- Discover more HDR real estate photography ideas.
16. Take HDR Photos at Night

Think about night cities. They are dark with specks of light here and there. They are the perfect subjects for HDR photography.
You can use this technique both when shooting night cityscapes, to emphasize the architecture and bright neon lights, and outside the city too, to make the clouds and the landscape itself stand out against the dark sky.
- Learn more night photography ideas.
17. Shoot Absolutely Different Weather and Sunsets

Photographing landscapes doesn’t have to be limited to blue or golden hours. Shooting landscapes in different weather conditions can be a challenge but will give you interesting and creative shots in the end.
There shouldn’t be such a thing as bad weather; an overcast stormy day can look dramatic, highlighting the contrast between the foreground and the sky, especially when you use the high dynamic range photography technique.
When taking images of sunsets, the HDR technique can also give you great results. If you are not sure about choosing the exact time for a photoshoot, I recommend using the “Golden Hour” app, which is available for Android and iOS devices.
- Here are some nature photography tips.
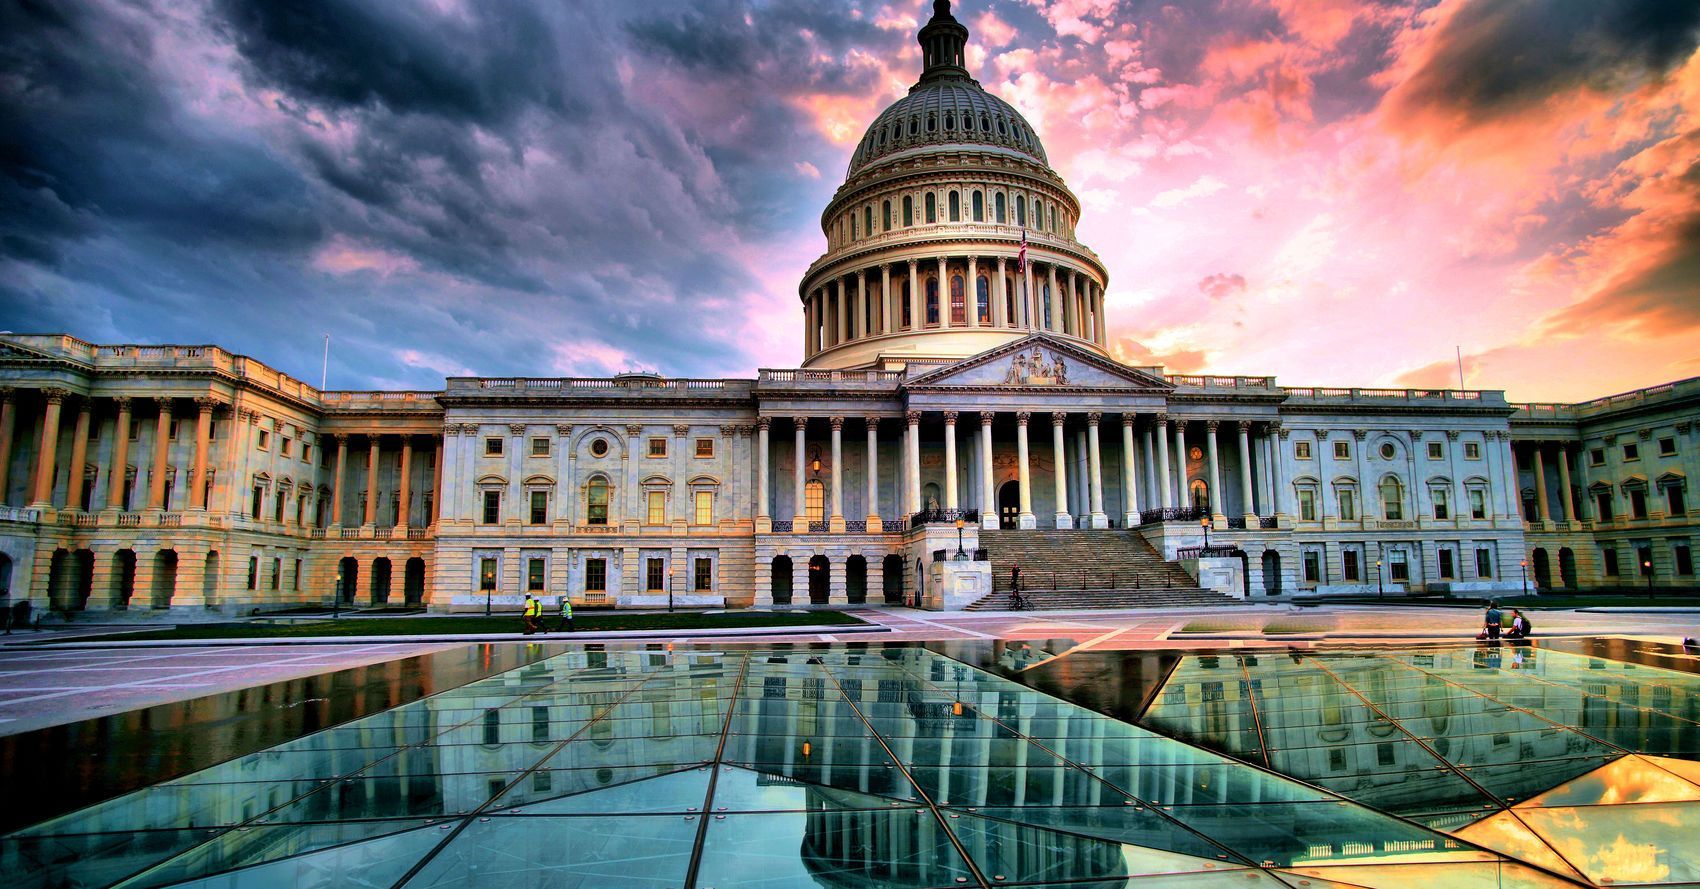
18. Use HDR Photography for Landscapes

Shooting landscapes in the bright light that are slightly elevated above the horizon with darker ground is the most classic case of using HDR.
With its help, you can emphasize clouds and other elements of the landscape, which usually remain unnoticed. Overall, photographers use HDR in various genres.
- Check more landscape photography tips.
19. Take HDR Images with iOS Devices
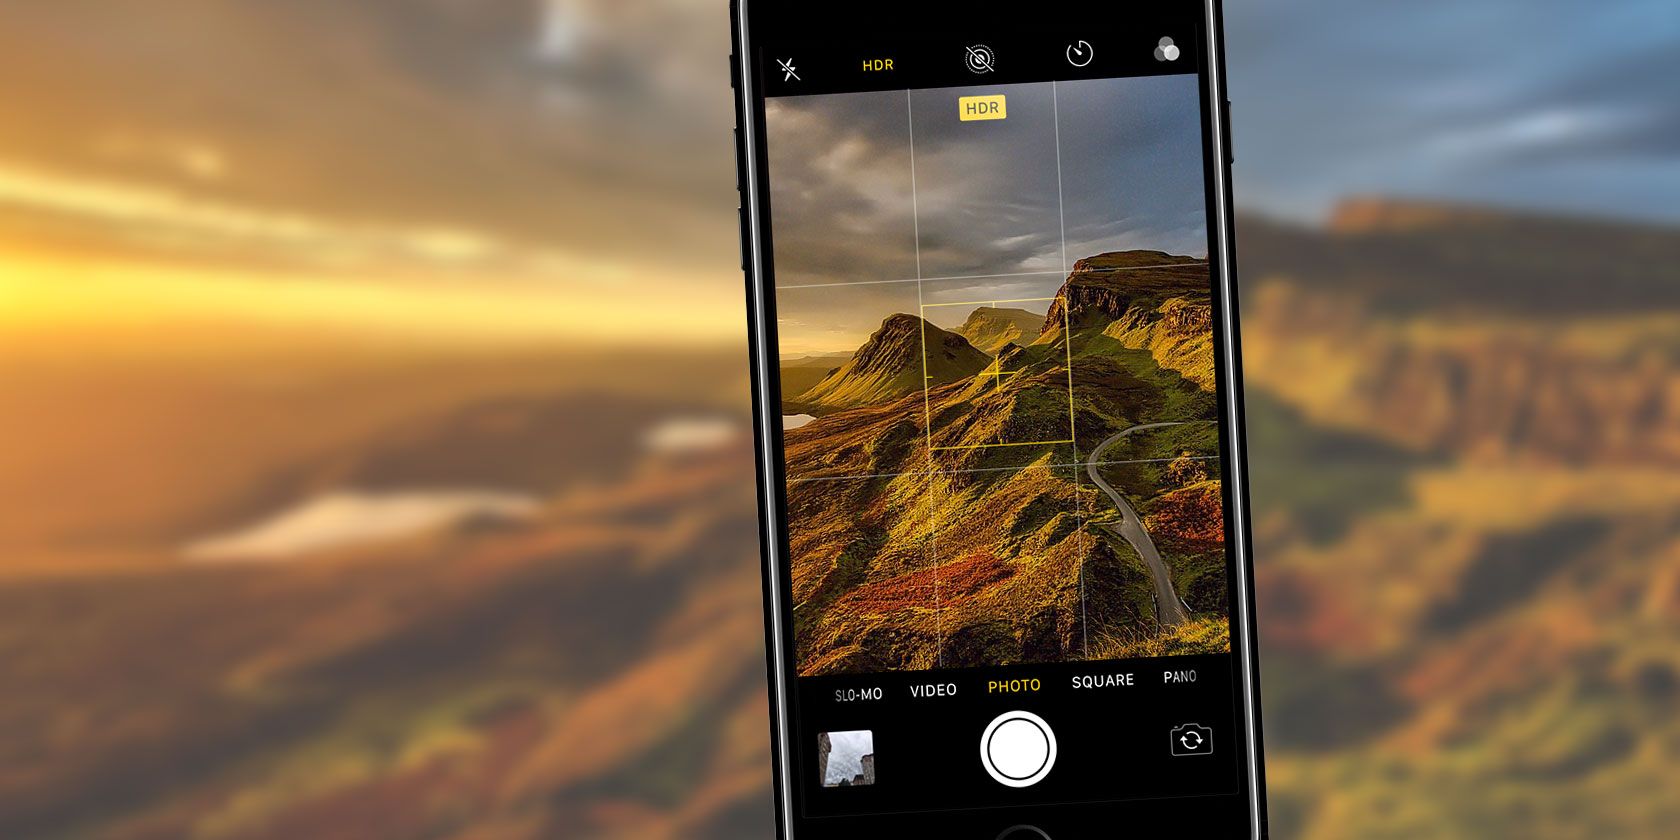
Most iOS devices have three modes to take HDR photos. First, there is the “On” mode. When you activate it, the device takes 3 photos that are further merged into a single HDR photo.
The “Auto” mode means that the HDR feature will be activated only when the camera “sees” that you are shooting a scene with high contrast. “Off”, obviously, means that the feature will be turned off.
If you have iOS 11 or a later version, you will only have the “Auto” and “Off” modes. iOS has a “Keep Normal Photo” feature. When you activate it, the device will save both the HDR pic and the one with a standard exposure, too.
- Read more about the best camera apps for iPhone.
20. Shoot HDR Images with Android

HDR pictures can be taken with your Android device too. However, it will be a bit difficult to give a single instruction that can be applied to all such devices because every manufacturer may differ slightly. Anyway, it all comes down to an HDR mode in your camera settings (you may also find it named as a “Rich Tone” mode).
Shooting in this mode with an Android device follows the standard procedure. First, your camera will take several photos with different exposures and then merge them into a single HDR photo. In case your phone doesn’t support HDR, you can use a 3rd-party app. I recommend “HDR Camera”.
Famous HDR Photographers
To motivate you to achieve a certain level of proficiency with HDR technique and help you find interesting ideas for shooting, I have created a list of the best photographers that use HDR quite often. Check out their portfolios and you will definitely find an HDR example that will inspire you.
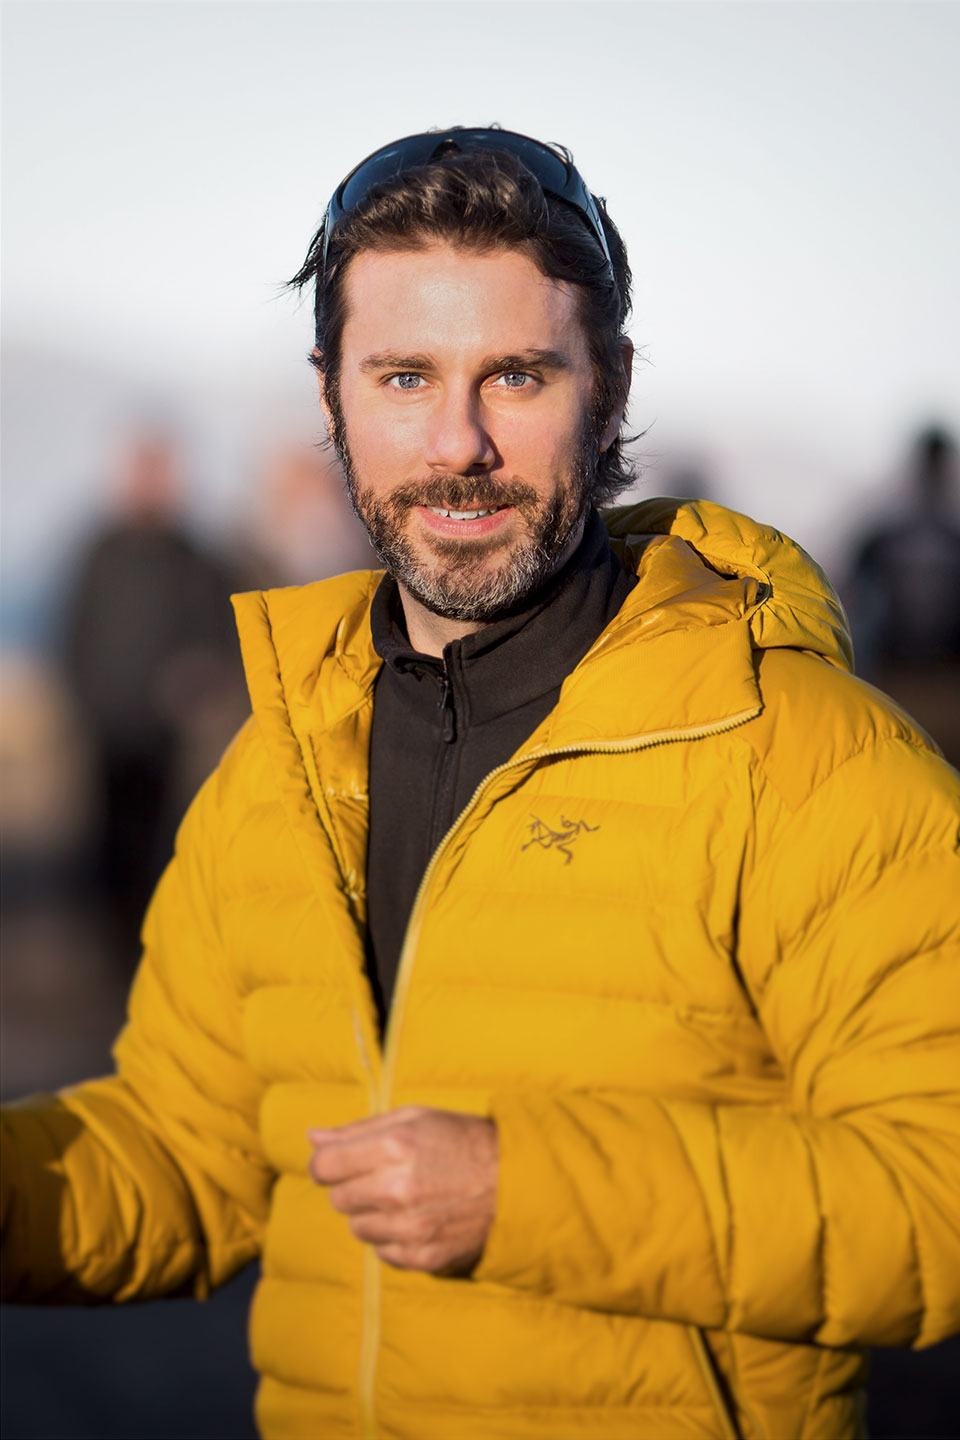
Tim Clarke Website
 Tim Clarke is a famous photographer from Arizona. He started his career in the 1980s and has been doing HDR photography as his creative hobby for the past 5 years.
He uses this technique to shoot landscapes, cars and macro images. Tim is very proud of the complicated procedure of image post-processing that he has developed and he is trying to improve it all the time.
The main image editing software he uses is Photoshop and he also tries to avoid the standard software or settings for HDR photography.
In his professional career, there were different events and he managed to capture such people as Steve Forbes, Condoleezza Rice, Mikhail Gorbachev, Sandra Day O’Connor, Robert Gates, and Senator Jon Kyl.

Photo by Tim Clarke
Ken Kaminesky Website
 For more than a decade, Ken Kaminesky has worked as a lifestyle photographer selling his pictures for stock photography platform, like Getty Images.
Since 2016, he has worked for Discovery Photography Tours. This company offers group tours for photographers that want to explore the world and practice their skills while learning about the cultures of countries like India, Japan, Iceland, etc.
The main genres that Kaminesky works in are portrait and landscape, for the latter he prefers using the HDR photography technique.

Photo by Ken Kaminesky
Brian Matiash Website
 Brian Matiash is not only a photographer, but also a writer and a podcaster, who has one of the most popular channels about photography on iTunes called “Photo Name Show”.
He works in travel and landscape photography genres and loves sharing his knowledge about both on his blog to help aspiring photographers learn and improve.
He is currently an ambassador for Zeiss Lens, is member of the Shimoda Pro Team and G-team of G-Technology. He frequently takes landscape HDR photos.
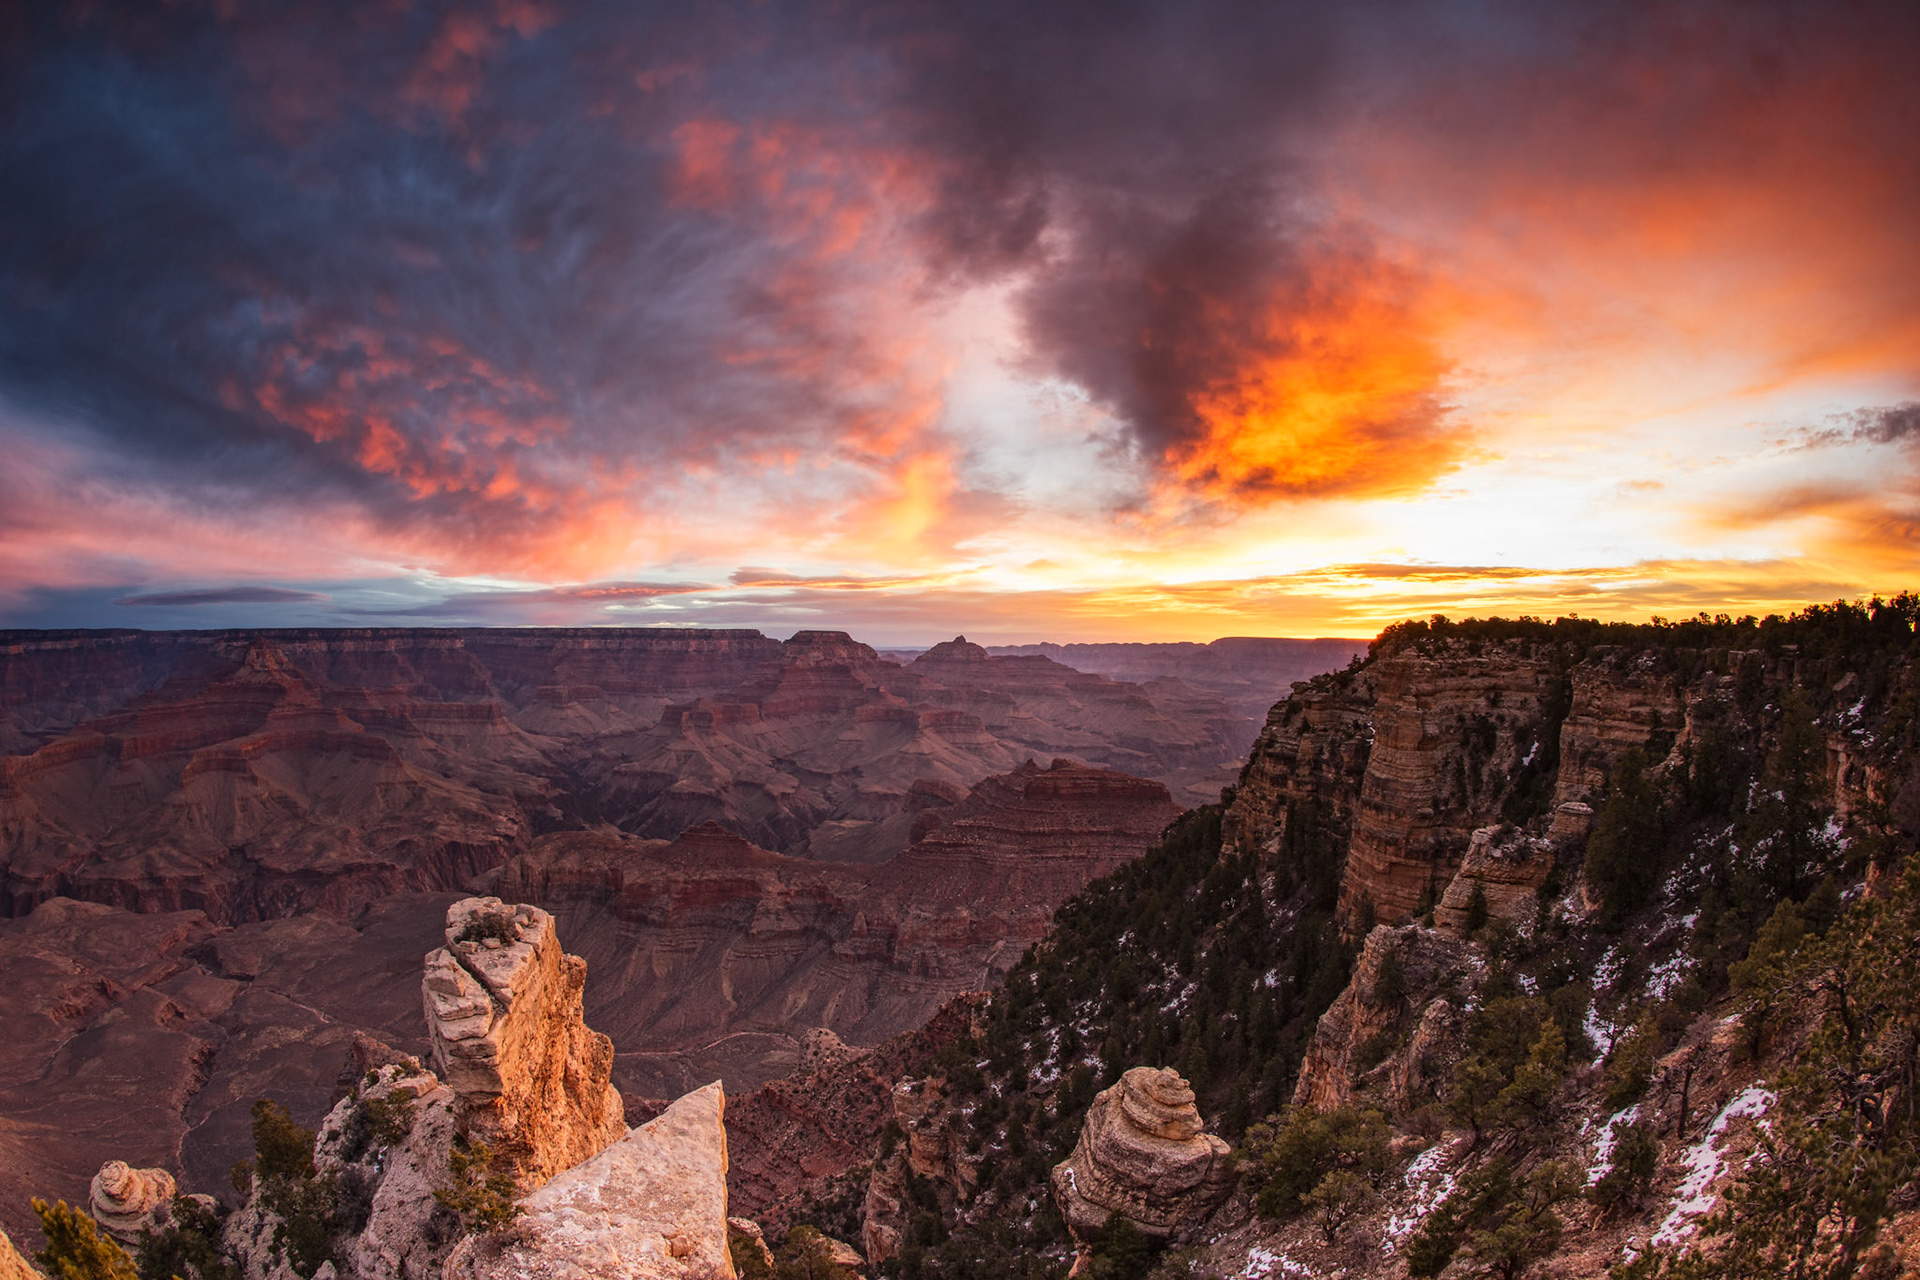
Photo by Brian Matiash
Michael Lewis Glover Website
 Michael works in the genre of fine art photography. He was born in Florida but currently lives in Tennessee. A camera has always been his favorite tool to capture life around him.
His current interests are nature, landscapes, and architecture. His art is the result of his passion for what he does, years of learning and experience, and trips to unusual and inspiring places.
You can see some of his works in different books, magazines, calendars, and on the covers.

Photo by Michael Lewis Glover
Giloramo Cracchiolo Website
 Giloramo lives in France and is famous for his landscape and HDR photography. His website is amazing and will make you swoon over the beautiful sunrise and sunset photos, places around France and Italy, architecture, etc.
All of these are full of color and beautiful detail. The HDR technique in his photos emphasized the stunning nature. He has been working in this style since 2009.

Photo by Giloramo Cracchiolo
Freebies
Instead of learning which camera settings or special software to use in order to get HDR images, try using these free presets and actions and achieve absolutely stunning results.
Bright HDR
This Lightroom preset can create a beautiful HDR effect by making the images a little darker at the edges and lighter in the center. I recommend using it for landscape and travel images because the portraits risk looking a little too artificial when this filter is applied.
Architecture HDR
If you love taking photos of unusual buildings when traveling or shoot real estate on a regular basis, you can use this preset. You will get a picture with better contrast between the light and dark areas and more defined details.
Warm HDR
This HDR Lightroom preset will add warmth and softness to your images. It will look good in portraits, however, it may require some adjusting of saturation, otherwise, the image might look unnatural. If you have an image of a park or forest taken in autumn, use it to intensify the beautiful warm hues.
Light HDR
Use this free action to quickly enhance photos of architecture and make them more saturated. It is perfect for evening and night photos because it will make city night lights look clearer.
Contrast HDR
This action is great for landscape photography. It looks especially good when you shoot water because the action will add a natural blue tint to the image. The colors of all the objects and the background will become brighter and deeper.


