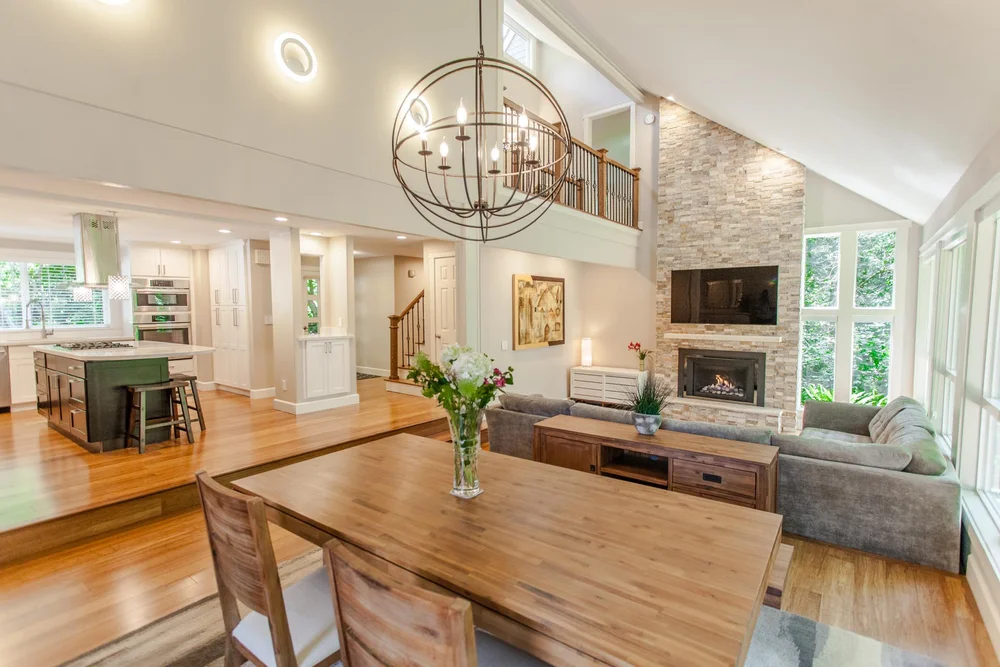
HDR real estate photography is a photographic technique for architectural and interior photos that make photos vivid and clear. High Dynamic Range allows you to fuse divergent exposures, photos of the particular location captured at contrasting shutter speeds into a composite image composed of the best light information of each exposure.
If you specialize in real estate photography and want to use the HDR technique to give your images a more professional look, and grow you real estate photography business, make sure to use these handy tips to take great photos or interiors and exteriors.
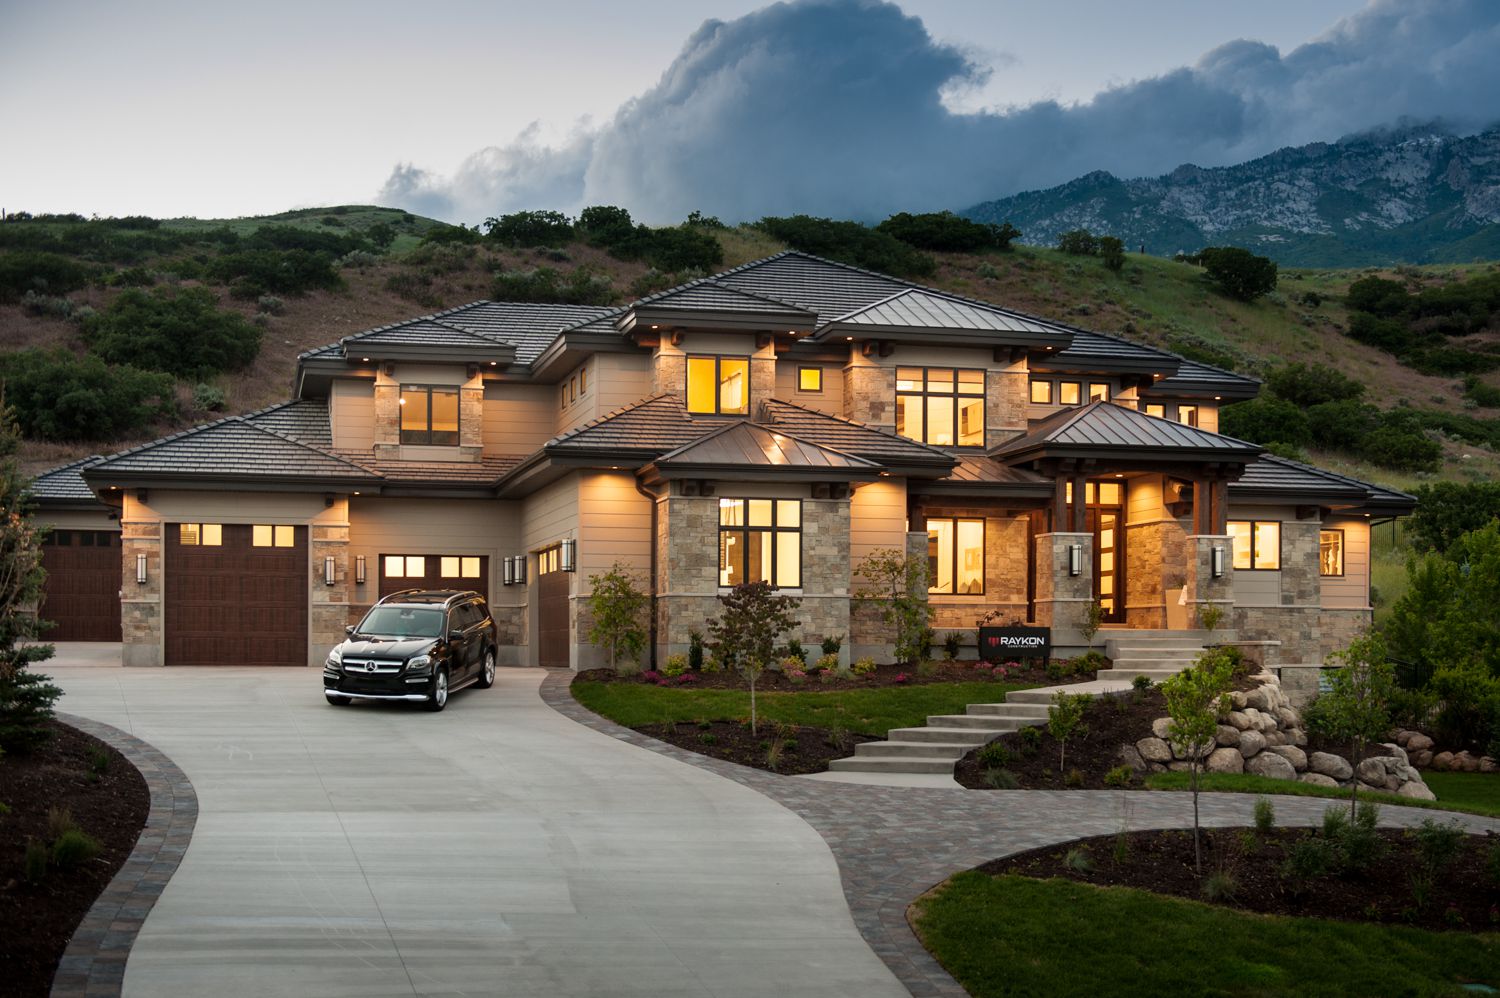
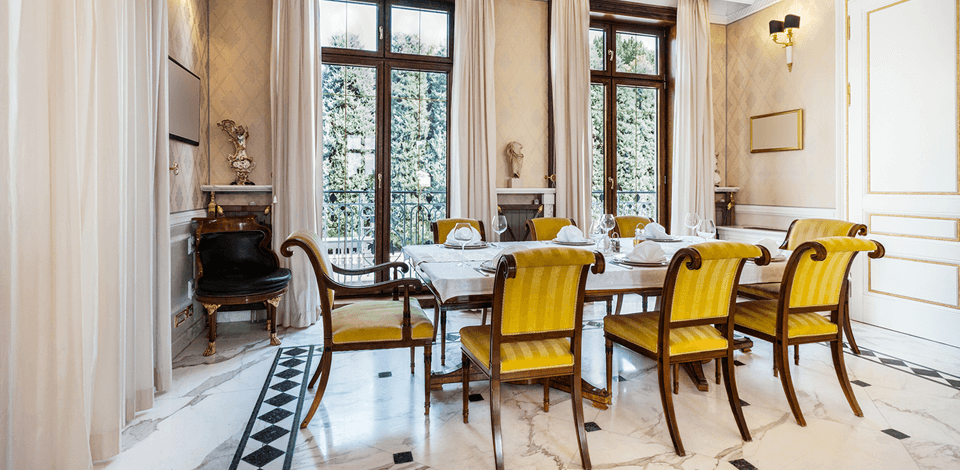
While HDR photography tutorials allow you to learn how to take more eye-catching images in no time, this technique is suitable for particular situations only. For instance, it proves beneficial for capturing the intricate details of interior spaces during the day to dusk transition or merging images of exteriors in optimal lighting conditions and high-contrast environments.

It will allow you to take a series of bracketed shots and then merge them to create a striking effect. Before using this technique, you need to analyze the dynamic range of your picture and think about whether there are overly dark or bright areas.
Look at the histogram in your camera. If you try to capture the image and notice a visible clipping at the histogram’s end – be sure that the data happens to get lost in either the shadows or the highlights of the picture. In this case, you’ll need an HDR shot.
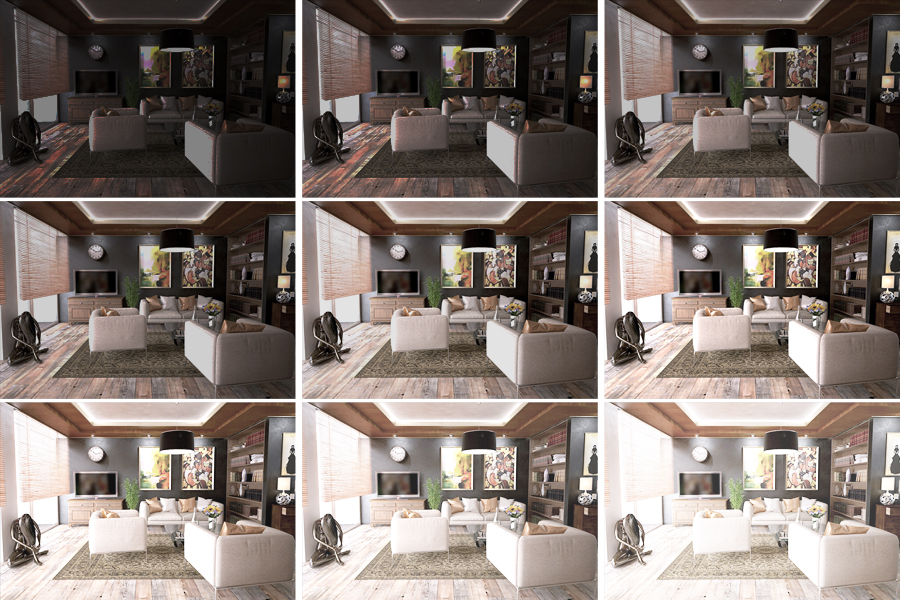
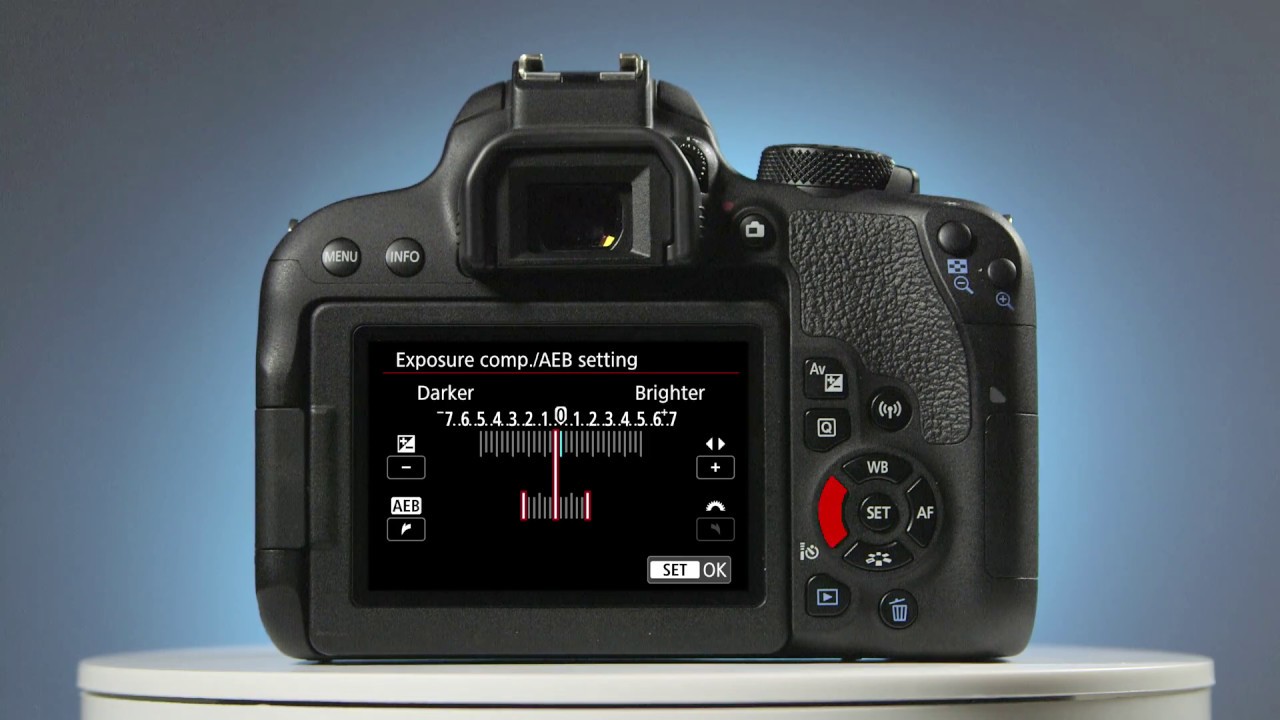
If you need to shoot a bracket of images, you have to shoot 3, 5, 7, or more frames with various brightness. Then, you will need to merge them into a composite photo. Most photographers who specialize in real estate HDR photography use the same type of bracketing, for instance, -2, -1, 0, +1, +2 or -2, 0, +2.
If you take a closer look at these settings, you will see that 0 stands for the most neutral exposure, -2 means that you take photos with two “stops” darker exposure and +2 indicates that you use two “stops” brighter exposure. Most digital cameras nowadays support auto-bracketing.
When you turn on this feature, your camera will automatically take pictures in a bracketed sequence. While you can use any settings that you want, -2, -1, 0, +1, +2 is the most widely used option.
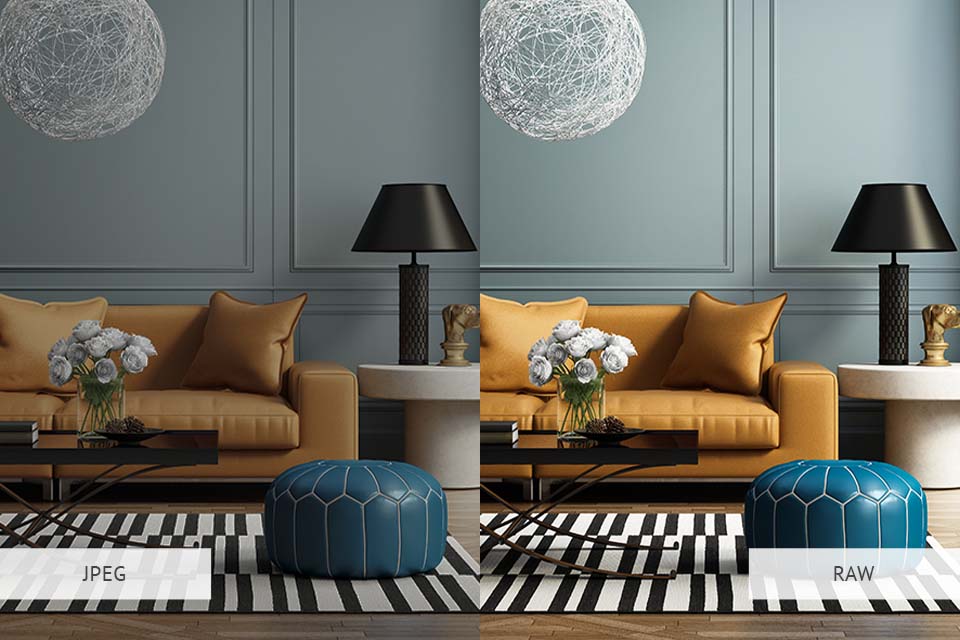
Take photos in RAW instead of JPEG format. Real estate HDR photography allows you to fuse a lot of data from one exposure if you shoot images in RAW.
Besides, it will be easier for you to enhance such images. This format is perfect for those who want to enhance their photos afterward. It’s supported by most HDR programs and enables you to enhance your HDR photos without affecting their quality.
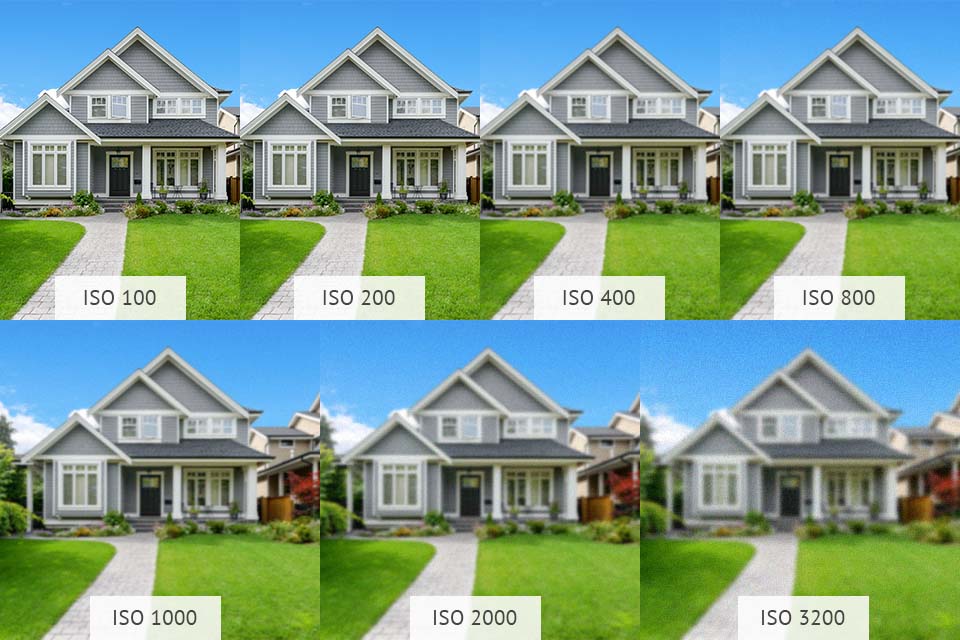
When it comes to real estate photography camera settings, during HDR processes the noise may become intensified and reveal itself in shadows and highlights.
When shooting in low-light environments or during the day to dusk period, you may be tempted to increase the ISO to compensate for the lack of natural light. However, this can result in grainy and less appealing images.
By keeping the ISO low, such as ISO 100 or 200, the camera captures a cleaner image with less digital noise, preserving the fine details and textures of the property.
A low ISO setting is particularly advantageous when merging multiple exposures in HDR photography. When combining bracketed shots, each captured at different exposure levels, noise can become more noticeable if the ISO is set too high.
By maintaining a low ISO, you can ensure that the final HDR images have improved dynamic range and clarity without compromising on image quality.
To make your HDR pictures look more polished, make sure to use good real estate photography software. Nowadays, you can use free HDR software to quickly merge your bracketed pictures into a single image.
However, if you need to use a more advanced option, it’s better to install Adobe Photoshop, Aurora HDR and Lightroom, since they are considered to be the most popular compositing software on the market.
If after studying an HDR Photoshop tutorial you still worry that your skills aren’t up to the task, you can always contact our professional enhancement service. Our experienced professionals know that it takes skills to enhance HDR real estate photography. One needs to take into account a lot of important details.
If you are a beginner, it might be impossible for you to deal with such photos and meet all the industry’s requirements. Our professionals follow the recent trends and provide a wide range of services for those who need to embellish photos of interiors and exteriors, or real estate cover photos.
Even if your photos don’t look very engaging, our professionals can tweak their colors, enhance the sky, and replace the background to make them more visually pleasing.
If you are interested in exterior and interior photography and want to post your photos on online platforms or take part in exhibitions, make sure to use HDR real estate photography software to create more eye-catching commercial real estate photogrpahy. However, photos for real estate listings should look close to life, as it will prevent customers from possible disappointment.
When taking pictures, you need to balance the exposure so that your outdoor and interior images don’t look overexposed or underexposed. It’s better to make photos or exteriors a bit overexposed since it will make them look more natural.
If you want to get into real estate photography, make sure to use a quality camera for real estate photography that supports bracketing mode. It will allow you to take pictures at various exposures without affecting their quality.
Besides, it’s better to use a full-frame camera with a sensor to take photos in poor light conditions. The Nikon’s D810 or Canon’s 5D iv are perfect cameras for a real estate photographer.
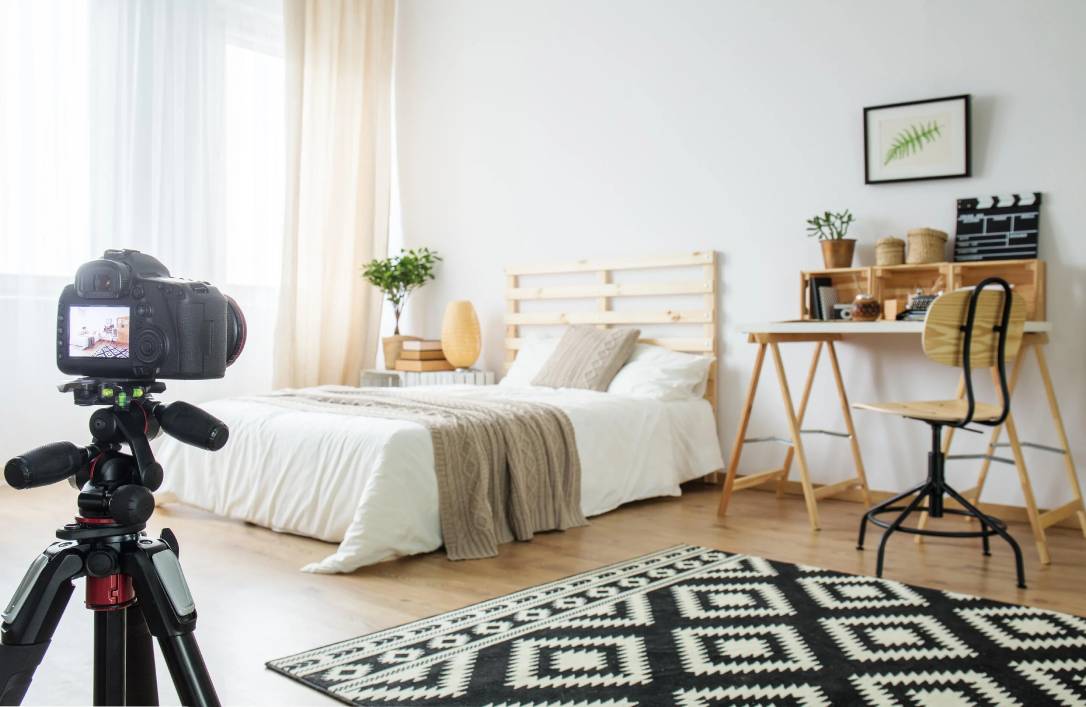
A tripod for real estate photography is an essential part of real estate photography equipment. If you need to merge 4 pictures to create an HDR image of the same scene, you need to align them as close as possible to ensure that your image looks natural.
For HDR real estate photography, it’s better to use a stable tripod with a remote trigger. Alternately, you can set a timer so that your camera takes a photo 2 seconds after you press the shutter button.
This way, your photos will have the same exposure and you will be able to blend them into one image more easily. Manfrotto MKCOMPACTACN-BK is a good choice of a sturdy and compact tripod.

Another part of essential real estate photography gear is wide-angle lenses. Experienced photographers know that it’s crucial to use a professional lens for real estate photography to make their photos stand out and highlight important details. Try using a 15mm, 16mm, or 18mm wide-angle lens to fit the whole room or a building in the frame.
This way, you can make the room seem bigger. It’s better to avoid using a 24 or 35mm lens. I’d suggest considering Tamron SP 15-30mm f/2.8 Di VC USD G2.

Save time when post-processing your photos by using these professional presets created specifically for those who want to give their real estate images an HDR look.
These presets are perfect for interior and exterior photos, as well as real estate aerial photography, and 3D real estate photography. With them, you can tweak colors, adjust tone and contrast, reduce noise and fully transform the overall look of your photos. Use them to add eye-catching highlights and emphasize important details in a few clicks.


