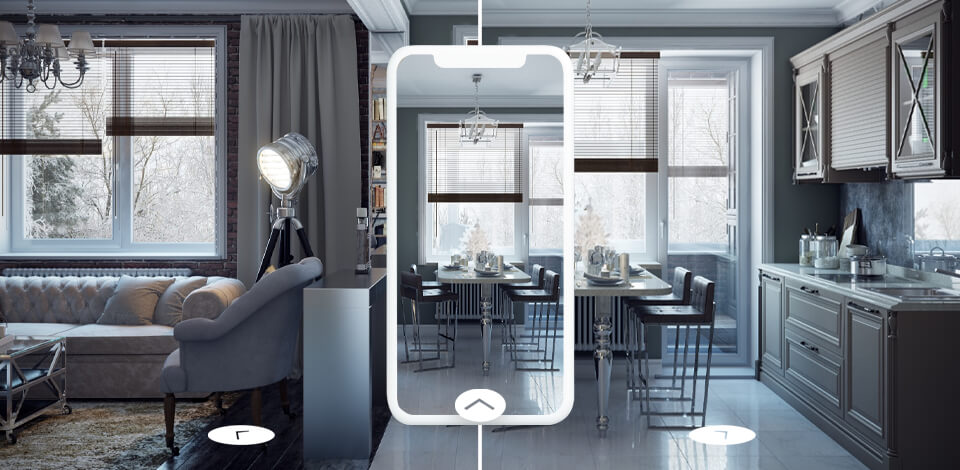
An online virtual tour will help you to show your property in the best light. You can create it using photos, video footage, and 360-degree panoramas. Such tours allow potential customers to walk through the halls of a house to explore all its rooms.
They can rotate a picture to see everything from different angles. Nowadays, many photographers want to learn more about 3D real estate photography to improve their skills and expand their client base.
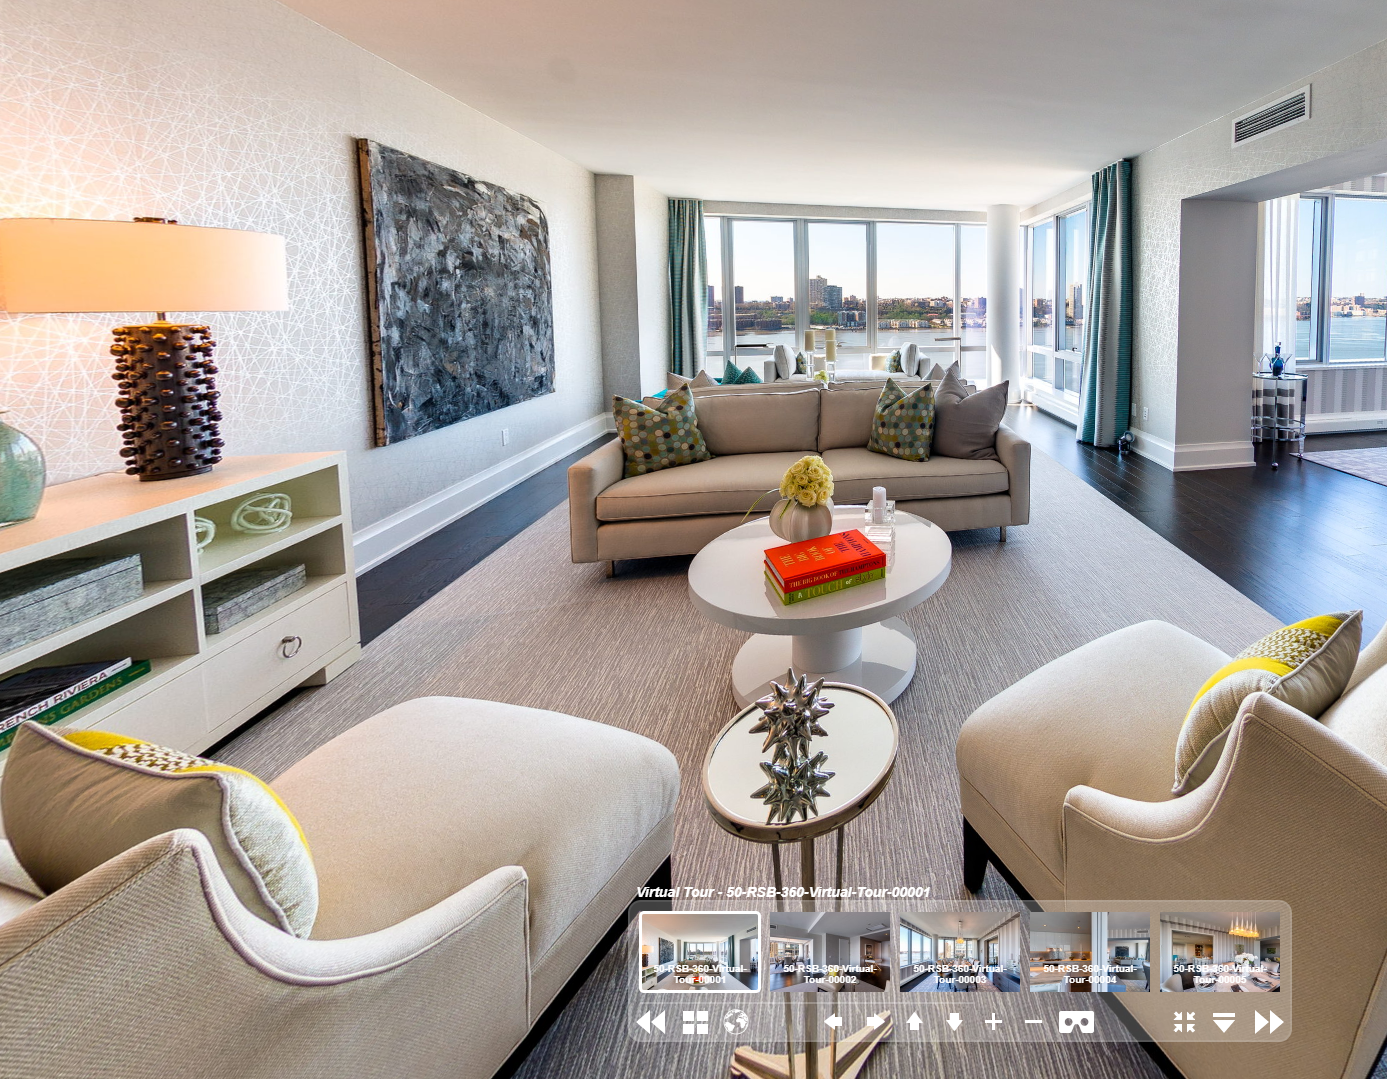
A virtual tour is an online simulation of an existing property. It is made with the help of still photos, videos or 360-degree panoramas. Thanks to this technology, the clients are able to walk through the property as if they were there. They can rotate around it and see the house from different angles.
.jpg)
Since it’s the most realistic and immersive way to experience the property, the average price for a virtual tour in the USA is about $350 for 3,000 sq ft. Each additional 500 sq ft. costs $50. This price only covers the walkthrough tour and doesn't include any photos of the property.
HDR or aerial photos are paid extra, if necessary. Creating a floor plan to your reality tour costs approximately $75 for 0-3,000 sq ft. They add even more value to walkthrough tours. Most photographers set up packages offering a combination of different services for a reasonable price.
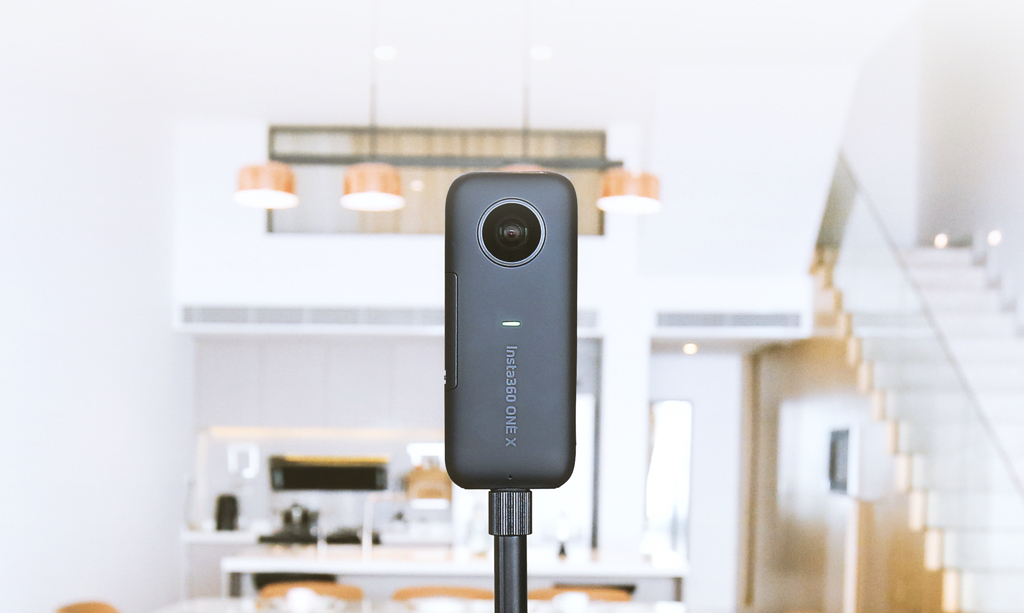
If you specialize in real estate photography and want to take pictures in 3D, you will need to buy a 360-degree camera. The Ricoh Theta Z1 is a great option for those who want to take panoramic shots and create informative virtual tours. It is fitted with 2 1-inch sensors that are much better than poor-quality sensors that can be found in other 360 cameras.
To create a high-quality virtual tour, pay attention to frames per second, or FPS. For a more immersive virtual-reality experience, you need to minimize lagging, since it might drive away potential customers. Make sure to use a camera that supports at least 90 FPS. For better results, many photographers buy a 3D Virtual Tour Bundle that includes all 3D real estate photography equipment that they might need to use.

To create an engaging 3D tour without blurry images, it’s better to purchase a reliable tripod for real estate photography made of durable materials. It will allow you to take sharp images that are perfectly aligned at the same level. Otherwise, you might face some difficulties when trying to stitch them. Take a closer look at the SIRUI 5C tripod.
It will come in handy for every photographer interested in 3D real estate photography. Besides, it’s better to buy a panoramic tripod head as well since it will help you rotate your camera with ease. With it, you can easily capture all the details of an interior. If you don’t have it yet, the Andoer PH-720B is a great option to consider.

Before starting to take photos, it’s better to remove all the unwanted items from the frame to ensure that a room looks clean. It will help you focus on framing and adjusting camera settings. Your viewers will be able to see all the elements of an interior clearly without being distracted by a cluttered background.
You might need to contact a realtor or property owner beforehand and ask them to put everything in order, clean countertops, hide photos, or other personal items. It’s better to avoid moving pieces of furniture without permission so make sure to check that everything is alright with the staging before you start shooting.
When discussing a future photo shoot with owners or real estate agents, create a list of rooms that you need to capture. To create informative 3D real estate photography tours, it’s better to include such rooms as laundry and closets since many people might be interested to see them. The more rooms you include, the better your 3D tour will become.
Before taking photos, explore the house and decide where you are going to put your 360-degree camera. While in most cases it makes sense to place it in the middle of the room, in some rooms, you might need to find another place for your camera to fit all the details in the frame.

If you are interested in 3D real estate virtual tour photography, you need to learn how to enhance such images. Adobe Photoshop and Lightroom are the most popular programs among those who are looking for virtual tour software. If you are on a budget, you can also use free 360 video editing software. To make your photos look more professional, you can adjust the white balance, delete unwanted objects from the frame, and fix exposure issues.
If you don’t have advanced skills, you can outsource this task to our professional photo enhancement service. Our professionals have enhanced thousands of real estate photos. They will solve any lighting issues, tweak colors, and adjust brightness and contrast to make your images more attention-grabbing. If you want them to enhance a specific area of a photo, make sure to write about it when placing an order.

To take high-quality panorama photos, keep the camera lower to improve the floor-to-ceiling ratio. If you keep it higher, your image won’t look well-balanced. Besides, make sure to keep your camera on the same level when taking all the photos to ensure consistency.
When keeping the camera low, you can take more visually appealing photos and convey the sense of space better. If you decide to keep it higher, your panoramic photos will be less informative since the ceiling will take up too much space.
However, you might need to do it if there are some details that you want to capture. For instance, when taking photos of the kitchen, you can keep the camera higher to fit cabinets, countertops, sinks, faucets in the frame.
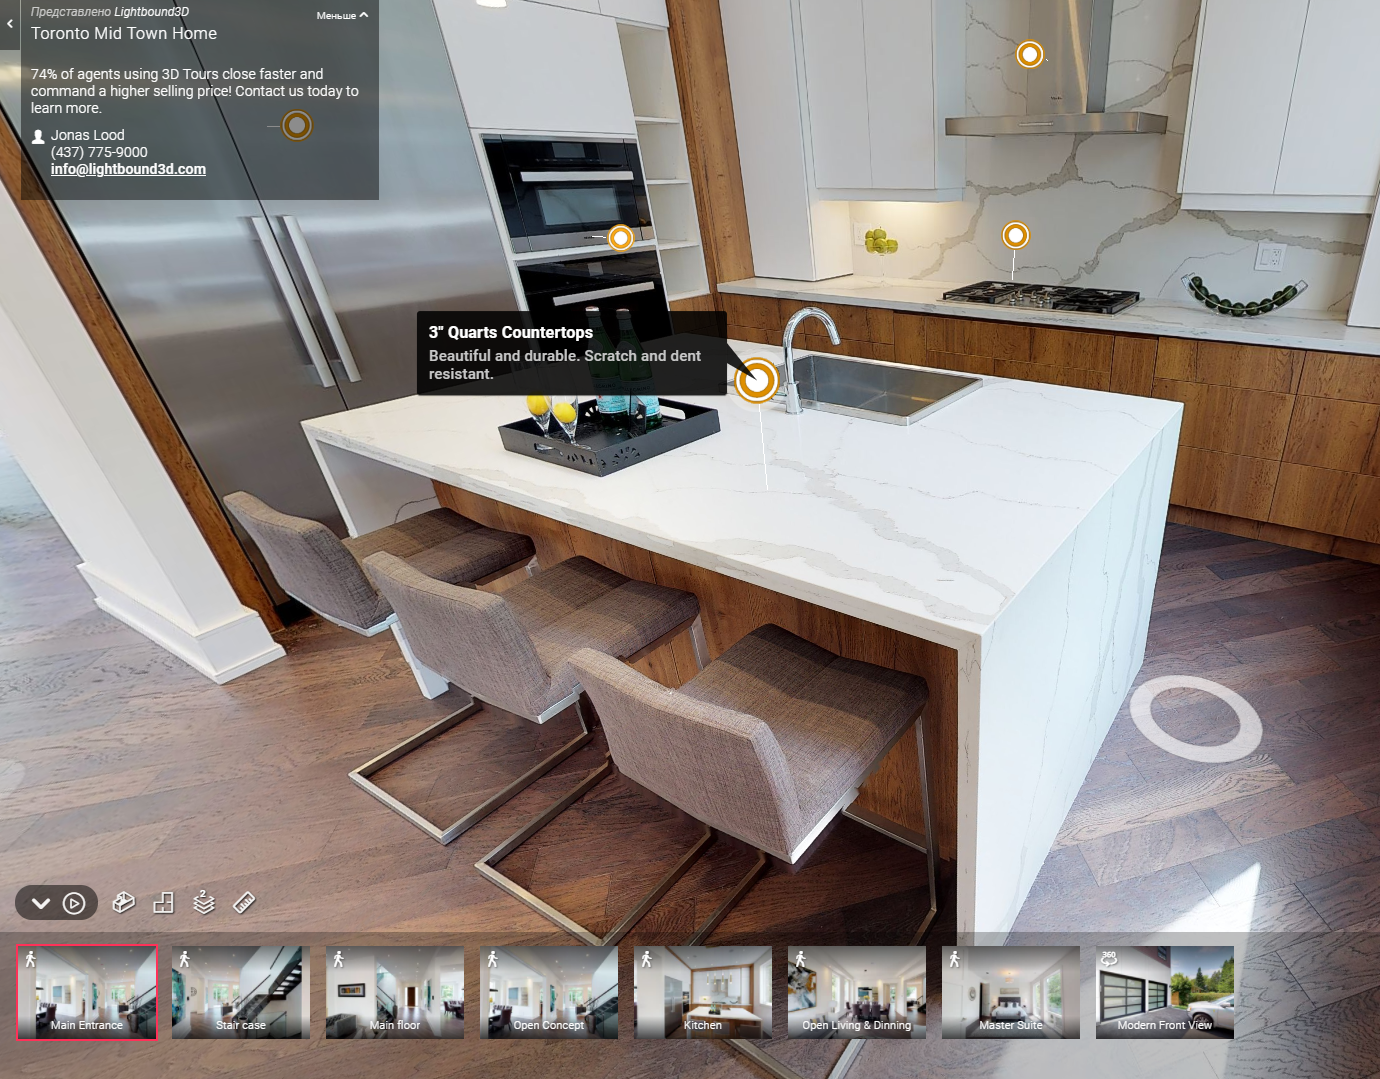
If you are interested in commercial real estate photography and want to create engaging 3D tours, always keep in mind the message that you want to bring across. Make sure not to place the camera in the corners since it will be impossible to fit all the details in the frame. Put it closer to the details that you want to focus on.
For instance, if you need to take a 360-degree panorama of a kitchen, you need to fit the key selling points in the frame, such as a dishwasher. A professional 3D tour will make it easier for clients to notice the dishwasher and other objects that might drive them to commit a purchase.
It’s better to use natural light. However, avoid taking photos in the middle of the day since they might become overexposed. At noon, the sun is too bright, which might affect the look of the room.
Before taking photos for 3D real estate photography tours on a cloudy day, make sure to set up lighting. Try taking photos before sunset when the room is well lit. Open the curtains and terrace doors to capture the views.
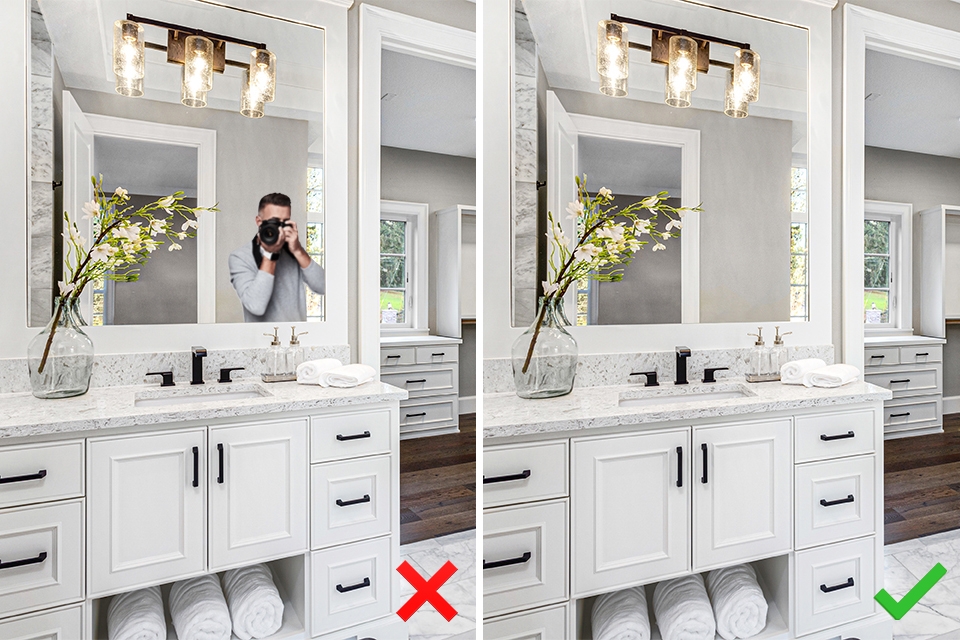
When taking photos in a room with a mirror, try to position the camera so that it doesn’t show in the mirror. If there are many windows in the room, you should be aware of the reflections as well.
Photographers who capture their own reflections, need to do double-takes. You should be especially aware of mirrors when taking photos of bathrooms, hallways, living rooms with TV screens. Also, pay attention to your shadow on the floor.
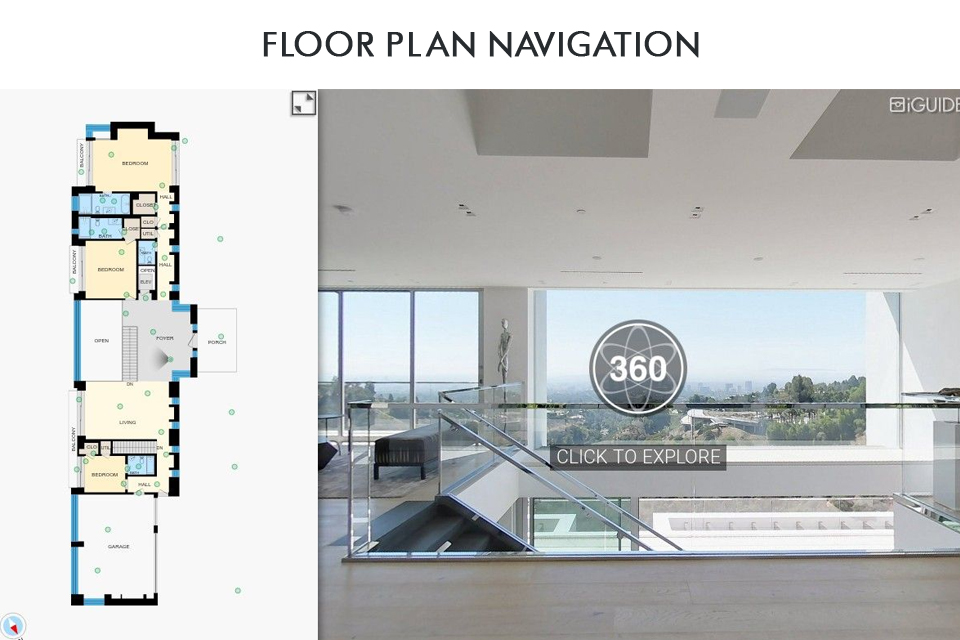
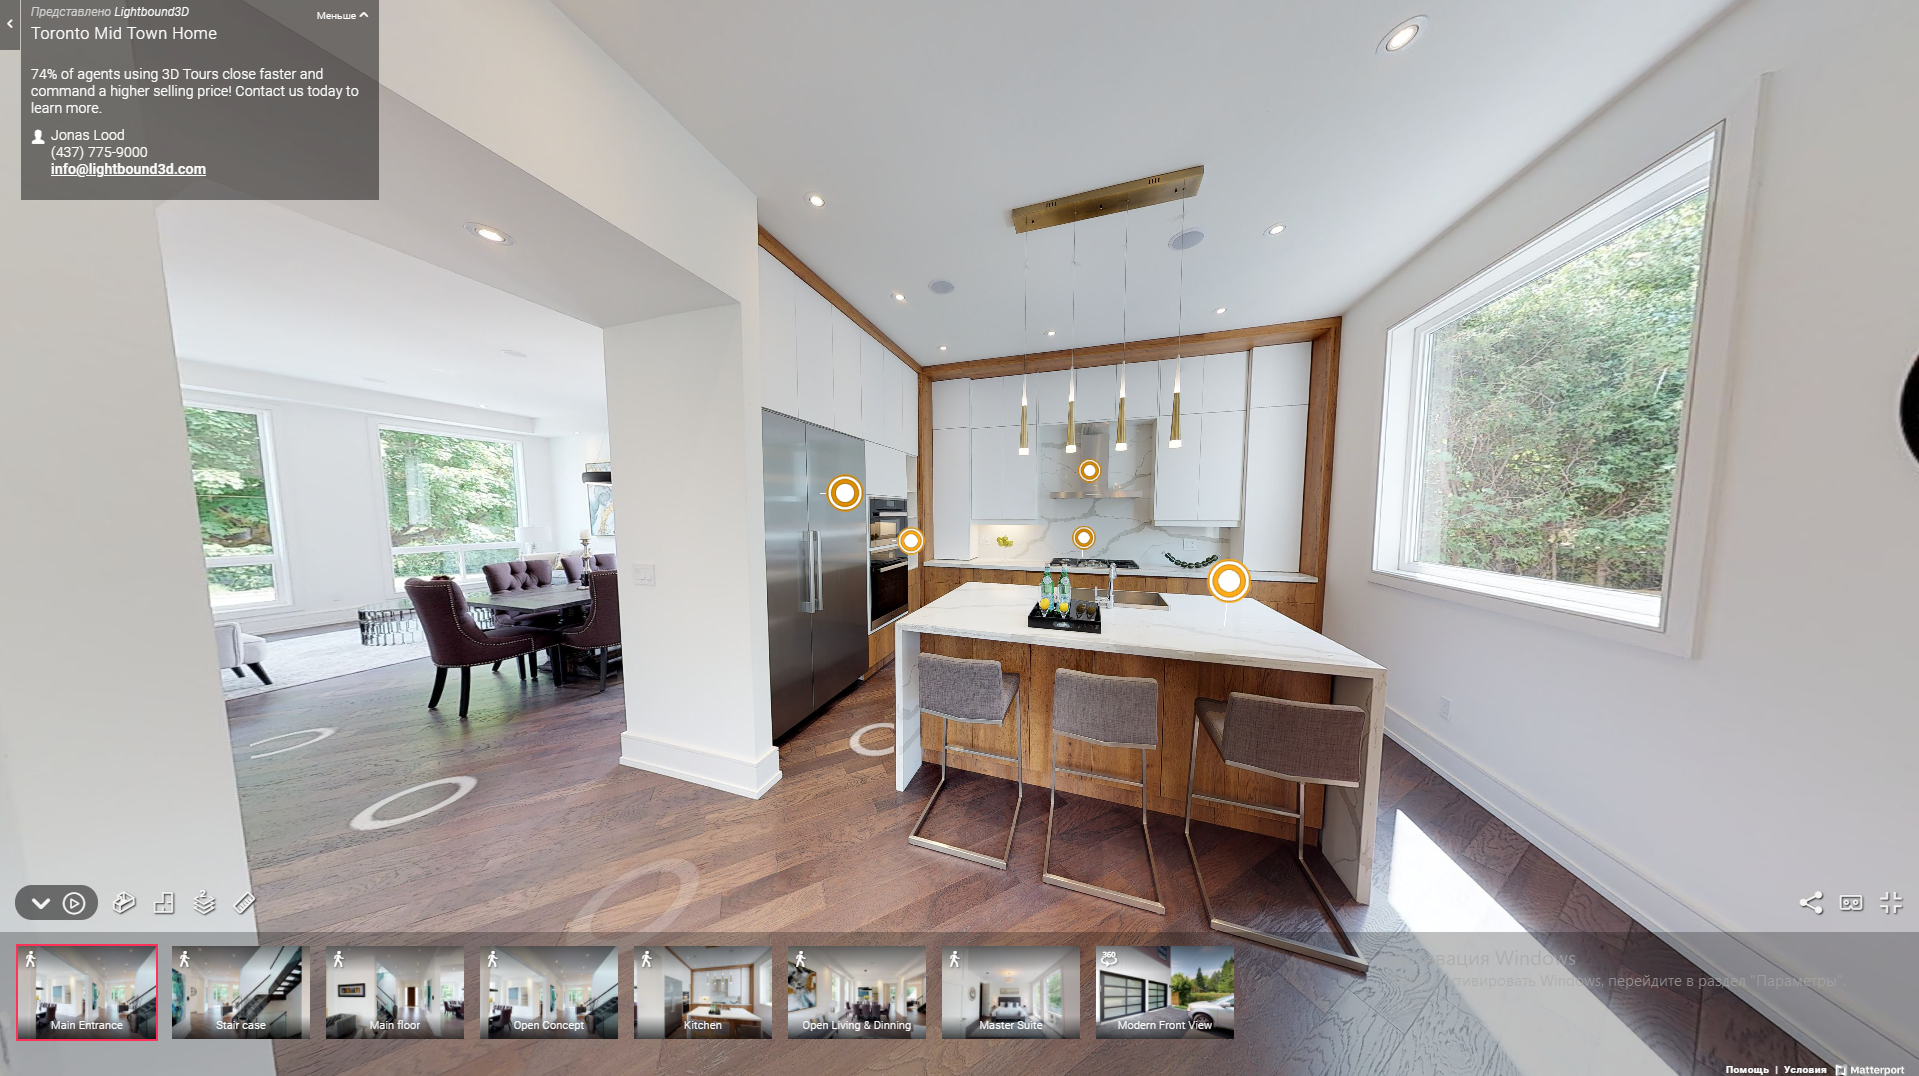
When creating a 3D virtual tour, you need to check whether it’s easy to navigate. Potential buyers should be able to go from one room to another with ease. You can use one of 2 types of navigation, floorplan or visual one.
Floor plan navigation requires using a layout of a house or apartment. A buyer can click on various points on the floor plan to see various details from up close. It’s an easy way to see all the photos and understand how a property looks like in real life.

Visual navigation allows people to click on photos to move throughout a property. Most people who have ever used Google Street view know how to use a 3D real estate walkthrough. While it allows you to get a more immersive experience, it might slow you down since you won’t be able to go to any room that you want to see immediately.
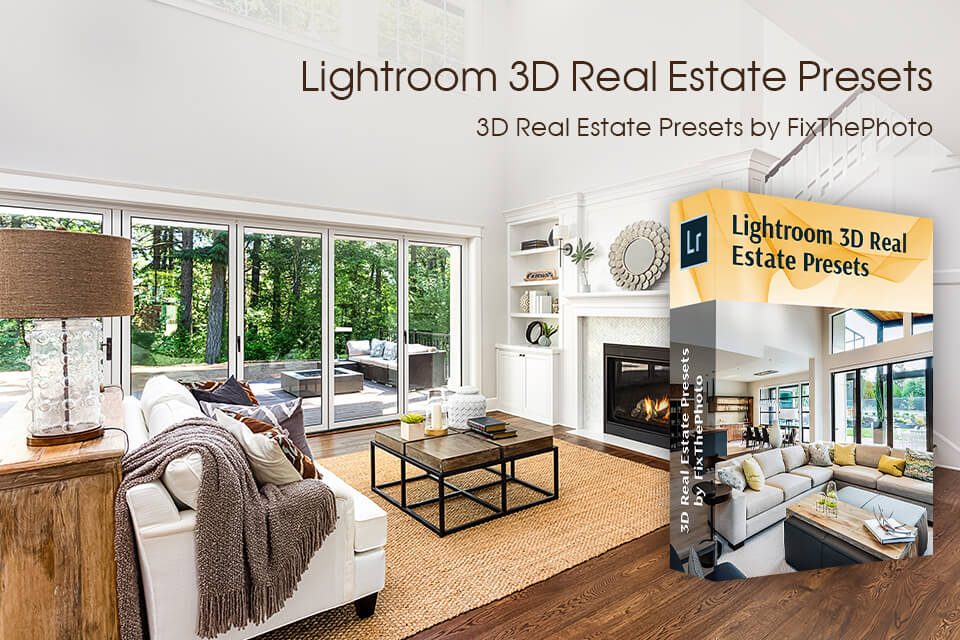
To enhance all the photos that you want to include in your virtual tour in a few minutes, make sure to download these handy presets. With them, you can batch edit in Lightroom and give your images a professional look. By performing color correction, you can make your images more appealing and create an engaging 3D tour for your clients.


