With Google Photos you can store your pictures and share them between multiple devices. You can use lots of different options, features, and tools for viewing and organizing your digital images.
Not many people know about all of these options, so make sure to read these Google Photos tips. Check them out to make the best out of this service.
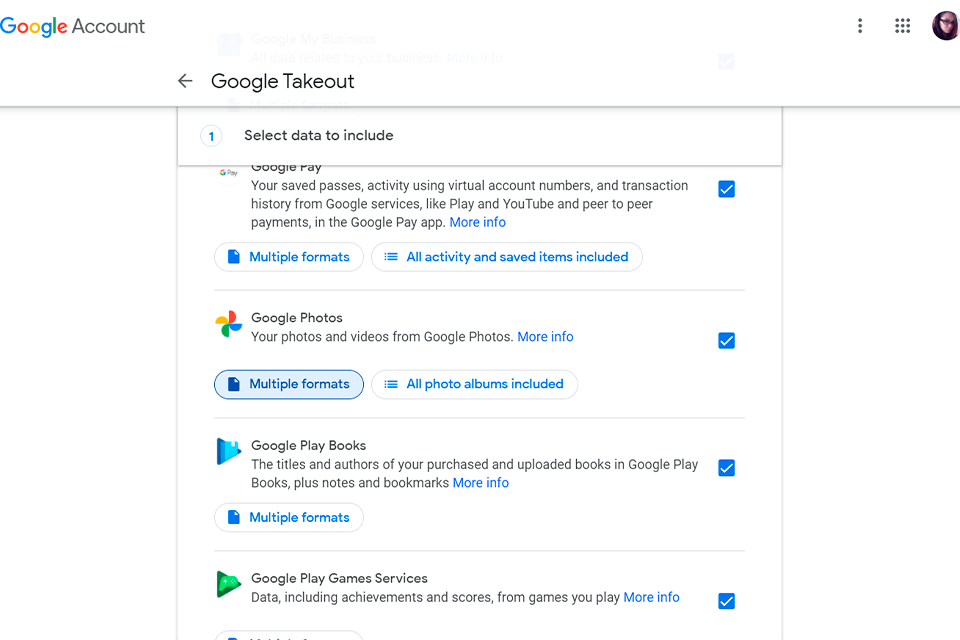
You can download pictures using Google Takeout. This platform allows you to import and export data from a range of Google products.
For instance, you can select only images and albums that you want to download. If you do it, your pictures will be saved without their EXIF data. The information about the location and the camera that you used to take them will be lost.
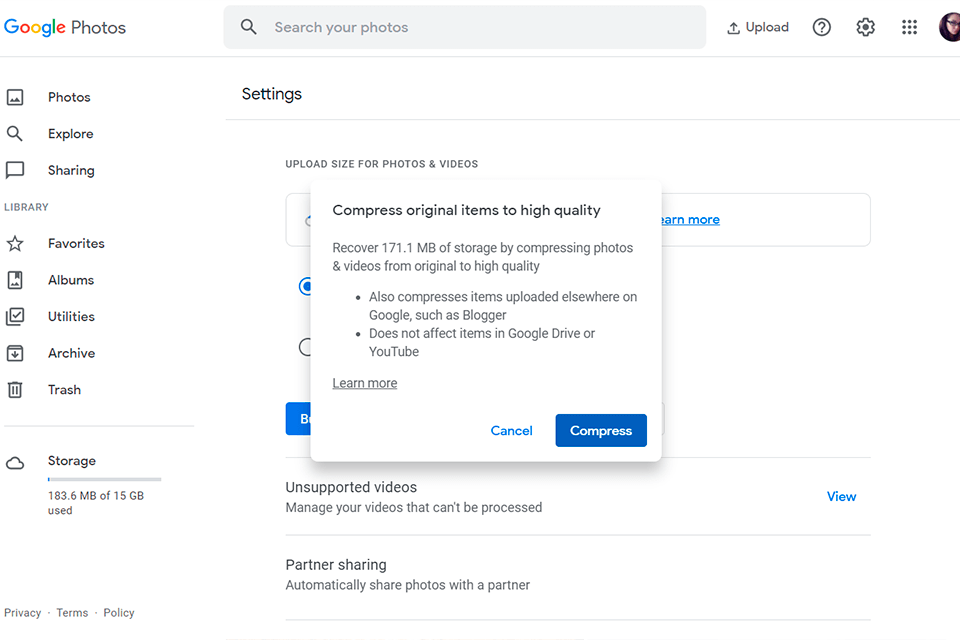
This is an unlimited photo storage site that lets you upload high-quality pictures. You will have 15 GB of free storage space.
If you use a desktop version, find Settings and press Recover Storage. Google will automatically resize uploaded images to 16 megapixels if they are larger.
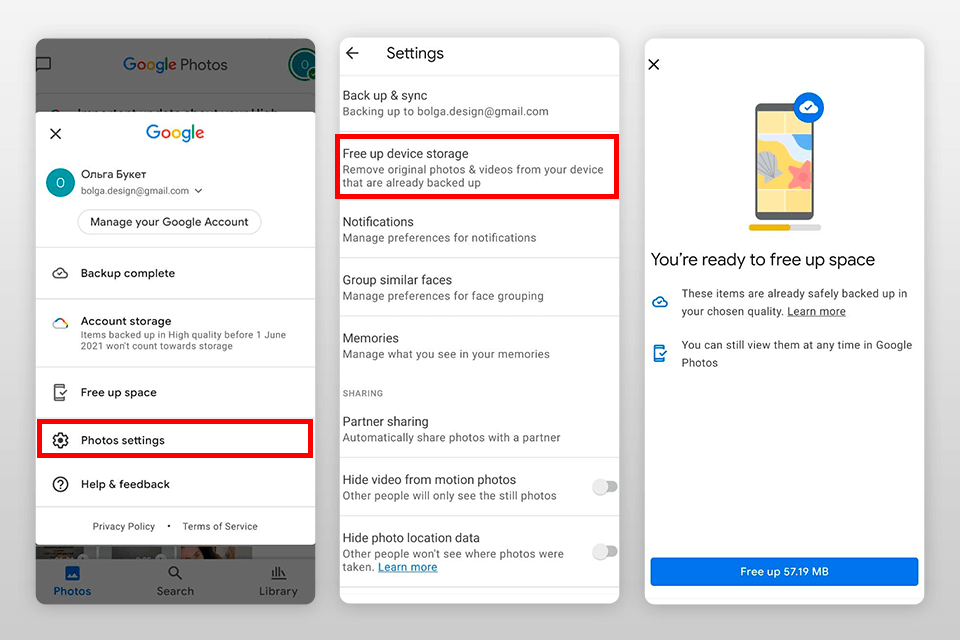
Check out these Google Photos tips to free up some space on your phone. Go to Settings, then choose Manage device storage and Free up space.
You will receive a notification about the number of items that can be deleted from your phone. You will be able to open these pictures whenever you wish through the app. However, they will be removed from the camera roll.
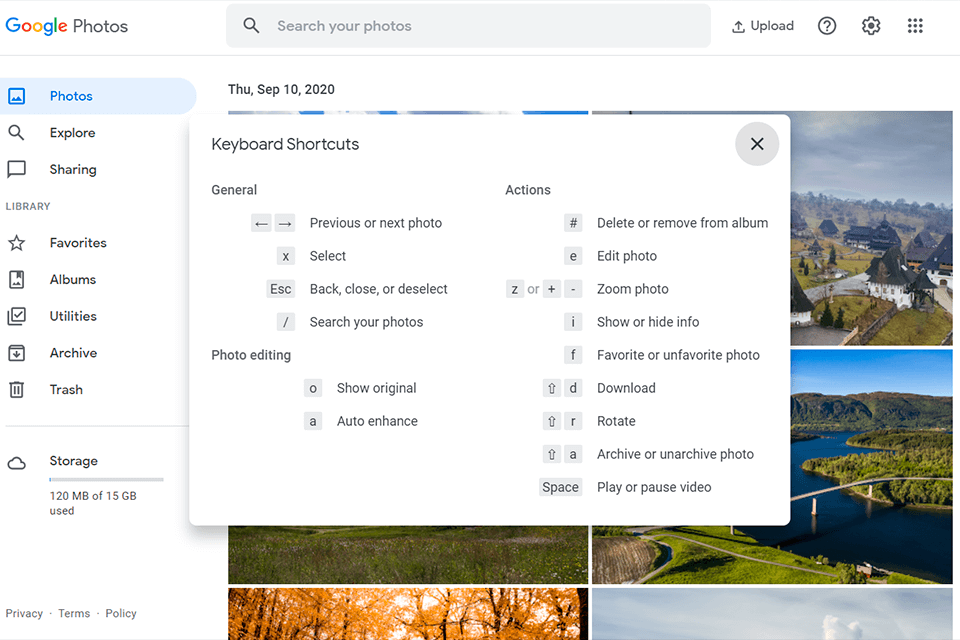
Press Shift on your keyboard to see the list of keyboard shortcuts. There are no more than 20 of them. You can memorize them in 5 minutes and save plenty of your time when using them.
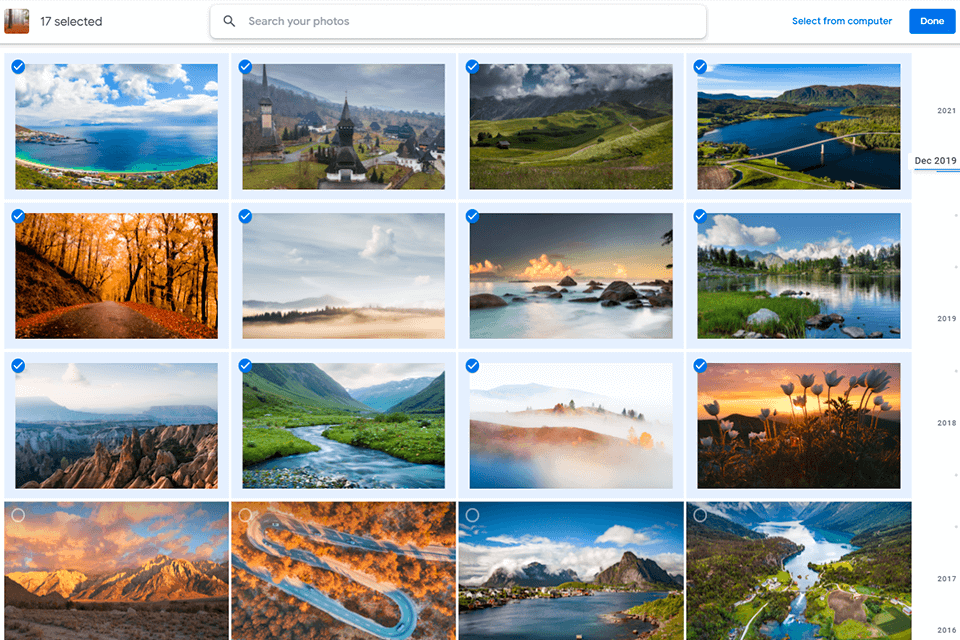
To choose a group of sequential images, tap on the first one. It will be highlighted with a blue checkmark. Then, swipe up or down to select multiple items simultaneously. This way, you will be able to delete or copy multiple images. You can also apply some effects to them to create animations, films, collages.
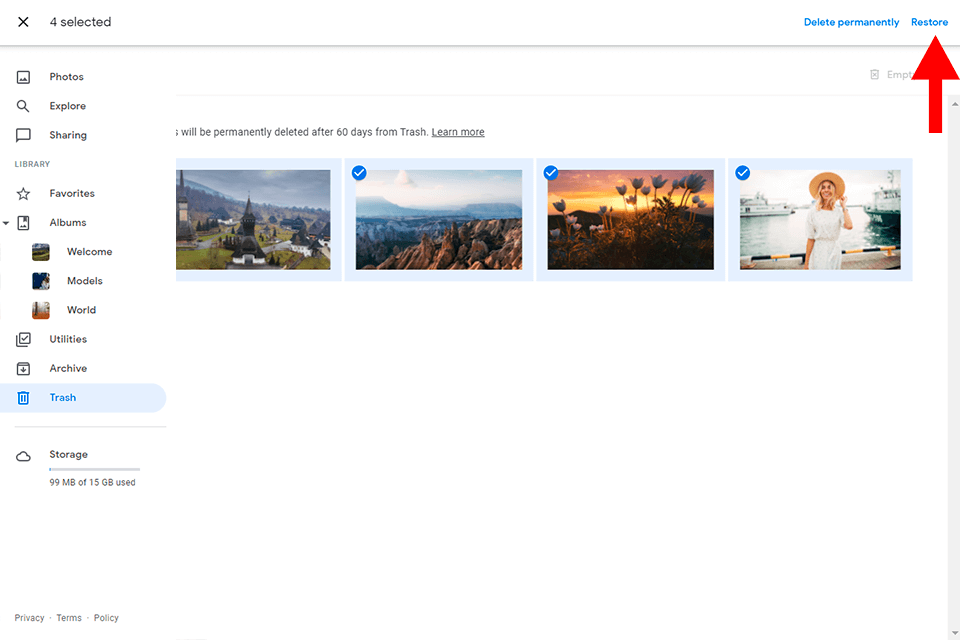
If you have deleted a picture and want to restore it, go to the main menu, press Trash and select files that you wish to recover. Pictures stay in the trash for 60 days. Then, they are deleted forever.
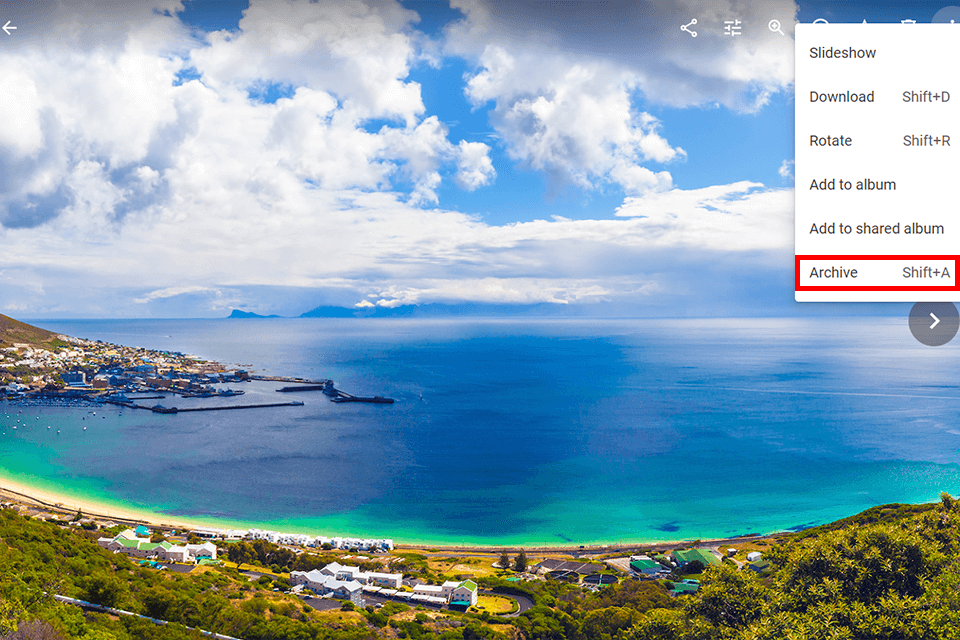
You can archive files that you don’t want to delete but also don’t want to see often, for example, screenshots or bills. Select the pictures. After that, go to the Menu and choose Archive. These files will be saved in your private archive.
You can access it through the navigation menu. The archived images are stored albums, but you won’t see them in your main feed. Besides, Google Photos Assistant regularly checks your pictures and offers you to archive the ones that you don’t open often.
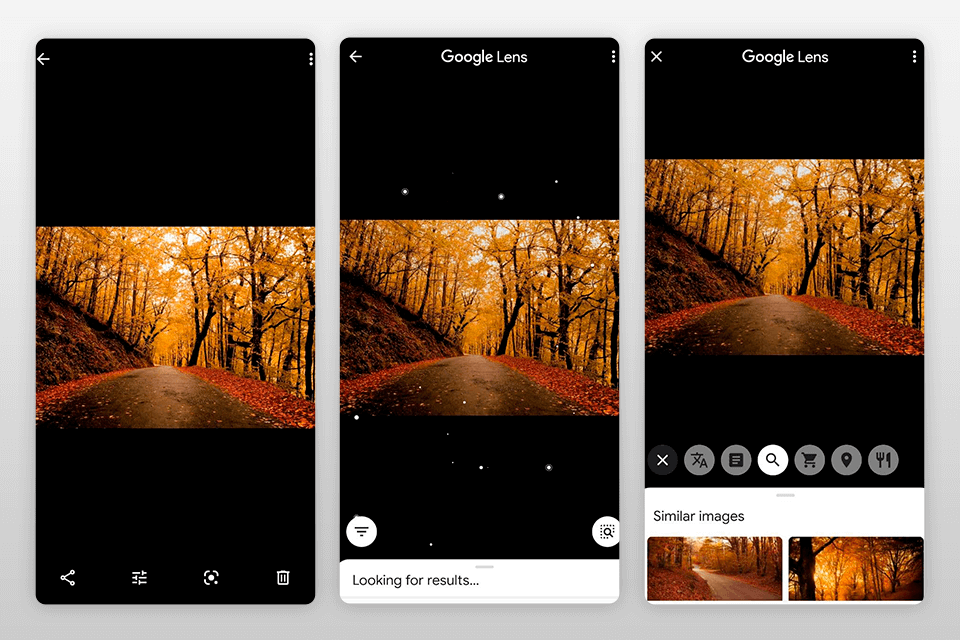
This software analyzes pictures and offers relevant search results. For instance, you can take a snapshot of a book, use Lens to search the file, and Google will provide you with information about it.
The latest version of this software has five modes that allow you to recognize objects in pictures, copy and paste text from books and documents, translate texts, scan QR codes, etc.
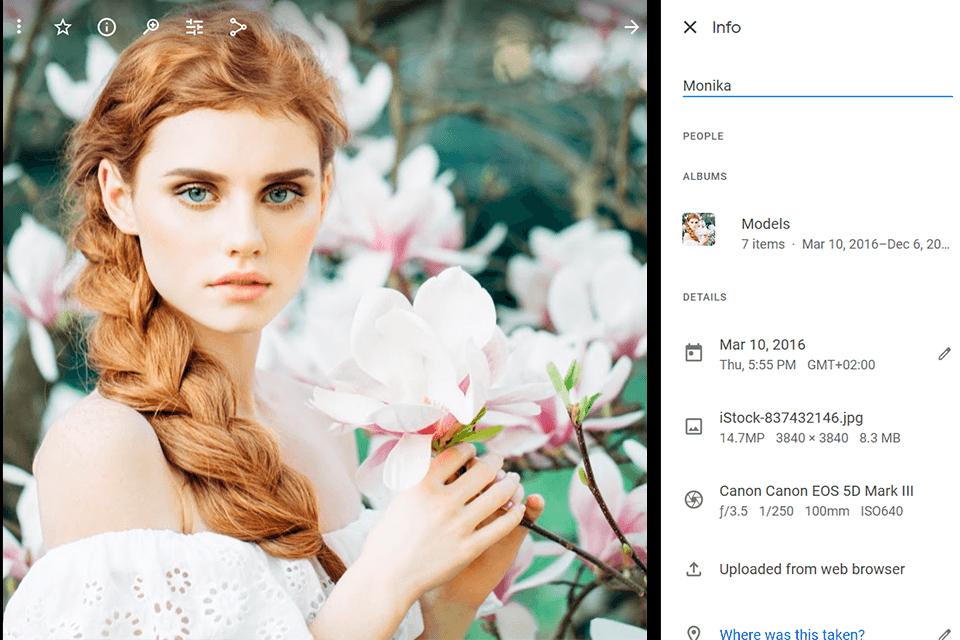
Use these Google Photos tips to tag other people manually. Tap on the search bar to see faces in small circles. Press on any face to type the name or add it from the list of your contacts.
Similarly, you can add the names of your pets. After that, enter a name in the search to find pictures of a tagged person. You may add up to 20,000 images to each album.
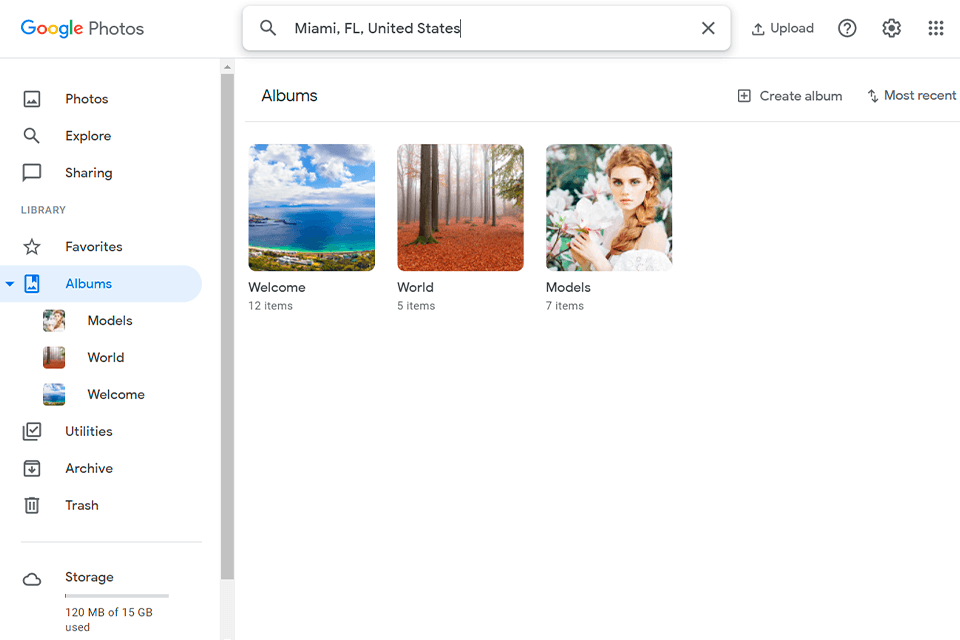
If you have enabled geotagging on your smartphone’s camera or added a location manually, you can search pictures by address, city, or location. The only disadvantage is that you have to enter the address precisely or the application might not accept it.
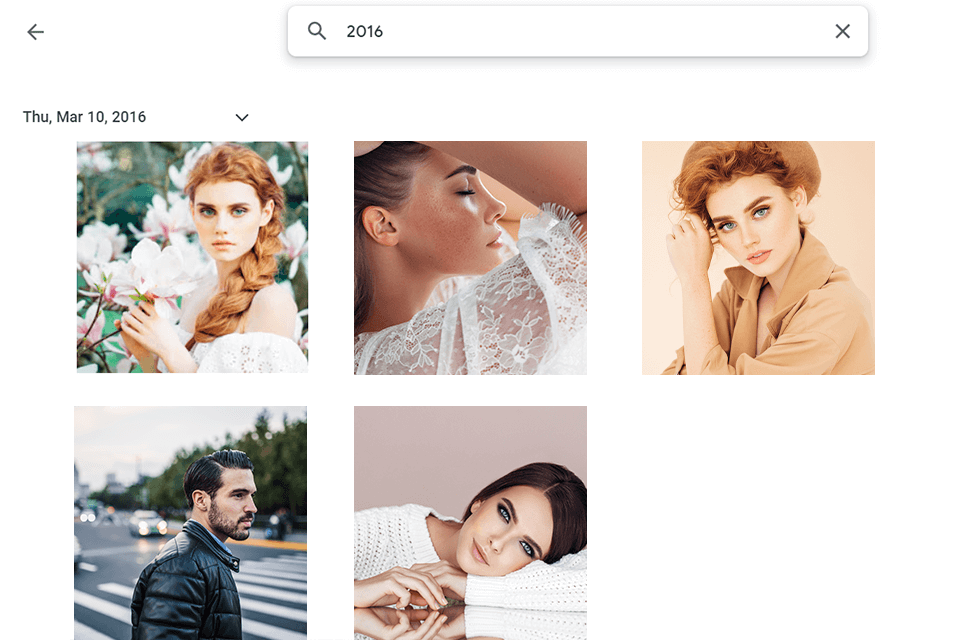
Take a look at the timeline on the side. This might help you find images taken at a particular time. You can also enter a specific date or view all the pictures shot during a period.
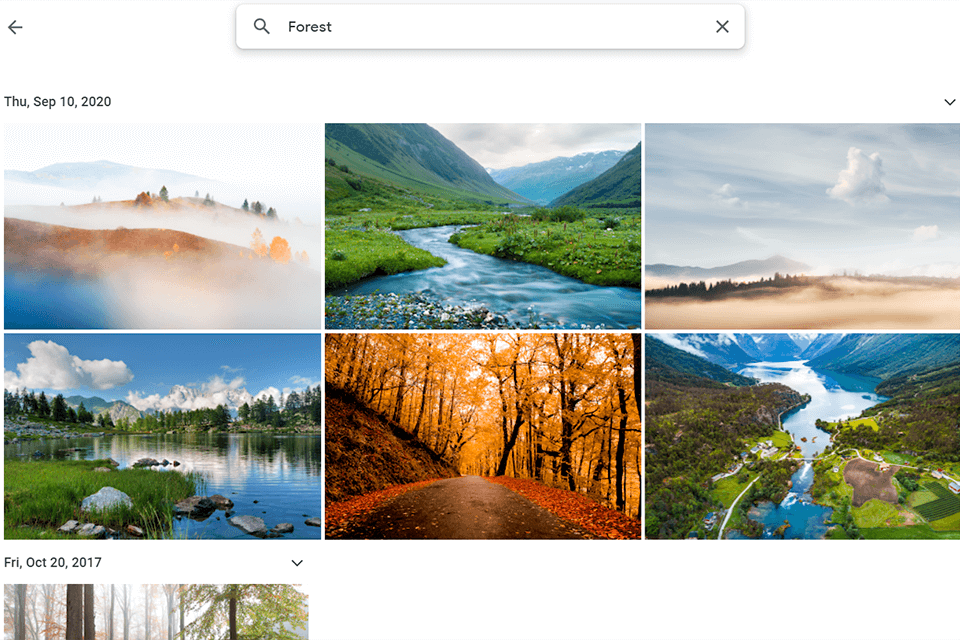
Also, you can search for images by objects or places. For instance, if you type the word “flower”, you will see all the shots with flowers that you took during the past year.
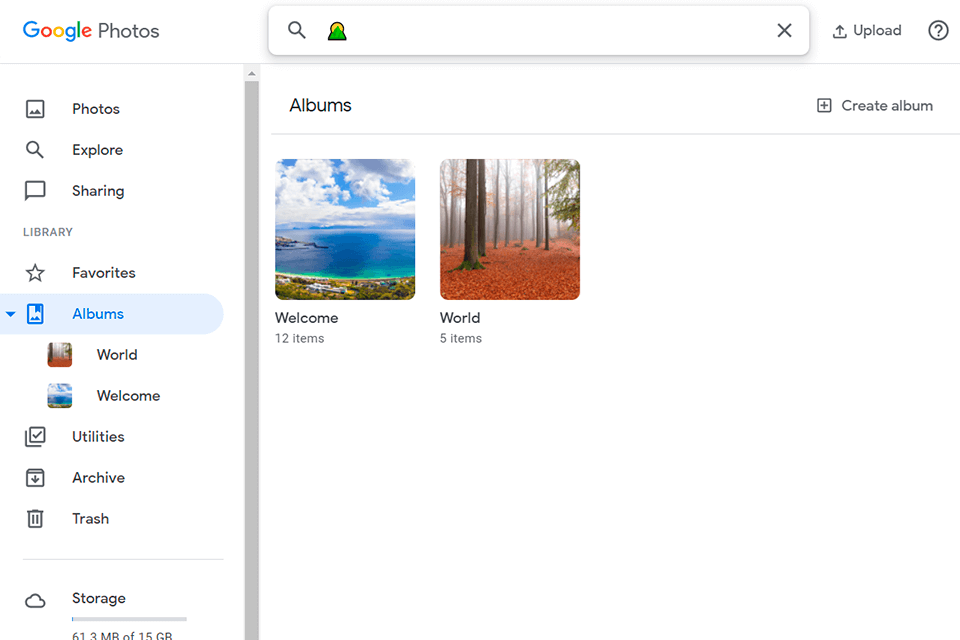
Use emoji instead of text. A pet emoji displays all images with animals, a happy face emoji shows smiling people, a cake will bring shots from birthday parties, sunglasses emoji will help you find people wearing them, etc.
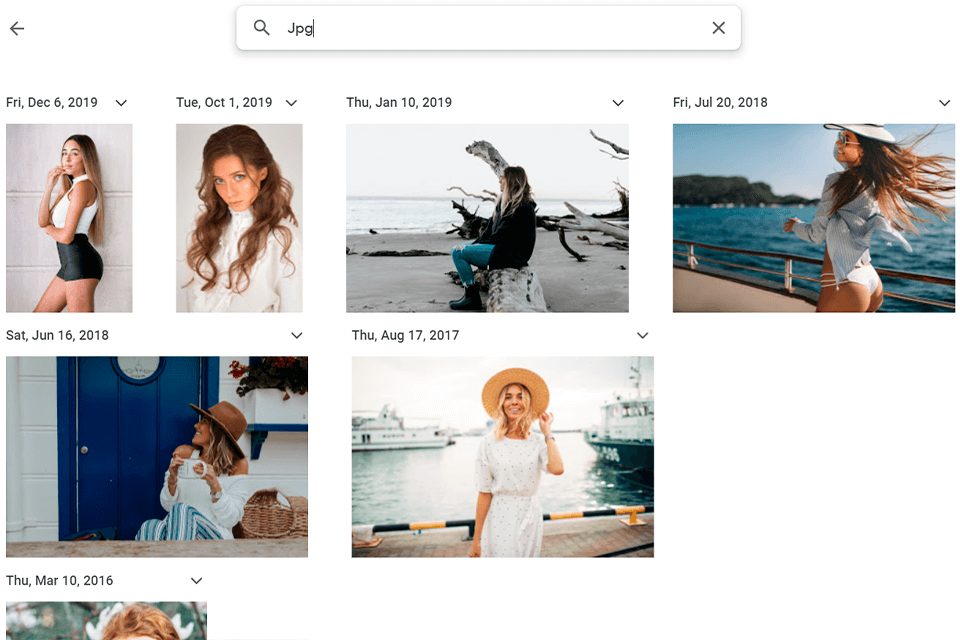
Also, consider searching by file type. If you have plenty of different files on your phone but need only RAW ones, simply type it and you will see only files in this format, from the recent ones to the oldest.

What makes this service vary from Google Photos alternatives is that with it, you may make animations, photobooks, and collages from any images or videos. All you have to do is to choose items, click on the “+” option at the top of the screen, and decide what exactly you wish to create.
If you like using creation tools, make sure to check out the “For you” tab from time to time. It automatically creates animations, collages, and videos from your library. It can also create albums and provide you with tips on fixing your shots.
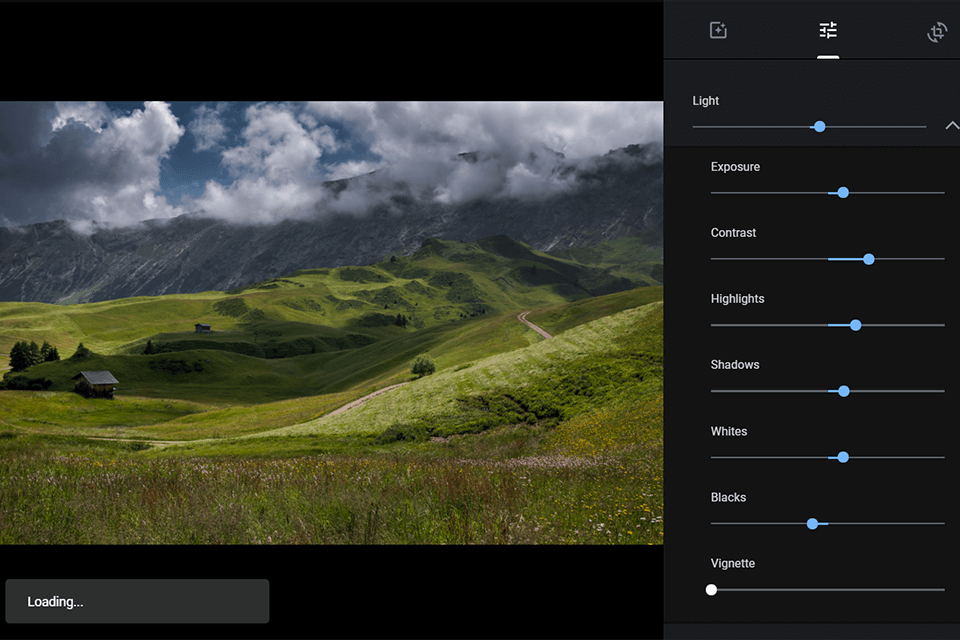
You can also use this service for editing your images. Tap the slider icon to apply multiple effects with one touch. It allows you to add filters, crop, rotate images, tweak light, color, etc. Click on the down arrows beside light and color to see additional options.
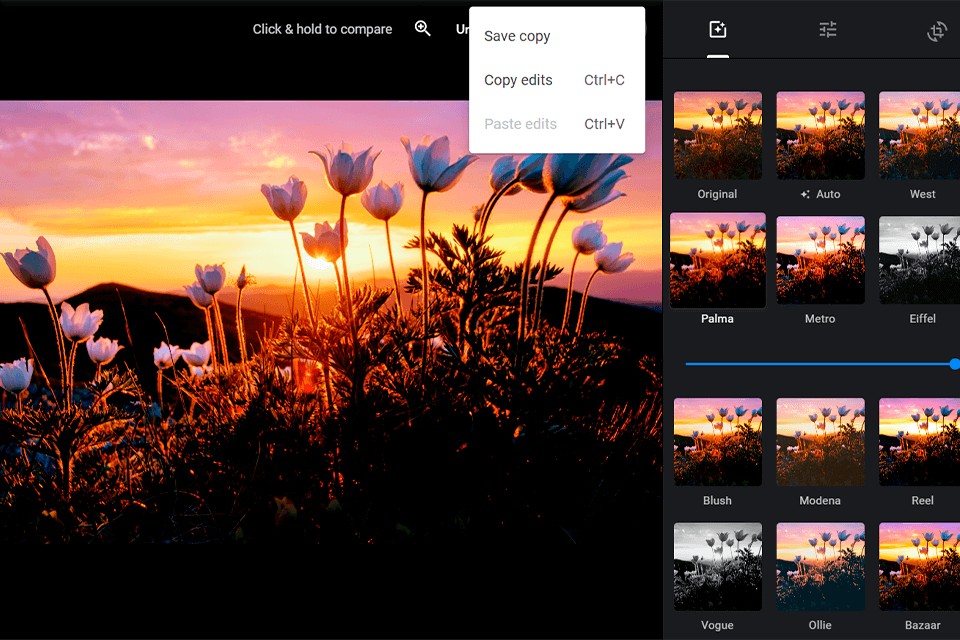
If you have edited one picture and want to apply the same parameters to other photos, try using the Google Photos batch edit feature. In the desktop version, go to the More options menu and click on Copy Edits.
For other images, use the same menu to Paste Edits. You might also use the copy/paste keyboard shortcuts (Ctrl+C/Ctrl+V) for this. On a mobile application, this feature is not available.
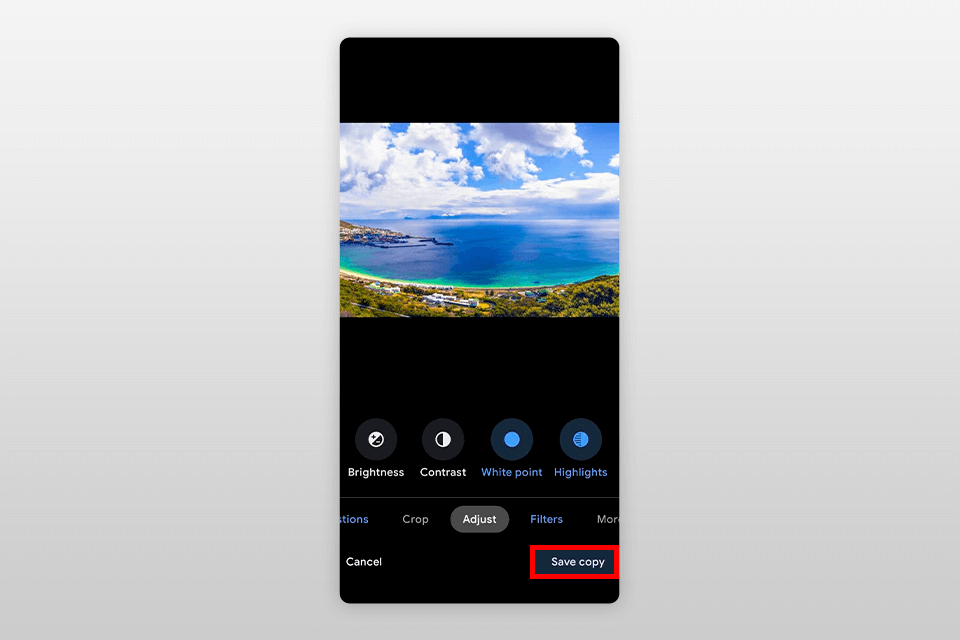
After you have edited a picture, a new version replaces the original. However, if you need to save both versions, don’t use the Save option. Click on the Menu icon at the top of the screen and choose Save Copy.
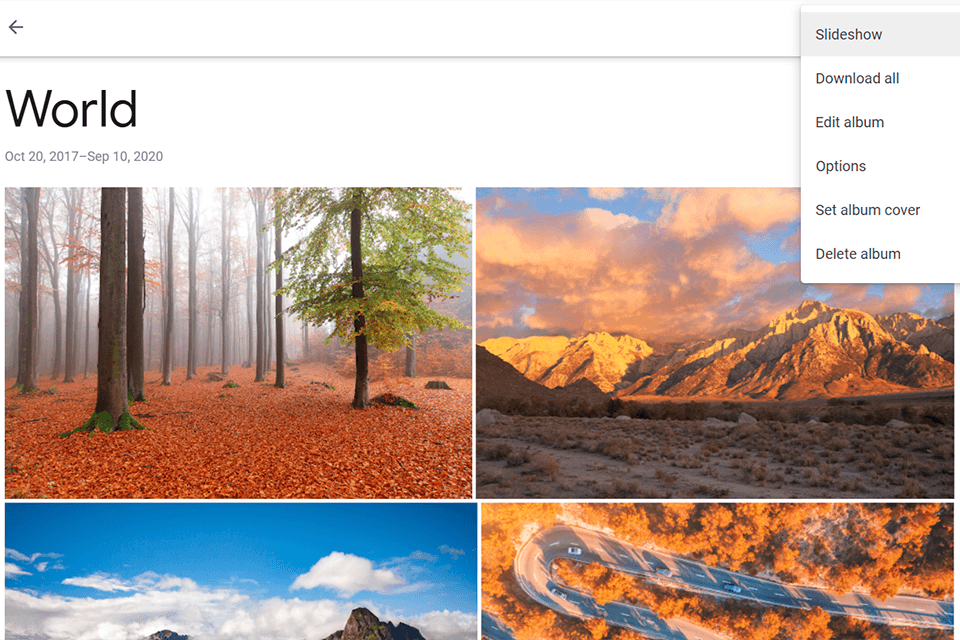
Find the Movie icon under Assistant. You can select up to 50 pictures or videos for your slideshow. Besides, you can add various filters and a soundtrack.
Then, you can share the results with your contacts or post them on social networks. To start a slideshow, find the vertical three-dot menu and press Slideshow.

Google Photoscan is a free mobile app for scanning old photos. After installing it, you will see it in the Google Photos menu. It can take photos of old printed pictures with your phone camera. This app minimizes glare, increases resolution, makes the edges of the original image more visible, and automatically saves the result.
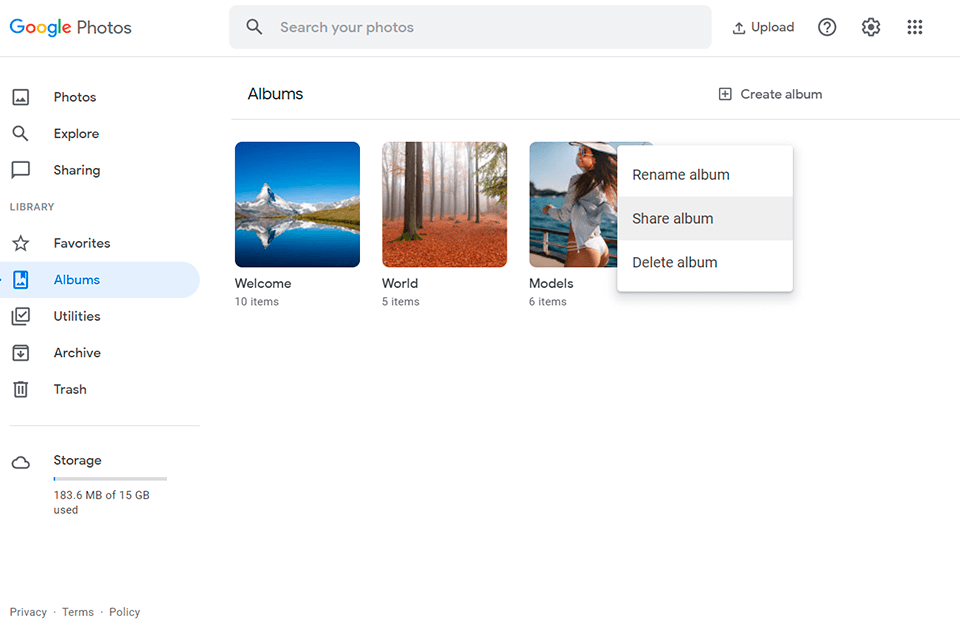
This app lets you easily share files with other people. Select an image or video and click on Share at the bottom of the menu. Also, you can post your files on Facebook, Snapchat, and Instagram.
The Android application allows you to share images with other people in Google Photos, open them in other apps on your phone, and use other popular cloud storage for photos.
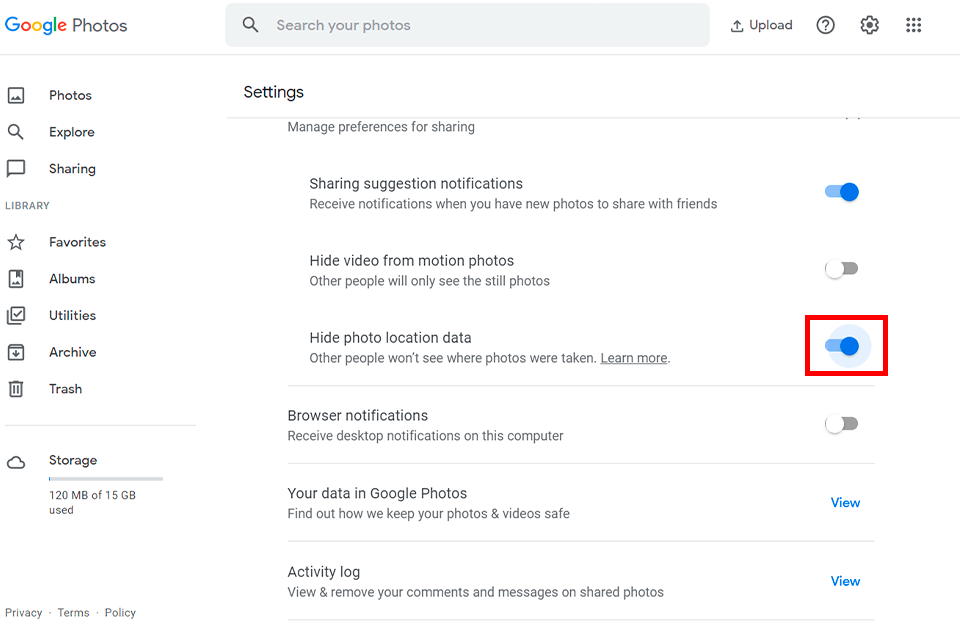
Google gathers the information about the location of your shots, which can be very useful for managing and searching your archive. However, when you share an image, you don’t always want a recipient to know where it was taken.
Go to Settings, open Sharing preferences and Remove geolocation in items shared by link. After that, a person who opens your image, won’t see any geo-location info. Keep in mind that this won’t work if you share your photos to social media.
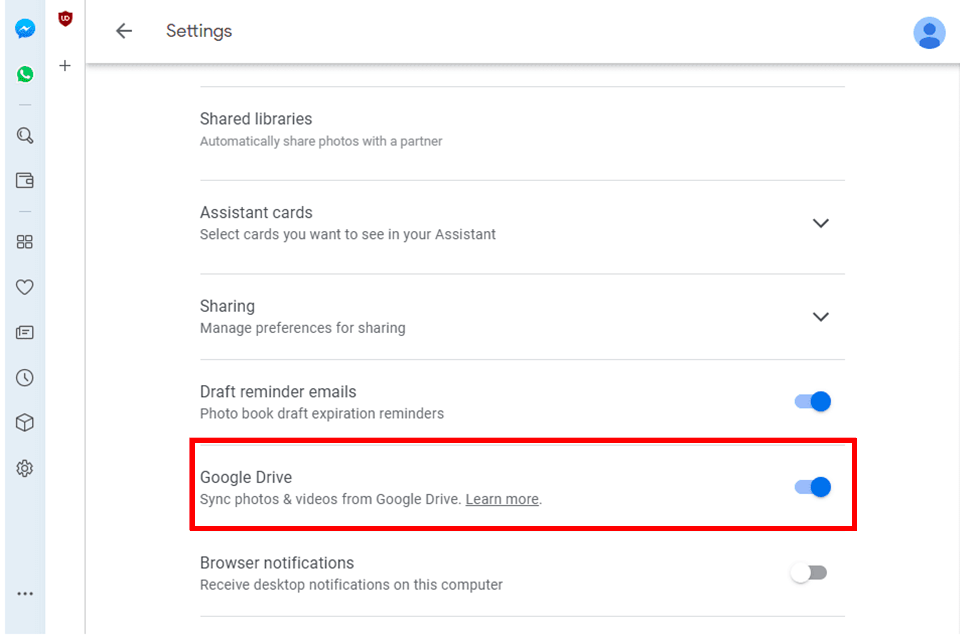
Google Drive is one of the most powerful file sharing services that can be synchronized with Google Photos. Go to your Settings and enable Google Drive. You can now view and edit your pictures and videos right in the app. After that, go to Google Drive, open Settings, and pick the Create Google Photos folder option to access your images on My Drive.

If you have Google’s Chromecast dongle or a Chromecast-enabled TV, you can display your files on a large screen. For this, tap the Cast button in the upper corner of the app. When the connection is established, tap on the file that you want to display on your TV. If you want to see a slideshow, open a picture, click on the menu, and press Slideshow.
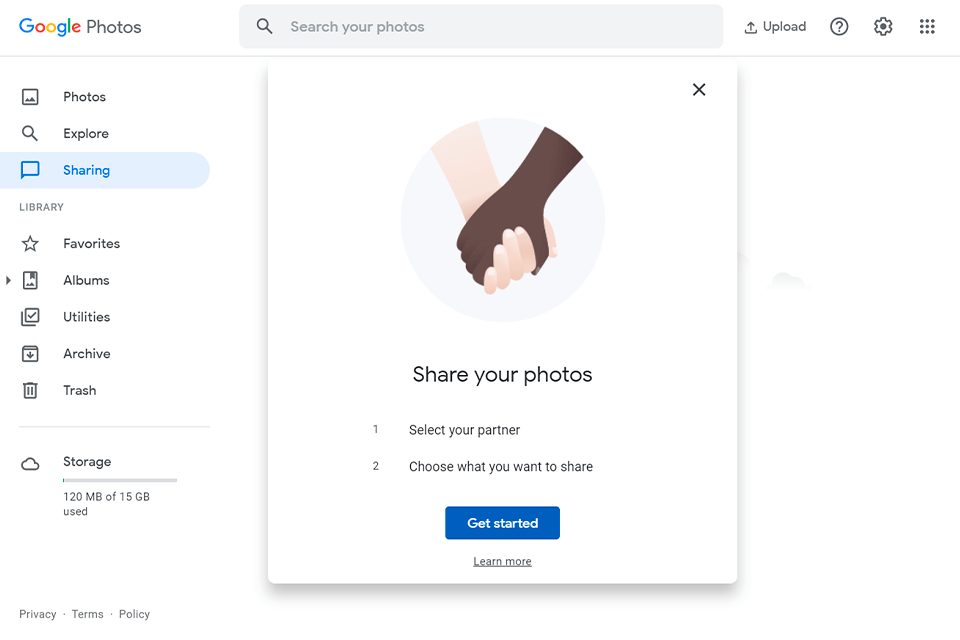
If you want to send your files to someone, you can add another person to your account. To do it, go to Settings, then find Shared Libraries, and click on Get Started.
Choose a person from the list of your contacts and select either “All photos” or “Specific People” to use an in-built facial recognition feature. It is also possible to share images from a specific date forward. After confirmation, your friend will have access to all your images or photos with a specific person.