Novice users often google this question as the process can be tricky if you just mastering the software. Zooming in and out an image, you can focus on a specific element. For example, you can make zoom in on a person’s face to eliminate wrinkles. If you are looking for a detailed and easy-to-comprehend guide on how to zoom in and out in Adobe Photoshop, make sure to read this article till the end.
After you open this photo enlargement software, you need to adjust the zoom level. This is actually the first stage of zooming in and out in Photoshop. At this point, you can learn the current level, define a new one, and learn how to keep the zoom level in focus.
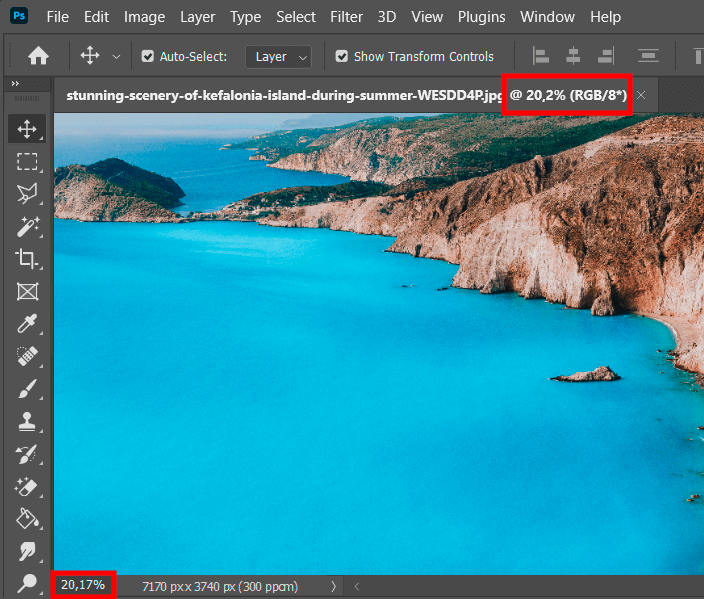
Before you start to zoom in Photoshop, you need to understand what the current level is. Open your file in the program. Ps displays the current zoom level in two different areas – on the document tab just above the image to the right of the file name and in the lower-left corner of the document window.
The zoom level displayed in the document tab at the top is needed only to inform users. So, it is impossible to change the value there. To make the tweaks, you need to move to the lower-left corner.
If you don’t know how to add a specific effect to images or you are just pressed for time to perform photo processing on your own, make use of image editing services offered by FixThePhoto. Experts can bring you life any idea with minimum time spent.
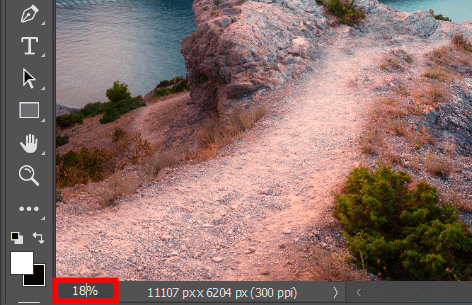
Click the current zoom level and enter a new value. You don't need to add a percent symbol (%) because Photoshop inserts it automatically. To apply changes, press Enter (Win)/Return (Mac).
People, who only learn how to use zoom Photoshop, often face the problem when the Zoom area loses focus after a new value has been applied. Thus, they need to click the current value again to select it before entering a new value. Fortunately, solving the problem is a no-brainer.
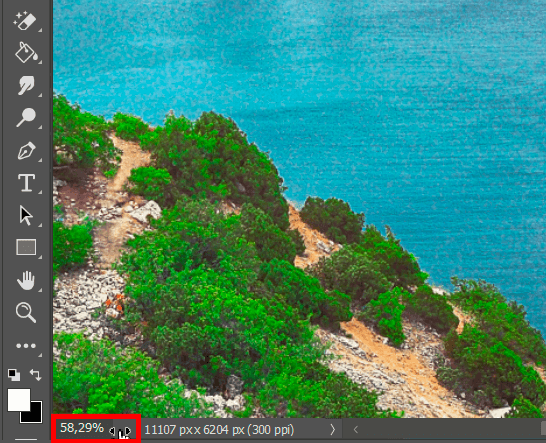
Just hold down the Shift key while pressing Enter (Win)/Return (Mac) to accept the value. The zoom level will remain selected.
This is another variant of how to zoom in Photoshop without much hassle. In fact, this is the fastest and the most straightforward method of how to cope with the task, which is bound to satisfy beginner users.
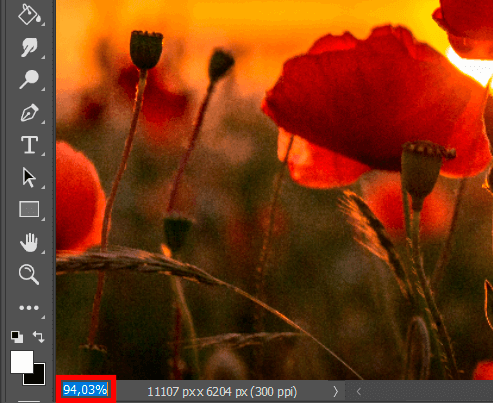
Hover your mouse over an input field, and then press and hold the Ctrl (Win)/Command (Mac). The mouse cursor will turn into a slider icon (a small hand with an arrow pointing left and right).
Click the input field and hold down the mouse button and drag leftwards/rightwards to increase or decrease the value in 1% increments. Alternatively, you can press Shift + Ctrl on the Win keyboard or use the Shift + Command combination on the Mac keyboard. Drag to change the value in 10% increments.
Looking through the menu tools, you’ll find some suitable for zooming in/out. Use the commands in the Menu to make a specific image part bigger or smaller.
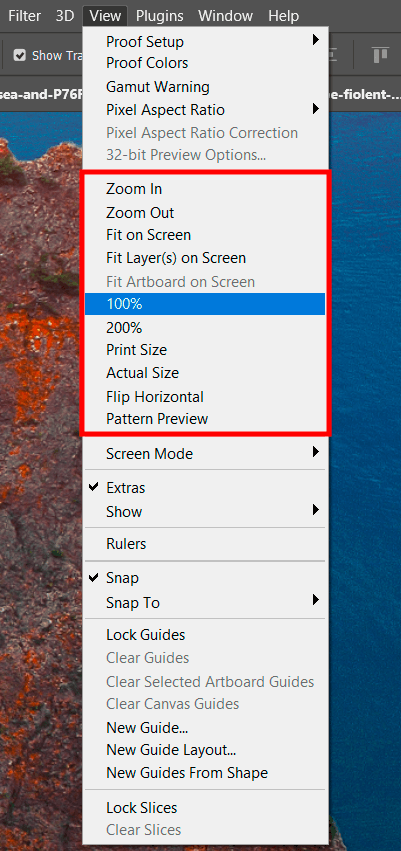
Open the "View" menu to change the zoom level via Zoom. Here you will see several options grouped together that allow controlling the size of the image preview.
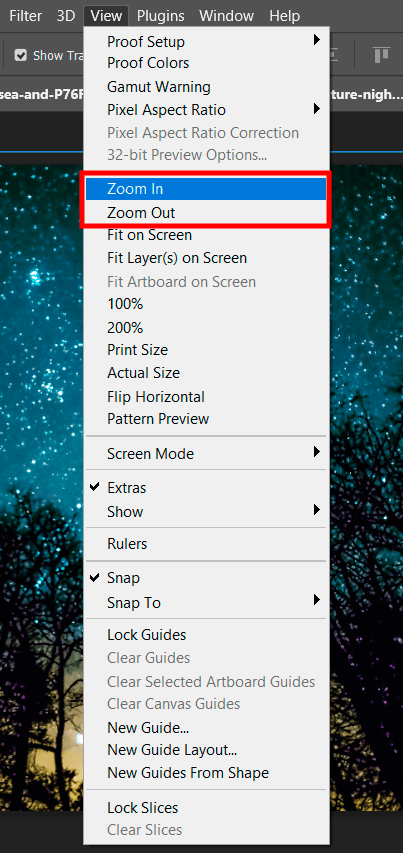
The first two options are "Zoom In" and "Zoom Out" – you can control them, using Photoshop keyboard shortcuts. The first is aimed at zooming in, while the second brings the opposite result.
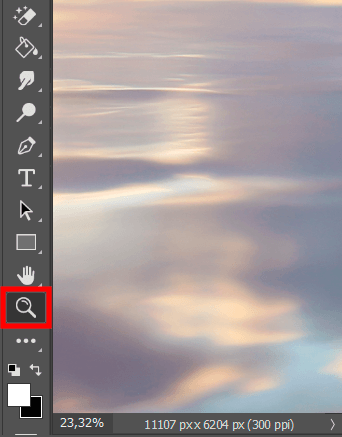
To access the “Zoom” tool, click the magnifying glass icon at the bottom of the toolbar on the left side of the screen. You can also press Z for instant access.
With the help of a 100% image view option, you can get the most accurate result possible. Thus, a program uses one pixel of a monitor to display one pixel of an image. Photo magnification depends on the size of a picture.

Using the instrument is a breeze. Click the “Zoom” tool, or go to “View” on the menu bar and select “100%”. Another method is to click Ctrl/Cmd + 1.
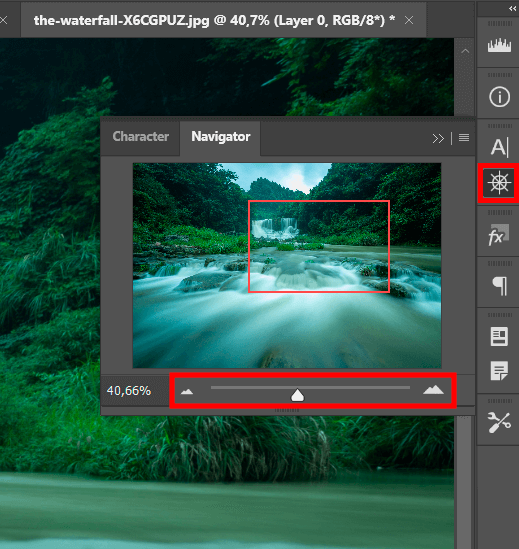
Use the navigator panel to see zoom in Photoshop. Click the ship's steering wheel icon on the right side of the screen. More it to the right to zoom in or drag it leftwards for the opposite effect. You can also achieve the same result by clicking on large/small mountains on both sides of the line.
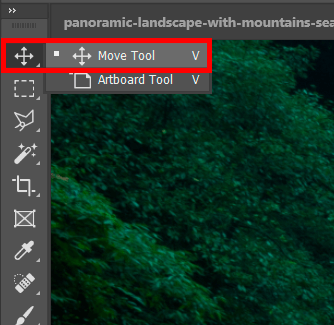
This approach is great for quick work. Select the “Move Tool” from the toolbar on the left or activate it by pressing V.
To zoom in or out, you can either click the magnifying glass icon several times or use the continuous zoom function, by ticking the “Animated Zoom” checkbox in the settings.
Select "Edit" from the menu bar at the top.
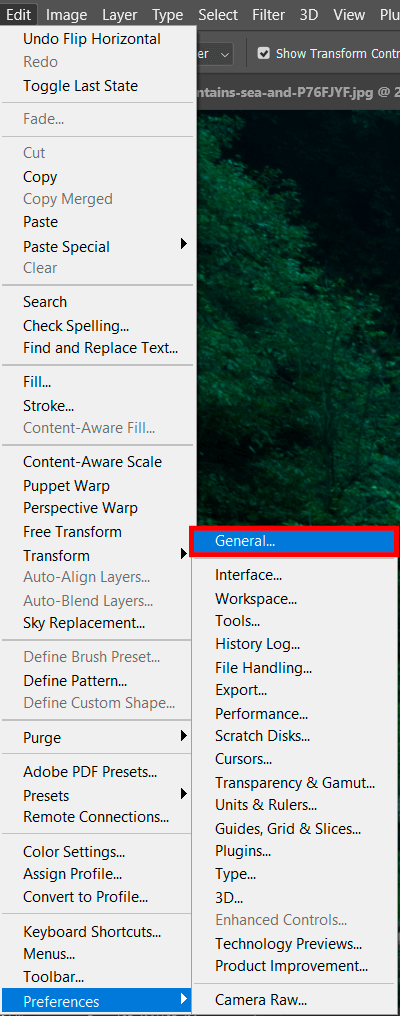
Hover over “Preferences” and select “General”. Click "Tools" on the left of the window that opens and make sure the "Animated Zoom" checkbox is checked.
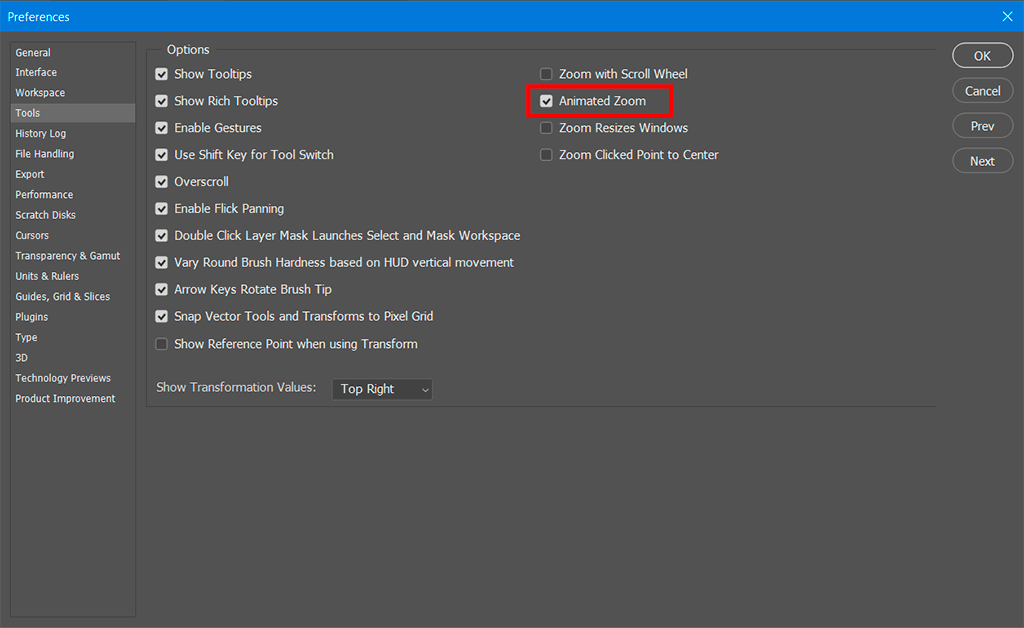
With this feature active, you can click and hold, and the screen will slowly zoom in until you release.

You can also use Scrubby Zoom in the options bar to zoom in Photoshop.
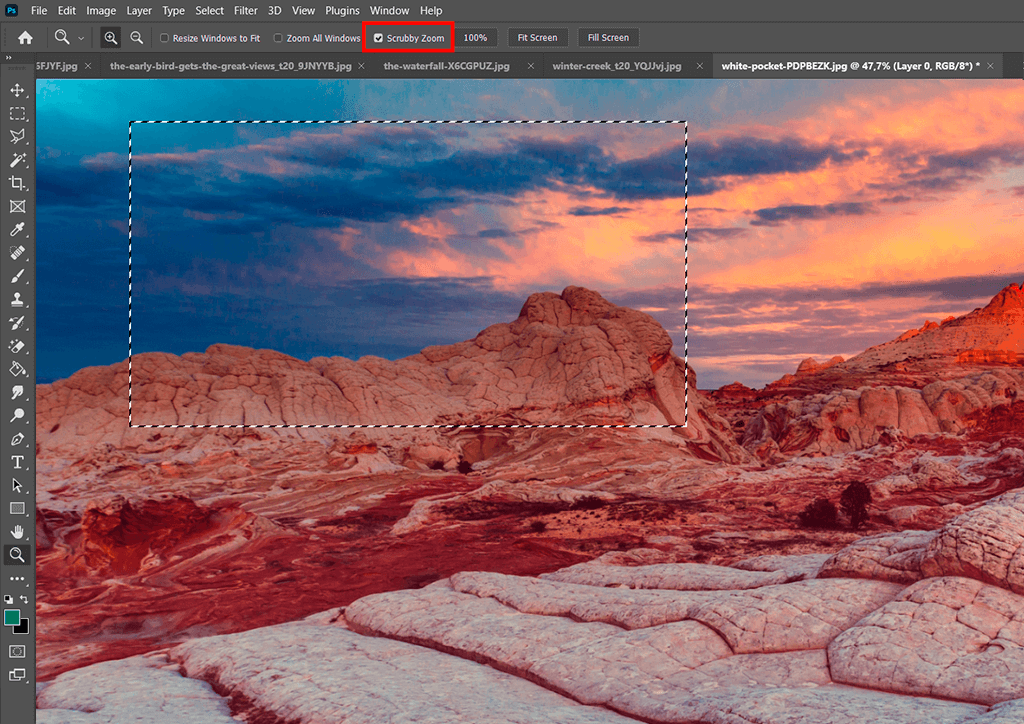
You can also enlarge the selection. Make sure the “Zoom” tool is active, and uncheck the “Scrubby Zoom” checkbox in the options bar at the top. Next, create a frame around the area you want to enlarge.
Another method that is bound to interest novices. For this option to work, make sure the "Zoom with Scroll Wheel" checkbox in the general settings is ticked. You can check this in a few steps.
Go to "Edit" on the menu bar and scroll to the bottom to hover a cursor over "Preferences". There will appear the menu > select "General" there.

In the window that opens, click Tools on the left. Then tick the "Zoom with Scroll Wheel" checkbox.
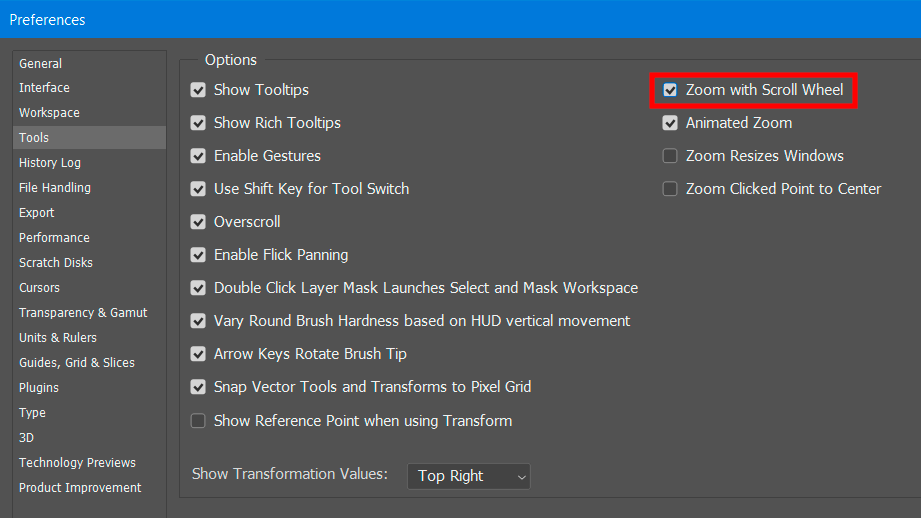
Then you can easily zoom in/out an image using a mouse scroll wheel. If you need to switch off this function, untick the corresponding checkbox.
If you want to speed up photo editing, download and use these actions. You can achieve an amazing result just in several clicks. Besides, you don’t need to read multiple guidelines and watch video tutorials to figure out how to install Photoshop actions. Everything is very intuitive. With the help of such filters, you can spruce up your images and give them unique touches.
Hold the Option/Alt key to access zoom and use the scroll wheel to zoom in and out. If you hold down Shift while working with the scroll wheel, you can restrict scaling to fixed percentage.
Select the "Zoom" tool from the toolbar. Go up to the top-left corner of the options bar and click the little arrow to the left of the zoom icons. Select "Reset Tool" from the drop-down menu.
Using Scrubby Zoom, precisely control how much and where you want to zoom in. Dragging the mouse to the left, you’ll zoom out. Don't forget to hover your cursor over the object you want to look at as the Scrubby Zoom will move to that area.
Choose “Window” > “Navigator”. Click an image to select it, then use the slider in the “Navigator” panel to adjust the magnification level.


