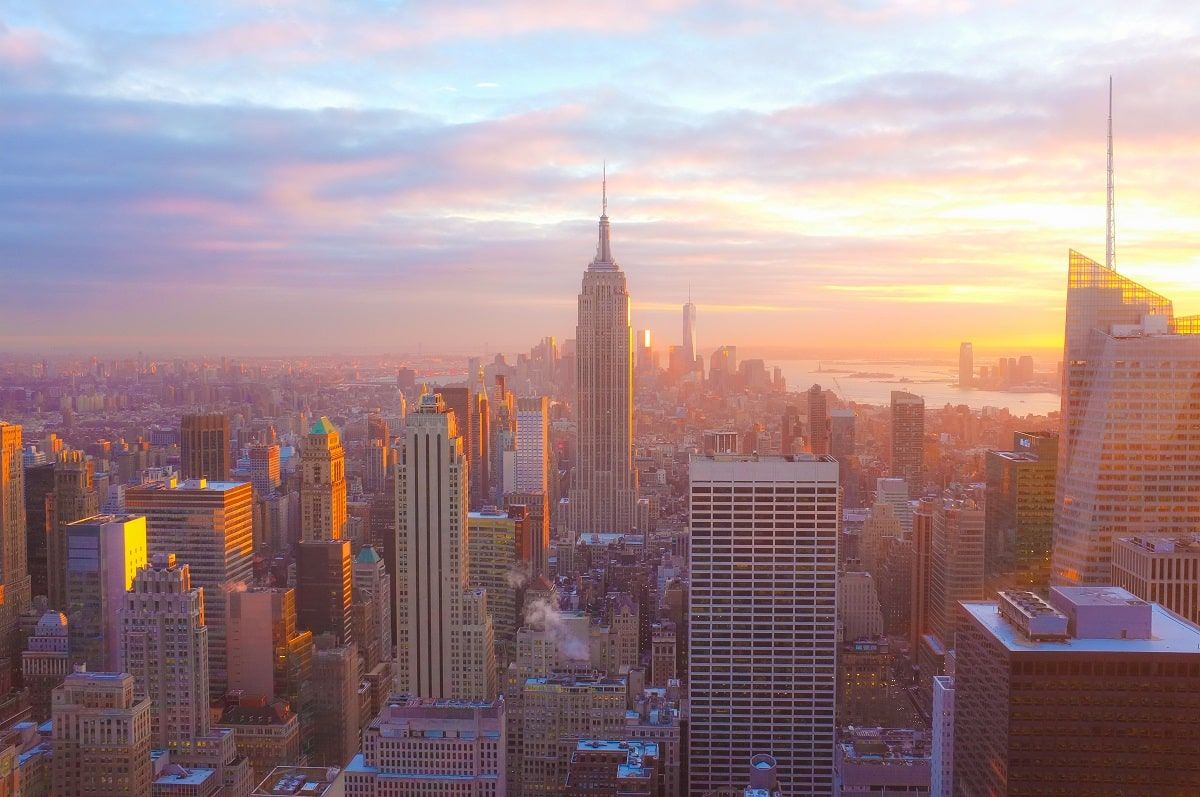
Somewhat similar to street and urban photography, cityscapes photography captures the urban vibe with its towering skyscrapers and antique architecture, wide spaces, and the smallest attributes.
The variety of subjects to shoot in this genre is almost endless, however, to do it properly, you first need to understand the parameters of the camera, lens, lighting, settings, and composition.
The right weather is one of the most important factors for getting really amazing cityscapes pictures. Before choosing a day to shoot, check the weather apps, for example, AccuWeather or RadarScope to make sure the weather doesn’t ruin your plans.
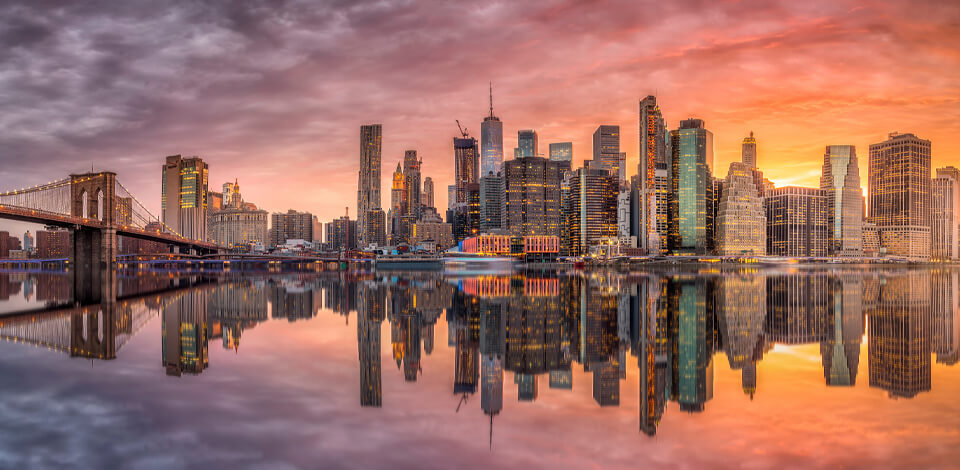
City scenes are mostly shot in natural light, but that doesn’t mean that only sunny weather can create the right conditions. Cloudy skies are a great gloomy backdrop that will highlight the majesty of the buildings, while the snowfall will add a fabulous and peaceful vibe to the ever-busy and noisy metropolis.
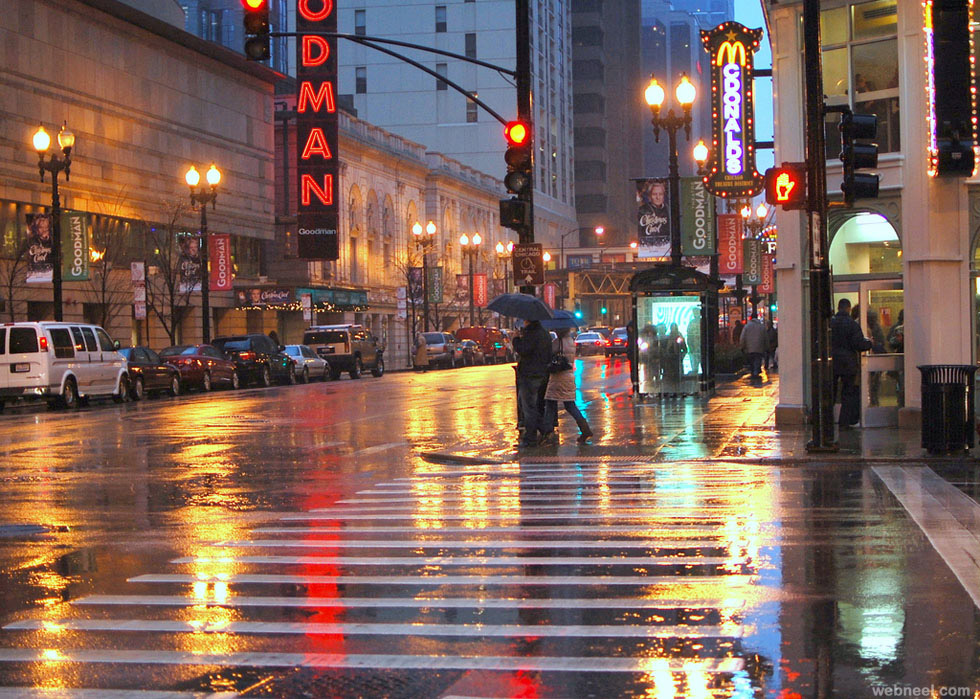
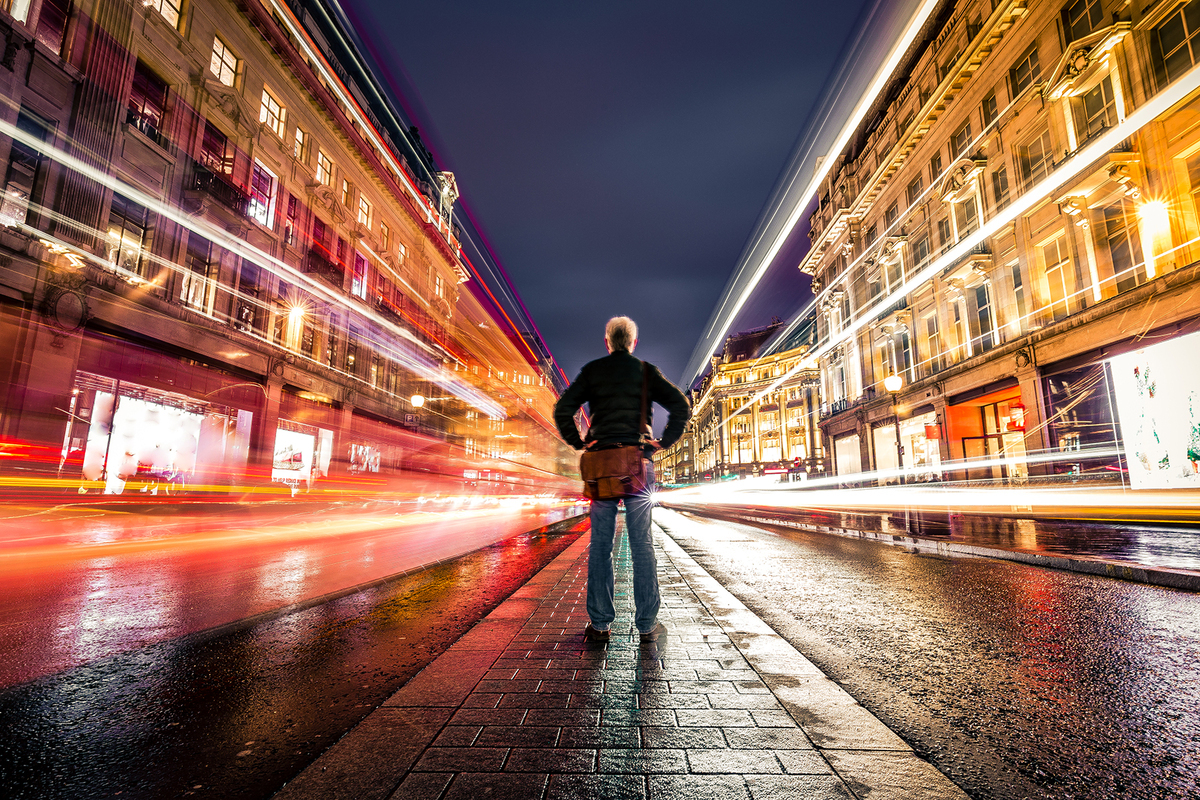
Photos of the city taken during and after the rain are also breathtaking, as the raindrops seem to reflect the light and create a soft glow.
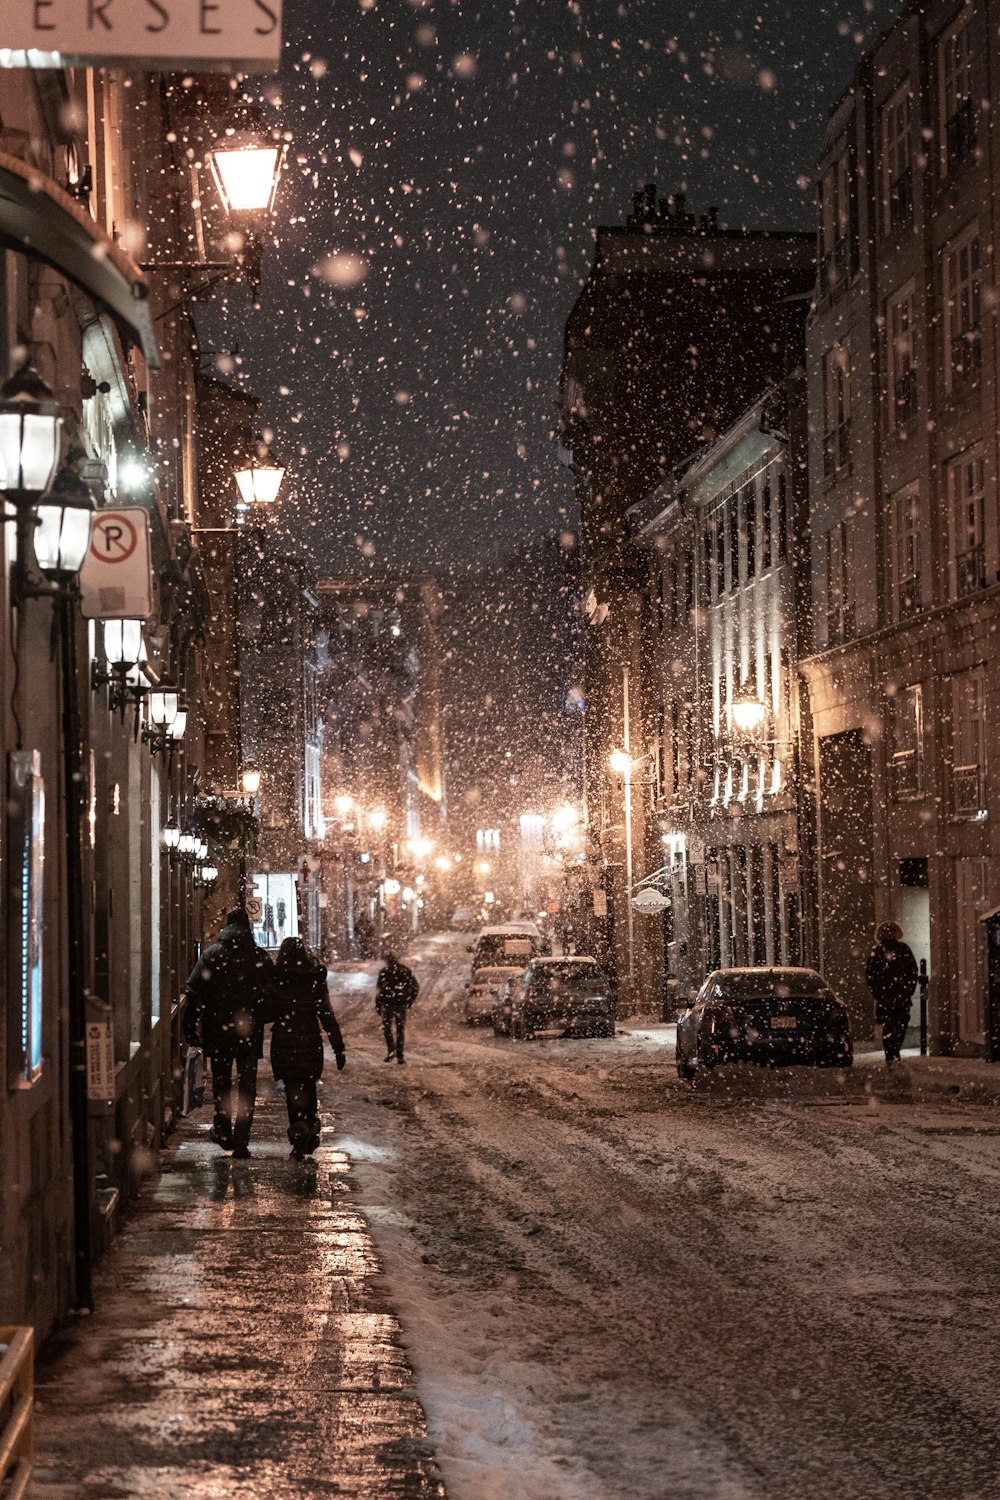
Night city – this is what fascinates perhaps the most. You can also try this kind of photography using night photography apps such as Dark Sky Finder and Deluxe Moon. With them, you can choose the time of the day and month, identify the stars, and predict the weather for your nighttime shooting.

To make landscape city photography stunning, the skyline should not be obscured by anything. This means that you need to move far enough away from the scene you want to capture.
Street photographers opt for useful photo spot apps to find suitable locations. I suggest looking into Google Street View, NoFilter, and Photomapper which offer a map of the area with a topographical view.
While a DSLR is a top-shelf invention with unparalleled innovation and performance, I still advise you to take a closer look at the mirrorless camera.

The main advantage of such a camera is its lightweight and portability. It will be much more convenient for you to carry it walking around the city and it is impossible to imagine pictures of cityscapes made without walking.
That is why it makes sense to think about your comfort and get one of the highest quality street photography cameras, like Fujifilm X-T3 or Sony A7 III.
Short or wide-angle lenses can fit more space and objects into the frame, and make your composition deeper. Worthy representatives of this type are Nikon 10-20mm and Rokinon 14mm. In addition to the above, they can also create an eye-catching near-far effect.

Unlike a wide-angle lens, a telephoto lens, on the contrary, reduces the depth of the scene and compresses the captured objects into a single picture. They are also called long lenses and they do a great job with cityscapes.
I suggest looking into options like Sony FE 200-600mm and Sigma 150-600mm. What’s more, the telephoto lens allows for shooting a scene from a distance, which is perfect if you are going to shoot the skyline, picturesque parks, and rolling landscapes.
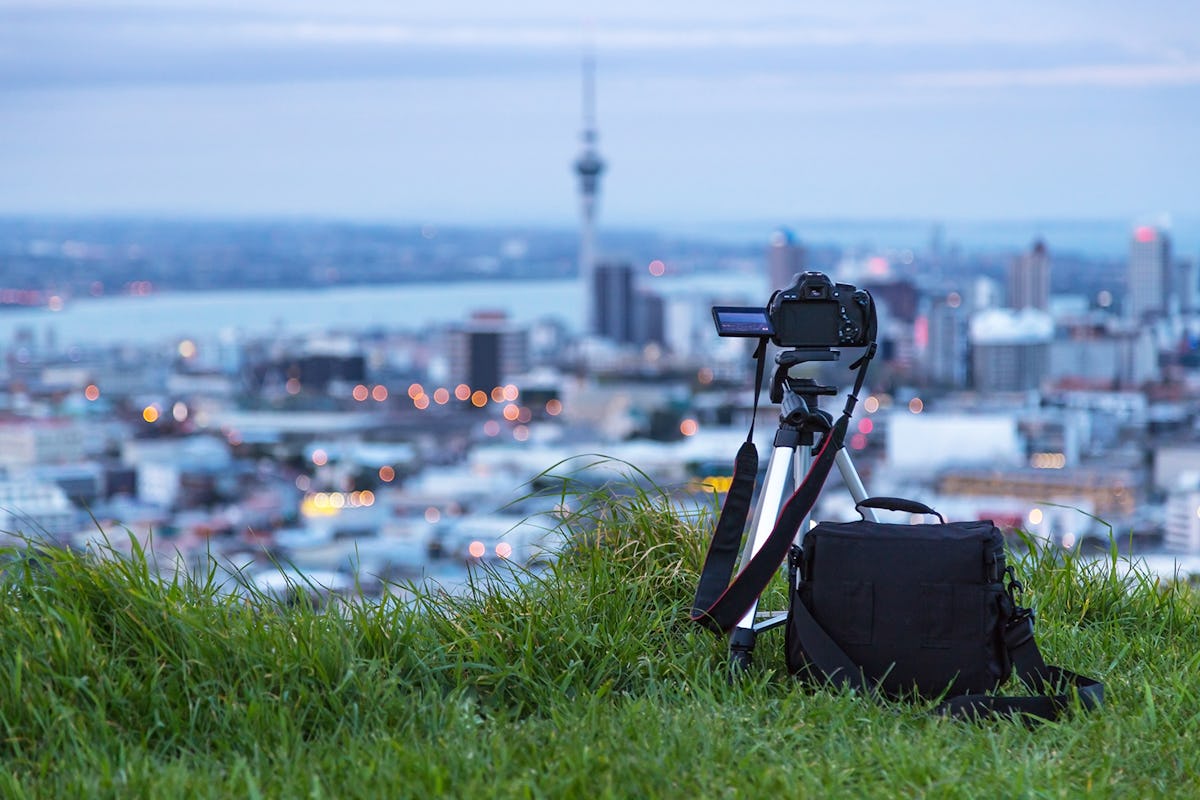
To keep your camera still and enjoy super crisp shots, you need a tripod. It can be either a travel tripod or a flexible tripod, depending on your goals and what you are more comfortable with. I also highly recommend getting hands-free shutter releases when you are making cityscapes pictures.
If you are shooting landscape city photography from a distance, from a mile or more, then a polarizing filter https://amzn.to/3lKTuR9 (Polarizing Filter on Amazon) is something you cannot do without. The further you shoot, the more important the polarization of the captured light becomes.
Your resulting photos will still be a bit soft and slightly hazy, however, bypassing the polarizing filter, the photo would be spoiled. It also makes sense to use it when shooting buildings that are close to you, as it will help make the photo less hazy and make buildings further away clearer.
To make your pictures of cityscapes look as sharp as possible, adjust the f-stop settings for maximum depth of field. To begin with, set your aperture to f/8 and gradually increase it. The larger you set the value, the smaller your aperture will be and the clearer and sharper the captured scene will be.
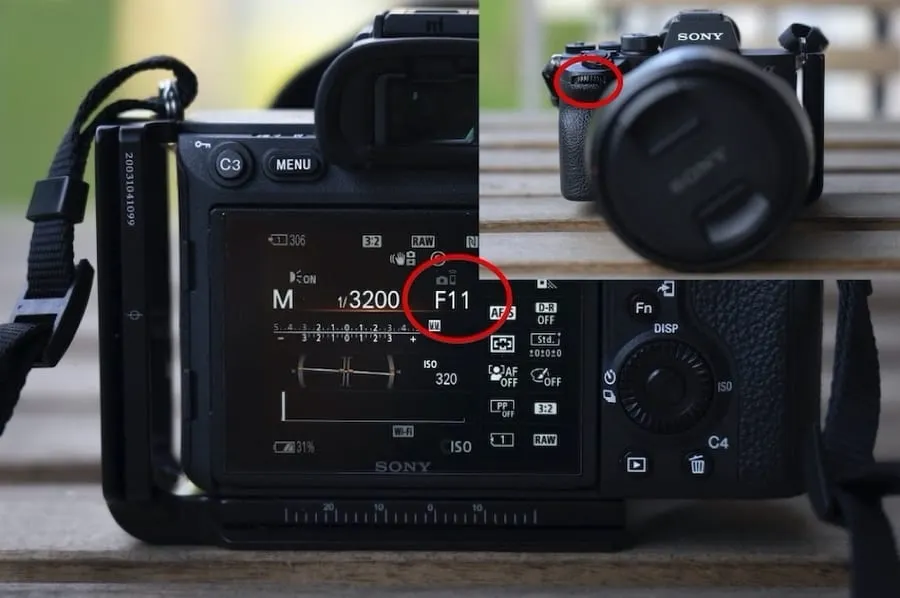
The next step is to reduce the ISO as much as possible. The lower your ISO value, the less noisy and sharper the picture will be.
Using the manual mode for urban photography is only optimal when shooting at night. This is because in such conditions it is very difficult to set the correct exposure, and there is simply not enough time to do this.
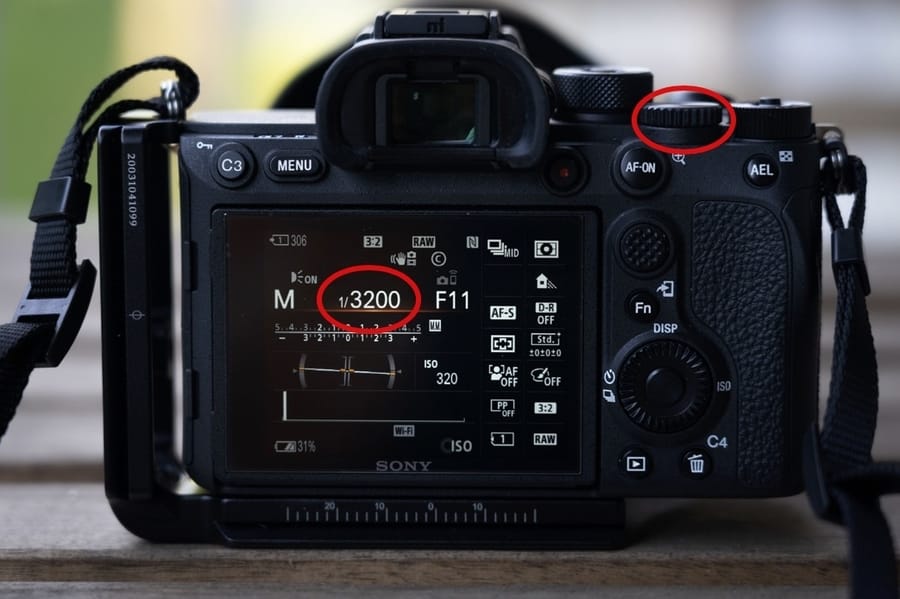
To keep your shot completely sharp, opt for the maximum depth of field. Just increase the ISO no higher than 3200 and set a shorter shutter speed – these are the basic conditions for shooting at night.
If the wind picked up on the day of shooting cityscapes pictures, it may well blur your long exposure shots. It is better to wait until the wind has died down, however, you can try other settings by reducing the shutter speed in particular.
Instead of a 30-second exposure at risk of failing in windy conditions, opt for an 8-second exposure that is easier to produce.
At the same time, long exposure photography is a great way to add creativity and eye-catching dynamic effects to your photo shoot. Use it if your shots include busy car traffic or hurrying people, and you will see what beautiful photos you get as a result.
If you want to draw the viewer’s attention to a particular subject, try the frames in photography technique.

Be sure to follow the rule of thirds when composing your landscape city photography. This means placing your subject in the right or left third so that the other two are freer.
Experiment with where the horizon appears in your frame, this will also help you achieve interesting results. You can highlight city landmarks using these techniques. Isolating individual buildings with windows, doors, trees, and other buildings from the rest of the city is something worth trying as well.
Think about how to combine different techniques to make your audience see a familiar city in a new way.
What’s in the foreground of your photo is just as important as the city scene itself. Play around with foreground points of interest while framing your shot.

One of the most exciting composition techniques involves placing the camera very low off the ground and tilting it up a little.
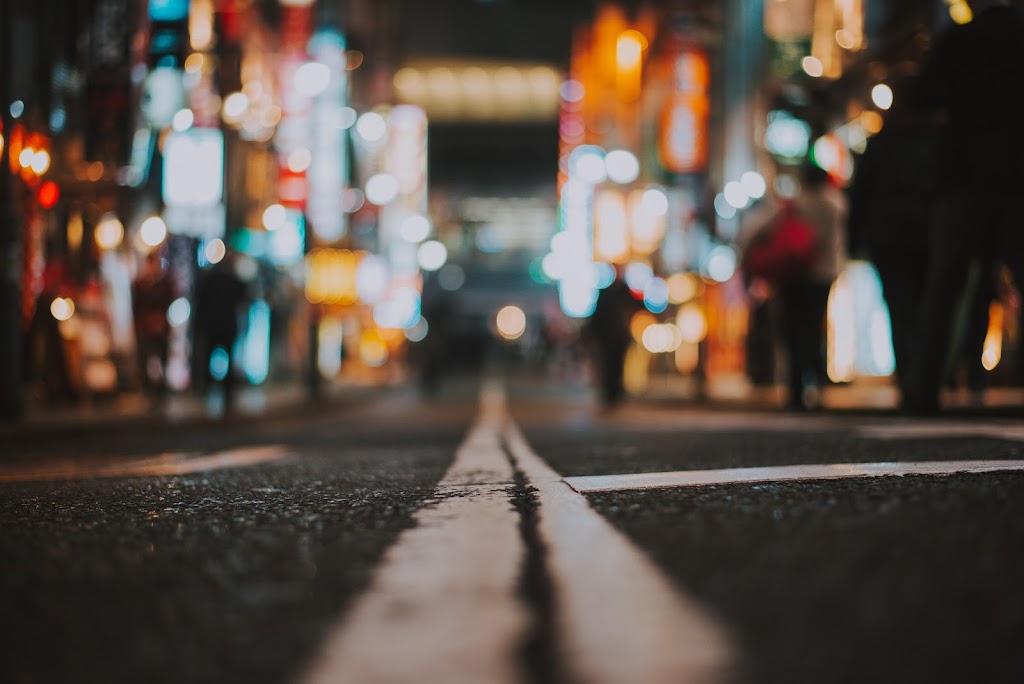
Your pictures of cityscapes taken with this technique will look better with a macro lens, e.g. Canon EF-S 35mm and Tamron 90mm are pretty decent options.

The essence of the leading lines technique lies in figuring objects when the lines indicate the object that the viewer’s eye will follow. This helps keep your viewers’ attention on the subject, creating a brighter and more visible image.
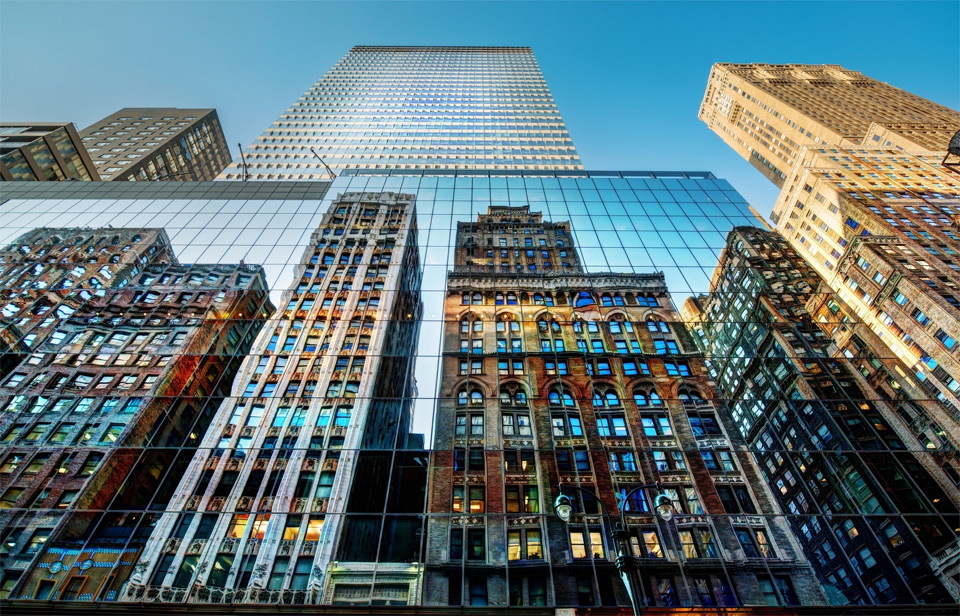
However, by creating converging lines, you run the risk of creating the impression that the building falls backward. This happens when pointing the camera up at a building. To create a proper perspective, try to take cityscapes photography from a distance.

Buildings are a combination of different geometric shapes, which means you have to pay attention to the direction and intensity of sunlight when capturing them. Intense daylight is, of course, very moody and difficult to cope with, however, if you cope with this task, then your cityscapes pictures will look simply breathtaking.
On the contrary, shooting into the sun will de-emphasize and darken your cityscapes. Do not shoot in such conditions, so as not to spoil your photos.
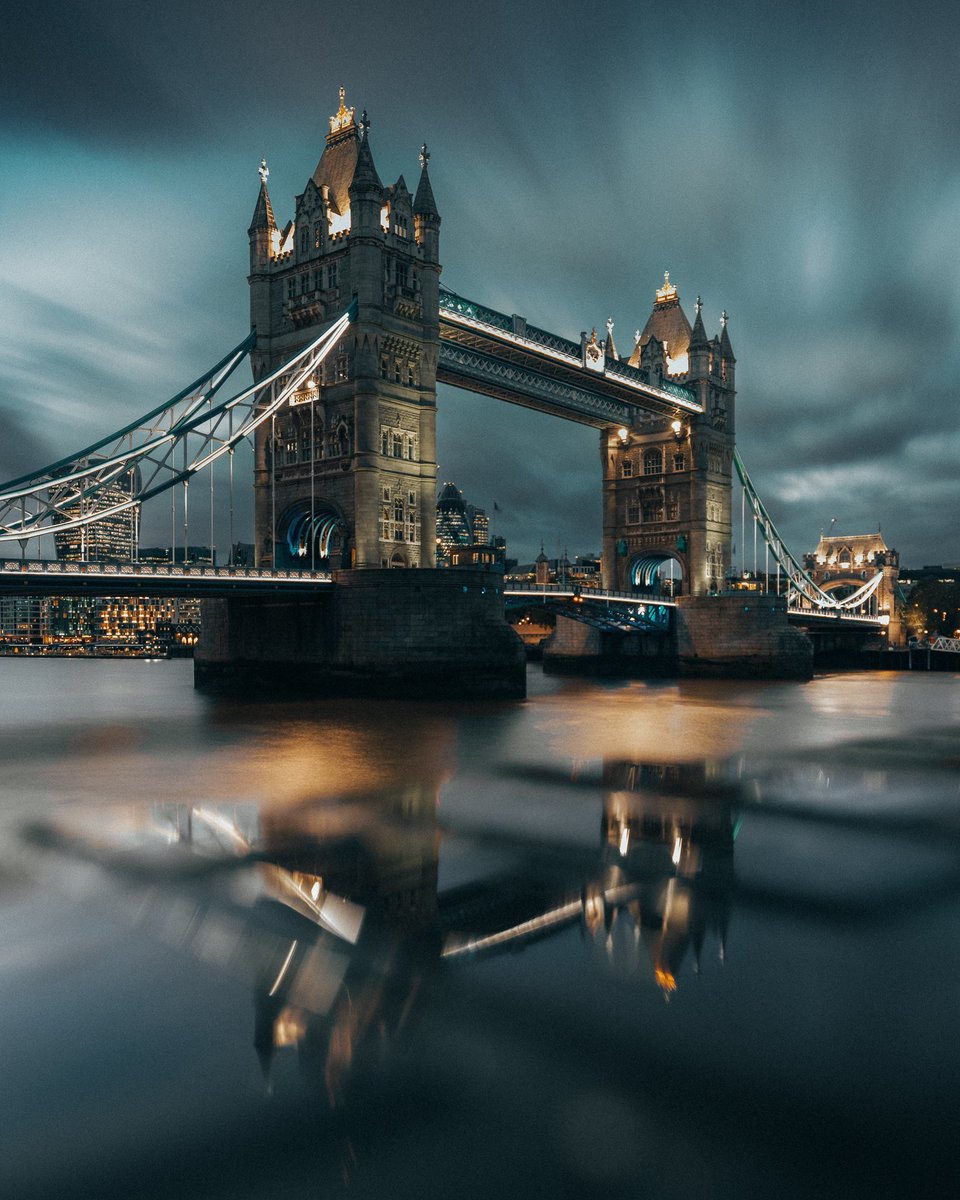
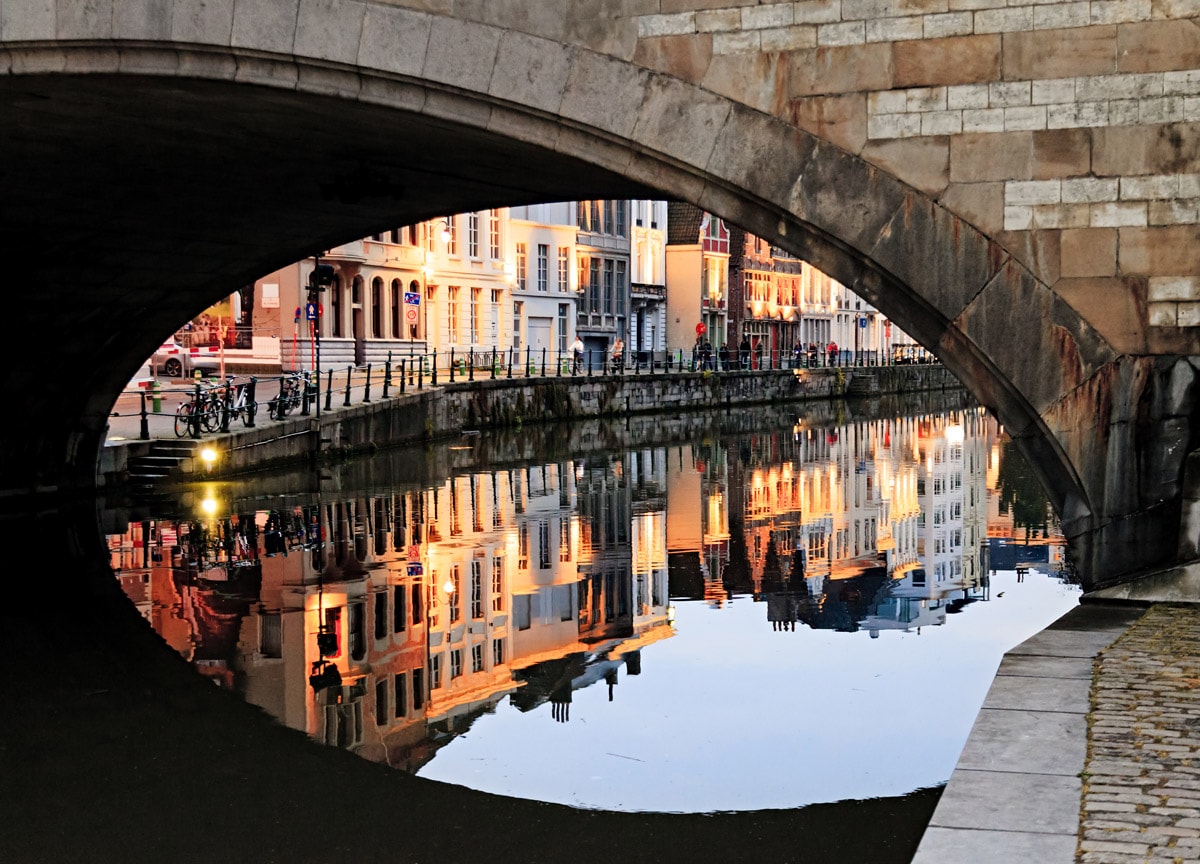
Reflections in water photos is a great way to bring symmetry, balance, and depth to your city shot. Embankments and bridges over rivers lined with beautiful buildings are the perfect places to capture these photos.
Create abstract effects in reflections from windows, puddles, and other reflective surfaces. Don’t forget the polarizing filter to help you keep reflections under control. As you rotate the filter, watch the reflections appear and disappear in the windows and water.
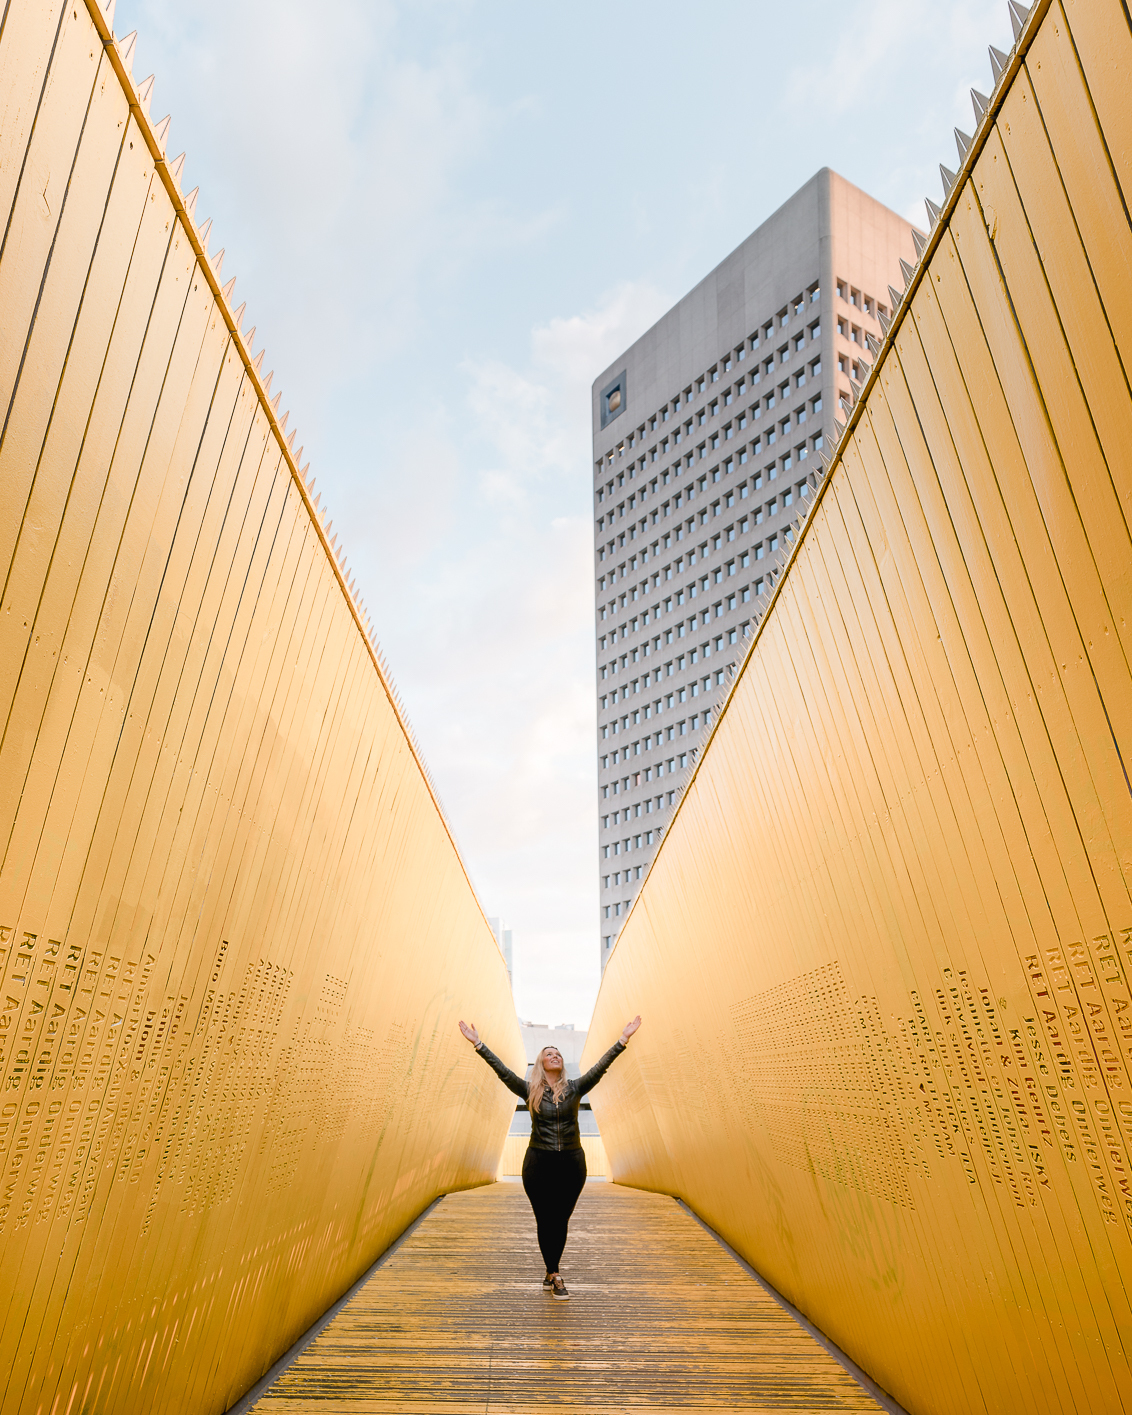
As a rule, photographers avoid capturing people in their landscape city photography, however, this is not always possible and you just need to accept the crowd as an integral part of city life.

Try to turn this disadvantage as it seemed at first glance into an advantage. A small person in front of a huge stately building is a great way to emphasize its impressive scale, adding a person for contrast. Such an effect with a focus on the immensity of the building will look spectacular in the frame.
If you’re taking pictures like this, don’t forget to switch to camera settings for portraits instead of cityscape ones. If you like photos taken with a low shutter speed, then an eye-catching dynamic effect will look great not only in busy traffic but also with a hurrying crowd.
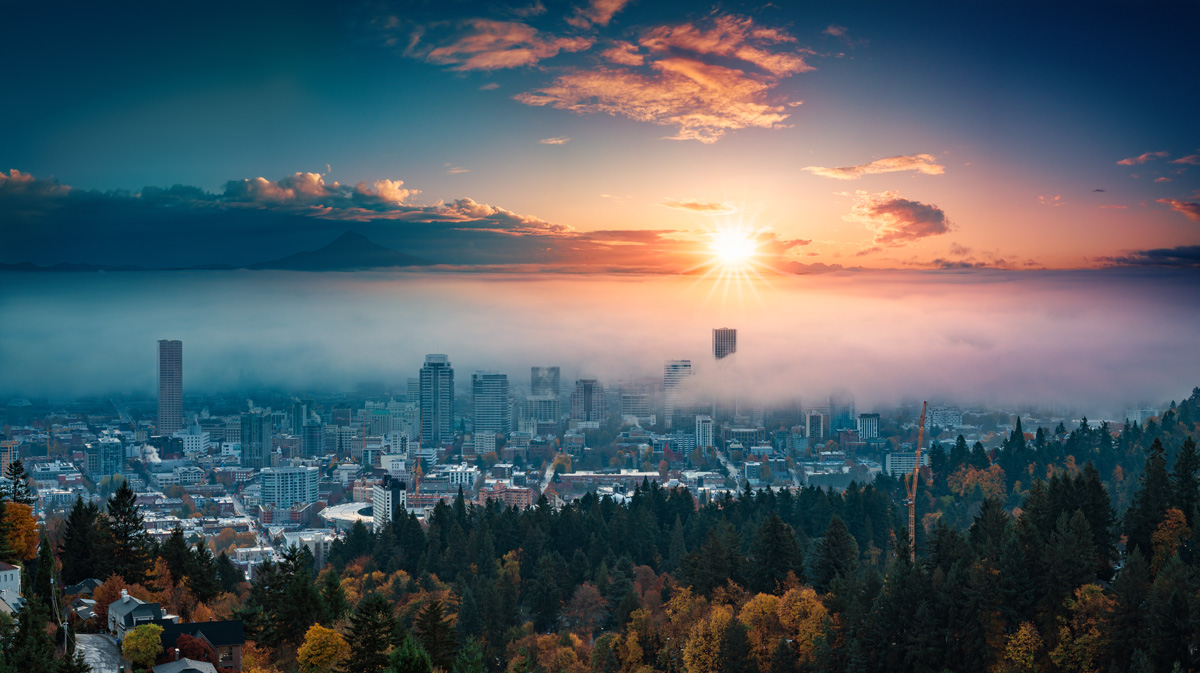
Golden hour is the period after sunrise and before sunset when it shines softly. This kind of a gentle glow is a great decoration for any genre of photography, and cityscapes photography is no exception here, especially if you catch the reflections of buildings in the water.

To find out exactly what time the golden hour will be in your city, I recommend an application like GoldenHour.One.

The blue hour is the period after sunset lasting from five to forty minutes. These are also ideal conditions for capturing the reflection of the city.
As a rule, we look at the city from ground level, but if you change the viewing angle, it gives new incredible impressions and views. You can climb the tourist viewpoints on top of some of the skyscrapers for breathtaking pictures of cityscapes.
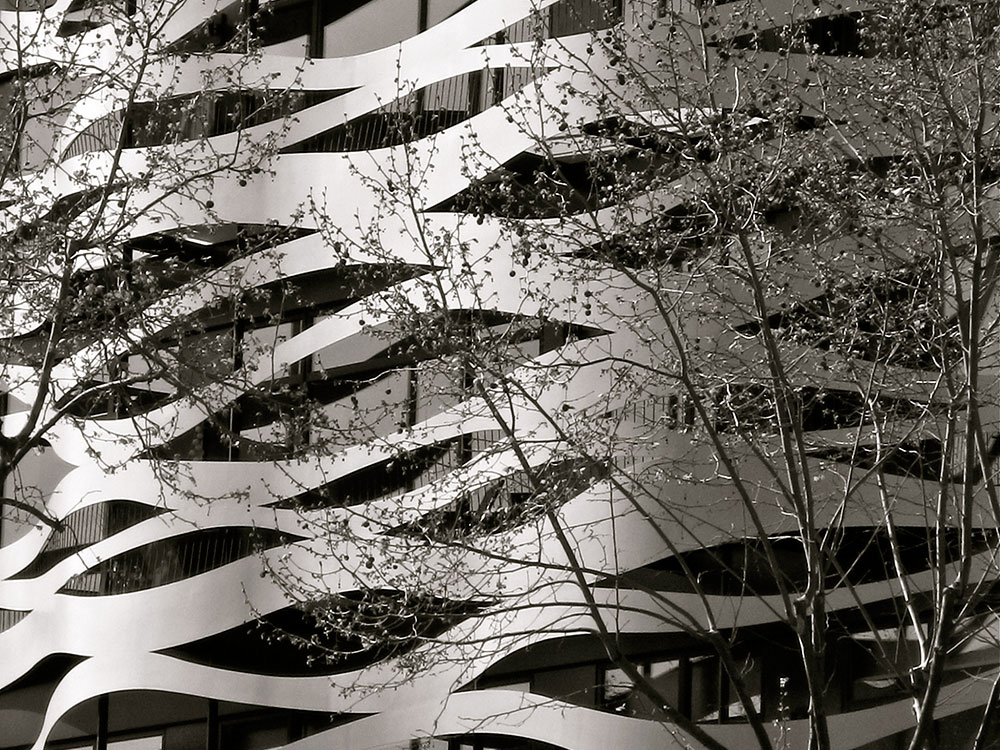
Patterns can add a new dimension to your urban shots and make them visually more rhythmic and harmonious. Trying to capture the urban vibe from the point of view of its inhabitants, it makes sense for a photographer to add touches of nature photography, like patterns of intertwined branches.
Exposure compensation is a great method to level camera exposure, which is determined by the photographic exposure meter. Using this, you can adjust one of the three parts of the exposure triangle (shutter speed, aperture, or ISO), making your photo brighter or dimmer.
Exposure compensation can be adjusted within 1/3 or 1/2 EV. Each full stop changes the amount of light captured by the sensor two times. When you drag the exposure slider one point in the desired direction, you will see that the brightness is twice as bright as at normal settings.

If you shoot with an off-white balance, you will end up with unattractive whites and yellows that will make your landscape city photography look worse than it could be. You can set the proper temperature for your image using the white balance tool, which is provided in any photo editing software.
In Lightroom, this tool is designed to be extremely easy to use – just grab a dropper and point it at any part of the image to fix any temperature issues.

I always encourage photographers to play around with contrast settings. This useful setting allows for separating the darker parts from the brighter parts, which will make your pictures of cityscapes even more attractive.
Experiments with contrast will look especially spectacular on black and white photography, as it is easy to achieve a more conspicuous or calm look with it.
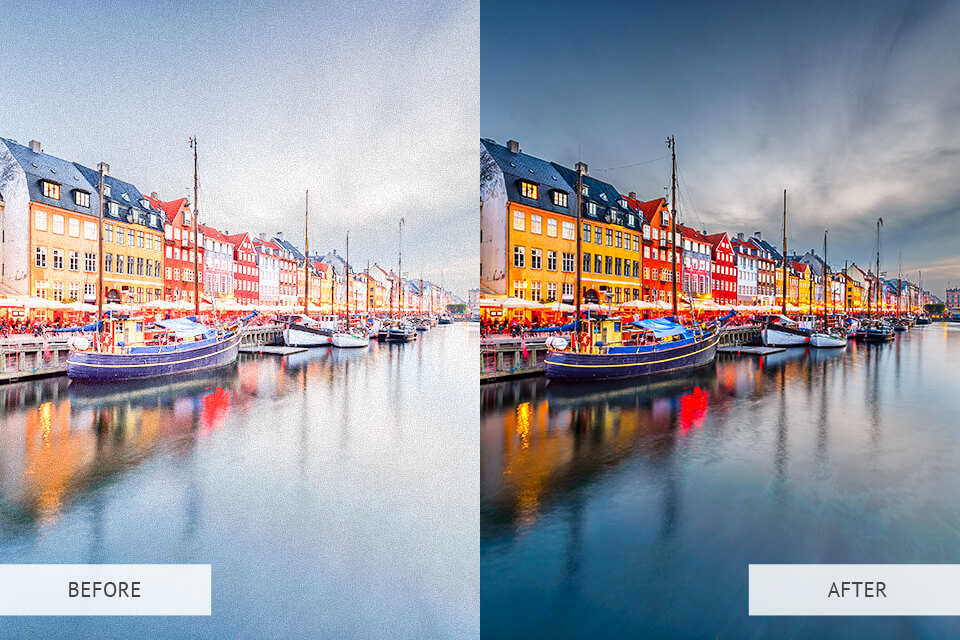
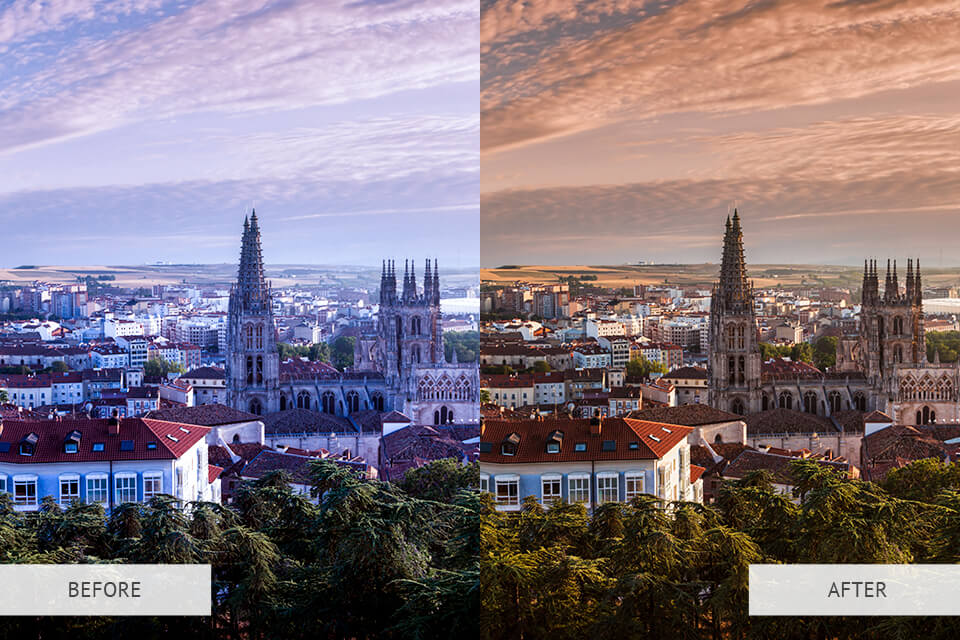
If you don’t want to rack your brains on how best to enhance your city shots, then try these ready-to-use pro-level presets designed specifically for cityscapes photography. After you add presets to Lightroom, you will see how fast and easily you can now improve your photos.


