
To capture reflections in water photography, you will need to use a DSLR camera. However, it’s important to pay attention to several things to ensure that our photos will look professional. Make sure to get ready for shooting. You will need to select a location and the right angle as well as create a well-balanced composition in the frame. Use these tips to take stunning photos of landscapes with reflections in the water.
What makes reflections in water photography picture-perfect is that they mirror the main subject in the frame, thus allowing you to achieve an unusual effect when taking photos.
Many surfaces have reflective capabilities. However, uneven surfaces cause light to be scattered in different directions, which may result in a blurry image.
Calm water is flat, which allows you to capture perfect images with clear reflections. Reflected light creates an ideal mirrored image that looks great in the frame.
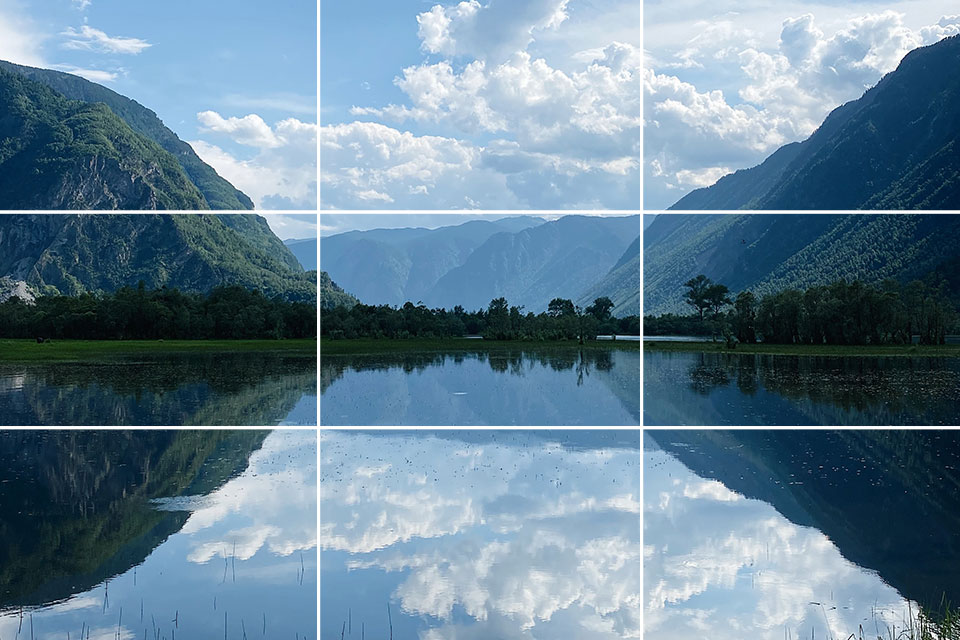
Regardless of the photography type you prefer, you need to pay attention to the composition. You need to consider what is being reflected and how an object looks in the frame. Make sure to use the rule of thirds. If you follow it, your objects will remain at the intersection of parallel lines.
There are many objects that look great when you use the rule of thirds in photography, such as forest landscapes, city lights at night, mountains, birds, the reflection of a ship, etc.

You need to learn how to select the right camera angle. When taking photos of landscapes, check if the water surface is in the bottom part of the frame and the ground with the object is in the top part of the frame. For instance, in photos of mountains, you will a clear division between two areas. Tilt your camera to ensure that two parts of your image are equal.
Besides, you can move to the right and to the left to change the angle of reflection. It will be especially useful when you need to capture interesting shadows and flare.

To take a good shot, wait until the water surface becomes calm. You can use a short exposure, however, when it comes to water reflection photography, it’s better to take photos when there is no wind.
Another great solution would be to use dedicated weather apps, for instance, AccuWeather and RadarScope. Using them, you will be able to learn whether you should expect rain or other unfavorable weather conditions that might spoil your shooting.
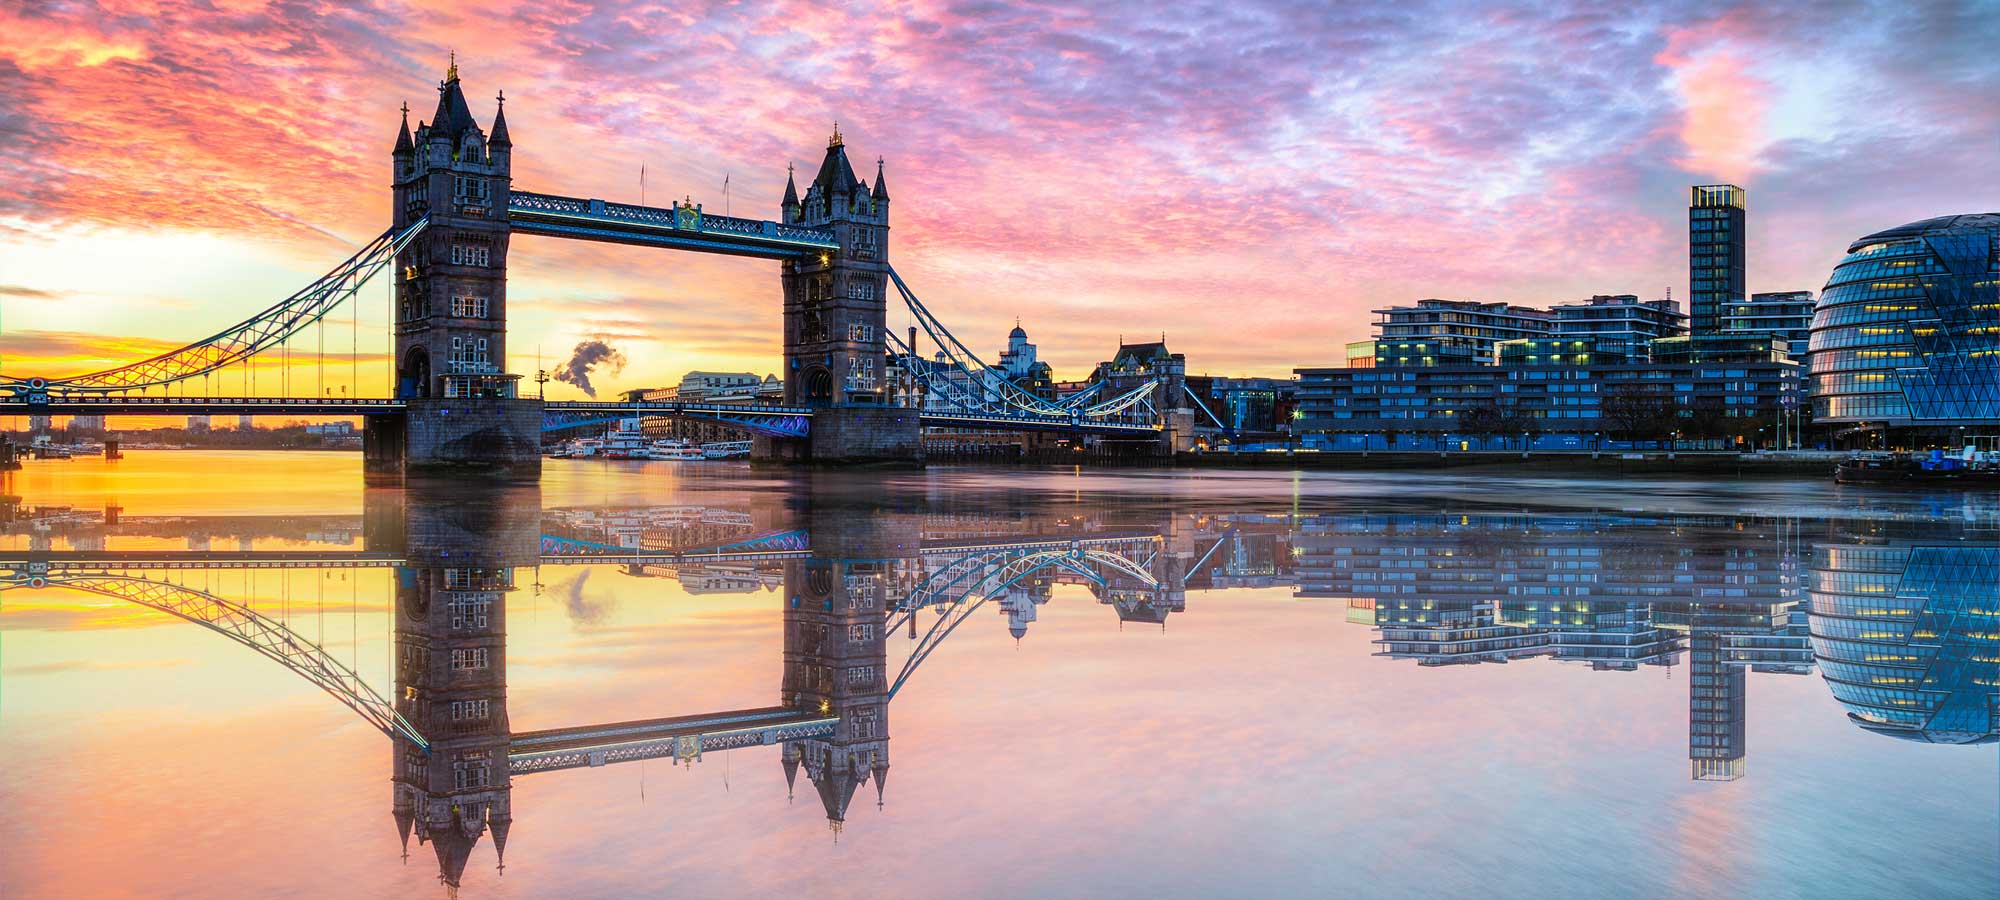
Avoid taking photos at noon when the sun is high as it may cause a light flare. It’s better to take photos in the evening or in the morning. It will also allow you to capture the reflection of soft pastel light in the water.
Photos taken early in the morning often have the most beautiful look as warm tones are reflected in cold tones of shadowy water. When the light falls onto the main object and the water surface remains in the shadow, it allows you to take mesmerizing shots.

When taking landscape photos with reflections, you might notice that the 3:2 aspect ratio is not always suitable. In this case, try using the 3:1 aspect ratio for taking panoramic shots. You can also crop your image using any photo editing software.
Besides, you can stitch several shots together to create a high-resolution panorama. For a better result, use photos with 30% overlap.
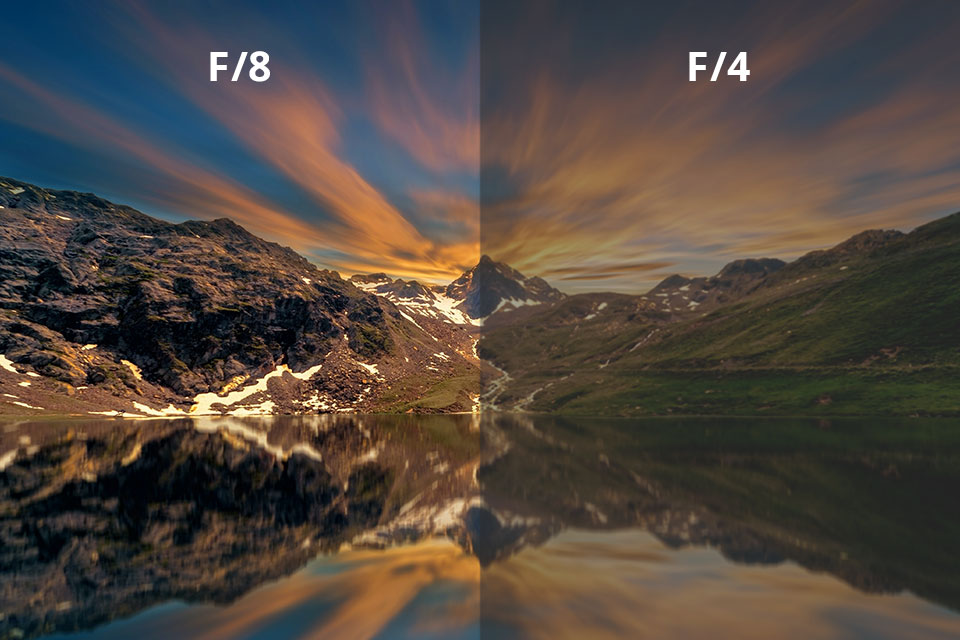
To capture a reflection in water, you need to use your camera in Manual mode. Set the aperture to f/11 when taking landscape photos. For smaller objects, it’s better to use an aperture of f/5.6. It will allow you to emphasize the details.
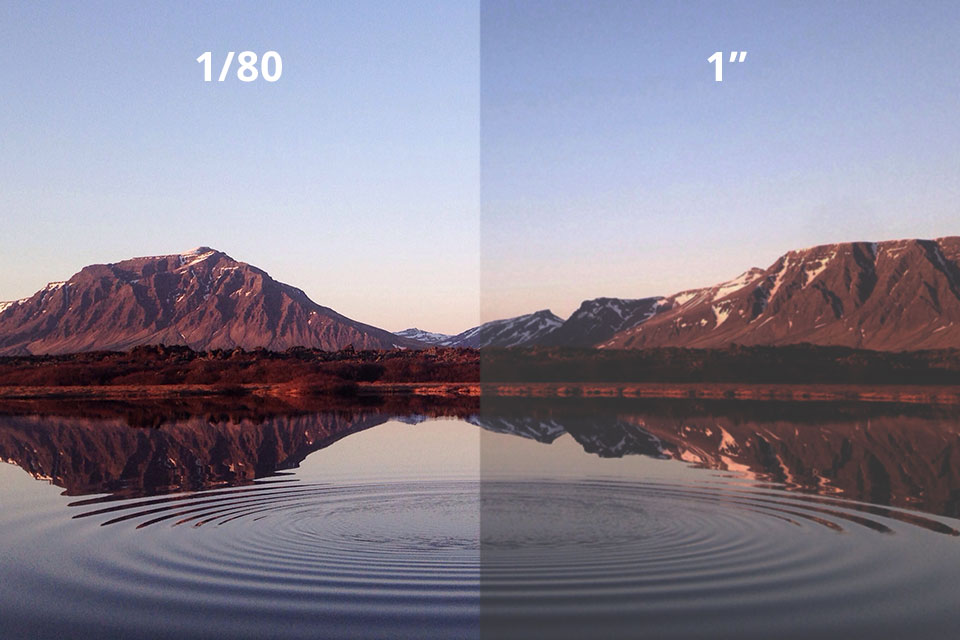
As for shutter speed, you can choose between two options:
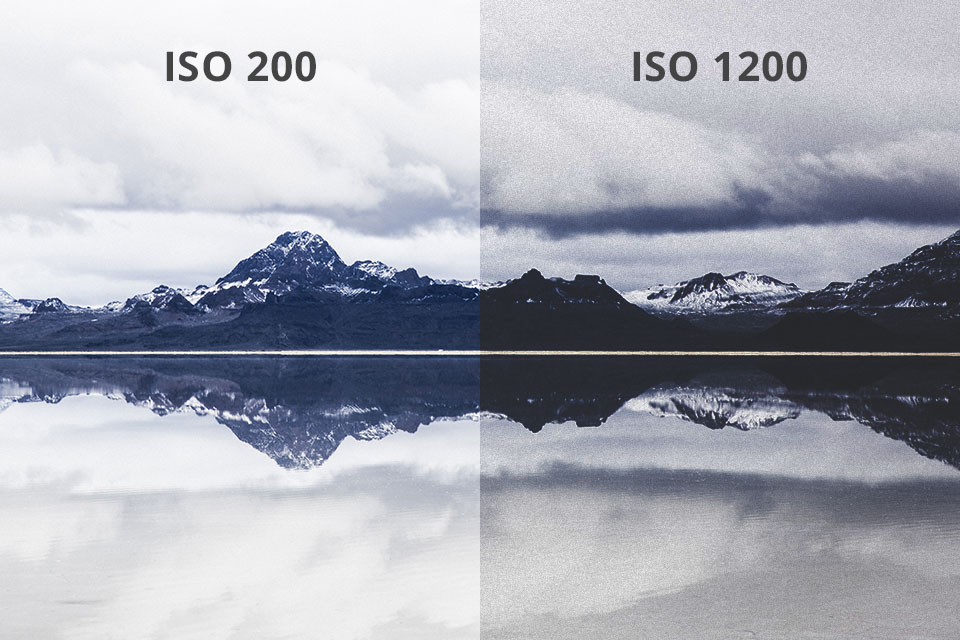
You can also adjust ISO to compensate for a low exposure that you might get because of a small aperture and high shutter speed. Try not to exceed 400 or 800 ISO values to avoid grain.
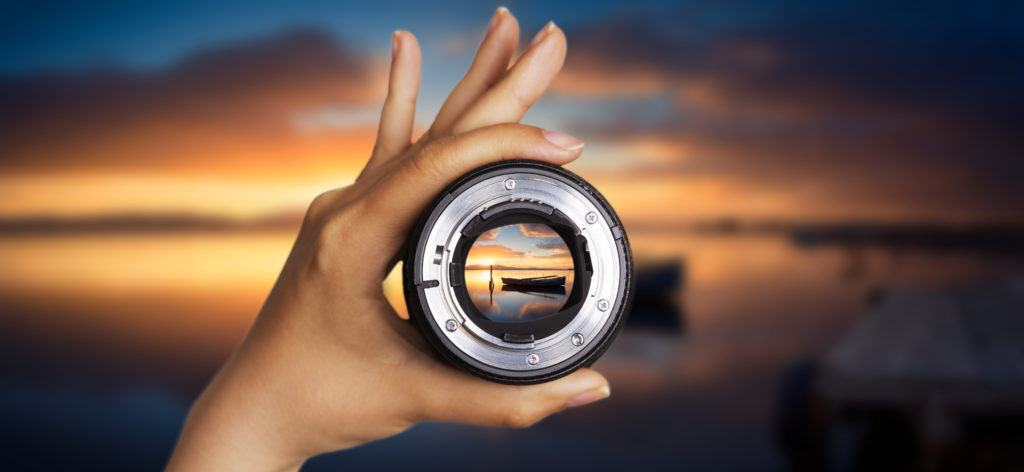
There is no one-fits-all solution when it comes to capturing water reflections. If you want to take a mesmerizing landscape photo, try using a wide lens, for instance, a 14mm or 24mm prime lens. Besides, you can use a zoom wide-angle lens like 16-35mm, for example, Canon EF 16–35mm f/2.8L III.
If you need to capture an object in motion, such as birds or animals, make sure to use a 70-200mm or 85mm lens, such as Canon EF 85mm f/1.8 USM.
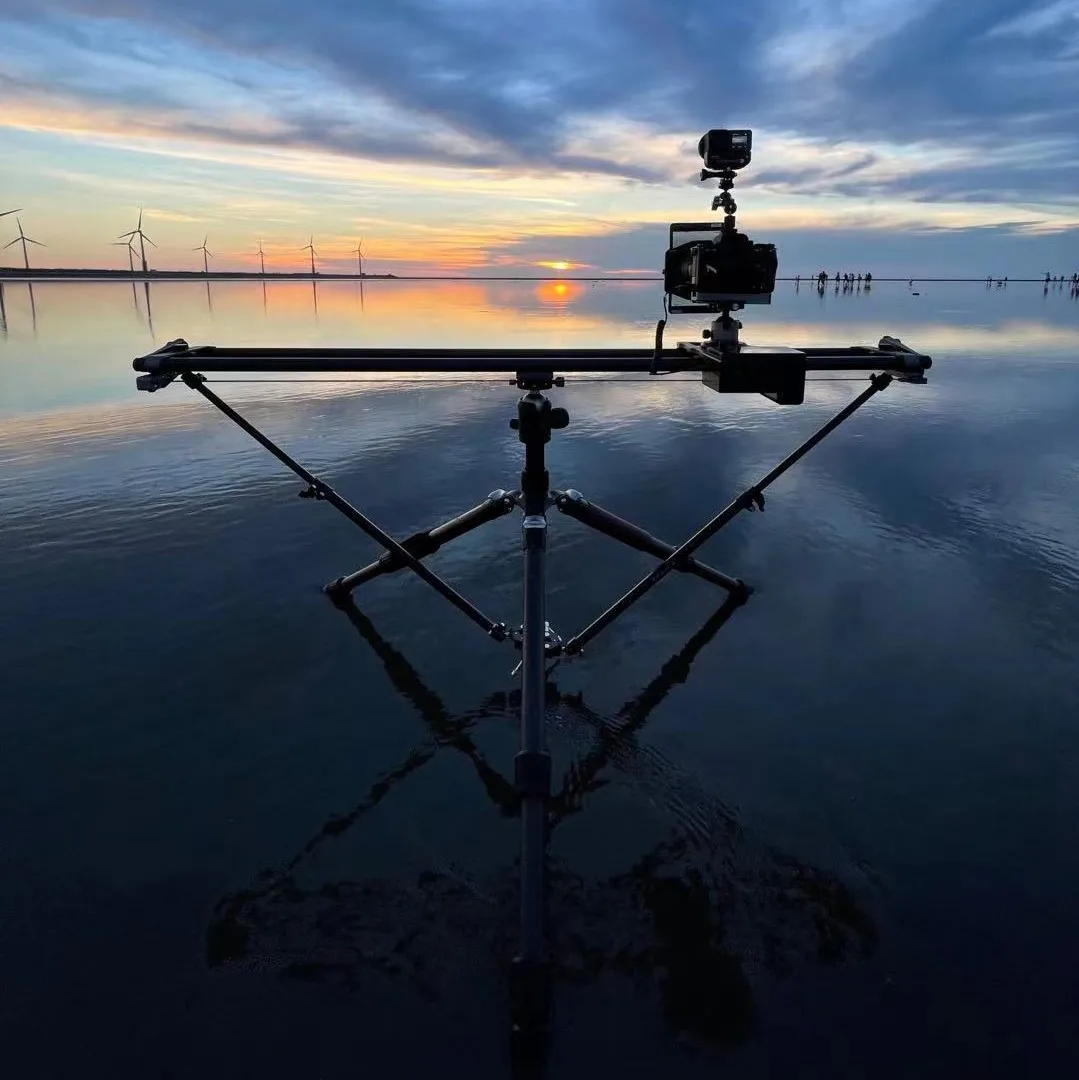
A secure tripod is a must for shooting landscapes and reflections in water photography. It will help you frame your object, change the angle and tilt your camera. Using it, you can take long-exposure photos.
To stabilize your tripod, try putting some extra weight onto it. To experiment with different angles, you can tilt the legs up to 180 degrees. I advise you purchase the Amazon Basics 60-Inch as it allows you to change the height of its legs. It comes with rubber feet and can be used with most camera devices, including GoPro cameras, scopes, and smartphone adapters.
The part of an image that contains a reflection should be darker than the main object. This is why it’s better to use a neutral density gradient filter for achieving perfectly-balanced exposure. For instance, you may use the ZOMEI 82mm. The dark part of the filter should cover the part of the frame that is brightly lit.
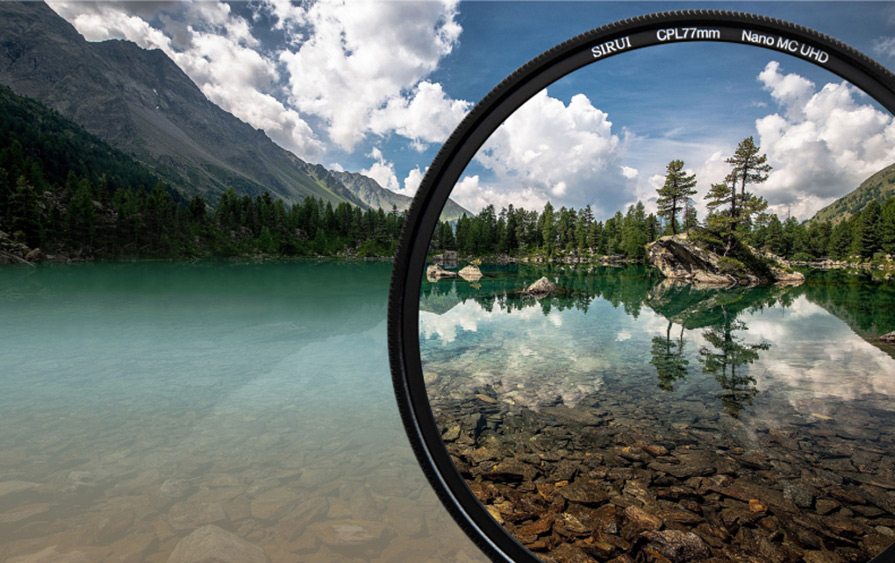
Besides, you may purchase a polarizing filter, such as the Marumi 77mm. Using it, you can get rid of unwanted reflections.

To make your photo look more professional, you need to edit the reflections carefully. For instance, if you want to make your image darker, make sure that the objects in the foreground remain clearly visible. For editing your photos, it’s better to use Photoshop or/and Lightroom. While the former is more suitable for using mask tools, the latter is perfect for tweaking colors.
The next thing that you need to do is to select the right exposure and adjust the shadows. The reflections in the foreground should be clearly visible. While your reflections might seem a bit underexposed, you can easily fix this issue.
To edit your mask layer, use the gradient or brush mask and adjust the settings to your liking. For instance, you may select the water surface and adjust its exposure, highlights and shadows. It will allow you to emphasize the reflected object.

Many photographers are wondering: “When will the reflections on the water be best?” It often happens that during calm weather it becomes windy outside during the first hours after sunrise. The wind might make the water surface look wavy. Due to this, your object will look distorted, which will help you add a dynamic sense to your shots. You can emphasize this effect if you focus entirely on the reflection and exclude your main object from the frame.

As dusk falls and the sky becomes dark blue, you can still capture the light falling from windows that gets reflected in the water. For instance, you may use such a photography location as a hotel at the seaside. Go for a walk in the evening when a marina is full of boats.
After sunset, color lights falling from the windows of your hotel will look especially beautiful when being reflected in the water. Capture this magical atmosphere to create stunning shots.

Most photographers who capture reflections take photos of trees, forests, and stones. They could be either the main object in the frame or just add visual interest to the landscape.

It’s better to take photos of lakes and mountains early in the morning as the water surface will be smoother. Thanks to it, you will be able to capture ideal reflections. When looking for a suitable location, pick an object located in the west.
When taking a photo of a calm lake, you can disregard the rule of thirds and achieve the ideal symmetry. The horizon line should be in the middle of the shot. This way, your photo will contain two equal parts, such as the sky and the reflected object.

You won’t be able to get an ideal shot when taking water reflection pictures of the ocean as the water moves constantly. However, it will still reflect the color of the sky. You can make the colors pop by shooting sunset or sunrise with an object reflected in the water. I advise you to study golden hour photography tips to snap pics with perfect lighting.
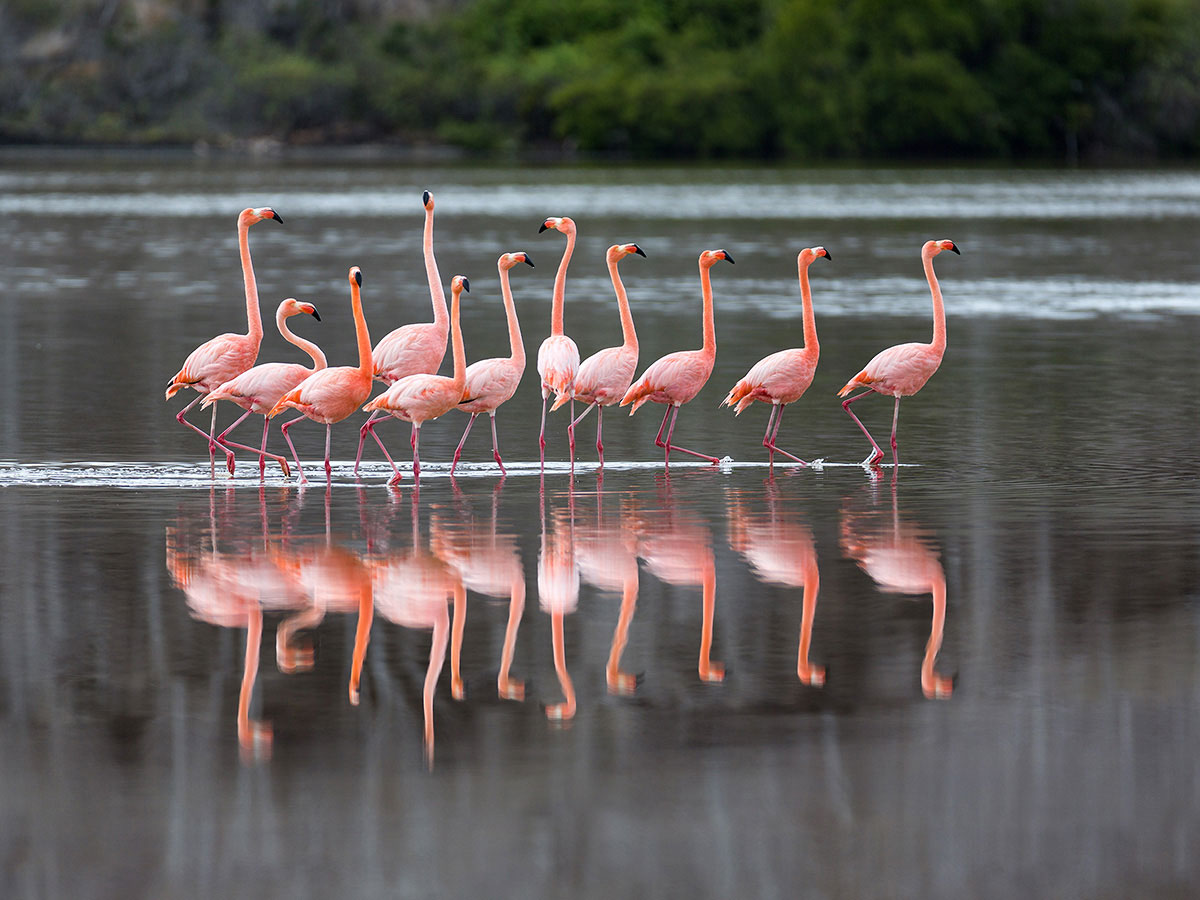
Another great idea is to capture the reflections of birds. It might be difficult to implement it as you will need to bring together several elements at the same time. Make sure to take such photos on days when there is no wind. The lighting should be good, so it’s better to go out in sunny weather. When you see that the conditions are perfect, you just need to wait for a bird to fly by.
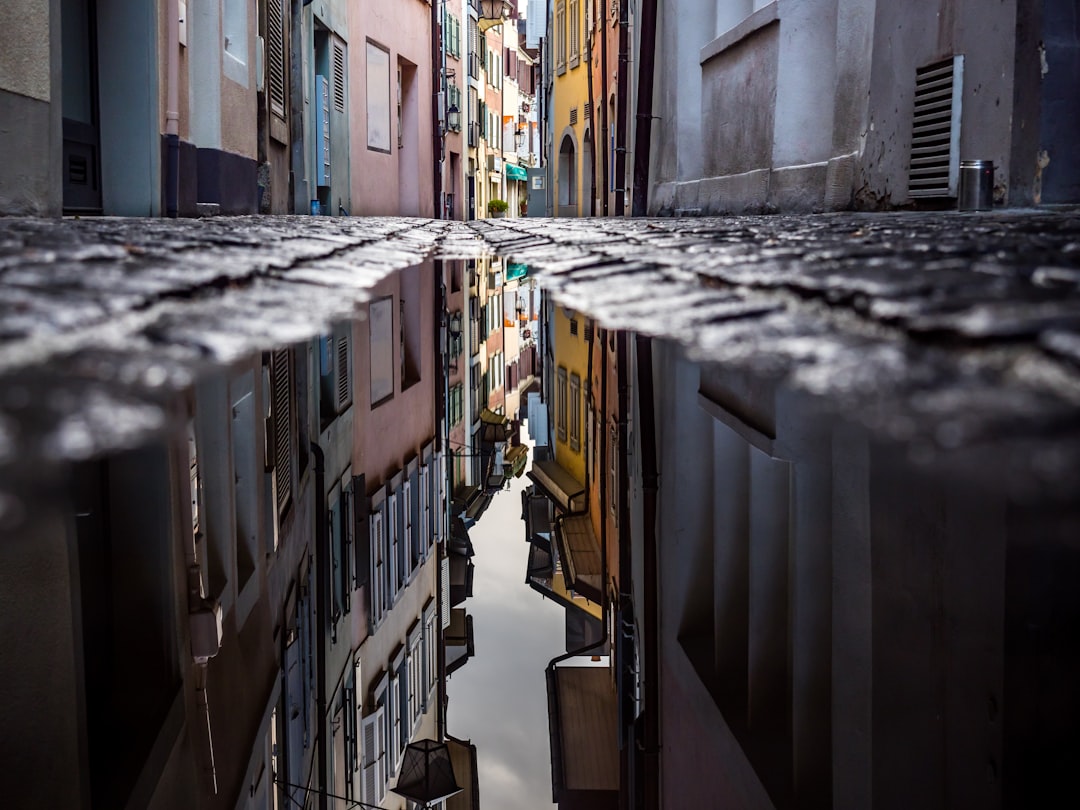
You must have seen a famous photo taken by Henri Cartier Bresson where a man is captured in the middle of the jump. It’s called ‘Behind the Gare Saint-Lazare,’ so you can find it easily online. You can use this image as a source of inspiration and find a puddle nearby that you can use for capturing reflections. When taking photos at night, try capturing the reflections of different light sources, such as street lamps and headlights.

To implement this idea, you need to ensure that the light gets reflected from the water surface and falls onto the model. Ask your model to move their hand in the water to create small waves. Then, you need to snap a pic at the right moment to capture the catchlights in the eyes. In your photo, you will see beautiful highlights created by reflections.
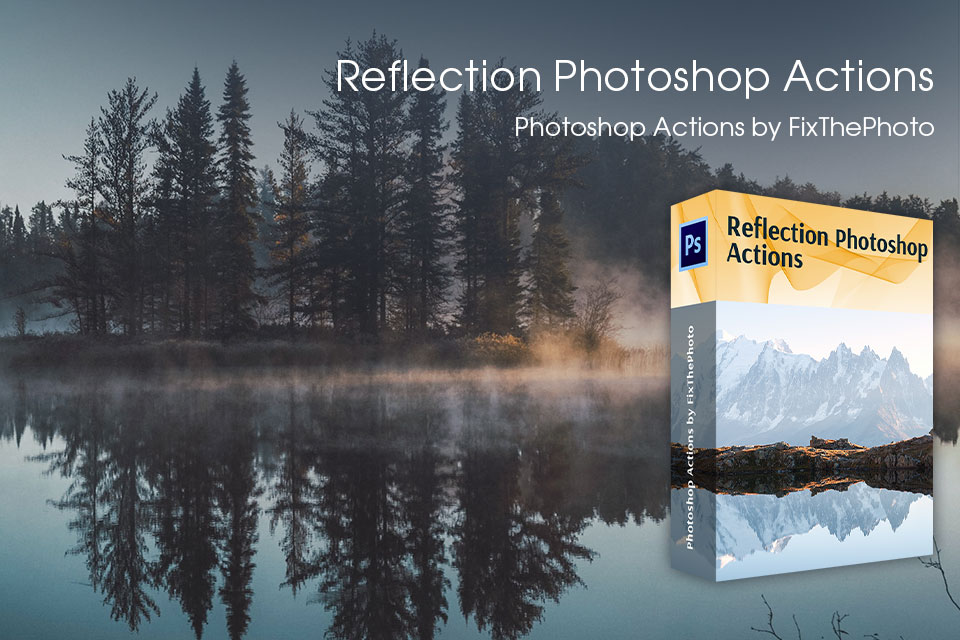
When doing landscape photography, you might need to make your pictures more attention-grabbing by adding reflections to the water body. To save time, I advise you to download this bundle of Photoshop actions created by experienced photographers. Apply them to your photos to create a magical atmosphere in the frame.
Besides, they are suitable for tweaking colors and doing some styling. They will help you make your photos natural and breathtaking at the same time.