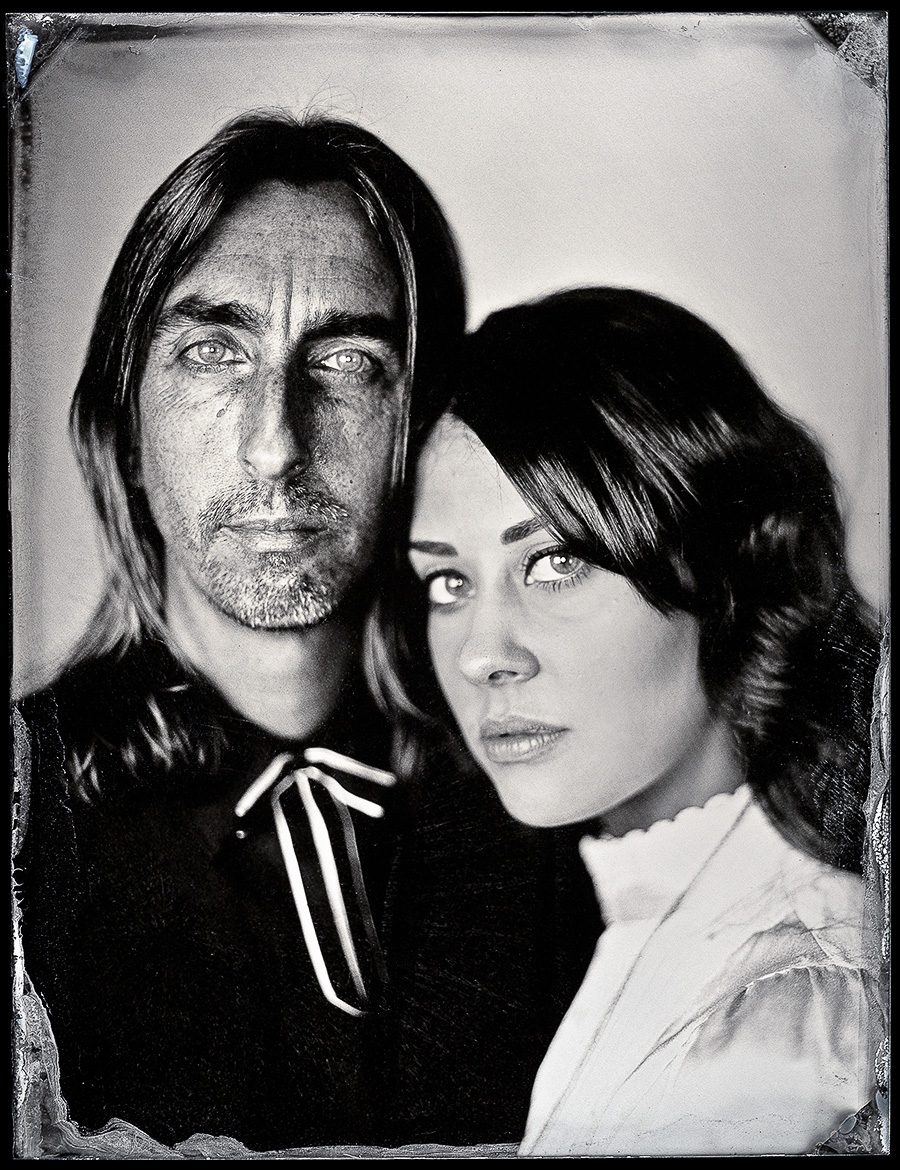
Tintype photography was widely practiced before film photography became widespread. Daguerreotype photography was its predecessor. What contributed to the popularity of tintypes is that such photos were perfect for capturing the gaze of a model.
In this article, I will tell you about the significance of this type of photography and its history as well as provide you with a detailed list of materials that you will need to use and a step-by-step tutorial that will help you take a tintype photo at home.

When talking about tintype photos, people often call them ferrotype or melainotype pictures. This type of photography requires wet collodion. A photographer should cover a metal plate with a dark lacquer or enamel before exposure. It allows capturing expressive images. While your negative images may look underexposed, you can get high-contrast positive pictures after putting the plate into the developing solution. As the result, you will get an attention-grabbing picture with your subject in focus.
If you are wondering what is a tin type, learn more about the history of this genre. The photography process called ferrotype was patented in 1856. Since it was quite easy, it became extremely popular in the following years. Being the most affordable type of photography, the ferrotype process was used for taking most photos in the first photo studios.
Such photos were durable and easy to take. A photographer needed a couple of minutes to take them. Since they didn’t have a negative, each captured image was completely unique.
Photo studios offered a wide range of opportunities for self-expression, including different backdrops, props, and outfits. Photos of the representatives of different professions were a popular sub-genre of ferrotype photography. Clients who wanted to get such photos usually came with their professional tools. During this period, people believed that a camera can capture their professional identity and wanted to save it for history.

As the result, photographers took many photos that looked quite fun. For instance, a carpenter could hold a hammer while standing in front of a picturesque background depicting a forest scene. People who are interested in the history of photography enjoy finding such examples of tintype photos.
Tintype photographers captured photos of soldiers during the Civil War and took pictures of battles. They visited the Wild West and documented life there as well.
However, with the advent of paper prints in the middle of the 1860s, tintype photos had started to become less popular. This type of photography still remained quite widespread for another 40 years or so.
If you are interested in the history of photography, you may have heard about ambrotype photography that existed before tintype photos. While the process was similar, photographers used sheets of dark glass or glass with a black backing instead of metal plates. After being submerged in the emulsion, the negative picture was becoming positive.
The only disadvantage of ambrotypes was that they are prone to breaking. Photographers had to put them in a protective case to ensure that they won’t get damaged. Unlike ambrotypes and daguerreotypes, tintypes were far more durable.
This genre of photography was resurrected in the XXI century. In 2013, Ed Drew who served in California Air National Guard took tintype photos of Air Force pilots during the Afghan War.
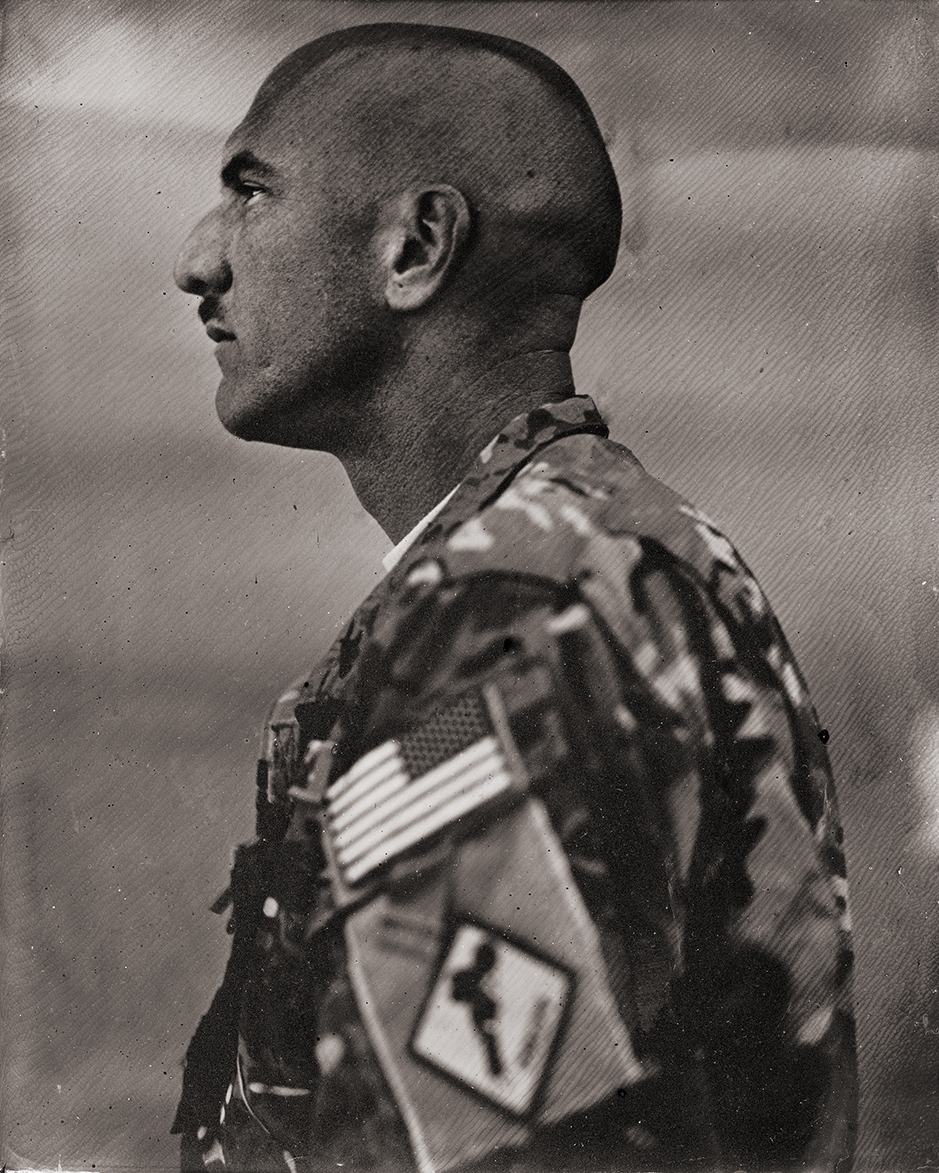
Photo taken by Ed Drew
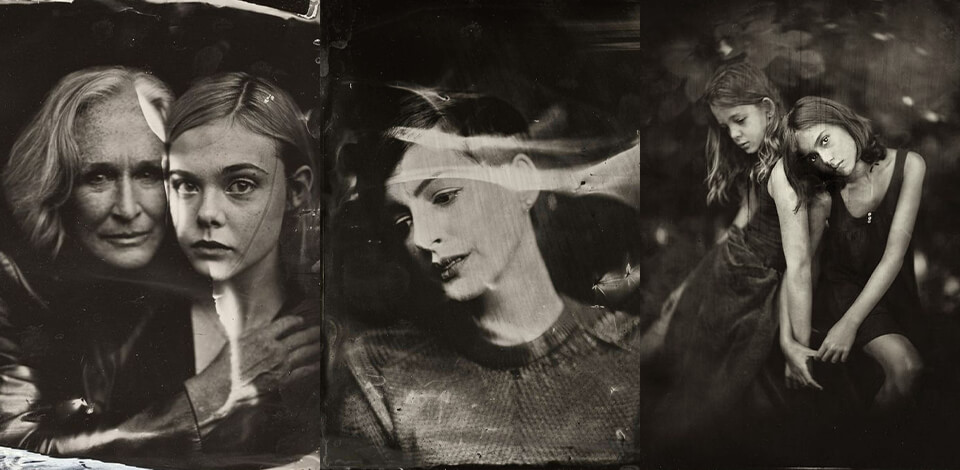
In 2014-2015, Victoria Will took a series of stunning tintype portraits of Hollywood stars during Sundance Film Festivals. She captured photos of Anne Hathaway, Nick Cave, and Ewan McGregor, among many others. Then, the photographer published them as a book.
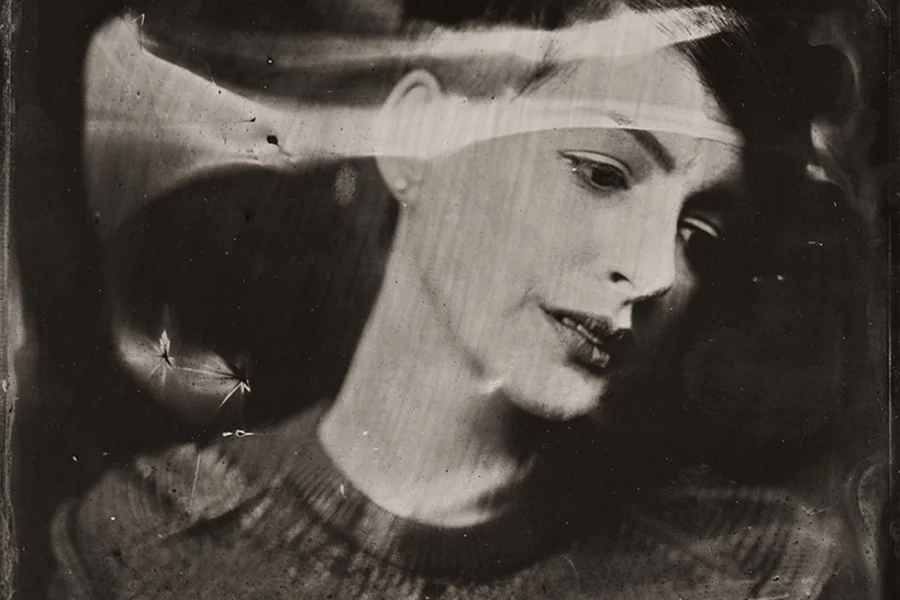
Photo taken by Victoria Will
Tintype photography requires a photographer to know how to use toxic, dangerous chemicals. If you have never taken such photos before, make sure to purchase a special kit.
You may need to spend from $2,000 to $5,000 on the necessary supplies, chemicals, safety equipment, and other materials for shooting. Remember to buy silver nitrate powder, collodion, developer, fixer, and varnishing mixtures. Most packages include all these chemicals. In addition, you may need to use special photography equipment.
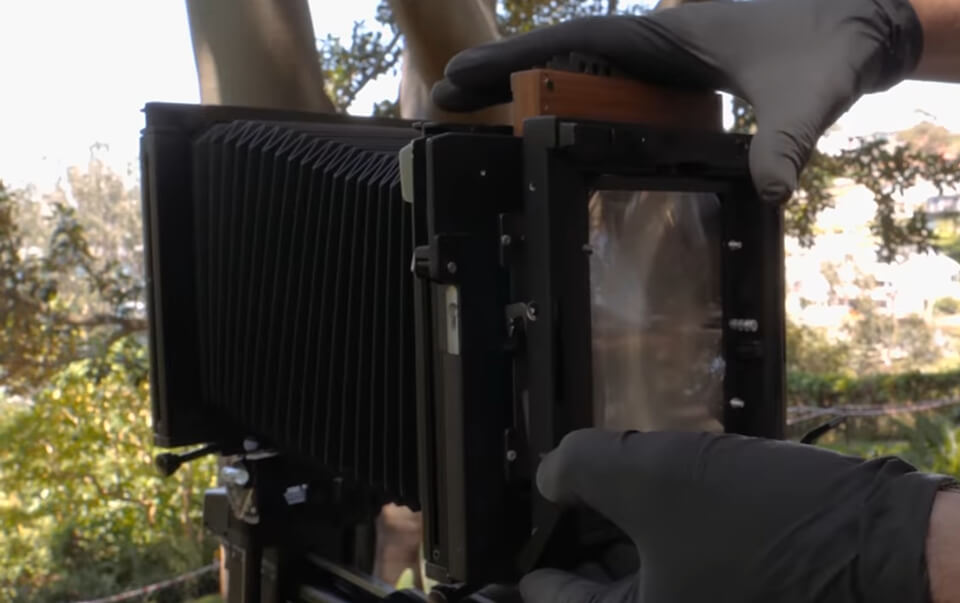
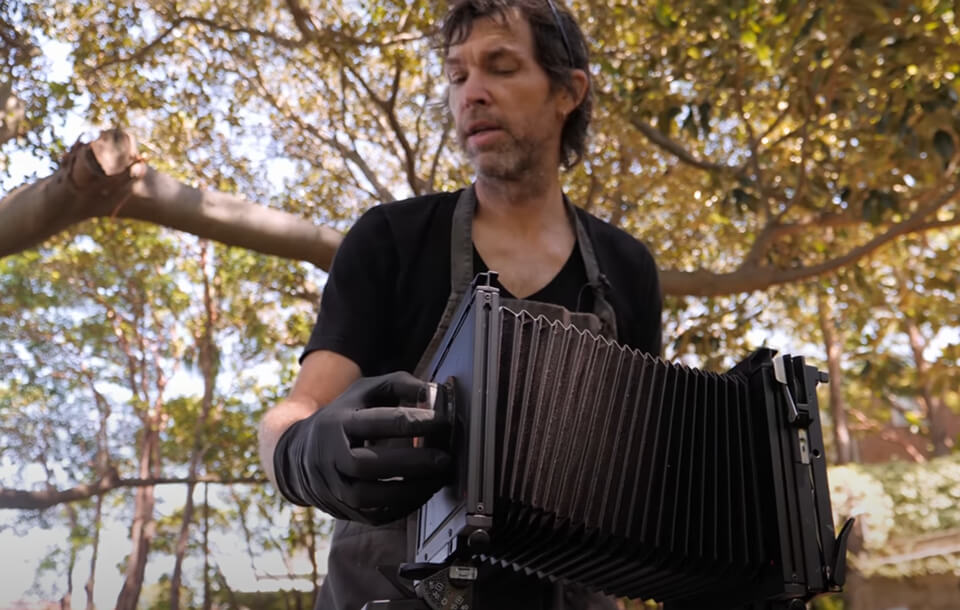
Large format camera. Buy a film camera with a sufficiently large cartridge as you will need to use it to insert a metal plate. For this purpose, it’s better to use a 4x5 camera.
Metal engraving plate. To get a photo, you need to cover the tintype plate with a special emulsion. It doesn’t matter whether you use an iron or aluminum plate provided it’s black. If you can’t find a black plate, you can spray-paint the one you have.
Collodion. Collodion is the chemical solution that you need to cover the plate with.
Silver nitrate. It’s used for making the plate light-sensitive. You need to immerse the plate into a bath of silver nitrate and water.
Photo developer. You have to pour it over your tintype photo to develop it.
Fixer. It’s used for completing the development process. At first, photographers used potassium cyanide for this purpose, but, nowadays, most people use sodium thiosulfate, as it’s less risky.
Varnish. Using varnish, a photographer can seal a picture onto the plate.
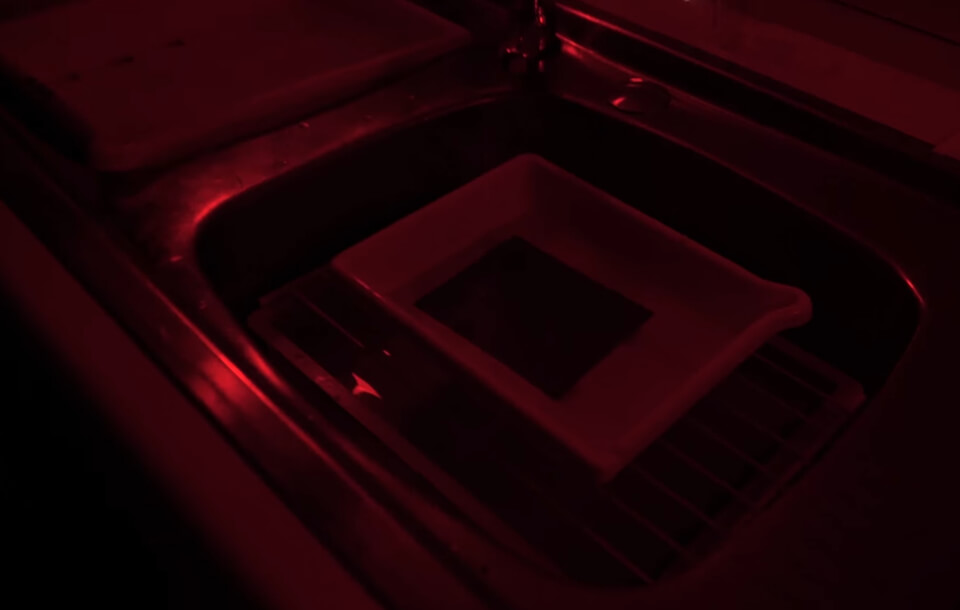
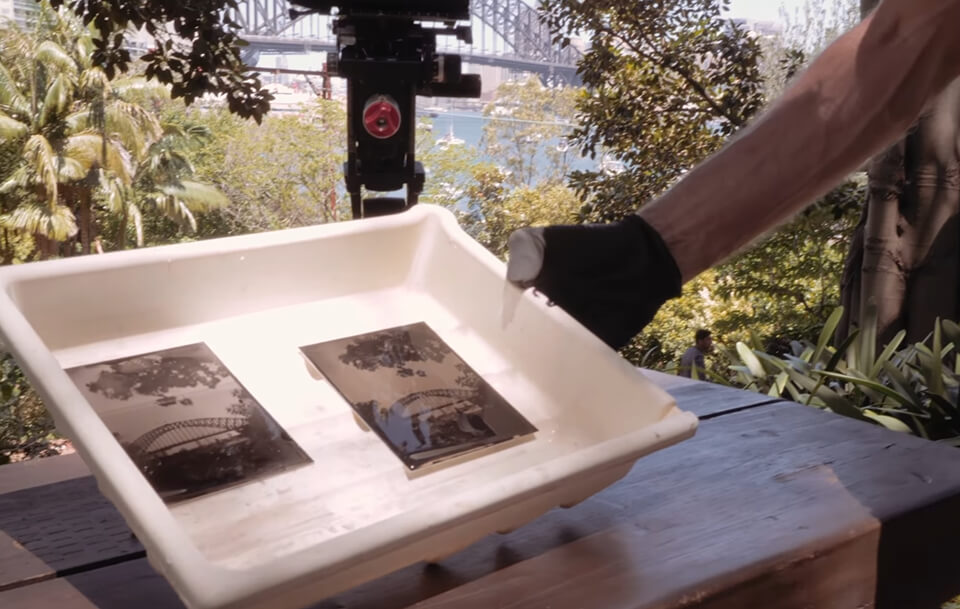
Fixing trays. You can fill these trays with different solutions when developing your photos. Keep in mind that you will have only 15 minutes.
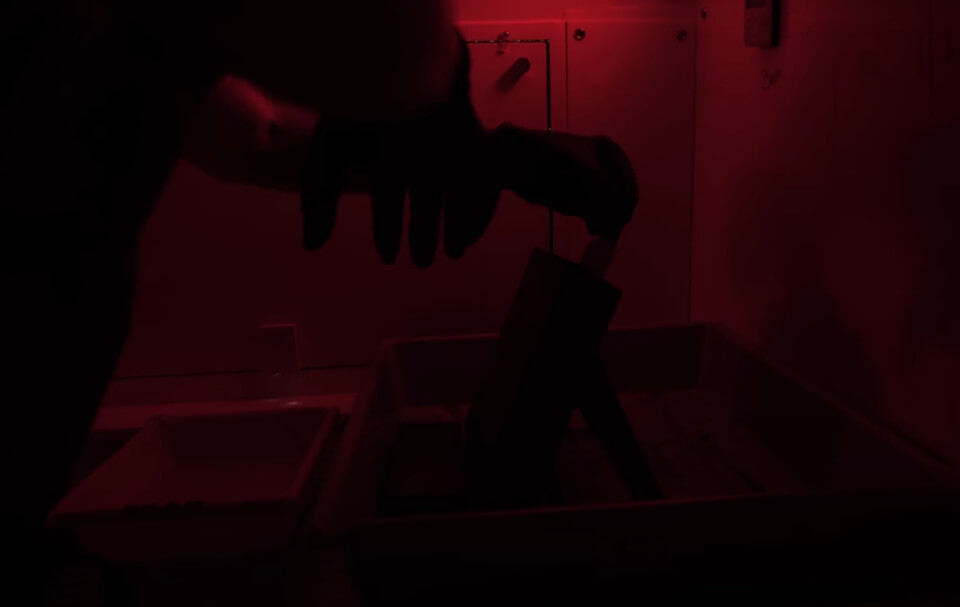
Besides, you need to use a darkroom since your metal plate will become light-sensitive because of the silver nitrate. This is why you need to develop your photos in a dark or red room. You can’t do without safety gear as you will have to use a lot of chemicals. To protect yourself, buy an apron, safety goggles, gloves, a mask, and sheets of paper to cover your table.
It might be difficult to create tintype photos as you will have only up to 45 minutes to get everything right. Don’t get discouraged if you don’t manage to do everything right from the first try. You need to be patient, use dedicated equipment, and take care of safety. Make sure to follow these steps to create mesmerizing tintype photos.
Step 1. Use collodion to cover a plate. The first thing you should do is to cover the glass with a dedicated chemical, namely collodion. There is no need to do it in a dark room.
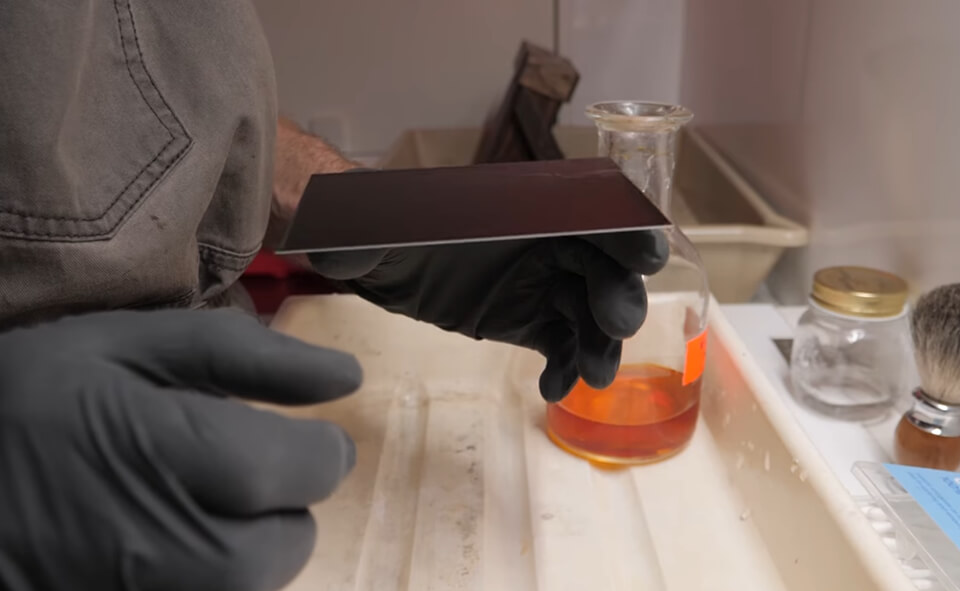
Step 2. Put the plate in a silver nitrate bath. To ensure that your plate becomes light sensitive, use silver nitrate.
Step 3. Put the plate into the camera. Take the plate out of the bath filled with the silver nitrate and put it into the plate holder. Then, put it in the camera while it’s still wet.
Step 4. Take a tintype photo. When your camera is ready, take a picture. Make sure to set up the composition in the frame beforehand as you won’t have a lot of time to snap a photo until the solution gets dry. Use a lighting setup to ensure that your subject is clearly visible in the frame.
Step 5. Develop the picture. After snapping a pic, go to the darkroom to develop it. You need to put the plate in a special tray and use the photo developer solution to develop your picture. Wait until you are fully satisfied with the contrast. If the image becomes too dark, use water to make it lighter. Once everything is done, put your picture in another tray and use a fixing solution to ensure that your image becomes clearly visible.
Step 6. Wait until the plate gets dry. After applying the chemicals, don’t rush and be patient until the plate gets dry. Put it on a horizontal surface, otherwise, the image might get distorted.
If you don’t have the necessary gear for taking tintype photos or if you can’t figure out how to use it, make a photo look vintage using a collection of actions created by our experts. They will help you achieve a similar effect.
Our professional retouchers created a collection of actions that will give your photos a vintage feel. They will come in handy for professional photographers and beginners who want to achieve a matte effect. You can apply the actions from this bundle to RAW and JPG photos. They are perfectly suitable for non-destructive editing.
It’s believed that Hamilton Smith was the first U.S. photographer who invented this type of photography. He received the patent in 1856. In the United Kingdom, it was William Kloen who founded this genre. At first, people called it melainotype, later, it was called ferrotype by Ohio-based V.M. Griswold and only then it received its modern name, namely tintype.
If you want to schedule a photoshoot with a photographer, be ready that the process will take up to 45 minutes. There is no need to assume a static pose for more than 3 seconds, but you will need to sit for about 6 minutes with the camera focused on you. It will allow a photographer to take a tintype picture.
There are plenty of tintypes stored in archives all across the globe that look virtually the same as the day they were taken. You can store them in acrylic frames. They won’t be affected by sunlight. Many people like the way tintypes look when exposed to direct sunlight.
If you have an old tintype in decent condition, you are likely to get from $35 to $350 for it. Many collectors are looking for these atmospheric photographs of the Victorian era, which makes tintypes quite valuable. However, ambrotypes and daguerreotypes are typically more expensive as there isn’t a lot of them.
To take such pictures, make sure to use a 4x5 camera. While some photographers use a 35mm camera, it’s better to use the one that allows you to get larger plates.
Ambrotypes are glass plates with black velvet backing. As these plates were prone to breaking, photographers put them in cases. Tintypes are more durable as they are made of iron and covered by a layer of lacquer and enamel. It makes them quite lightweight and allows people to store and display them without fearing that they might get damaged.
To preserve your tintypes, you can put them in transparent bags and additionally protect them with a sheet of acid-free card stock. Make sure to add detailed info about the tintype using a regular marker or a special pencil used by archivists.


