Ultraviolet photography involves taking photos of objects in UV light, at a wavelength below 380nm. Since light in this range is invisible, such pictures don’t contain colors. However, while you can’t see the light at such wavelengths, you can capture it using special cameras, lenses, and other equipment.
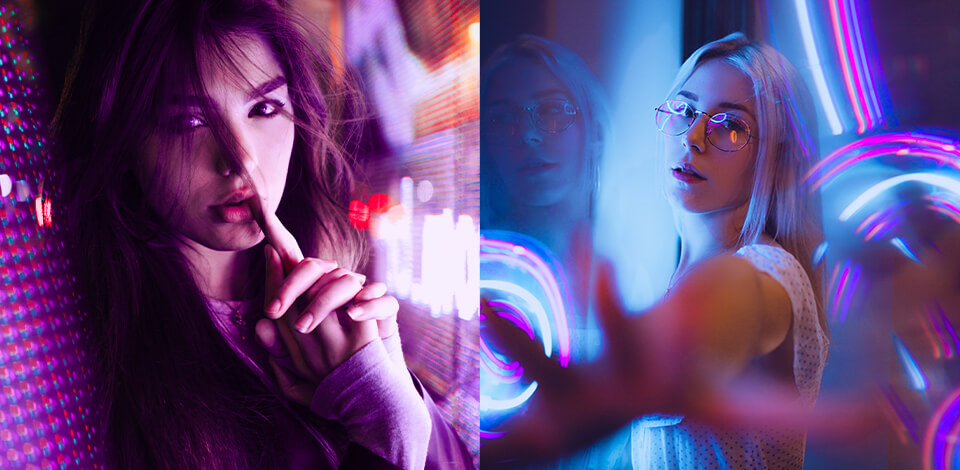
UV photography techniques are used by photographers who take macro, portrait, and landscape photos. Besides, such photos are used by dermatologists and forensics. Entomologists use UV images to analyze the invisible markings on plants that catch the attention of insects that see everything in ultraviolet light.
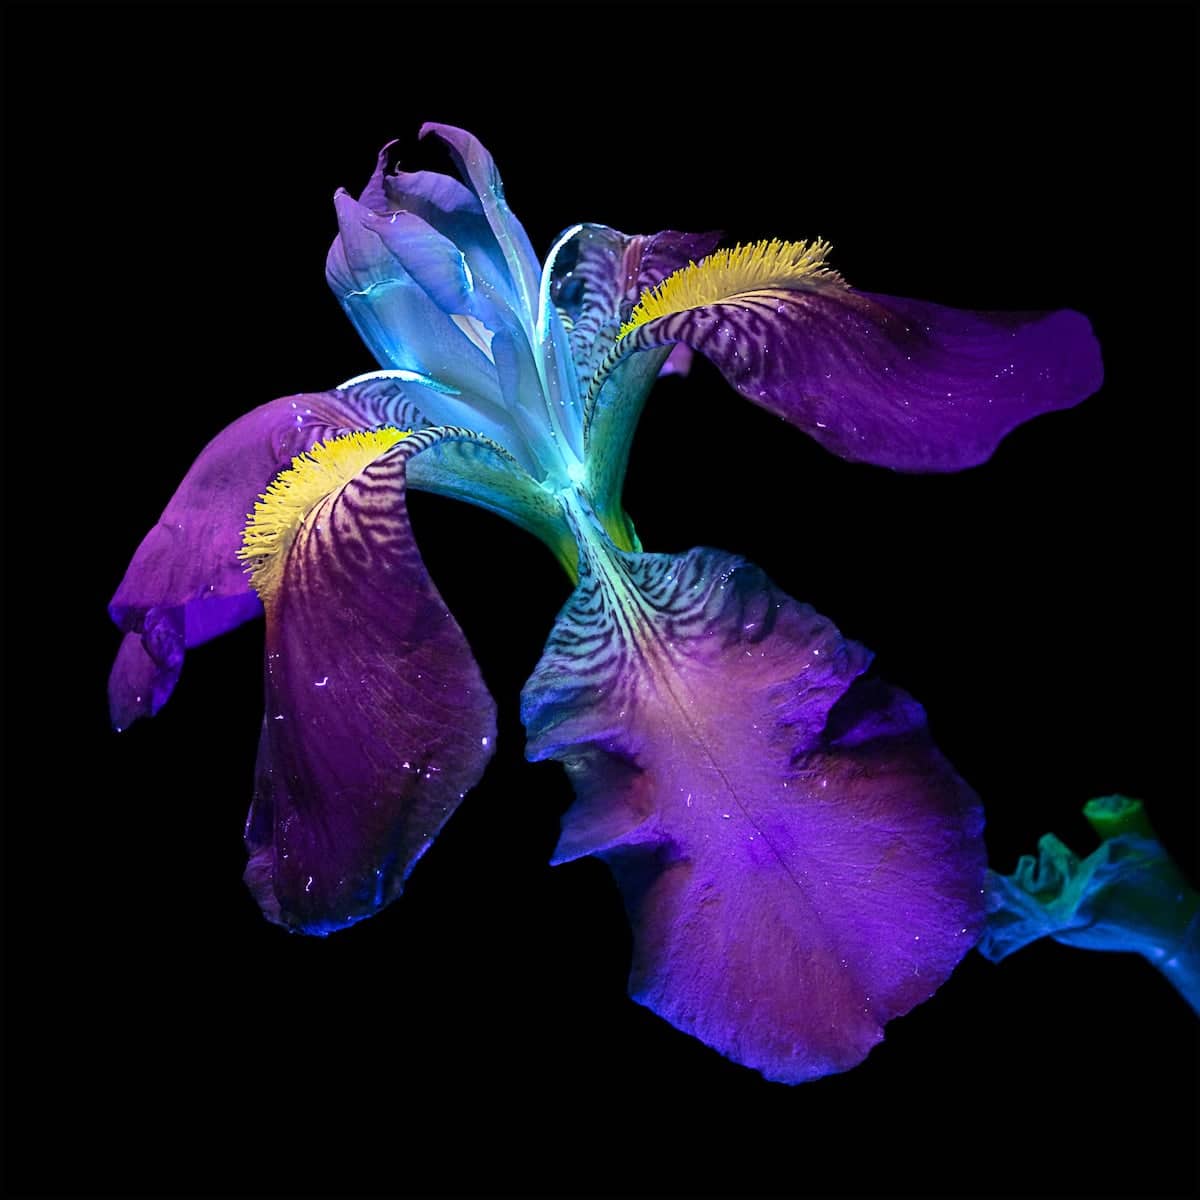
You can use one of two methods of ultraviolet photography and capture pictures using either reflected UV or UV-induced fluorescence. In the former case, your camera will capture reflected light. If you opt for the latter, you can capture fluorescent light emitted by an object that absorbed ultraviolet light.

To take reflected ultraviolet pictures, it’s important to light your object using dedicated UV photography light bulbs, lamps, or direct sunlight. Then, you need to use a special filter and attach it to your camera’s lens. It should let UV light go through while blocking IR and visible light, otherwise, it will be impossible to see important details in your photos.
To select a camera that allows you to take such photos, pay attention to the models that have removable UV and IR blocking filters. If you have some money, you can also use cameras created for taking UV photos.
UV fluorescence photography involves capturing objects in UV light, which makes it similar to the one I described above. The only difference is that you need to use a special filter that blocks UV and IR light and allows visible light to reach the camera’s sensor. To take such photos, you can use any camera or lens, as you need to capture only visible light.
Pay attention to the location where you are going to take your photos if you want to achieve the highest quality. This type of photography is perfect for those who work at a studio that has a dark background. A photographer should wear a dark outfit without colors that might be visible in UV light.
The first thing you need to do is to purchase a camera suitable for taking UV photos. Your choice will depend on the type of UV pics that you want to get. For instance, you can take photos with a reflected or induced fluorescence effect. Manufacturers released a variety of cameras that are perfect for UV photographers. For instance, you may use the Fujifilm FinePix IS Pro.
UV photography is impossible without dedicated equipment, which makes it somewhat similar to infrared photography. Since most cameras block the UV spectrum, you need to find a way to capture it. This is why you need to use special filters that enable you to capture UV light.
You can also purchase a full-spectrum camera. It will allow you to take such photos without using additional equipment.
Recently released lenses have an anti-UV coating protecting their front element. Because of it, long UV wavelengths pass to the sensor and shorter wavelengths are blocked. This is why you need to purchase dedicated lenses that enable UV light to reach a camera’s sensor.
If you have some money, make sure to purchase quartz lenses as they are considered to be the best option for photographers who want to take ultraviolet photos. Thanks to the material they are made of, they are suitable for scientific use as well. However, even if you are on a budget, you can still find affordable lenses with a limited number of anti-UV coating layers or without them at all. They usually don’t have a lot of optical elements.
In case you aren’t ready to pay for expensive quartz lenses, you can purchase the Nikon 35mm F/2.5 Series E as it’s a great option for beginners. It doesn’t cost much, which makes it a perfect choice for amateurs who want to use professional techniques for snapping UV pics.

Since you can’t do without a full-spectrum camera, you will need to get a UV pass filter and attach it in front of your lens.
I prefer using the UV transmitting bandpass filter as it allows me to take photos with a great level of detail. Besides, I don’t need to adjust the contrast much. They have a special coating layer and are designed to take clear pictures.
You can use either of the three most widely used types of filters. They differ in their build, which impacts the depth of your UV photos.
Sandwich-type filters are created by putting together two types of ionic glass. It makes it possible for them to transmit UV light while blocking IR light. Unlike other types, these filters don’t allow you to take high-contrast photos with impressive resolution.
Combination dielectric and ionic filters are the most widely-used filters among UV photographers. They are made of ionic glass and different coatings on either side. When I want to emphasize minuscule details, I put the 58mm UV Filter for Canon Rebel in front of my camera’s lens.
Interference filters also perfectly transmit UV light as they are made of a substrate of fused silica and have dielectric coatings.
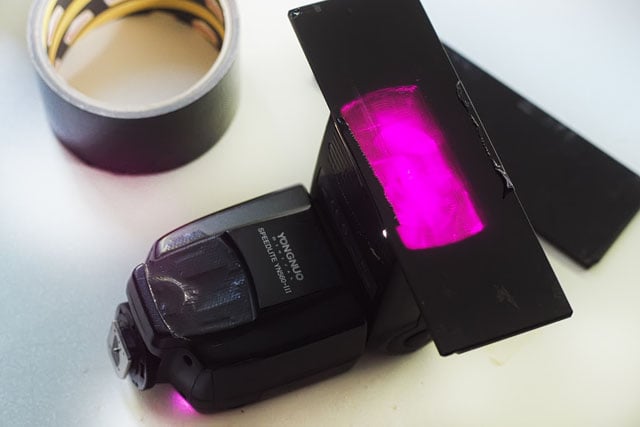
It’s one of the most important moments that you need to consider when selecting suitable photography gear for taking UV photos. To capture such pictures, it’s important to ensure that your subject is lit by direct sunlight. If you want to take photos in a studio or if the lighting is insufficient due to the bad weather, you will need to use extra sources of UV light.
To solve this issue, you can purchase a UV LED flashlight. It will allow you to capture small-sized objects, which makes such lighting suitable for product photographers. If you want to take photos of people or large objects, make sure to use dedicated UV camera flashes designed specifically for this task.

Once you have selected a suitable photography gear, you need to learn how to use the right camera settings for taking stunning UV images. You mainly should pay attention to the WB and the composition of your photo.
White balance. When taking UV pictures, you capture radiation that can’t be noticed by a human eye. This is why it’s impossible to select the right WB from the start. Many photographers edit this setting with the help of the gray chart. It enables them to adjust the settings and get beautiful hues with decent contrast without capturing undesired color tones.
Composition and focus. Use your viewfinder to create a well-balanced composition within the frame and focus on your subjects. It’s better to use a camera that supports live view for focusing. Such cameras are fitted with sensors sensitive to UV light.
However, if you have a model that doesn’t support a live view, try taking off the UV transmitting bandpass filter and creating a composition using visible light. Then, you need to turn off the AF and use the UV transmitting bandpass filter. It will allow you to capture UV photos in RAW.
False colors. When taking photos with the help of a camera that captures a wide ultraviolet spectrum, you might incidentally take pics with false tones. When it comes to UV photography, this can hardly be considered a shortcoming as you can take creative photos that will stand out among the rest. Keep in mind that if your lens supports only the longest UV wavelengths, you will see a monochromatic violet hue in your photos.

Now that you know how to take UV photos, it’s time to learn how to edit them. If you don’t need to perform any complex adjustments, you can enhance your UV pictures without wasting much time. The most important thing that you need to do is to fix the WB using the gray chart. It will allow you to add a slightly-noticeable purple/blue hue to the object. If you want to get rid of it, you can convert your photo to black and white. It will allow you to improve the overall contrast and add a silver hue.
You can also use more advanced methods when editing your UV photos. To enhance pictures of static objects, try combining visible and ultraviolet photos to mix UV contrast with visible colors. For this, you will need to use 2 pictures of the same subject. One of them should be a UV pic while another one should be taken in a regular way with a hot mirror filter.
Use advanced photo editing software that allows you to work with layers, such as Photoshop, to merge your visible and UV photos. You need to perform this task in color mode. Before doing this, put the visible photo on top of all other layers. Then, you will also need to tweak colors and adjust contrast.
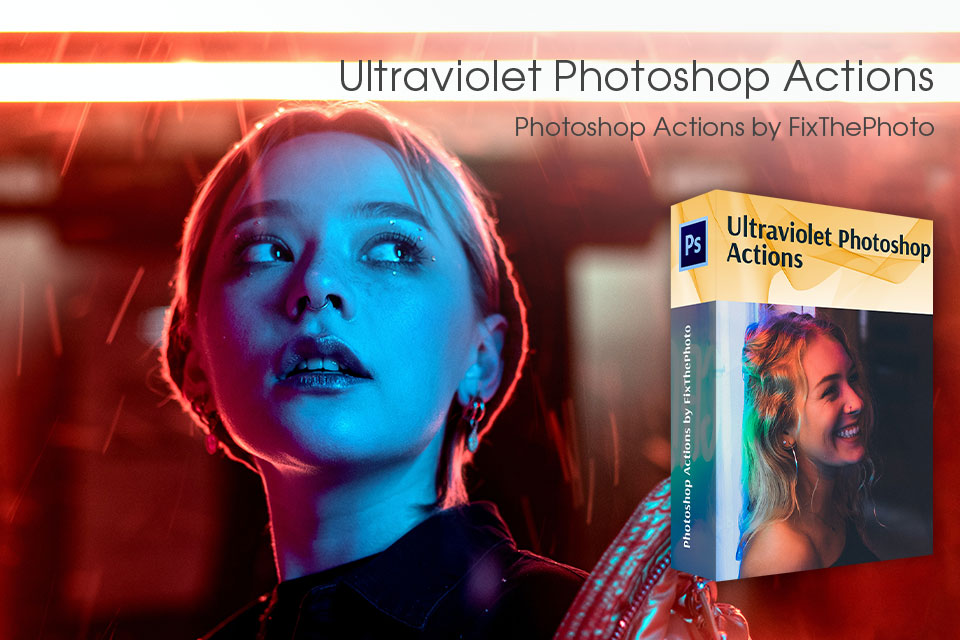
If you don’t have extensive editing experience and don’t know how to enhance your UV RAW photos manually, you can use these professionally designed Photoshop actions. They are created by experienced retouchers working for FixThePhoto who wanted to help their clients facilitate their workflow and edit their photos more quickly. Thanks to these filters, you can tweak colors, add a noticeable UV effect, improve the WB, and adjust all the basic parameters of a photo.