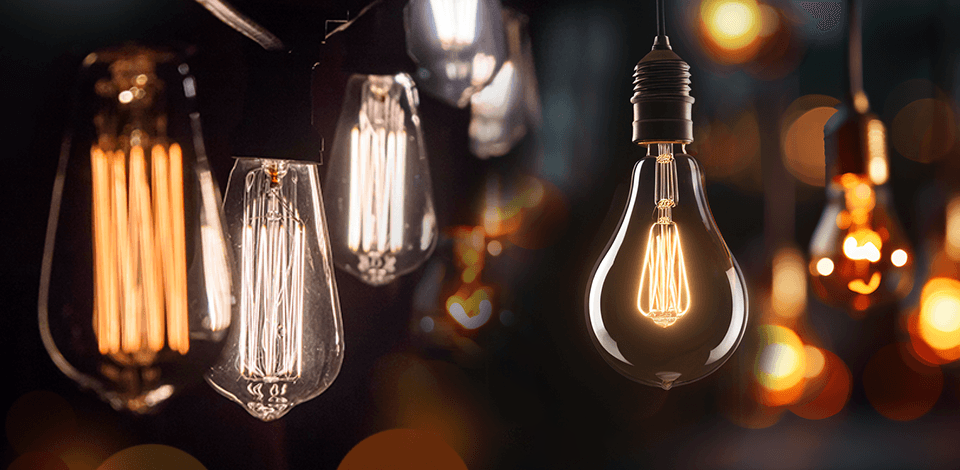
If you’re tired of taking photos with inconsistent illumination and rough shadows, it’s time to invest in some specialized photography light bulbs. Regular lamps can’t produce even, consistent lighting that is a must-have for professional photography.
Meanwhile, specialized light bulbs can offer the necessary uniformity and balance that can eliminate rough shadows, preserve detail, and provide natural, rich colors.
| IMAGE | NAME | FEATURES | |
|---|---|---|---|

|
Philips LED Flicker-Free Light Bulb
FLICKER-FREE
|
CHECK PRICE → | |

|
SANSI LED Light Bulb
HEAT DISSIPATION
|
CHECK PRICE → | |

|
12Vmonster Halogen Light Bulb
DIMMABLE
|
CHECK PRICE → | |

|
LimoStudio Fluorescent Light Bulb
DAYLIGHT-BALANCED
|
CHECK PRICE → | |

|
Anoder LED Light Bulb
ENERGY-EFFICIENT
|
CHECK PRICE → |
A photography light bulb can come in a variety of different types, including halogen, fluorescent, and LED. Each type offers models with various color temperatures, enabling you to set the desired mood for your photoshoot.
LED. I like employing LED lights for photography due to their impressive energy efficiency and durability. Such lights also don’t overheat, meaning my photoshoots are more convenient and risk-free. LEDs also have a wider selection of color temperatures, simplifying the task of achieving the ideal lighting conditions for different locations and purposes.
Halogen. Such lights are often my go-to whenever I need a very bright, consistent light source. They offer a superior CRI, providing more accurate and eye-catching colors. The problem is that halogen bulbs can heat up quite a bit, requiring diligent care and appropriate ventilation when working indoors.
Fluorescent. I use these lights whenever I want soft, diffused illumination. Fluorescent bulbs offer solid power efficiency and don’t get as hot as halogen lights. The biggest issue with these bulbs is the potential flickering that is particularly noticeable if you’re recording videos.

The main reason why I think this is the best light bulb for photography is the provided color rendering efficiency. This Philips LED light produces highly accurate colors, letting me focus on picking the right angle and pose/placement for the subject instead of having to worry about how distorted the skin tone or texture is going to be.
Moreover, the light created by this bulb resembles natural daylight, making my images more visually appealing and inviting.
Compared to alternative LED lights, this Philips model impressed me with how reliable it is at producing consistent, uniform lighting. In contrast to most cheaper bulbs that tend to suffer from flickering or unstable performance, this LED preserved an even brightness level during all my photoshoots.
The biggest drawback of this option is the fact that it costs a bit more than comparable LED lights. Even though I think the provided quality justifies the price, that can still be a deal-breaker if you’re limited in funds. Other than that, I can safely recommend the Philips LED lightbulb to anyone interested in dependable, flicker-free light bulbs for photography.
Specifications
|
Brightness |
800 lumen |
|
Color temperature |
5000 kelvin |
|
Wattage |
60 watts |
|
Voltage |
120 volts |
|
Color rendering index |
95 CRI |
SANSI is a fantastic photo and video LED light that is also supplied with anti-flicker technology. As a result, I could enjoy consistent and stable lighting that ensured all my images share the same lighting conditions. The lack of flickering was essential for my time-lapse photoshoots which can sometimes be ruined by just one poorly-lit shot.
The SANSI LED light is also highly versatile, enabling me to switch the color temperature to fit the mood I want to convey in my photos. Whether I was taking warm, relaxing portraits, or cool, dramatic product photos, I could easily set the desired color temperature to get the lighting I needed.
My only disappointment came from noticing that this light can get a bit hot if you use it for several hours without any breaks.
Compared to similar bulbs for photography lighting, this LED has proven to be more durable, as it served me for much longer than regular incandescent lights and even the Philips LED model featured above, representing a more cost-efficient solution.
Specifications
|
Brightness |
3000 lumen |
|
Color temperature |
5000 kelvin |
|
Wattage |
22 watts |
|
Voltage |
120 volts |
|
Color rendering index |
80 CRI |
The main distinguishing feature of this halogen bulb for photography is its extremely high brightness and power output. In contrast to most halogen lights that tend to create harsh lighting, this model generates even, bright illumination that provides the uniformity necessary for professional photography.
Such consistency has allowed me to avoid making lighting adjustments during the photo shoot, as I could simply focus on taking pictures.
However, this halogen light bulb isn’t perfect as it suffers from the same flaw that all halogen lights do – overheating. When left turned on for hours on end, it heats quite a lot, which can be an issue in a compact studio that doesn't have proper ventilation.
I managed to make peace with that flaw and enjoyed 12Vmonster’s impeccable lighting quality and durability, as it became a mainstay in my video lighting kit. It provides better balance, color reproduction, and dependability than most other halogen bulbs, which is why I can recommend it to any photographer with a spacy studio.
Specifications
|
Brightness |
450 lumen |
|
Color temperature |
2700 kelvin |
|
Wattage |
40 watts |
|
Voltage |
120 volts |
|
Color rendering index |
90 CRI |
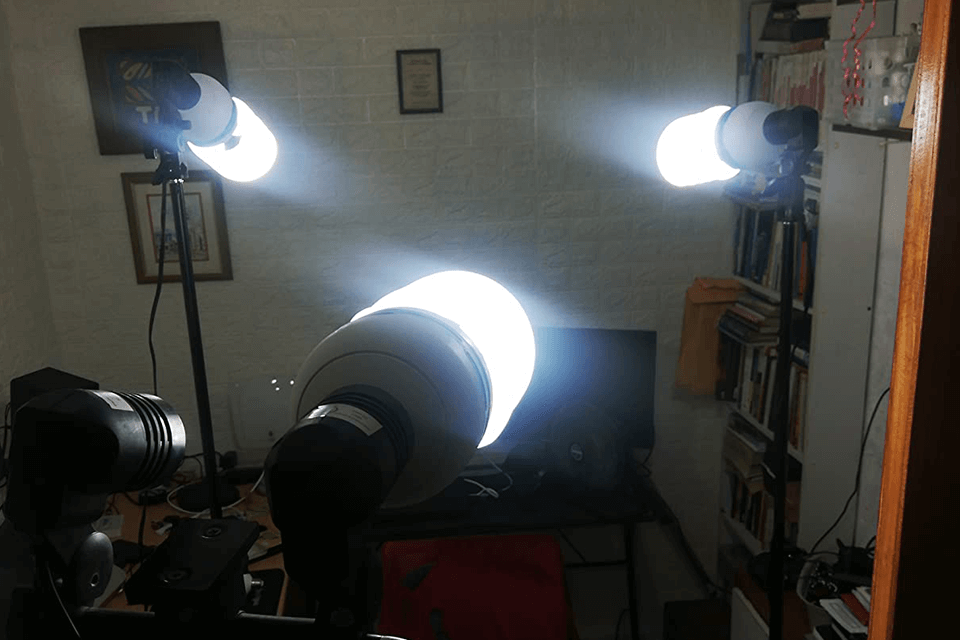
This lightbulb produces diffused, natural lighting that imitates daylight and represents a fantastic option for product and portrait photography. While most fluorescent lights are known to be overly harsh and create glare, this model emits gentler, softer illumination that highlights the beauty of the subject without creating rough shadows.
A key feature of this light bulb for photography is the stable color temperature of 6500K, which is higher than the Philips and SANSI products reviewed above, offering accurate daylight tones that minimize the amount of time you’ll have to spend when editing the photos later. This is especially useful when taking photos of different subjects or items during a single photoshoot, ensuring all of them have the same color balance and lighting conditions.
The only notable drawback is that you have to wait a couple of seconds before the light reaches maximum brightness after you turn it on, which can be a bit annoying when you’re in the middle of a time-sensitive photoshoot. That said, the excellent light quality, power efficiency, and longevity of this light bulb more than make up for it.
Specifications
|
Brightness |
4700 lumen |
|
Color temperature |
6500 kelvin |
|
Wattage |
105 watts |
|
Voltage |
110 volts |
|
Color rendering index |
80 CRI |
Anoder allows me to experiment with different light bulb brightness settings to ensure I have the perfect shooting conditions for all possible situations. Such versatility is very important when going from working in a bright hall to a small, poorly-lit studio. Sadly, it does tend to get noticeably warmer than most LED lights in the same category.
Thankfully, that drawback is compensated by my favorite aspect about this LED light, namely the implemented heat dissipation technology, which is also present in the ring light for TikTok videos made by the same brand. While most lights tend to shut down when getting too hot, the provided cooling helps Anoder preserve its brightness level and continue to work for many hours in a row.
The bulb itself has a sturdy build and its reliable performance and impressive color reproduction make it a serious consideration for any photographer looking for a long-term light source for their studio.
Specifications
|
Brightness |
1200 lumen |
|
Color temperature |
6500 kelvin |
|
Wattage |
85 watts |
|
Voltage |
120 volts |
|
Color rendering index |
90 CRI |
When picking the best light bulbs for photography, I focus my attention on multiple factors that can help me receive the optimal results, including:
Brightness. I try to purchase bulbs that have a lot of power while emitting a soft light, which is usually measured in lumens. For my studio lighting kit, I typically get lights with a higher lumens value (like LimoStudio) to make sure the entire shooting area is properly lit.
Color temperature. I ordinarily pick lights that have a color temperature of about 5500K, which resembles natural daylight. Such bulbs help provide consistent and natural colors, which are easier to work with during the image post processing stage.
Wattage. I prefer lights with higher wattage (like Anoder) to ensure they’re powerful enough to illuminate even larger areas. The key here is to check if the provided wattage is compatible with the rest of my lighting gear to prevent any electrical problems.
Voltage. Since the standard voltage in my country is 120V, I can only get lights that are compatible with such a specification. Otherwise, I would risk breaking my lighting gear or having to deal with inconsistent light performance.
CRI. I suggest prioritizing light bulbs with a CRI of at least 90 to make sure you enjoy accurate and rich colors. Anything lower than that and you’ll have to spend a lot of time in your image editing software to make the colors look true-to-life.