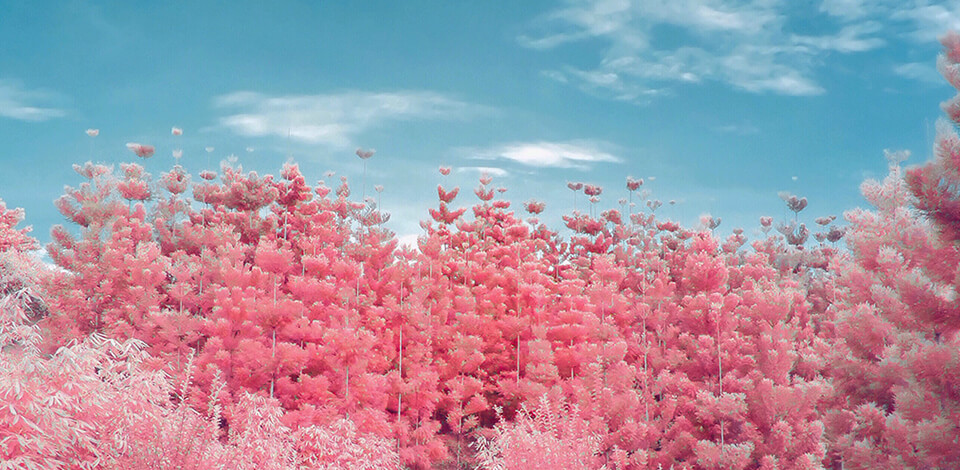
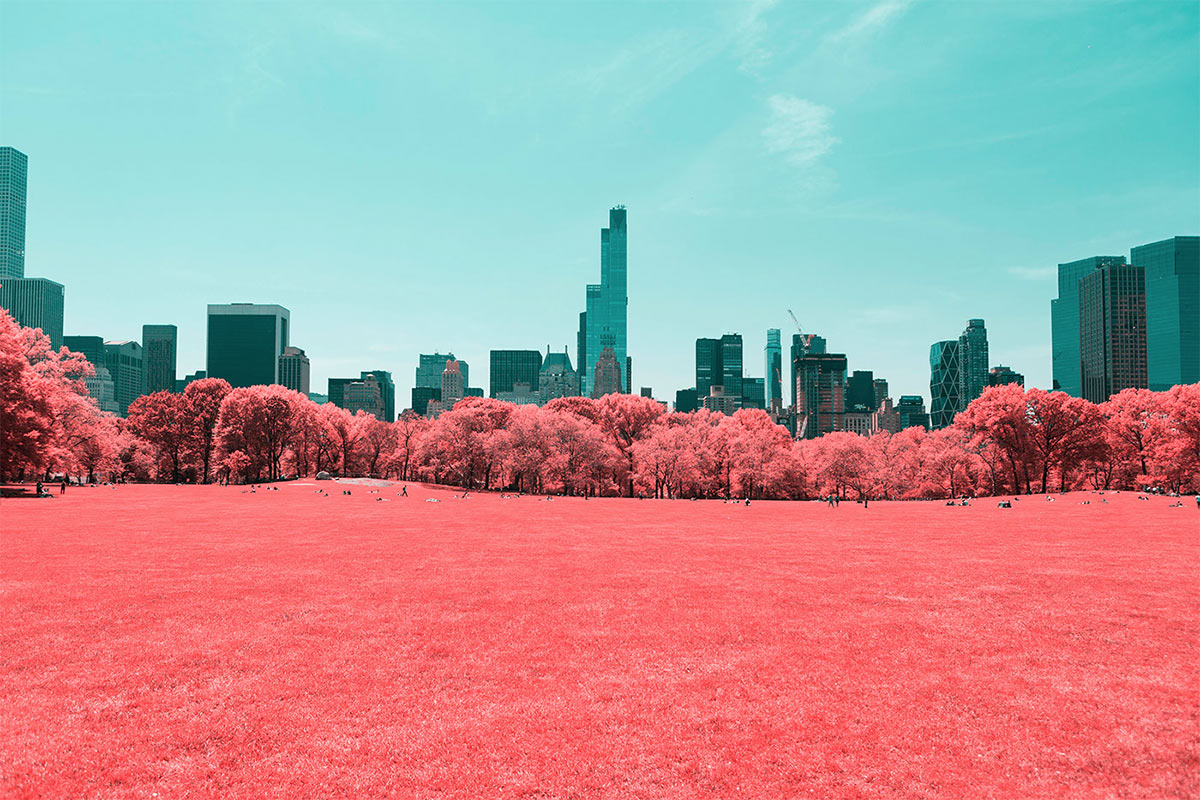
Infrared photos depict green grass and trees white, while the blue sky and water are naturally darkened. You will achieve saturated pictures with increased contrast.
Infrared photography involves creation of numerous breathtaking effects. You can start with using special filters and then gradually move to transforming your digital camera into an infrared camera.
Textures, trees, colors, human skin, and other elements in your pictures will reflect infrared waves along with visible light giving your works extraordinary and unique effects that you can't reproduce using Photoshop or similar programs.
Infrared light can’t be perceived by human eyes. Infrared waves are the part of the electromagnetic spectrum, which people can’t see. However, it is possible to take pictures using infrared filters or films to produce a fascinating effect that you can’t achieve using modern photo editing tools.
Colors and textures will be reflected by the IR light and appear in the photo in a completely new way.

No matter whether you use an infrared filter or a converted camera, it is better to take pictures when the sky is clear. Thus, a blue color of the sky will be darkened, while green foliage, like trees and grass, will appear in snow-like tones.
If you are going to try an infrared photography filter, you should adhere to long exposure shooting. This is mainly because of the density of the add-on. There is nothing unusual if you take a regular daytime photo with a 30-second shutter speed at ISO100 and f/8. In this case, it is necessary to stabilize your camera with a tripod.
If you photograph with DSLR, it is advisable to enable the Mirror Lock-Up feature and use a shutter release cable or delay timer.

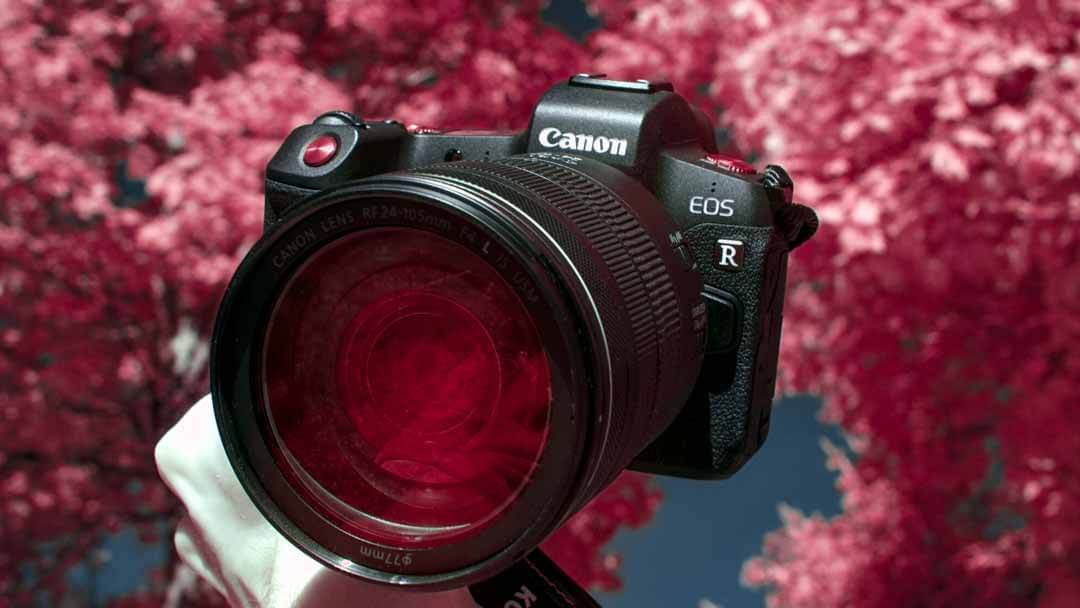
If you are new to IR photography, complement your camera gear with a special filter. Aside from being a money-saving option, it is a perfect tool to explore IR photography and decide whether you want to further invest in it.
An infrared filter prevents visible light from passing through while allowing only IR light to hit your camera’s sensor.
The modern market includes a rich array of IR filters. You can choose between screw-on or slide-in filter systems. One of the most popular screw-on IR filters is Hoya R72. It allows a small amount of visible light to pass through the lens, which makes it a good option to start out.
The best IR filters:

If you take IR photography seriously, consider using a dedicated infrared converted digital camera. You can transform your DSLR into an IF camera by removing an infrared blocking filter located in front of your DSLR sensor. Although it is a more expensive option, it has the advantage of using a camera the same way as you normally do, relying on common exposure values.
Once you convert a camera for photography, it is possible to use it only to take IF photos. You can’t take common shots anymore.
For IF film photography, it is recommended to use a camera without auto wind or auto advance. Auto-loading cameras include small LEDs to identify and count frames, which can result in light leaks and film fogging. It is recommended to choose cameras without LED sensors for DX Code detection, but with manual ISO/ASA adjustments. You can consider such models as Pentax K1000, Olympus Trip 35, Canon Ae1, and Nikon F series.
With the growing popularity of infrared photography, using an IF film became a simple and rather affordable way out. However, the development of this film can undermine this profitability, since it is necessary to find a special laboratory that works with infrared photos.

The best infrared films:
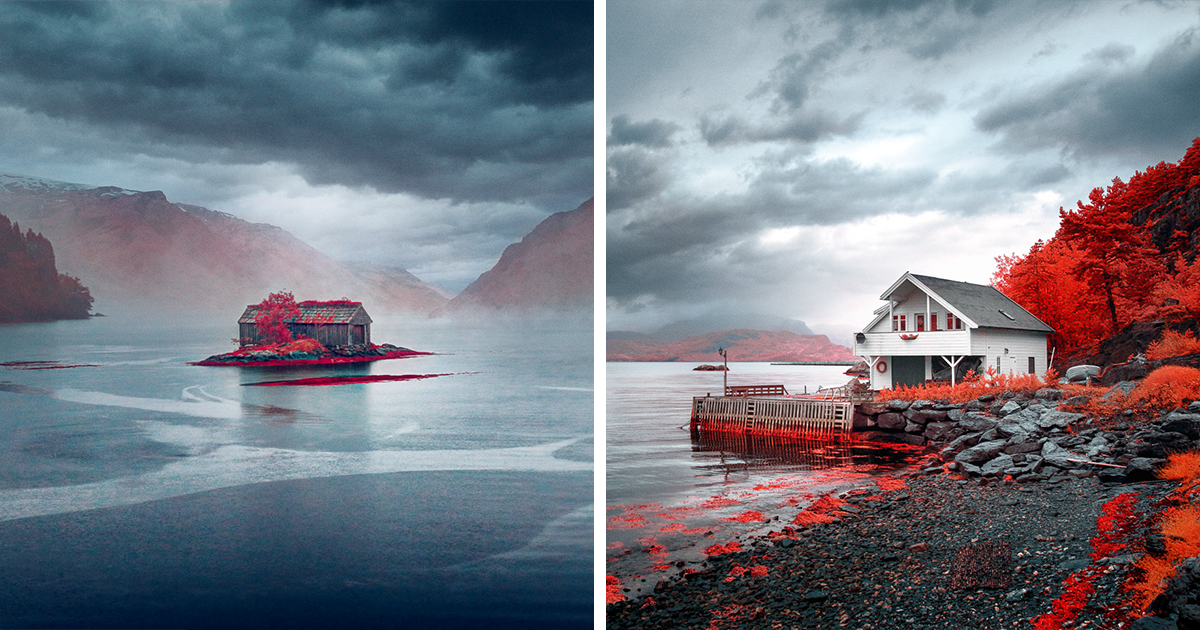
Landscape photography can largely benefit from infrared shooting techniques. This is because nature may look unusual in images. The IR light is absorbed more strongly by blue water and sky.
Clouds can stand out against the sky, but everything depends on the filter or photo post-production technique you use. White puffy clouds scattered across a dark or black sky, create awesome contrast.
If you don’t want to get images with blown out skies, it is better to expose for the clouds. Plant life and foliage, conversely, reflect IR light. The main idea of infrared images is the contrast between objects that absorb or reflect infrared waves.

Pine and spruce trees take in plenty of IR light. Try to convert your picture into black and white. Your photo will have a black sky with contrasting white clouds, inky water, dark gray pine trees, and white foliage.
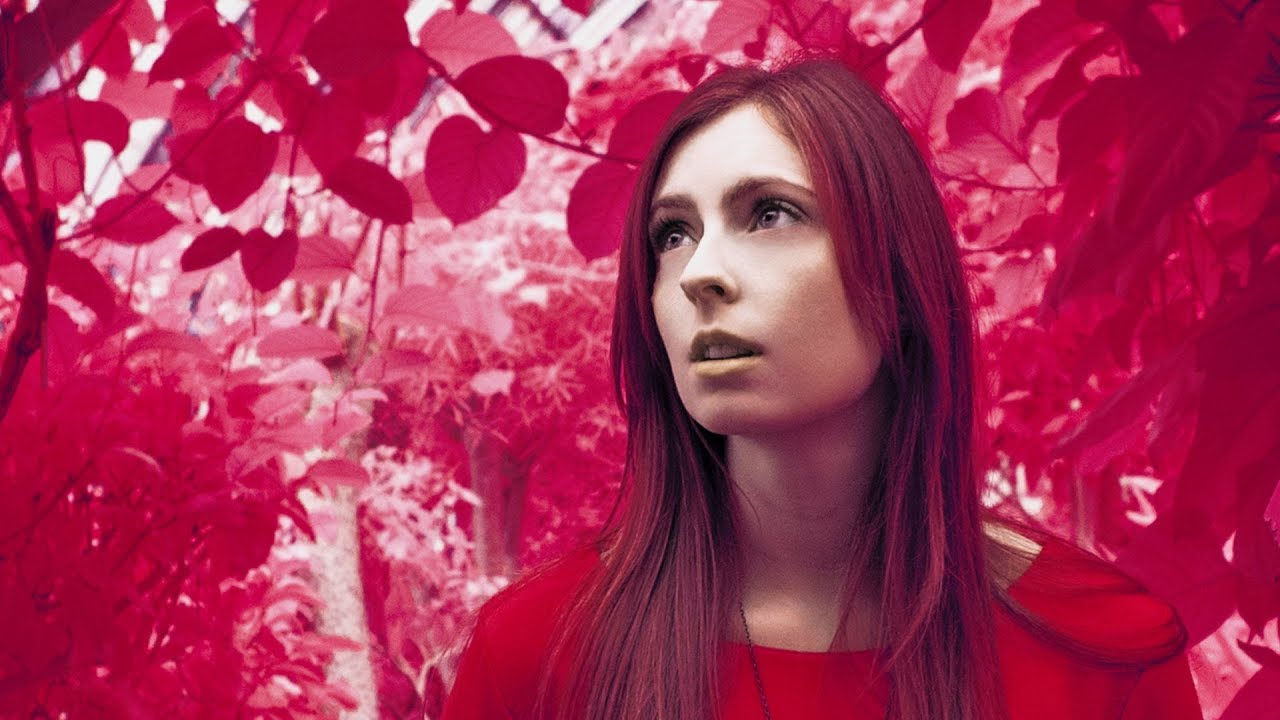
A landscape is not a single subject for IR photography, so you can focus on taking pictures of people. Such photos will have a ghostly look and feel. Also, you can develop your skills by taking portraits, but this genre requires a different approach. Contextual thinking may bring excellent results. However, a close-up picture depicting a face may appear a bit weird.
The skin will acquire a milky, smooth texture, but the irises will look black. Such extraordinary images may seem confusing at first. When practicing infrared filter photography, carefully consider the lighting. Also, you can play around with different skin tones and incorporate fabrics in the scene. Unless you want to achieve ghost-like images, it is senseless to take close-up IR images.

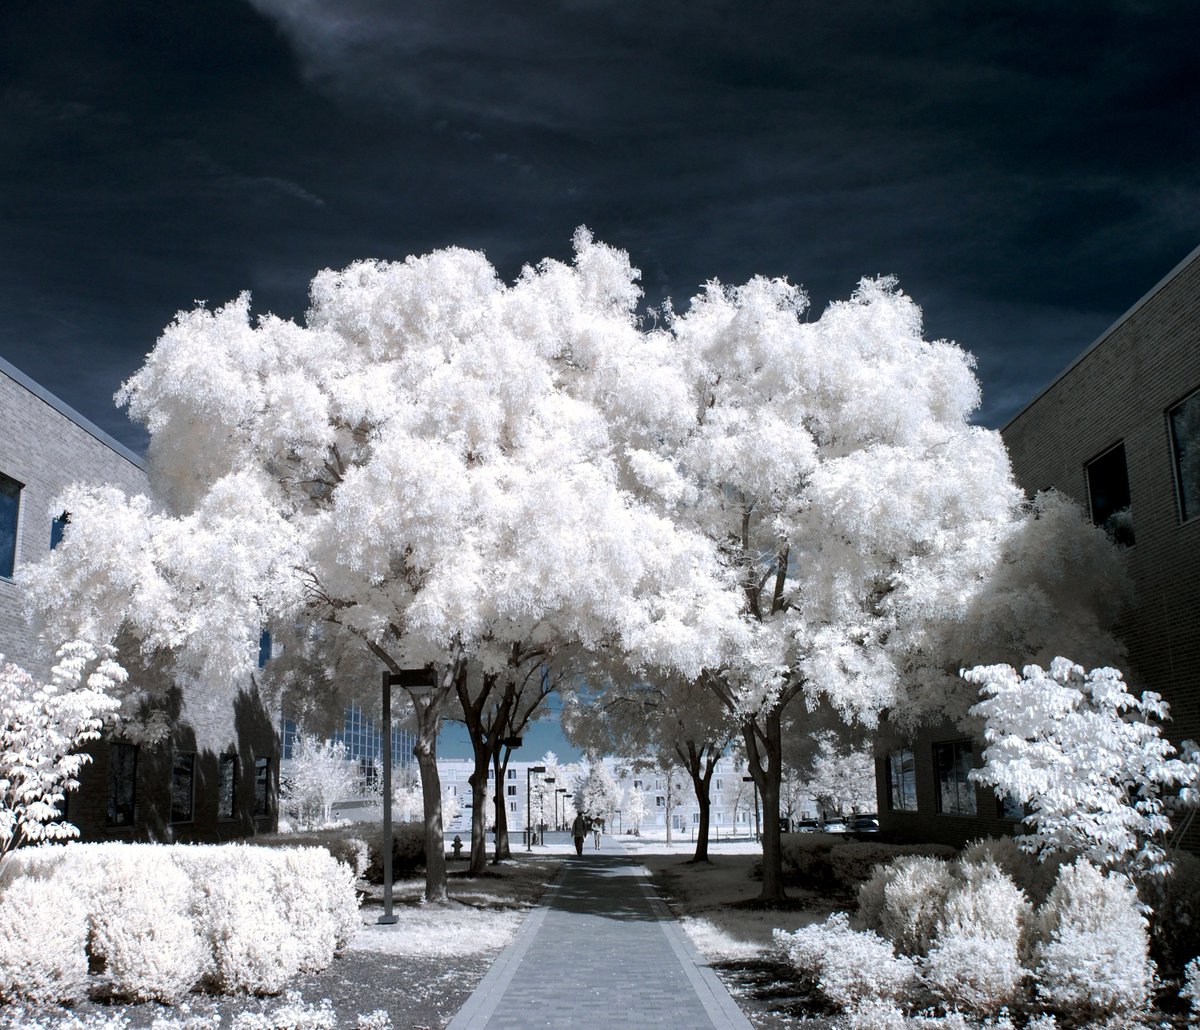
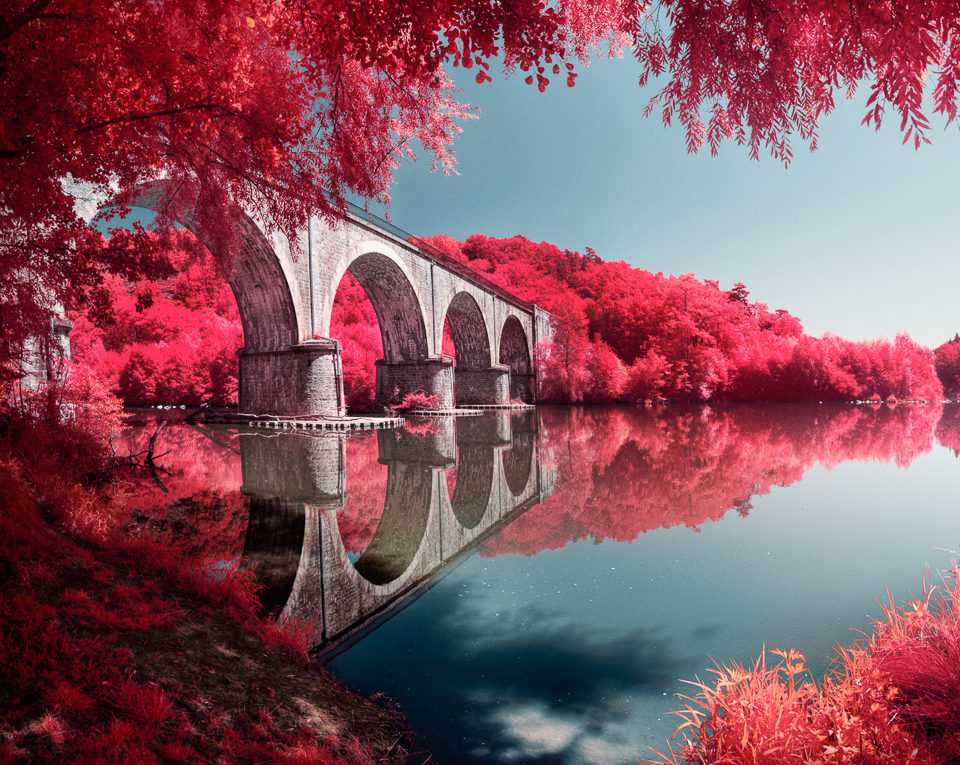
If you are doing professional architectural photography, you can incorporate an infrared film into your photo sessions. It will help you reduce haze, and increase contrast in the photo. Moreover, inky skies will add a bit of drama to the photos featuring buildings.

When you use the infrared technique, you can turn ordinary architectural structures into extraordinary objects that attract the viewer's attention. The entire scene acquires a mysterious look and feel. Details always complement the story. It would be great to capture a barren tree near the building.

Infrared light has completely different characteristics. This means that you can follow various lighting rules. If you photograph indoors using artificial lighting, you will hardly get desired inferred images.

In case you shoot at midday, IR light will bounce your scene in a dramatic way by creating pure dark skies. Usually, photographers don’t take pictures at high noon since the midday sun can produce direct lighting on a subject. Such lighting can be flat with harsh shadows.
When shooting IR, the light is reflected in a completely different way, so it may result in some surreal effects. Spice up your lunch break by going outside and taking magnificent photos!

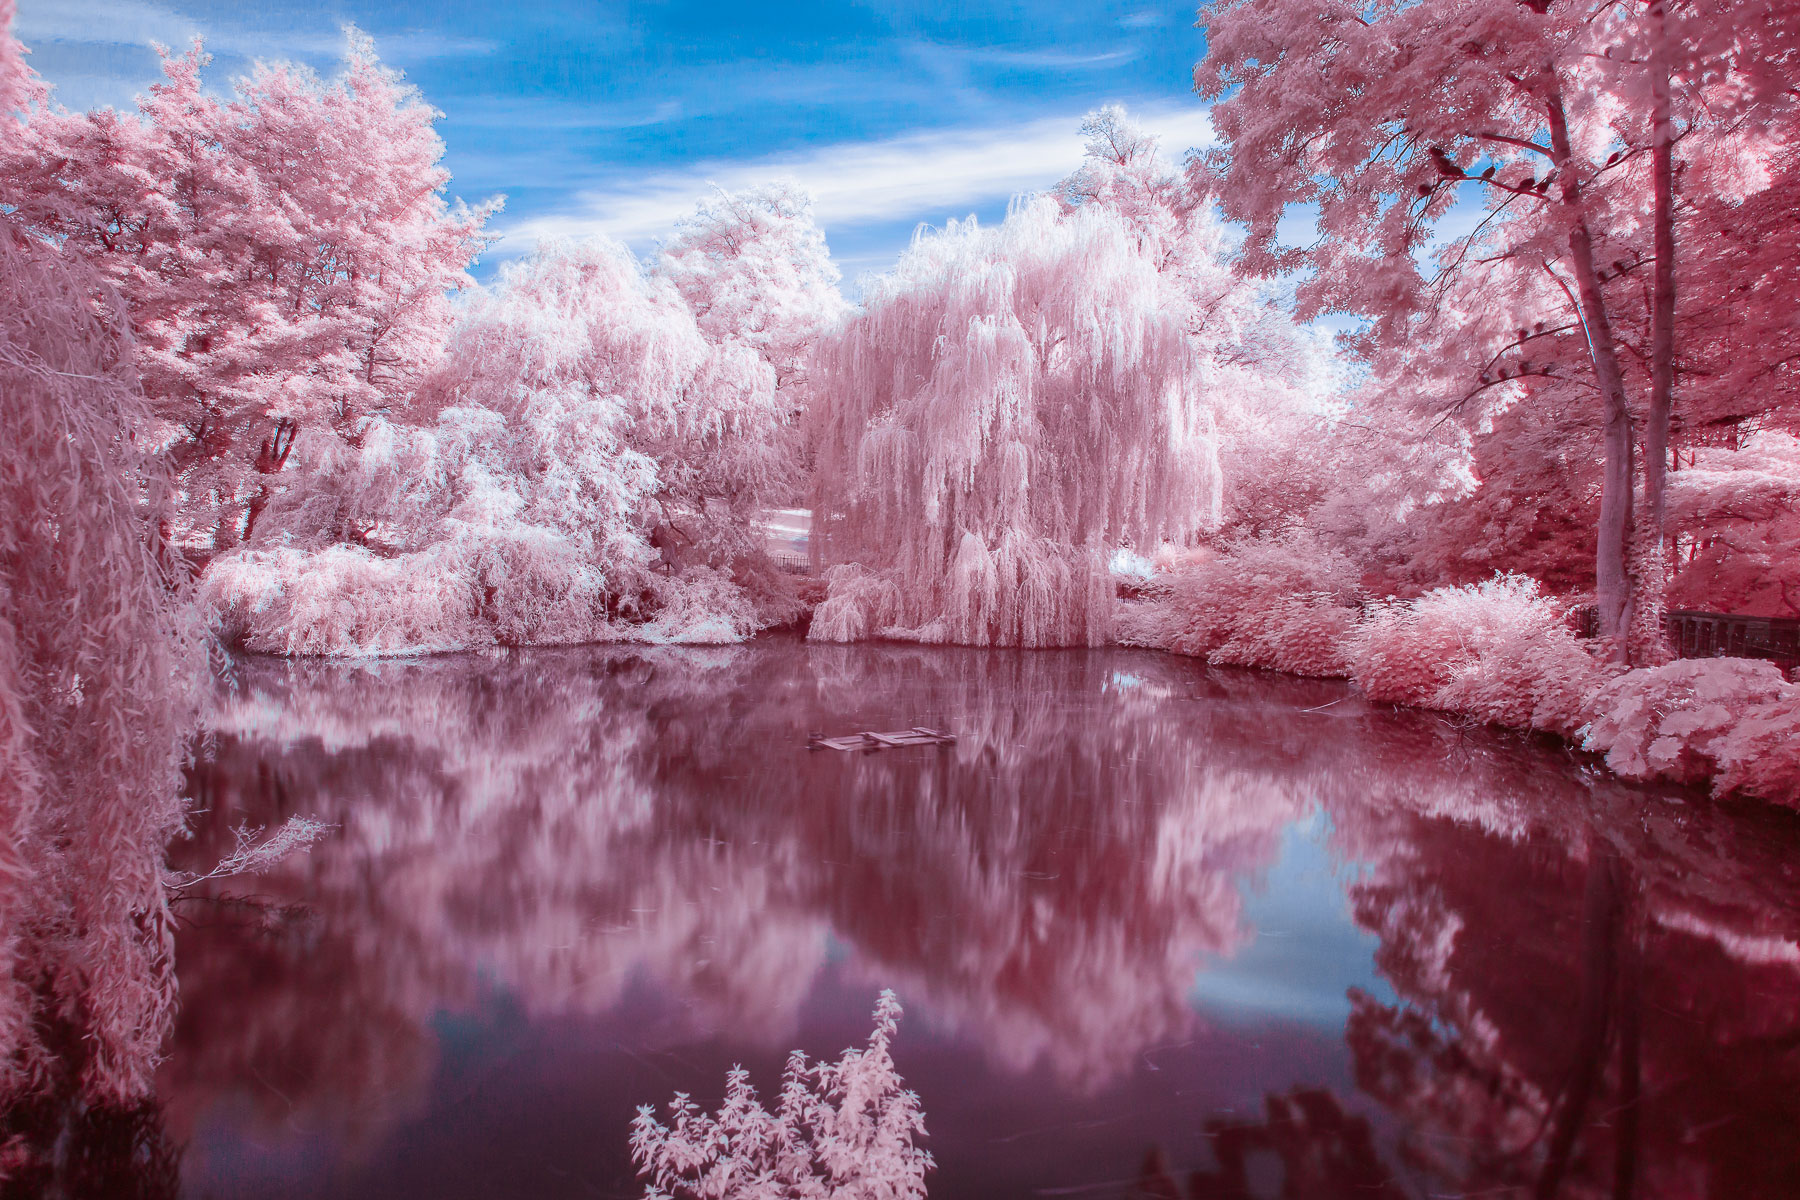
A lot of infrared photographs, both color and B&W, depict plants and foliage. Plants are green because they contain a pigment called chlorophyll.
Aside from helping greenery create its own food through photosynthesis, chlorophyll emits more infrared energy. This is the main reason the chlorophyll-rich trees and foliage appear with the otherworldly brightness in many infrared images.

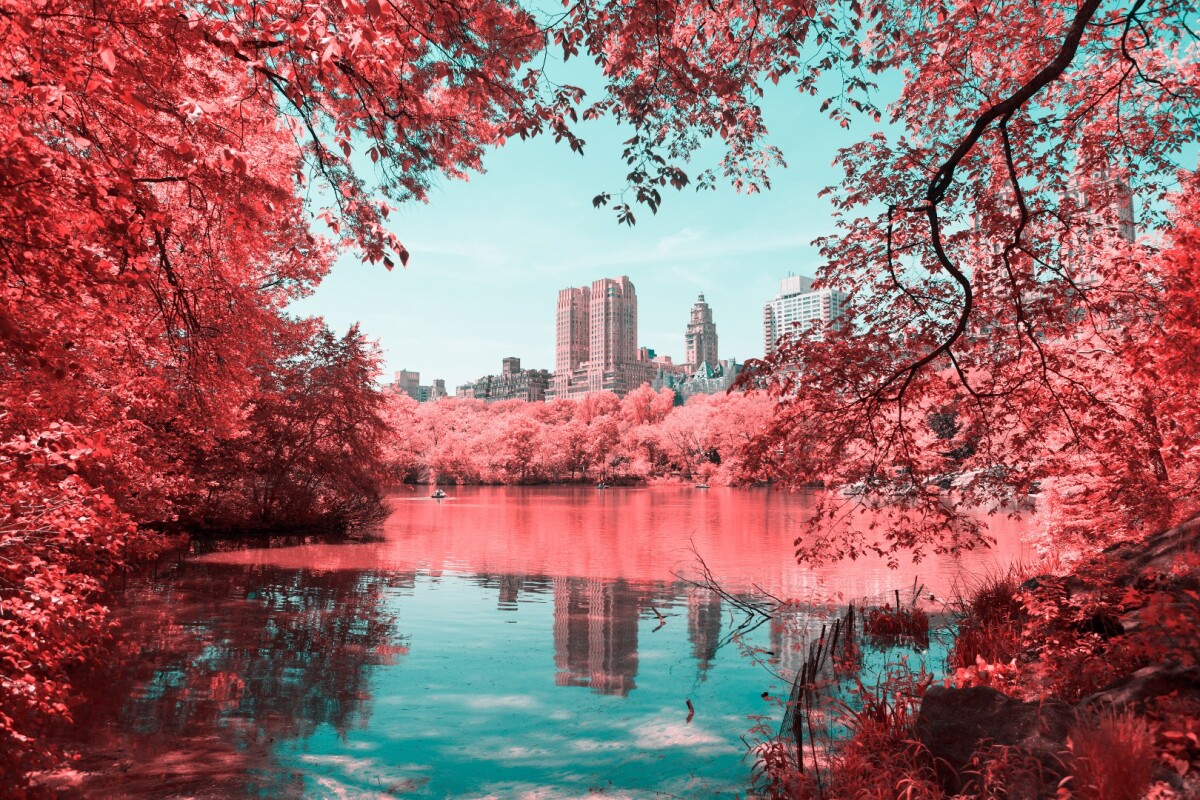
Infrared photography is a great way to display familiar scenes in the most unexpected way. The image below was taken on a sunny summer day, at about 1pm.
You must be definitely surprised, especially if you know the place depicted in the image.
This is all you need to do to draw the viewers’ attention to your work. Show them a familiar object or location in the most extraordinary way.
Below you can see the same place photographed with a regular camera. These pictures were taken months apart, but this is a great example of how IF photography can change what we’ve used to see.
As soon as you started out, you can take both RAW and JPEG images. RAW file format opens the greater potential for image editing. However, if you are a total newbie in IF photography, you may be confused when you see a flat red or pink image in your DSLR.

When shooting in JPEG, you can adjust the settings more efficiently and better understand how your resulting image will look. You may not believe it, but over time, you will be able to look at those dull red RAW images and determine whether they deserve attention or not.
If you use an infrared photography filter, you have to stick to a long exposure for blocking visible light. It is recommended to stabilize your camera and set 8 f-stop and exposure between 5 and 30 seconds on a bright sunny day.
If you shoot with a converted camera, you can rely on normal exposure, so all your adjustments will depend on the amount of light. If you still want to shoot on a sunny day, you can try an exposure of 1/125th or faster at f/8.

White balance is a subject of numerous debates among photographers. Some professionals prefer to adjust WB in the camera, while others correct it during photo post-production. It is necessary to regulate custom white balance each time the lighting conditions change.
You can determine the custom white balance by photographing a white piece of paper in the lighting conditions you're used to working, or by metering off green plants (grass is ideal).
If it comes to auto white balance, you can change it any time during image processing, if you shoot in RAW. Once you set the auto white balance on your camera, you don’t need to adjust it every time you change the light.

A good rule of thumb is to carry something white with you to a photoshoot and take a test photo. A white card is a great option. Once you learn how to adjust auto white balance during photo editing, you can save the settings as presets to keep white balance fixed for all your pictures.
Once you attach an infrared lens filter to your camera, it will be hard to see through it. That is why it is necessary to compose and focus your scene beforehand.
The exposure is likely to be slightly distorted, so use the histogram to evaluate it correctly. You can also focus and expose the subject manually.
In order to make the sky look blue, you need to shift the color hues. The channel swap process is a crucial part of photo editing. However, the opinions differ when it comes to which channels to swap and how to change values. Usually, photographers use the following values, but you can experiment until you find the most suitable variant.
Changing the Red and Blue Channels only:
Changing all channels:
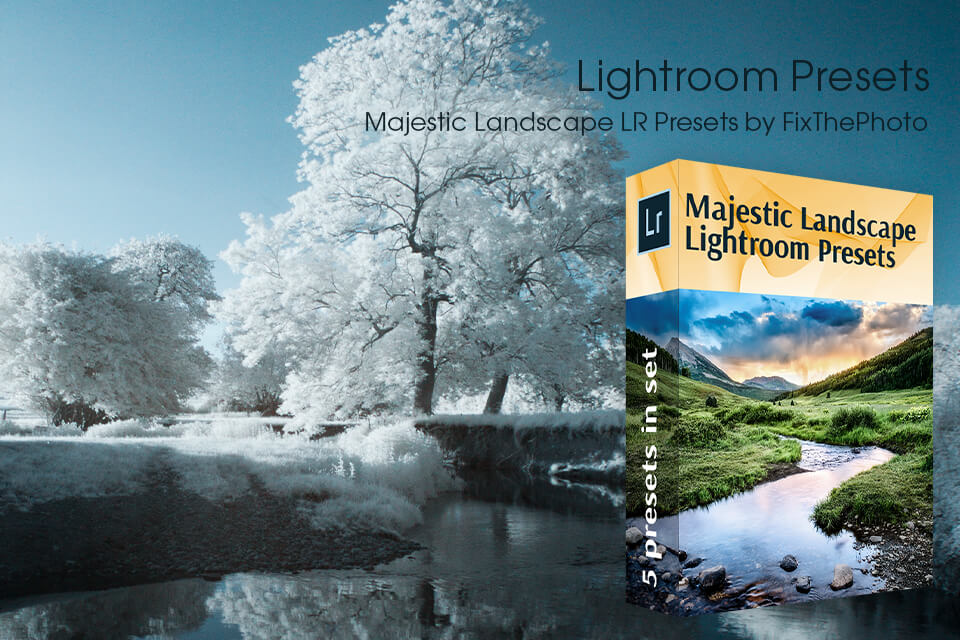
Many photographers choose landscapes as a subject for IR photography. So, if you want to enhance your infrared images, I recommend applying these Lightroom presets created for landscape pictures.
The collection includes different styles, filters, and effects for you to explore all the boundaries of your creativity when editing nature and outdoor images. You can easily adjust the desired plug-in according to your style. With these presets, you will definitely bring your infrared photography to a whole new level.


