People often mix up stop motion photography with time-lapse photography since these techniques have some similarities. However, in Time Lapse, you shoot something that is moving on its own, for example, clouds, while stop motion photos include a subject that you move and animate. Both techniques are great for taking a series of images at a certain interval.
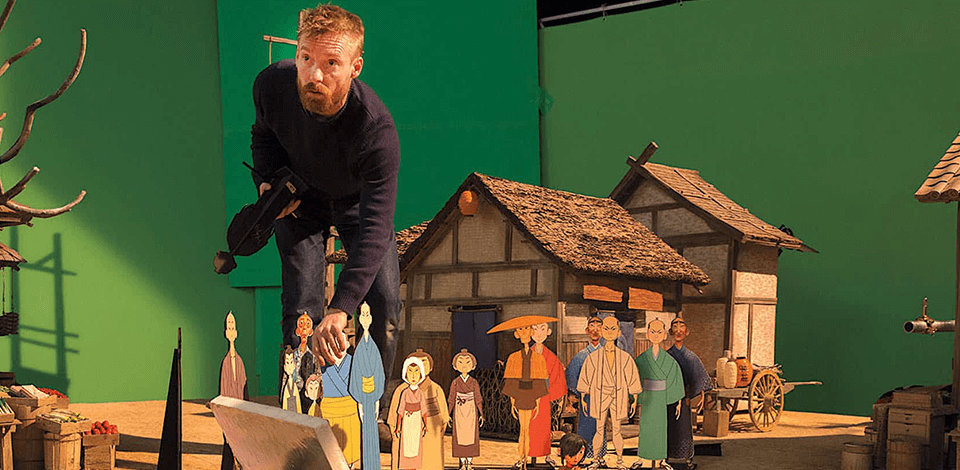
When photographs are merged into a video, we get the impression that objects move on their own. This technique was used to create The Nightmare before Christmas. It is also frequently used to create short films, commercials and content for social media. However, the best free timelaspe software will be of little help if you want to create stop-motion photography project.
Stop motion photography requires much attention to detail. It won’t hurt to learn additional tips and recommendations to produce more striking results. Many factors including the lighting and the plot, may influence the outcome.

At first sight, stop motion photography may seem rather complicated. However, that isn’t always reality. The most important thing is to start your work with planning and storyboarding. Otherwise, you will spend a lot of time editing the pieces.
First off, write a script. It should include an intro that explains the characters and the core of the video. Then, it should have the development that introduces more elements complicating the story. Finally, there should be the conclusion and the resolution where you reveal the main idea.
The final step is visualization. Think of what visual elements create the intro, the development, and the conclusion of your stop motion animation and use storyboard software to merge them into one whole. What will you choose ‒ wide-angle or detail shots?
As a rule, stop motion video technique is used to create 6 or 15-second clips. However, you spend about 14 hours to create those brief 15-second movies; what is more, you use around 250 photos. Before you get started, you have to calculate the timing of your stop-motion moves.
If the final movie plays back at 24 frames per second, every 24 images shot will equal one second of the movie. Thus, if you want to create a 3-second video, you will need 72 photographs and 72 moves of the subjects to complete the action.
Preparing the background for stop motion photography and videography, mind that it should be big enough to take photos not just facing the scene straight on, but also from the left, the right and using high or low camera angles if necessary.
It is recommended to shape the background as a half-pipe. In such a way, it will curve around the figures and accessories and you will be able to shoot from various angles.
A half-pipe form allows moving the background in case you change the camera angle. If you are working on a cut-out animation, a large sheet of paper colored or illustrated somehow may be a great background.
Stop motion photo specialists know that any movement in the frame should be intentional. Therefore, mind that you may change only one object at a time and all other elements should be locked down on the screen. They are not supposed to move.
Even the smallest move of an object that was not meant to move spoils the frame. For instance, if you have a pile of small paper slips, a simple sneeze will ruin the scene.
In case you work with small figures, use a double-sided tape, Velcro, etc., to prevent movement. If your subjects are rather big, lock them down with bolts.

Creating stop motion movies, finish the scene in one session. The thing is that when you are ready with half of the scene and then for some reason you stop, you will have to restore the set-up exactly as it was (adjust the camera angle, lights, the position of figures, etc.) to continue shooting. It might be rather challenging.
However, if you can’t avoid interrupting, change the camera angle and don’t try to repeat the same conditions. Don’t forget to mark the position of the tripod and the lights if you can’t leave them in the room until the next session.

Since you are working on a stop motion video, all the frames are to be shot in landscape orientation, in a 16:9 aspect ratio. Such parameters are the best to play back on the screen. It is the standard format of HDTV, Full HD, non-HD digital television and analog widescreen television.
Don’t worry if your camera doesn’t support a 16:9 aspect ratio. Here, you have two possible options ‒ to shot a video using a 4:3 aspect ratio or crop 4:3 movies to 16:9 aspect ratio during post-production.
You should also take into account the fact that cropping a picture, you will cut 1/8 from the top and bottom of your images. To see the frame, you’ll end up with, place some tape across the top and bottom of your camera display.

Transitions move the viewer from one scene to another. They demonstrate professionalism but require some creativity and skills. If you are still not good at creating transitions, watch stop motion movies to get inspired.
You should think of transitions at the very beginning of your projects, perhaps, on the planning stage. Transitions may influence the order you shot the scene at. For instance, if you want to make a ball out of a piece of paper and then unfurl it to begin a new scene, you should shoot the flat paper to balled up paper sections in the correct order.

In stop motion photography, you can’t rely on auto settings. You have to adjust the exposure, white balance and focus manually. If you use an auto mode, these settings may jump from frame to frame and, as a result, the pics won’t be consistent and your thorough work will be spoiled.

It’s better to shoot extra frames since it’s not a problem to delete unnecessary ones while it might be challenging to create new frames weeks later. What I mean is that, for instance, you can photograph your characters blinking.
I usually add my eyelids to my character and capture a frame even when it would be too much to include them all. It’s pleasant to make that decision editorially, later.
One more example is when you photograph the set without your characters. Such stop motion photos may be used later, for instance, if you decide to remove a part of your character for some reason.

As a rule, any non-linear editor will easily edit basic stop motion movies. You can use iMovie, Final Cut Pro X, Avid, Adobe Premiere Pro, DaVinci Resolve, etc. To do that, just drag your images and make each image size 1/24th of a second.
Moreover, you may use various paid and free stop motion software and stop motion apps, like Dragonframe or Stop Motion Studio. The main benefit of using pro-level software is that you can view the camera output while you’re shooting and see the differences between neighboring images using an overlay feature. You can also use online stop motion makers.
Although audio is not an integral component of a stop motion video, it defiantly boosts an overall impression of the created product. It may be a piece of music or some sounds; you may also use narration or combine all three. It depends on the project, actually. To avoid copyright infringement claims, use free royalty free music sites.

Buying a stop motion camera, mind that a still camera is better than a video one. Moreover, prefer cameras with a vari-angle flip-out screen. It helps you photograph with precision and ease. Canon EOS 6D Mark II is an ideal variant.
In case you need a professional tool, try Canon EOS-1D Mark II. This camera was used to create The Nightmare before Christmas.

It is essential that your camera stays still during the shooting process. Creating stop motion movies, it is necessary to keep a consistent camera angle while the character’s position changes from frame to frame.
In case it moves a lot, there will be a jump in a video. That is why you should buy gear only from the best tripod brands to get top results. I recommend working with Manfrotto MT055XPRO3.
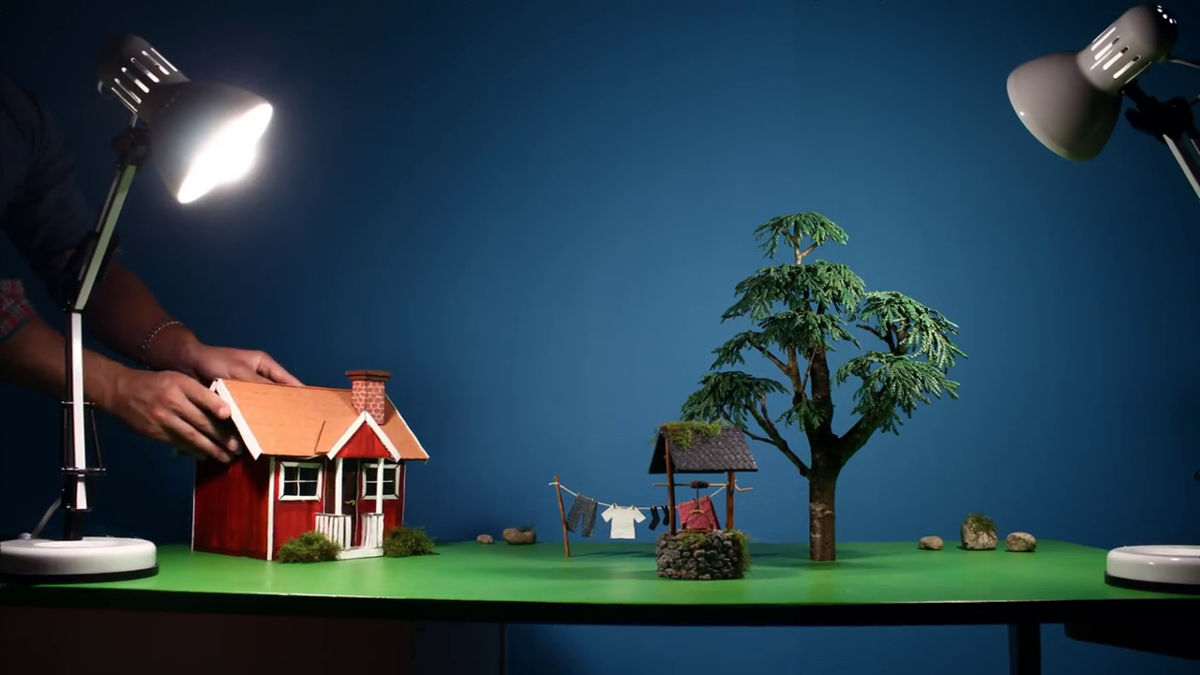
In stop motion photography, it’s better to use controlled, constant lighting. Daylight is not enough. The thing is that you spend a lot of time shooting several seconds of stop motion animation, the light angle changes and your footage becomes unusable. So, you should get a studio lighting kit to get the desired results.
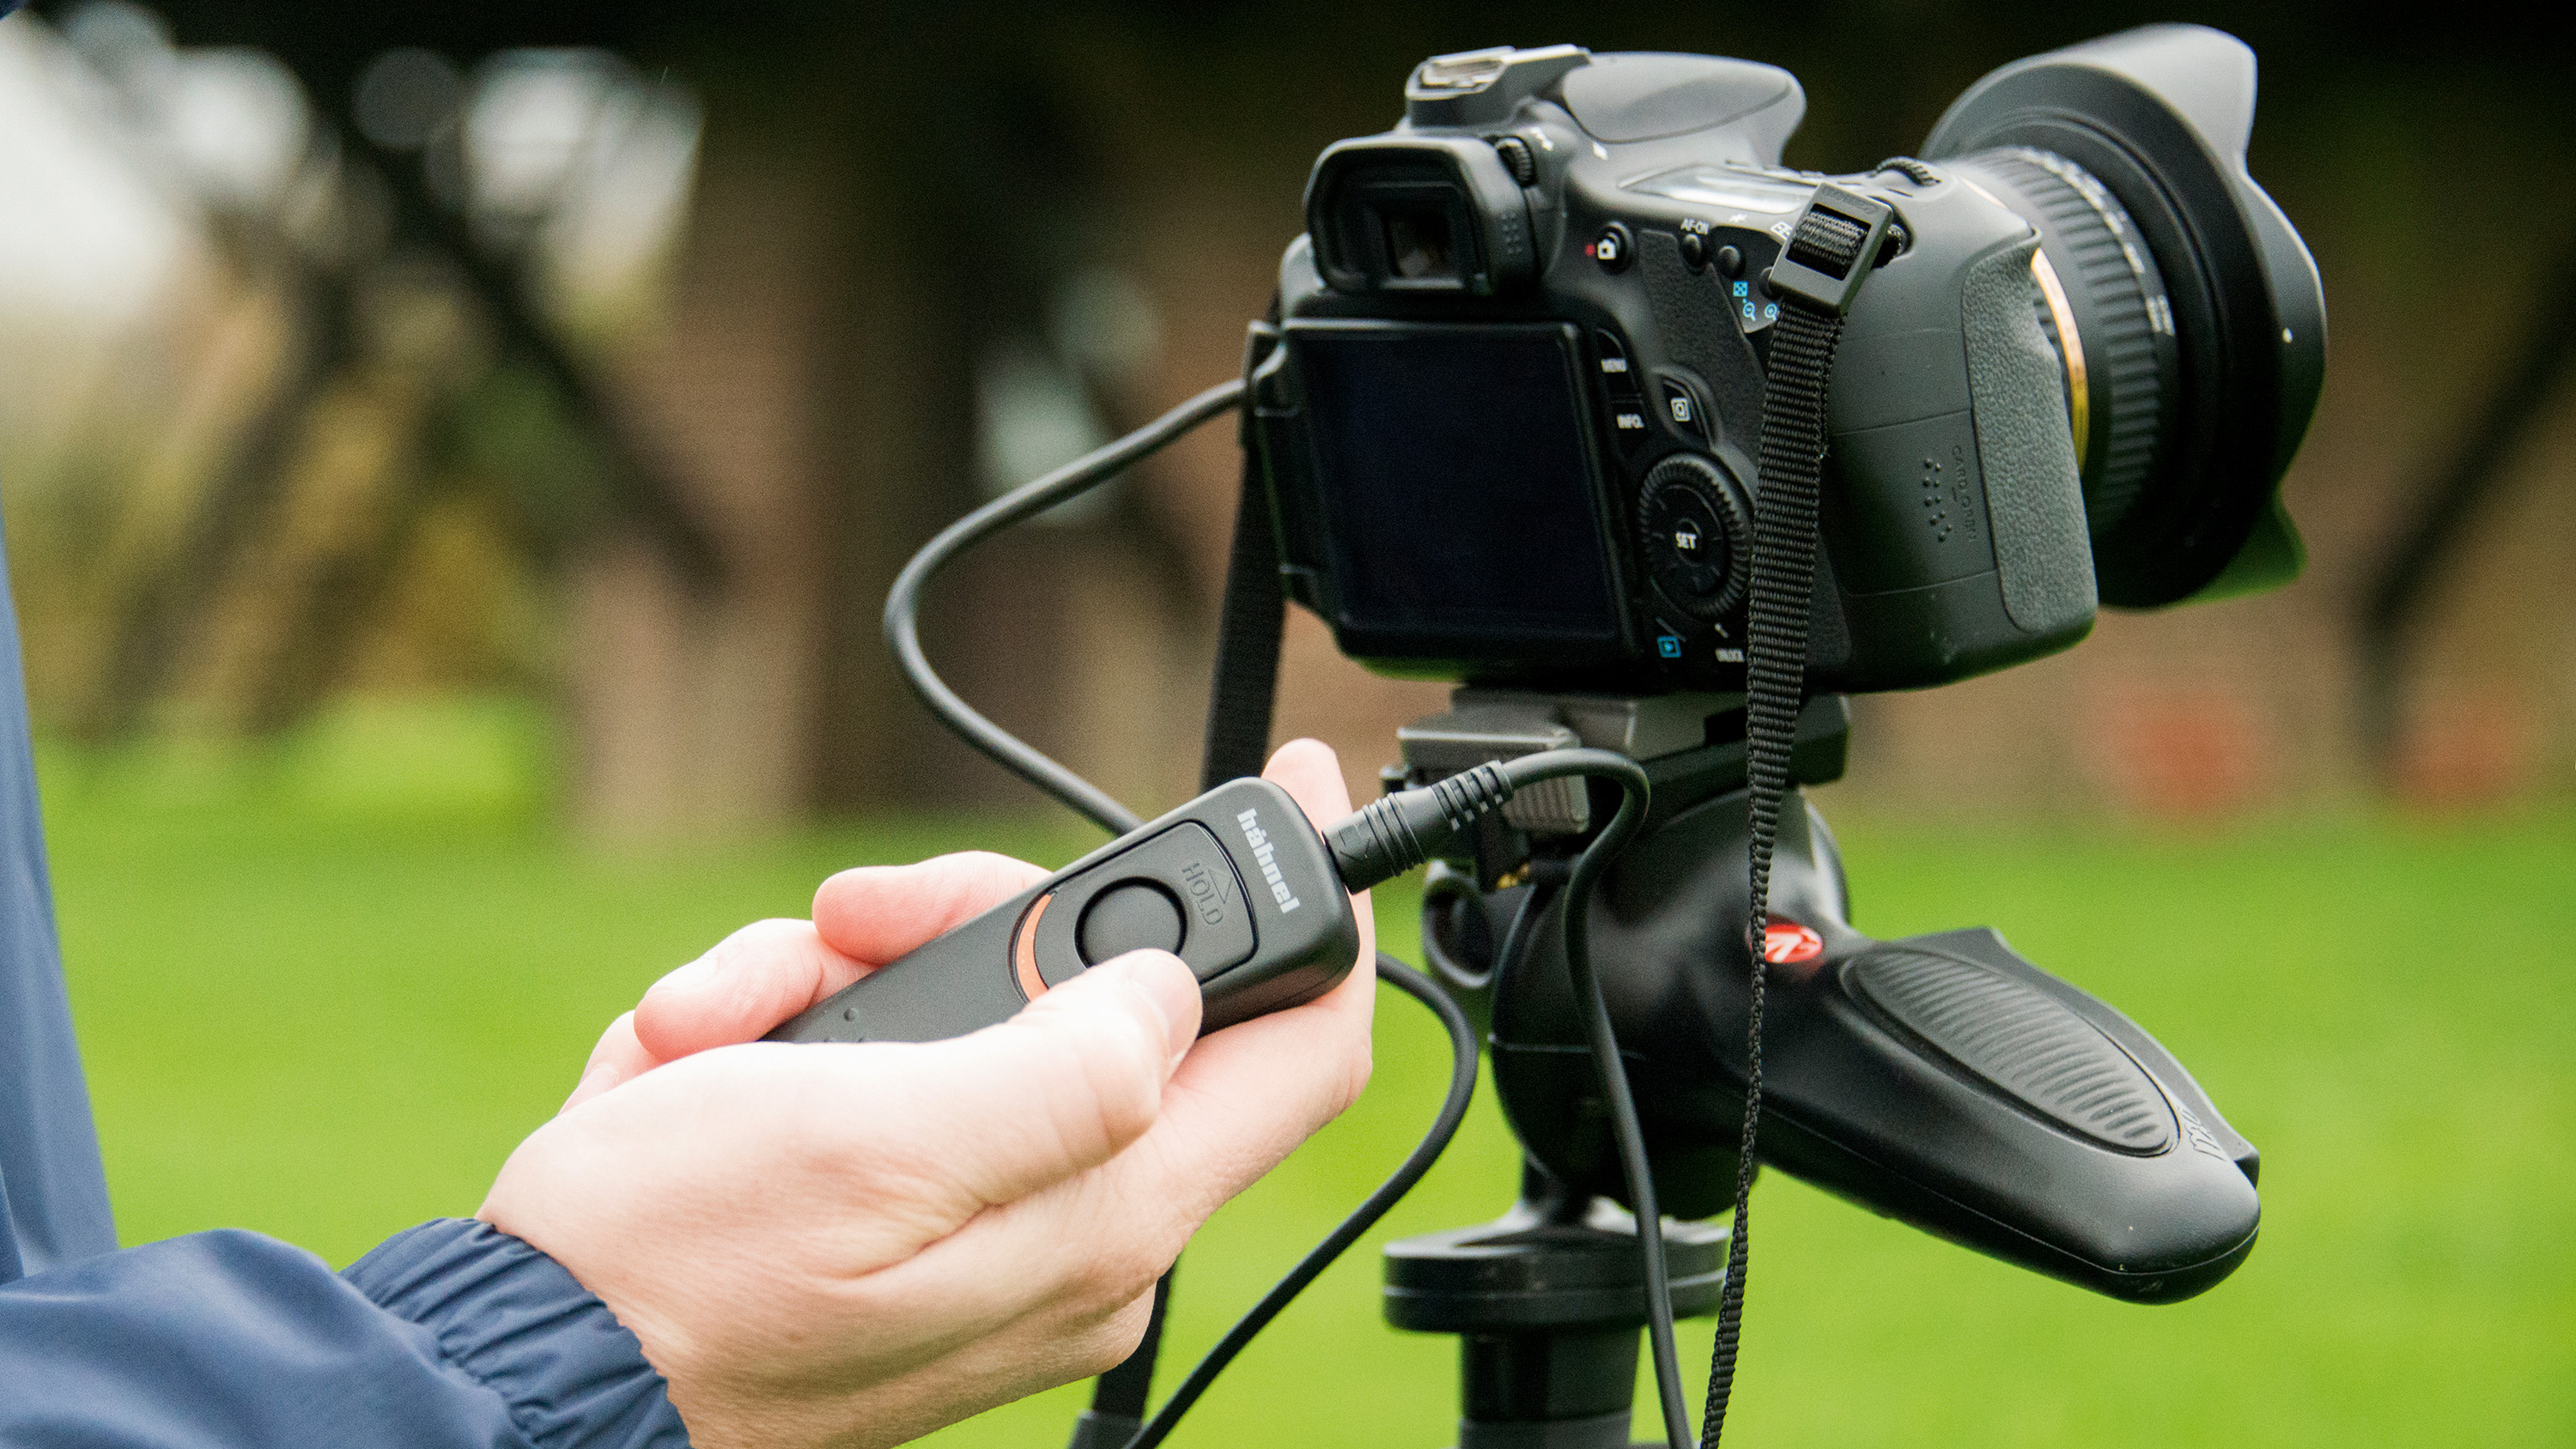
When you touch a camera to take a photo, you may unintentionally cause unnecessary shake and spoil your stop motion video. To avoid such problems, use a camera remote that will activate your camera’s shutter without shaking a device. I recommend trying Foto&Tech FTRC-6 IR or Nikon ML-L3 IR.
Editing stop motion photos is not as complicated and tiresome as it seems at first sight. Especially when you use professional tools, like Lightroom. This software will professionally cut down your editing time and make your stop motion animation look consistent.

This collection of 5 presets will help you spend minimal time editing your stop motion photos, make them bright, saturated or turn into B&W.


