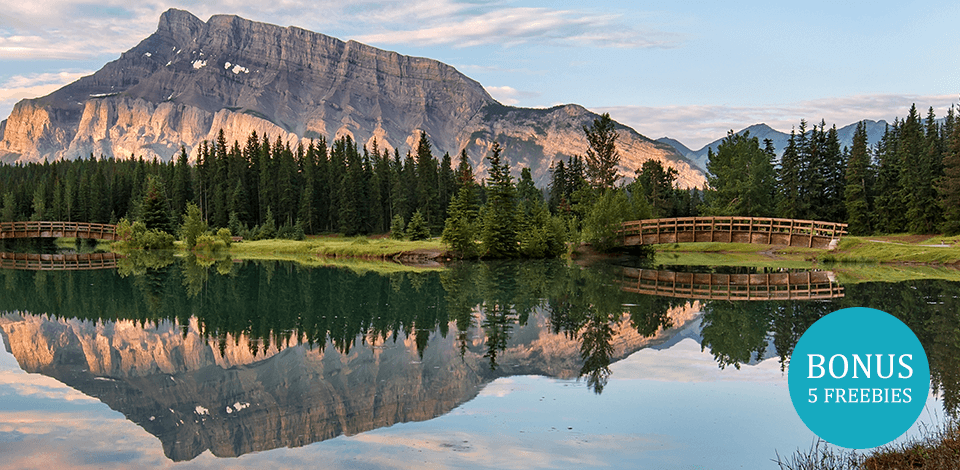
Reflection photography means using reflective surfaces to make an interesting scene. This genre of photography is ideal for such places as oceans, lakes, puddles and even raindrops.
In this article we’ll talk about how to take reflection photos in places near you, how to use these reflections in your pictures. Get the necessary angle, pick a proper angle and you’ll be able to take gorgeous reflective pictures in a wink.
Reflection photography can be in various forms and looks and vary from impressive landscape photos to detailed macro shots. However, there are some essential techniques, using which you will be able to achieve better results when working with reflections.

You can find reflective surfaces practically everywhere. The most beautiful reflections you can find on the surface of the water. Also, you can find nice reflections on glass surfaces, shiny cars, wet asphalt, ice or even sunglasses. Read more about crystal ball photography to get some creative ideas for your photoshoots. Besides, you can find great reflections on the windows of different buildings, protective glass on the track in subway stations, etc.
If you work with street or architecture photography, you can create beautiful photos with pools of water after a rainfall. Check these landscape photography tips for inspiration.

You can find many things with a reflective surface. A mirror is the most extreme of them and it’s meant for reflection. Metal surfaces will give you a reflection. Look for surfaces with fewer scratches for better results. Glass also reflects. Use a shallow angle to get more reflection. Marble – stone surfaces like marble will reflect too but less than glass or metal surfaces. With water on top of the Multi Purpose Desk Pad, there will be more reflection. Water – places where water creates a flat surface will give reflection. It can be puddles, ponds, and bigger water objects if there is no wind.

The best time for taking reflection photography is during the early hours of the day or in the evening. The fog and colored clouds of the sunset can be a nice subject. Use The Photographers Ephemeris, a landscape image editing app to see how the light will fall on the ground at any time of the day.
Also, use the cloudy sky for your photos. Reflection can help make the dull sky interesting.
If your mirror is in the shadow, you will be able to highlight the reflection. Follow these three essential steps:
Reflection photography means the light reflecting from the objects, so these aspects should be paid attention to before shooting.

If you are taking reflective pictures at night, use stars as backgrounds. When you are shooting reflections in the night, follow night photography ideas. Do it on a full moon or at least when it is within a week or more.
Depending on the lens you’re using, you will also have to pay attention to your shutter speed because long shutter speeds will create star trails. Also, if you set the ISO too high, it will add more noise to your photo. The moon will shine out some stars, but the brightest stars will still be shining in your background.

Try taking a mirror with you to a shooting location. It may be inconvenient to take a large mirror with you, but using a Canon wide angle lenses, you will be able to make the reflection seem larger than it is.
Also, you can take a bottle of water with you or a bucket. If there is a source of water near you such as a lake or the sea, you can carry buckets with water to a location where you want to make a reflection.

Your reflection photo has to always look realistic.
You don’t need to create large reflections. Small reflections can look great too in your picture. First of all, focus on the object and then check the reflection. Try using reflector boards to create realistic reflections.
Also, you can try distorting reality by creating an upside-down world, like in Inception. Another great idea is to hide a portrait or a silhouette in the reflection. In this way, viewers will feel like they’re inside the photo too.
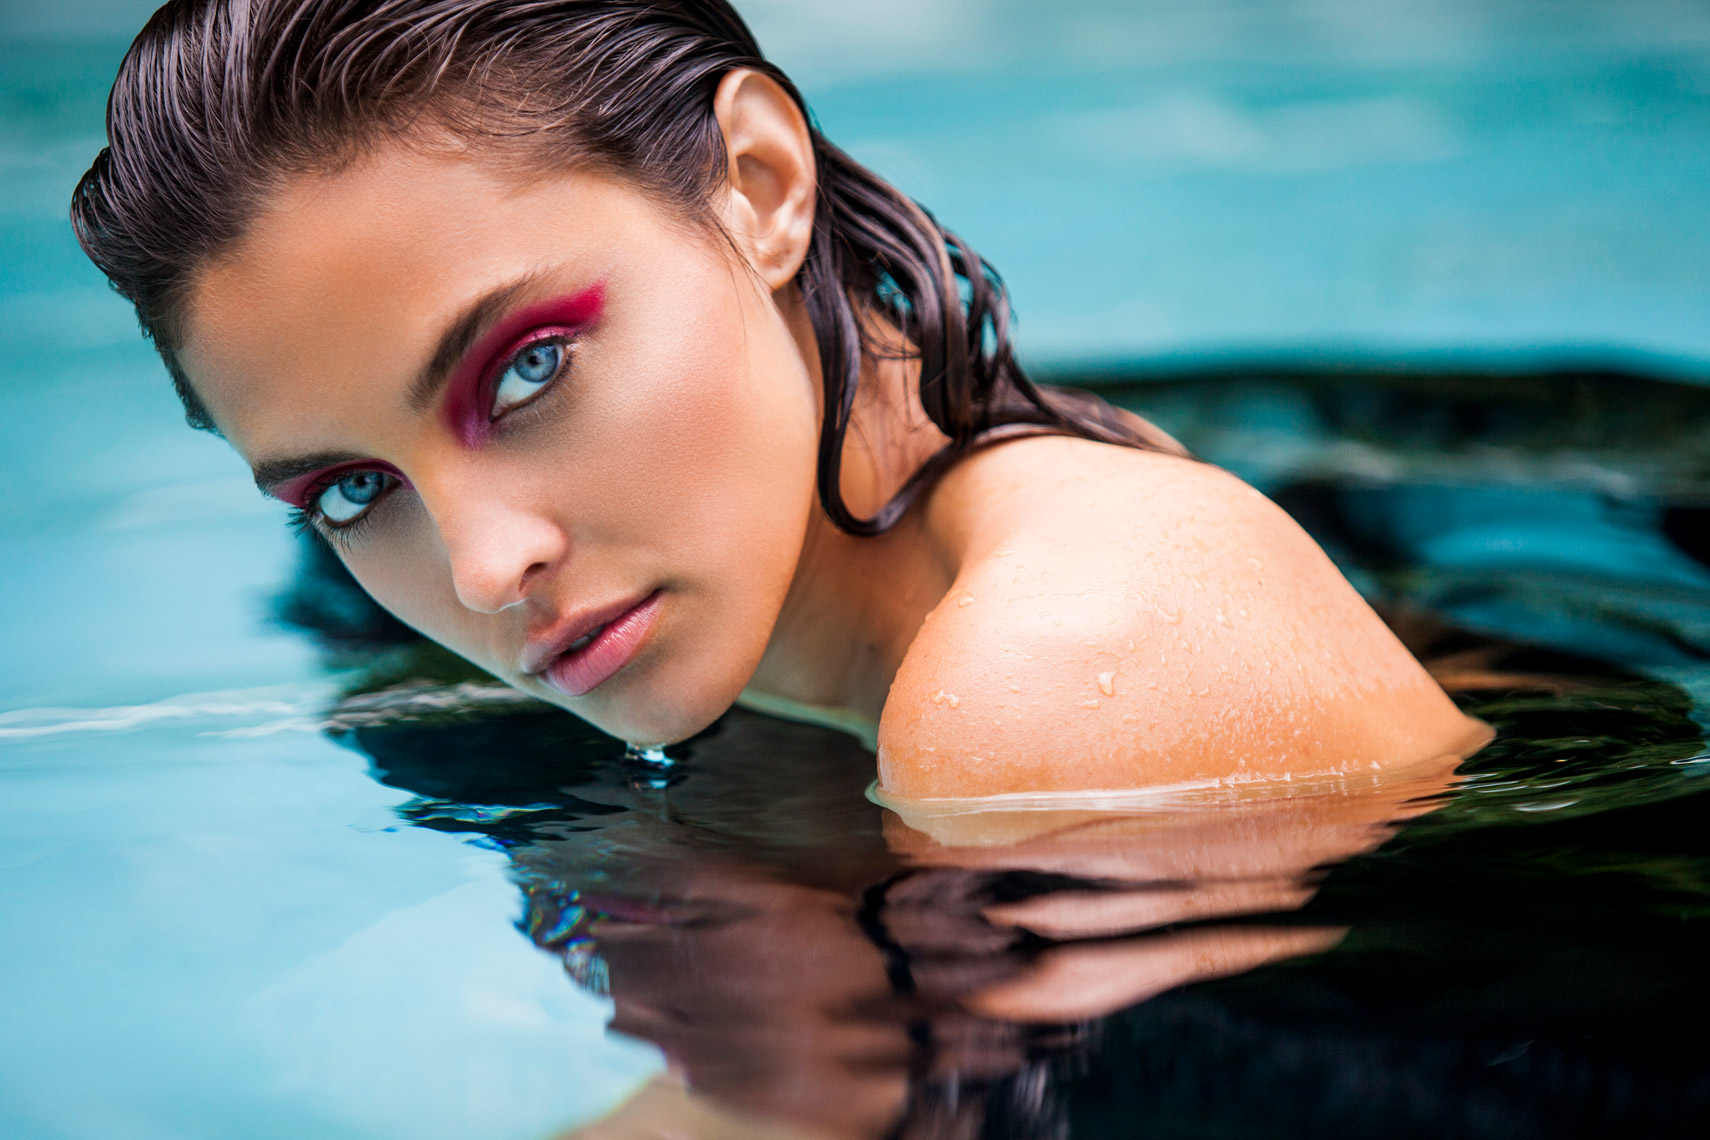
Another tip for creating a stunning reflection photo is to and something that you frequently can’t do with a DSLR, which is getting very close to the reflective surface. For this, use a waterproof pad to put the camera on the water surface, or sit down really low or even lie on the ground. Even if your photo lost some clarity, you will be able to correct it in post-processing using Pixlr.
In this way, you can put your subject with only the sky in the background, emphasize the reflection, and create a symmetrical picture in which the reflection extends to the horizon.
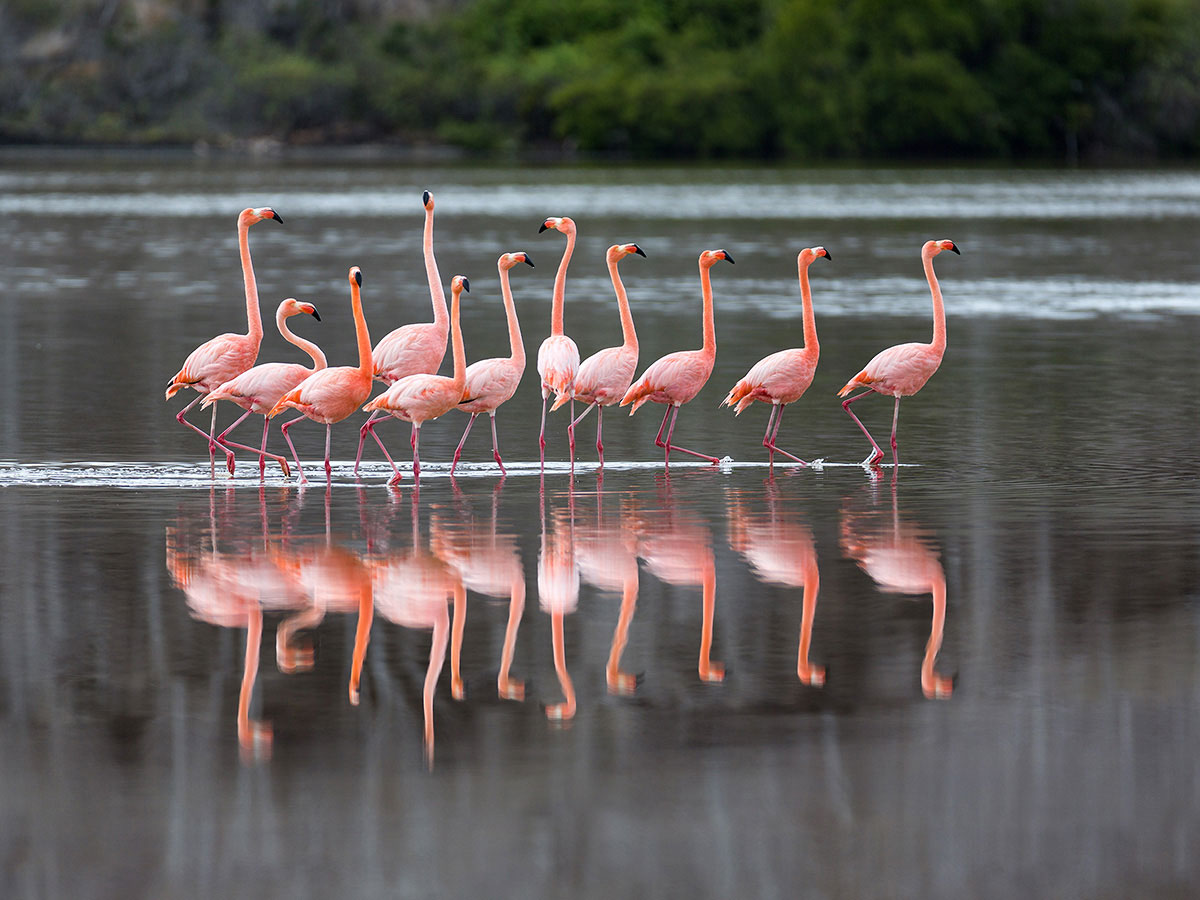
Reflections don’t have to be ideal like a mirror. They are actually more interesting when distorted by waves.
If there aren’t any waves in your location, you can make them yourself. Put our hands or feet in a puddle, throw a small rock in the water, or use Photoshop water textures for Photoshop.
Even though you might want to achieve gorgeous mirror-like reflections, distortions and imperfections in such a photo can be even more interesting. Besides waves, use uneven surfaces such as Crystal Glass Triangular Prism to create a special look in your photos. They add a new dimension to reflection photography and make it look nice not only in the background but in the foreground too.

The easiest way to simplify reflective pictures is to eliminate distractions from the frame leave only important parts of the photo – the subject and the reflection.
However, there isn’t a composition that first all photos. You need to take into consideration the scene, set your position or the position of your camera, and make sure there isn’t sun in your shot. Relying on the rule of thirds in photography only is not enough. This will be the best angle for the light rays to bounce off your specular surface.

The idea of the reflection is to make an echo effect, so the subject doesn’t have to be off-center to be interesting. Aligning the horizon, using leading lines in photography and putting it in the center of the shot will create symmetry in your photo.
Symmetry is one of the main aspects of reflection photography. The majority of reflection pictures show some level of symmetry, and you can easily emphasize it for a nicer effect.

Reflections are created due to a source of light but it shouldn’t be seen in your photo.
Make sure you keep the sun out of your picture. If it’s in, it will be reflected in the water and spoil your image.
When the sun moves in the sky, pay attention to how the angles might change. Sometimes shooting at the same location at different times of day can bring you different photos.
The sun will greatly reduce the reflection of the main object and the contrast of the scene.

In such a case, even in landscape photography, the CPL filter is more harmful than helpful.
It eliminates the possibility to get reflections on water and non-metallic surfaces. Even if you aren’t trying to get a photo with reflections on the water surface but using the mirror surface of a skyscraper instead, the CPL filter won’t let you have it either.
That’s why you can either fully avoid the 77mm X2 CPL Filter or use it to the maximum of its features. You can pay your attention and the polarising effect to something else than the reflective surface.
If you have a good camera for landscape photography, it will be easier for you to achieve beautiful photos. This is the list of the gear you need to use in order to get good results:
From a technical point of view, any lens will do for reflection photography, however, with a wide-angle lens, you will be able to capture more in a photo. Also, a zoom or a fixed lens can be more suitable depending on what you are going to shoot. That’s why it’s beneficial to have a couple of different lenses with you. You should also purchase a top-quality fixed lens, a zoom lens, and a wide-angle lens.

Firstly, ensure you set the aperture to a quite small value. This can be helpful in any location where you are searching for a reflection.
If you work with landscape photography, you might already have a monopod from the efficient tripod brand. Use it for closing the aperture. Also, remember to check that the subject is focused even in the area which is reflected.
Begin with an aperture of f/9.0 or f/10 to maximize the depth of field and have the whole scene in focus as the result. If it’s not enough, set it to f/16. Use the lowest ISO that will allow the shutter speed of 1/50 or faster, and adjust the settings until you get the result you need.

Another good tip for working with reflection photography is to place your camera on a tripod and increase the shutter speed. Due to this, you will be able to make the water surface smoother. As the water is the reflective surface you’re using, the reflection will look clearer and nicer.
A shutter speed of a minimum 1/250 is preferable if you want to achieve sharp reflections.
Increasing the shutter speed also means the necessity to control the other parts of the composition. For instance, clouds may start to form stripes, or you will see the sun moving inside your picture.

If there is movement in the water but subjects in the reflection aren’t moving, you can shoot great long exposure pictures. To do it, you need a tripod and the Slow Shutter Cam app, which you have to set to Motion Blur mode. Then you can check other parameters. With long exposure photography, you can create blurred and dreamy reflections if there is a little movement in the water.
Use the PolarPro 82mm Variable ND Filter to expand your long exposure.
If you want to balance the exposure, use the KASE 77mm GND Filter. With these filters, you will be able to lengthen the shutter speed.
If you have a qualitative tripod, longer shutter speed won’t be an issue for you. Use a remote shutter release or a camera timer in order to minimize vibrations. If you are using a DSLR camera, raise the mirror before shooting.

When you start post-processing, first of all, combine all images in case you bracketed or focused them. If you want to adjust the daylight parameters or perform color correction using curves, ensure you apply the same changes to all layers that you’re combining.
Try combining photos manually using layer masks in Photoshop and don’t use HDR algorithms. In most cases, they either produce a flat photo or a photo with an artificial look.

You can fix the reflected area being stop or more underexposed if you add a gradient layer mask to the Exposure layer. Add an Exposure layer on top of the current one and increase the exposure slider to 1 stop. After that, click on the Gradient tool and apply a gradient to the layer mask.
You will need to make local changes to your photo. For this, you can use graduated filters to adjust the photo or layer mask and display just the area of the photo that you want to manipulate.

Besides, perform brightening, sharpening, and adding more contrast to the reflection in order to imitate the image that the reflection is coming from.
For example, adjusting poor lighting is easy by going to the Exposure section or using free Photoshop light overlays, where you will be able to make your pictures lighter, brighter, and airier as well as perform correction of a low-light photo, etc. If you want to adjust your exposure manually, you can use the Levels tool to make your photos look more interesting.

Use free reflection photography actions to achieve beautiful landscape photos and interesting pictures with reflections.


