How to Photograph with Reflective Boards


What is a reflector board? How can you use it? Why is it as important as professional lighting, my camera, and lens when it comes to gear? These questions became very popular lately and I’ve been receiving them more and more from beginners.
What Is a Reflector Board?
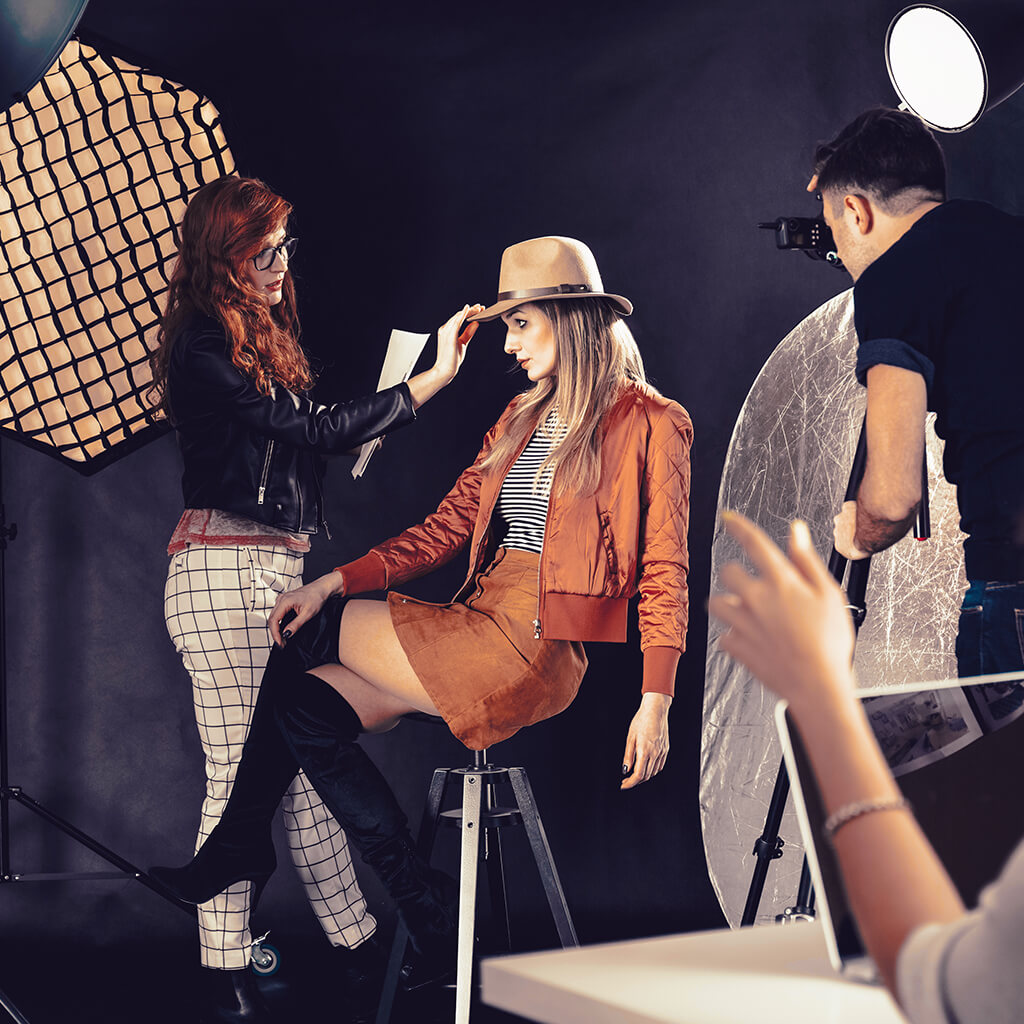
A reflector board is a special reflective surface used for redirecting light to the object/scene. A reflector’s main characteristics include color, size, and portability.

For instance, smaller reflector boards create a harsh light. Such lighting gives you more distinct shadows and lowered contrast, which is why they are often used for still life photos. Other than that, they also create small glares on reflective objects (tableware, jewelry).
A large flat reflector usually has soft light. It creates a smoother transition between the light and dark image areas, making the shadows less pronounced.
Moreover, large reflectors tend to compliment all skin types. Keep that in mind for portrait photography.
5 Main Types of Reflector Boards
There are five types of reflector boards: white, silver, and gold, which are considered to be the main ones, and transparent and black, which are used less often or serve as secondary tools.
All light reflectors are designed to receive a small impulse, however, each type also has its set of additional characteristics (some make the skin softer, others highlight the shadows). Moreover, board reflectors are made of different fabrics, which adds to their versatility.
1. White: for Artificial Lighting without Flash
White color is a classic and the most universal option for reflector board photography when shooting without a flash. The reflector gives a neutral soft, clear light, and works equally well in a studio and outdoors (in good lighting).
With a white flat reflector, you can reduce the contrast ratio of the key and fill lights, which allows you to smoothen the lighting of the subject without changing the color and keeping it natural. Because of this, a white reflector is always popular among wedding photographers. It’s also suitable for portraits, making the skin soft.
I should mention that a white reflective board is quite weak at reflecting light, which is why it, unlike other types, should be held as close to the subject as possible.
- Pick a set of the best LED lights for photography to take professional-quality photos.
2. Silver: Best Choice for Beginners
Since silver reflects the largest amount of light out of the 5 available types, it’s the perfect choice for poorly-lit scenes that require brighter and higher contrast lighting. Additionally, a silver reflector “cools down” the reflected light when used outdoors.
It’s worth noting that silver boards come in two types: with a glossy or matte finishing.
While matte boards are more suitable for portrait photos, a glossy reflective board will look amazing at a fitness photoshoot since you can use it to easily highlight the muscle tones and make any kind of sweat (real or artificial) truly shine.
Unlike a white reflector board, a silver one shouldn’t be placed close to the subject to avoid overexposure, which can poorly affect the quality of your reflector board photography.
3. Gold: for Adding Life To Skin Tones
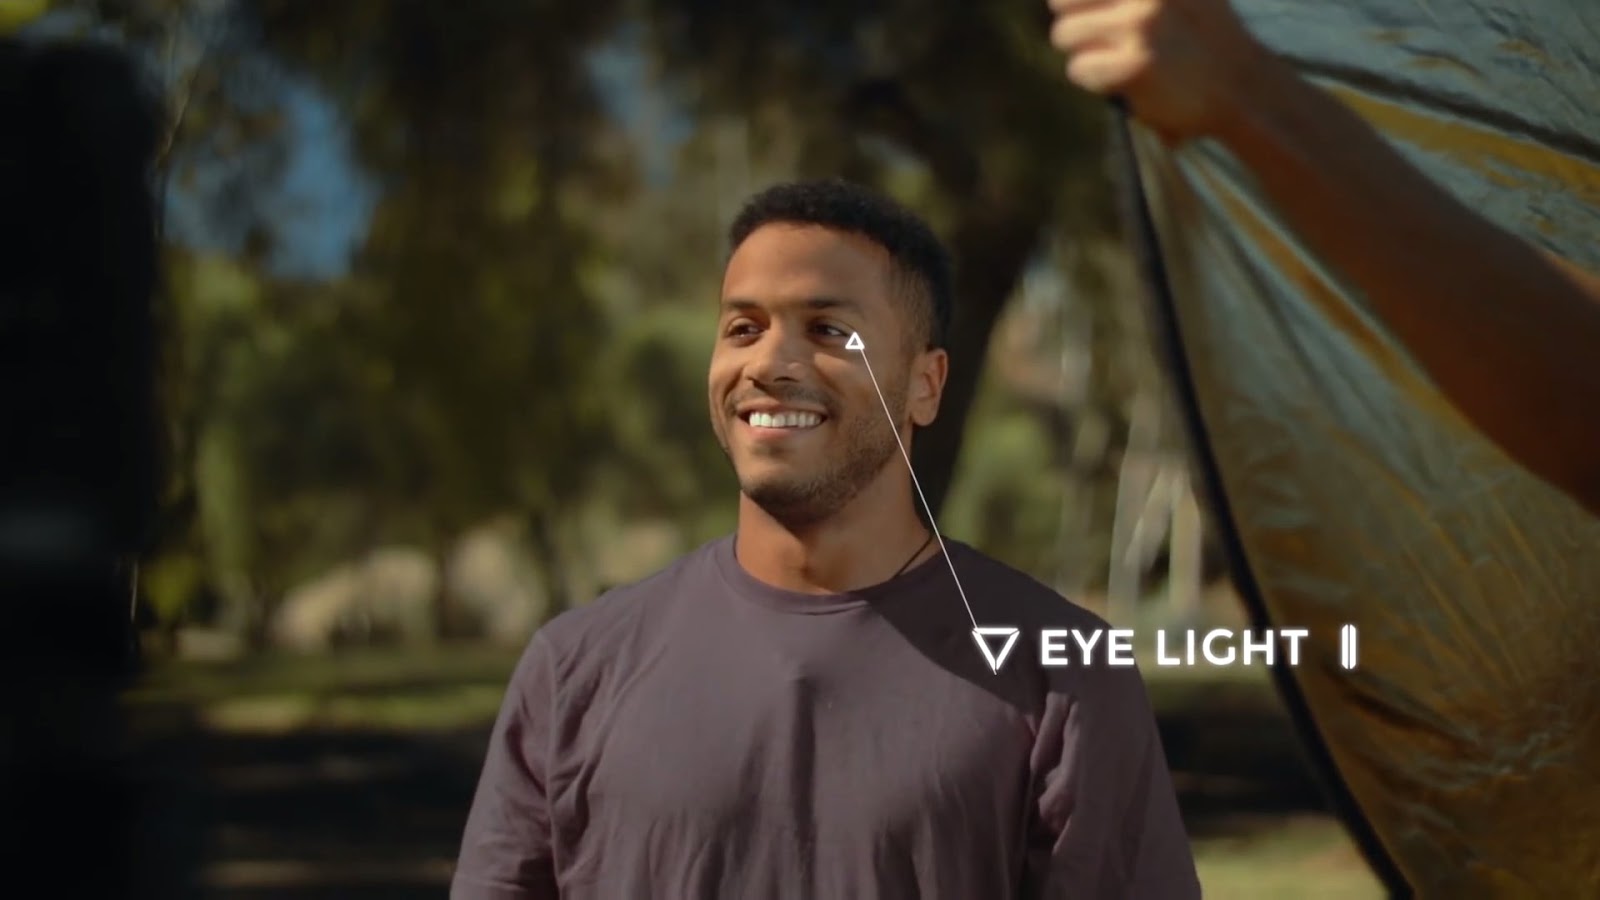
A gold reflector board lowers the color temperature, which adds “warm” tones to the light. Such a reflector is best used to make the skin tones livelier and to highlight the model’s eyes when shooting at sunset.
A gold reflective tanning mat would help a lot during evening beach shoot of a bikini model with the sunset in the background to add a golden shine to the body. If you need to shoot closer to noon, opt for silver and white reflectors to even out the high contrast.
However, I should warn you that this reflector can make normal skin tones too yellow if you’re not careful. For the same reason, it’s not recommended to choose a gold reflective tanning mat for studio photoshoots or when using flash. Not only does it change the color of the white light it reflects, but can also create uneven color tones on the subject.
4. Black: An Integral Tool for Studio Photographers
A black reflective board is a must-have if you work only in a studio. It absorbs lights almost completely, adding even, deep shadows to the subject. It’s most important quality is that such a reflector doesn’t change the color temperature.
You can use a black reflector when working with glare-sensitive objects (like jewelry) or shooting near a reflective surface like a sandy beach or a white wall. Such boards are also widely used for studio portrait photos.
For example, if you want to make a portrait more dramatic and increase the contrast, but distracting lights reflected by the surrounding objects get in the way, then a black reflector is a perfect tool to block it.
- Learn more about photo light boxes.
5. Transparent: For a Bright Sunny Day
A transparent sun tanning reflector board is commonly known as a diffuser. It’s made of a translucent fabric that performs two functions: reflects part of the light and diffuses the light that sheds through. In other words, a transparent reflector is mainly used for decreasing the light intensity.
Let’s take a daytime shoot under a clear sky as an example. Since a photographer will basically have a dot-like light source in the form of the sun, the brighter parts of the subject’s skin will be overexposed, while the shadowed areas will suffer from underexposure.
However, if you’ll place a transparent reflector above the model, then you’ll reduce the light stream, while also using the board as a large softbox.
Previously, your model was lit by a single dot, but now the diffused sun rays will fall onto the model from the reflector’s entire surface. This way, a photographer can soften the light twice.
When to Use Board Reflectors?
You can improve the lighting on your subject, even out the contrast or skin tones with the help of light reflector sheets.

As it is the case with all light sources, the bigger it is compared to the subject of your photos, the smoother the light you’ll receive. Ordinarily, I rely on white and silver reflector boards and strive to place them near my subject since I love a soft fill light.
If the light source isn’t very powerful and I don’t use a silver side, I place my reflector at a larger distance from the subject so that it doesn’t outshine the natural lighting and remains a fill. A reflector should stay true to its name.

If you have a silver or gold board, ask a model to avoid looking at it, particularly when shooting in full sun. Otherwise, they can get blinded by the light, which is something you never want.
Determining where the light will be shed when using a golden or silver reflecting board is simple. Meanwhile, white reflectors make that task marginally harder.
The most efficient technique I’ve tried is to move a white light reflector around and see how it affects the subject. The changes might be minimal, but you’ll learn how to place the reflector in the best way.

Even though it’s an obvious suggestion, you should check if the main light is getting to the reflective board and if it doesn’t hit the subject. Occasionally, a tree branch or even the models themselves can cast shadows on the board, significantly reducing its efficiency and overall lighting quality.
Tip: Don’t limit the reflector to vertical angles. Place the reflector on the ground in front of the subject when taking portraits to prevent the appearance of shadows under the eyes.
Foam Board vs Reflector?
To answer this question, I had to rely both on my personal experience and talk to several fellow photographers. Since foam boards and reflector boards both have their share of advantages and disadvantages, I’ve decided to compare them in several aspects to simplify your task of picking a reflector according to your needs.
Versatility: By using this word I mean the kinds of photoshoots where this or that reflector can be of use, and allow me to introduce the winner right away – it’s a reflector board.
The reason is quite simple: in general, folding boards are sold in 5 in 1 reflector sets (about $40-80 for 5 different colors), which is why by purchasing a single set I’m ready for virtually any shoot, be it dramatic portraits (black reflector) or a bikini model at the beach (gold reflector).
On the other hand, foam board can be easily painted, but it does take a significant amount of time to do that properly.
Portability and possible use: Here I have a rather controversial opinion since a foam board reflector works great at any time and under any weather conditions, but a foldable reflector is more convenient to carry.
For instance, unlike foldable reflectors, foam boards aren’t moved by the wind, which makes them simpler to handle outdoors, and you can easily attach them to virtually any surface, even to a roof.
When talking about a foldable reflector, I like its portability. It’s more convenient, and I can put it into my workbag after bending. Besides, I know I’ll continue to use it again and again, unlike a foam board that is usually thrown away after a single shoot.
Price: For beginner photographers, price is a very important factor, and this is where a foam board reflector is a clear leader. The piece you need (about 2 square meters) will cost you about $1-2 and, if you’re working in a studio, it will serve you for dozens of photoshoots (given you’re using high-quality white Styrofoam that doesn’t turn yellow over time or under the influence of UV light).
Summing Up
The light bounced from a reflector board can be used in a key or fill role, as you take into account the shooting conditions and how you need to adjust the light intensity by increasing, decreasing, or evening it out.
If you’re a portrait photographer, your arsenal should definitely include silver and white reflector boards. If you’re working with jewelry, use a black photographic light reflector, and if you’re a street photographer, then gold and translucent reflector boards should be your priority.
Plenty of available round reflectors are white on the one side and silver on the other so I suggest getting a set of all 5 colors since these reflectors are very durable and can be used for years to come.


