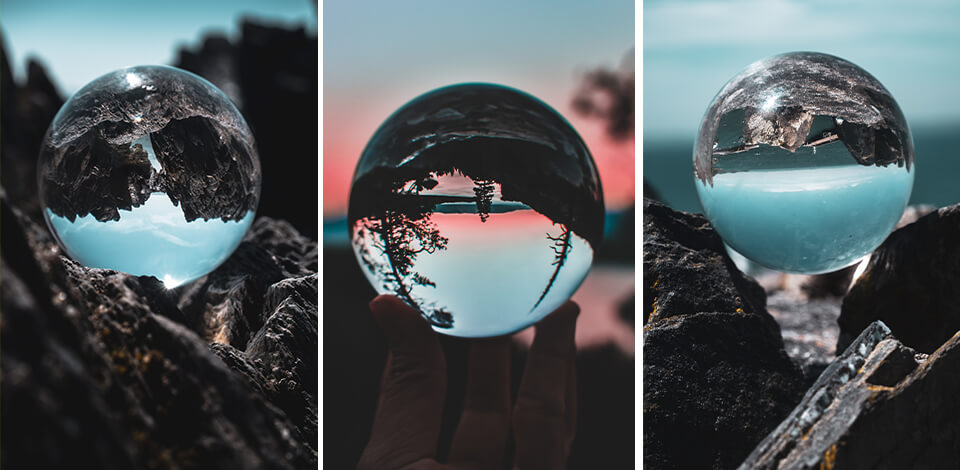
Whether you're shooting landscapes, portraits, or cityscapes, add some interesting touches to your shots with these crystal ball photography tips. They work well for hiding unwanted objects in the frame, as well as jazzing up pictures with reflections, highlights, and more.
This technique allows you to get inverted images due to the ability of the glass sphere to bend light. It is a well-known fact that glass and water can distort and curve the light passing through them. If you do it correctly, you will get a stunning turned shot of an object behind a glass ball.
A medium-sized crystal ball is a great start for those who are taking their first steps in photography.
Using it, you can achieve lots of awesome effects such as unusual angles, fisheye effect, special frame, beautiful bokeh (using a large aperture) and many others. It will suit any type of photography and make your shots interesting.
To get the clearest scene, you need to focus on the crystal ball.
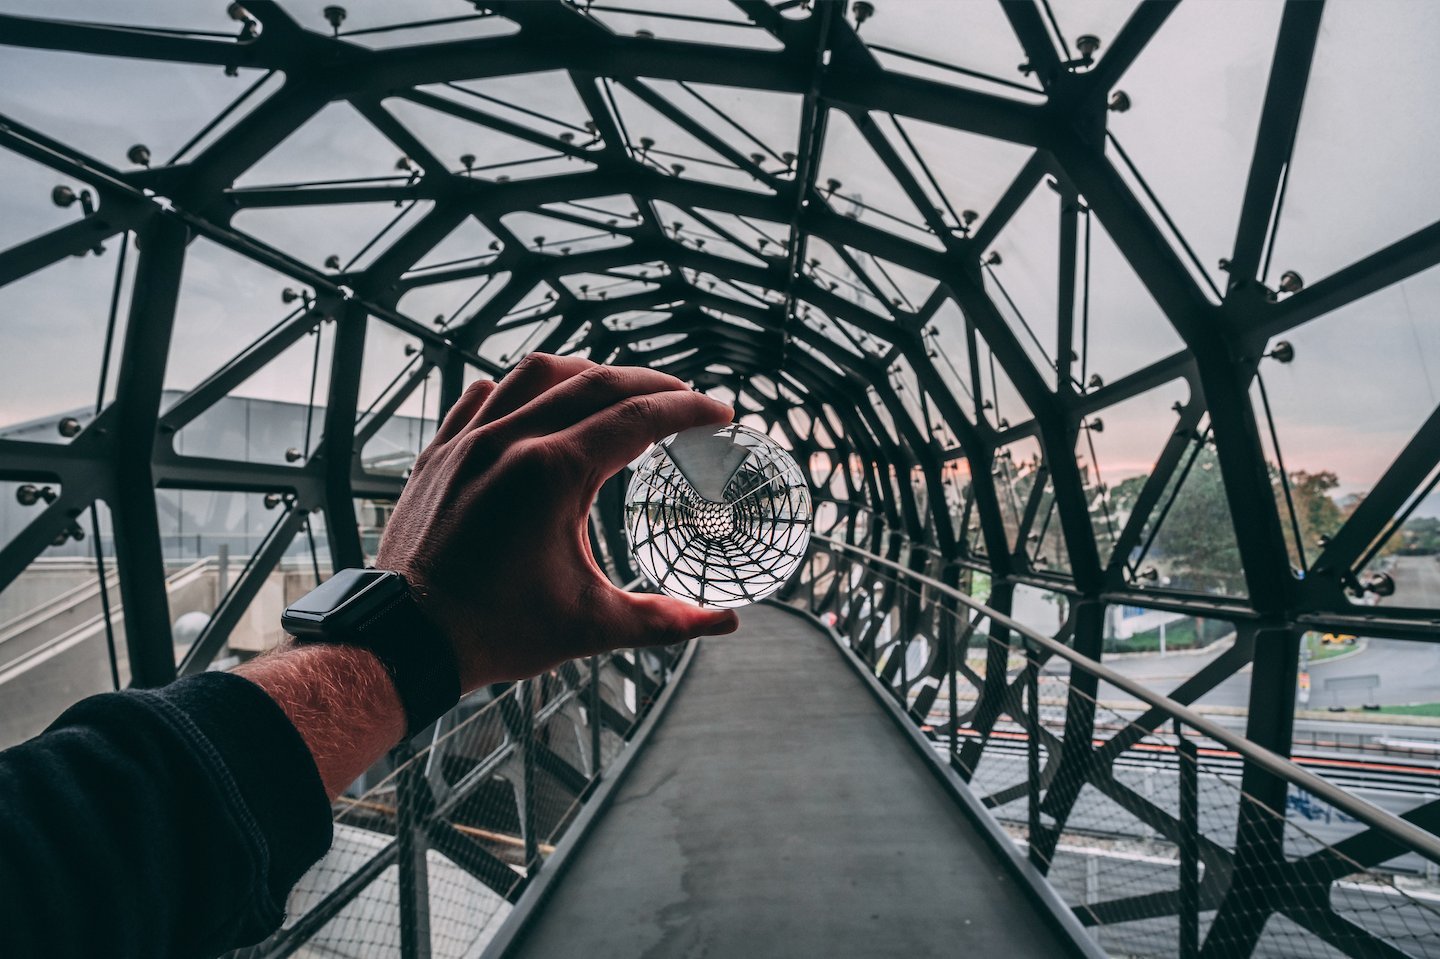
When determining the size of a crystal ball, you should take into account the creative photo ideas that you are going to implement. If you want a clearer background, then go for smaller options. Large orbs aren’t suitable for the lens balls but they work well with most camera stuff.
A 60mm ball is the most common size for the little crystal ball although you can find smaller options. These orbs are lightweight and will easily fit in your bag. This is a perfect option if you want to capture the scene through the ball and get the hand holding it in the frame. You can use small balls for portraits, landscapes, and other genres.
However, using a small-sized photo crystal ball, you have to deal with some challenges. First, the focus area is limited. Secondly, you will end up with rather curved images.
Naturally, crystal ball pictures require some editing. If you are unsure of your skills or don't have enough time, you can turn to FixThePhoto for professional color correction. The cost of one image is about $0.25.
A team of experienced retouchers will correct colors, improve contrast and exposure, remove noise, and make images sharper as quickly as possible.

80 mm glass balls are considered to be medium-sized options. Many professional shooters prefer to use these orbs. It is also a good option if you are looking for an unusual gift for photographers.
A photography glass ball with such a diameter allows achieving a perfect composition. You can use a regular lens to take amazing shots. The picture inside the ball is dominant. Plus, refractions along the edges are almost imperceptible.
Such glass balls have almost no drawbacks. However, since it is not too big, you may have trouble with background blurring. Moreover, it can be a challenge to take a photo framing only the crystal ball edges.

Options with a diameter of 100mm or more belong to the category of large size crystal balls. Due to perfect optics, this size is an ideal variant if you need a clear glass ball photo. Images with large spheres look more attractive than those with smaller ones.
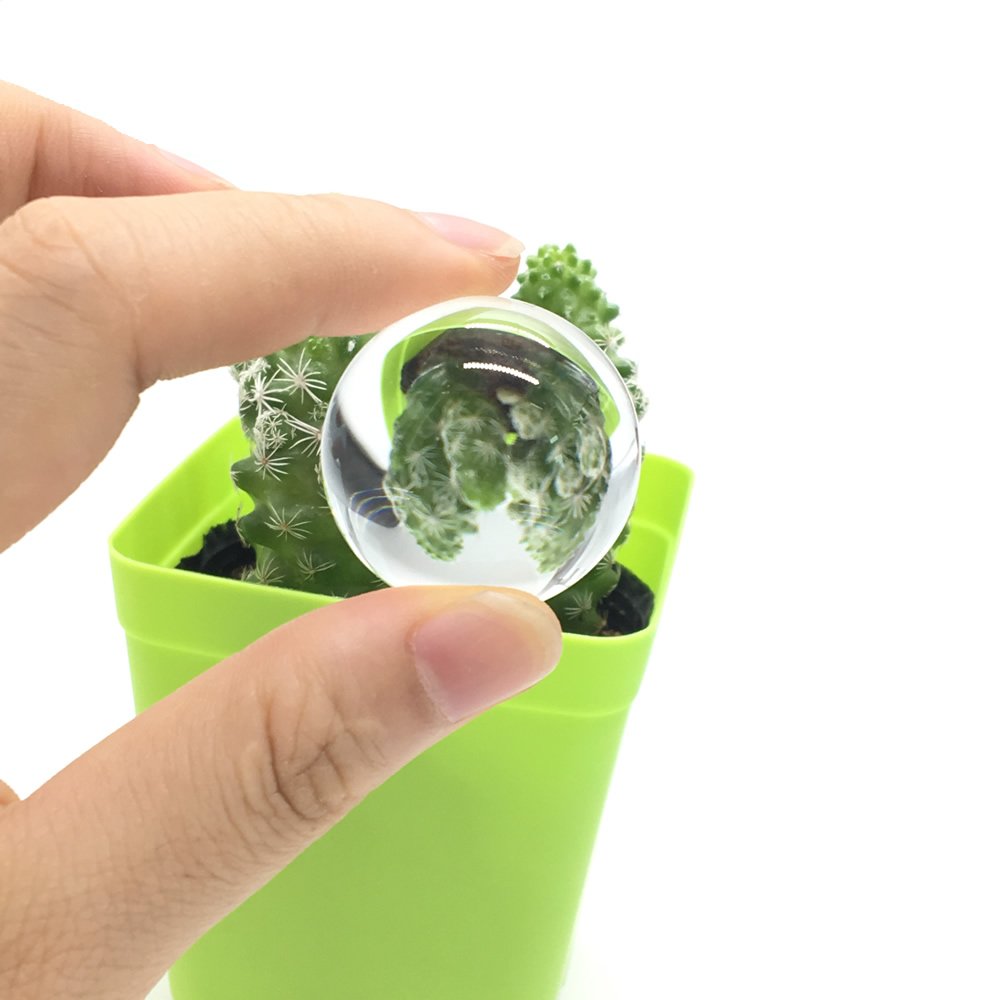
If you are into macro photography, then you need to stock up on tiny glass balls. A 30mm crystal ball is the smallest available. You can fill a frame with it using a macro lens. Also, the background will look blurry.
However, this type of ball is inconvenient to carry in a camera bag. Besides, you don't often find it supplied with a case or stand. On the flip side, such glass balls are inexpensive and light.
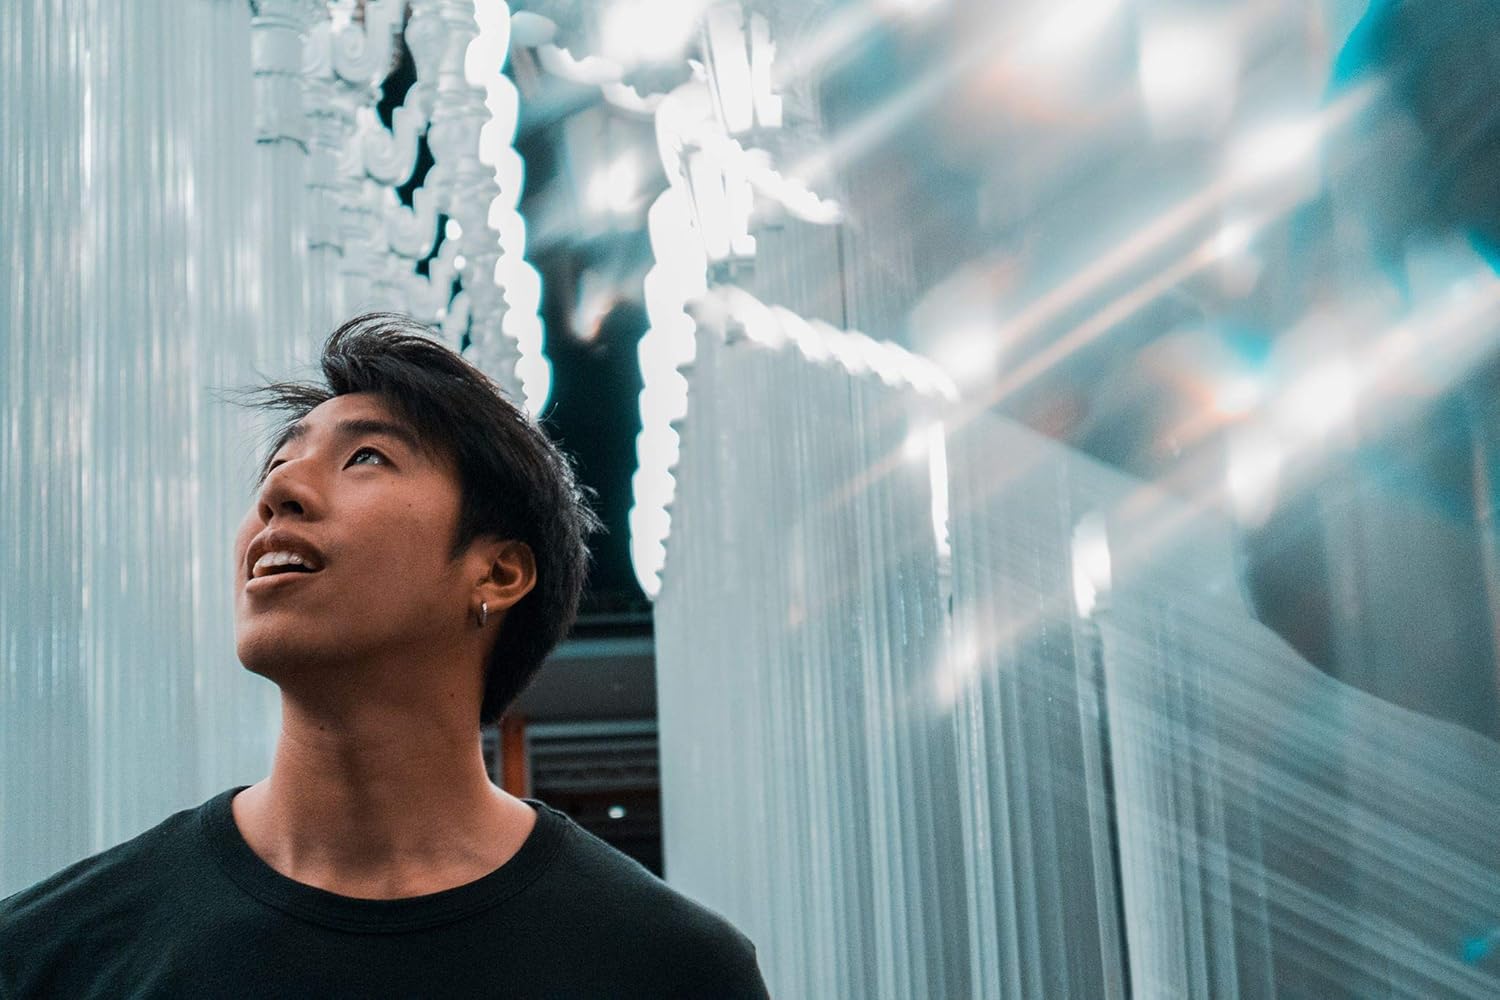
You can use clear crystal items of other shapes such as a pyramid, cube, triangle, etc., to bring different ideas to life. Thus, your pictures will feature colorful rainbows produced by beams splitted into different spectral components.
Using light flares in portrait photography will help bring more creativity and uniqueness to your shots. The main disadvantage of crystal balls is their susceptibility to scratches. This means that you will have to work hard to remove scratches from the image during post-processing.

One of the nice things about crystal ball photography is that you don't have to buy special expensive equipment or props. A simple crystal sphere will be your basic tool for getting fantastic shots. The market is filled with hundreds of options to suit different needs and budgets. Therefore, the search for a suitable ball will not take much time.
Typically, one item costs between $10 and $50. You don't have to spend a fortune to buy several orbs of different colors and sizes. It's a good idea to have a spare glass ball as your base one can get scratched or lost.

If you're planning to delve into glass ball photography, you'll need to have an appropriate camera and a lens. As for a camera body, the requirements are quite simple (you can even use a camera for amateur photographer, or a smartphone). However, lens choice is very important. The shortest focus distance should be one of your priorities as it is necessary for the handheld shooting. The best option is to have two types of lenses.
A macro lens or long-focal length is more than 50mm wide. It allows you to get a blurred background and focus on an object inside the ball. These features make the macro lens ideal for creative crystal ball photography.
Macro lenses were designed to photograph small objects at a short distance. Due to their precise focus and other features, this type of lens is ideal for taking crystal ball photos. It will also come in handy if you have some interesting bokeh photography ideas.
For these purposes, I recommend using Canon EF-S 35mm f/2.8 Macro IS STM.

A wide angle lens is also essential when you are capturing objects through a crystal ball. This long-focus length alternative allows you to get a broader perspective and focus on the background. However, to get the most out of this lens, you need to take care of the harmony in the picture.
You can achieve the desired result in two ways. First, you can correlate a ball frame and landscape lines. Alternatively, put the sphere in the center or make it stand out to focus on something. I think Canon EF-M 22mm f/2 STM would be a good option.

Storage bag. Using a camera bag is a good way to protect your equipment (including crystal balls) from damage while moving between locations. Typically, orbs come with a bag or case. Otherwise, you can buy it separately. By the way, a microfiber pouch can be a good alternative to a bag if you don't want to use it.
Experts also recommend having a microfiber cleaning cloth with you. It is needed for removing dust and fingerprints from a glass ball so that your pictures look flawless. This is a cheap accessory but it can play an important role in the final result.
You need to wear gloves when handling photography glass ball. They will help keep it as clean as possible. This is critically important as any unwanted traces may go unnoticed during the shoot. However, you will easily see them when you zoom in.

Crystal ball stand. If you don't plan to photograph an orb on your hand and don't have a stable surface to put it on, then a crystal ball stand is a must. This way you will prevent any movement that could ruin the picture. Choose a stand based on the size of your crystal ball. Keep in mind that experts recommend a natural stand as the best option.

Tripod. It can be a good addition to a glass ball holder. Of course, a natural surface is more suitable for a crystal orb. However, if you don't have one at your disposal and buying a dedicated stand is not your intention, a tripod is a decent replacement. Using a tripod for DSLR with a flat top is a good idea. Consider Amazon Basics 60-inch lightweight tripod as one of the worthiest options.

Many of these creative crystal ball photography tips work well for landscape photography projects. It's a great idea to capture a secluded beach or a boundless field through a glass ball. The main task is to find a suitable surface or stand where you can place the orb. Nature gives you tons of great photo opportunities. For example, capture water, trees, a road, or other objects during sunset.

With a crystal ball, you can make your portraits more creative. It helps put accents on the peculiarities of a model’s appearance. Remember that the background noise can ruin any glass ball photo. Therefore, your task is to avoid it. Professionals advise applying a “bokeh” filter or use background blur technique to achieve the desired look. To draw viewers’ attention to the model, you can use a crystal orb as a good frame for a person.
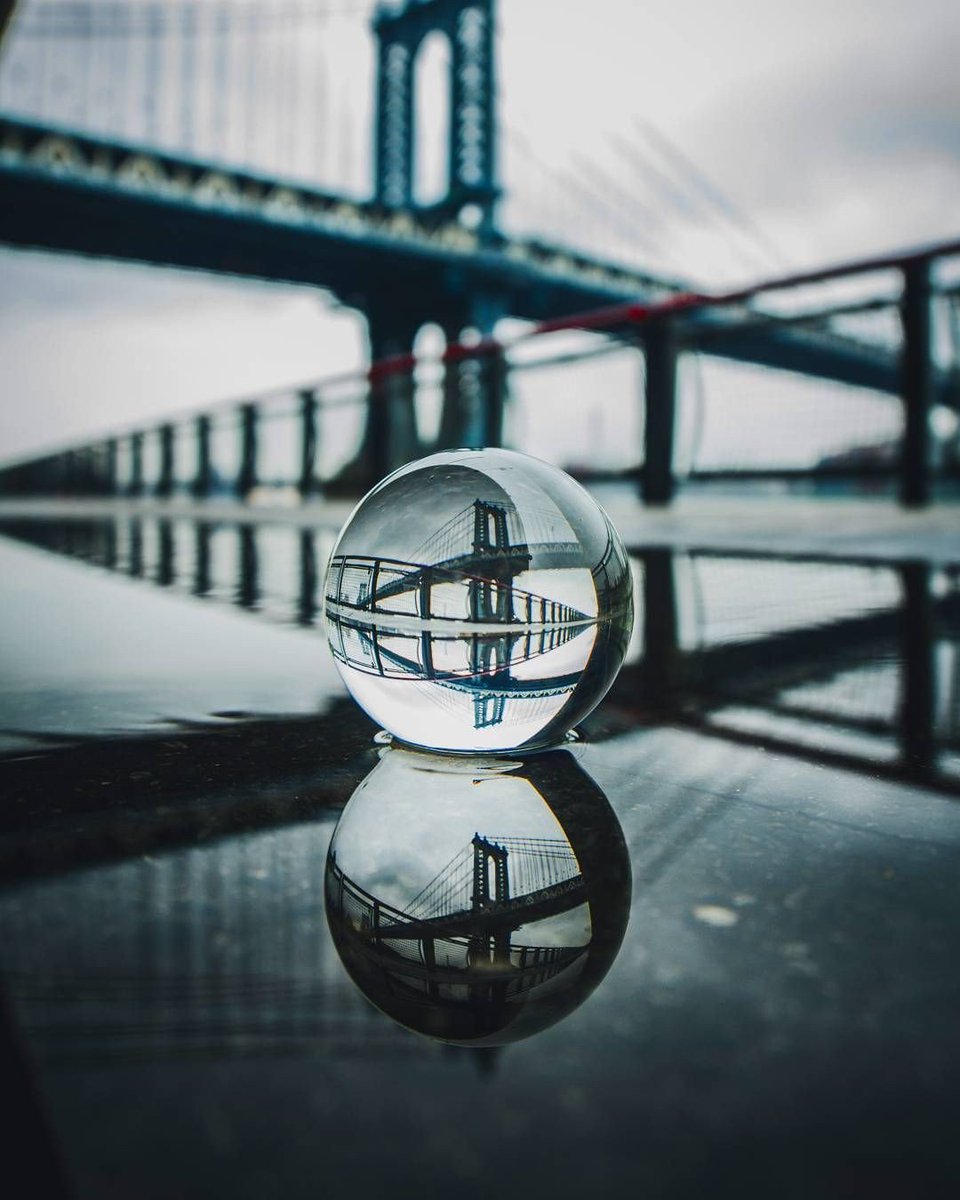
Architecture photography is another field to apply these crystal ball photography tricks. Flight of stairs, a Ferris wheel, a long corridor with a high ceiling, and other sleek geometrical shapes or sharp lines will look stunning through a crystal sphere. The suspension bridges look breathtaking in lens ball images.
To get amazing images, you need to choose the right camera position and viewing angle. Remember that vertical and horizontal distortion will often go unnoticed in pictures. The object and personal taste greatly influence the final result. You can take advantage of the diagonal lines in photography of architecture and turn them into fancy curves that catch viewers’ attention.

Stabilizing a crystal ball on the surface is one of your main challenges. This should be your next step after finding your shooting subject. You also have to consider the relation to an object to take an awesome glass ball photo.
You have to take care of everything before the photoshoot. It's a great idea to walk to the location and explore all its features. If you have to place a ball on a slippery surface, you can sprinkle salt to prevent the orb from rolling.
Your glass ball should be as static as possible. This will help avoid uneven light reflection caused by movement. It will be quite visible in the photo as it will bounce off the edges. You can also damage a ball if you place it on rough surfaces such as holes in the grass or beaches.

Whether you’re shooting in a studio or doing a nature photography session, proper lighting is crucial. You need to provide uniform illumination of an object. Make sure the light behind you is brighter than in front of you. This is one of the basic rules not only for crystal ball photography but also for other styles.

Sometimes you have to do several things at the same time and you can't handle this situation on your own. Ask someone to assist you during the shooting. You will get more freedom and space for creativity if another person is holding a crystal ball instead of you.
There are several safety rules you should follow during your photo session. Be careful with a magnifying glass as it concentrates the light and may cause a fire. Remember that fire can ignite pretty quickly. As a result, your camera may be damaged. This is going to be a very frustrating thing since you've probably spent a lot of money on your gear.
Keep your glass ball in the storage bag to avoid such hassle. Your task is to ensure that a crystal orb is not exposed to direct sunlight. Try to photograph the object as quickly as possible. Then do not forget to put a ball back in the case or bag.
Also, you should take into account that round objects roll easily on the surface. When positioning your photography glass ball on unstable objects such as rocks, tree branches, etc., you must be very careful. Although this is an obvious thing, many people forget about it. To avoid such problems, you can buy a special stand. It doesn't cost much and will save you a lot of money in the future.
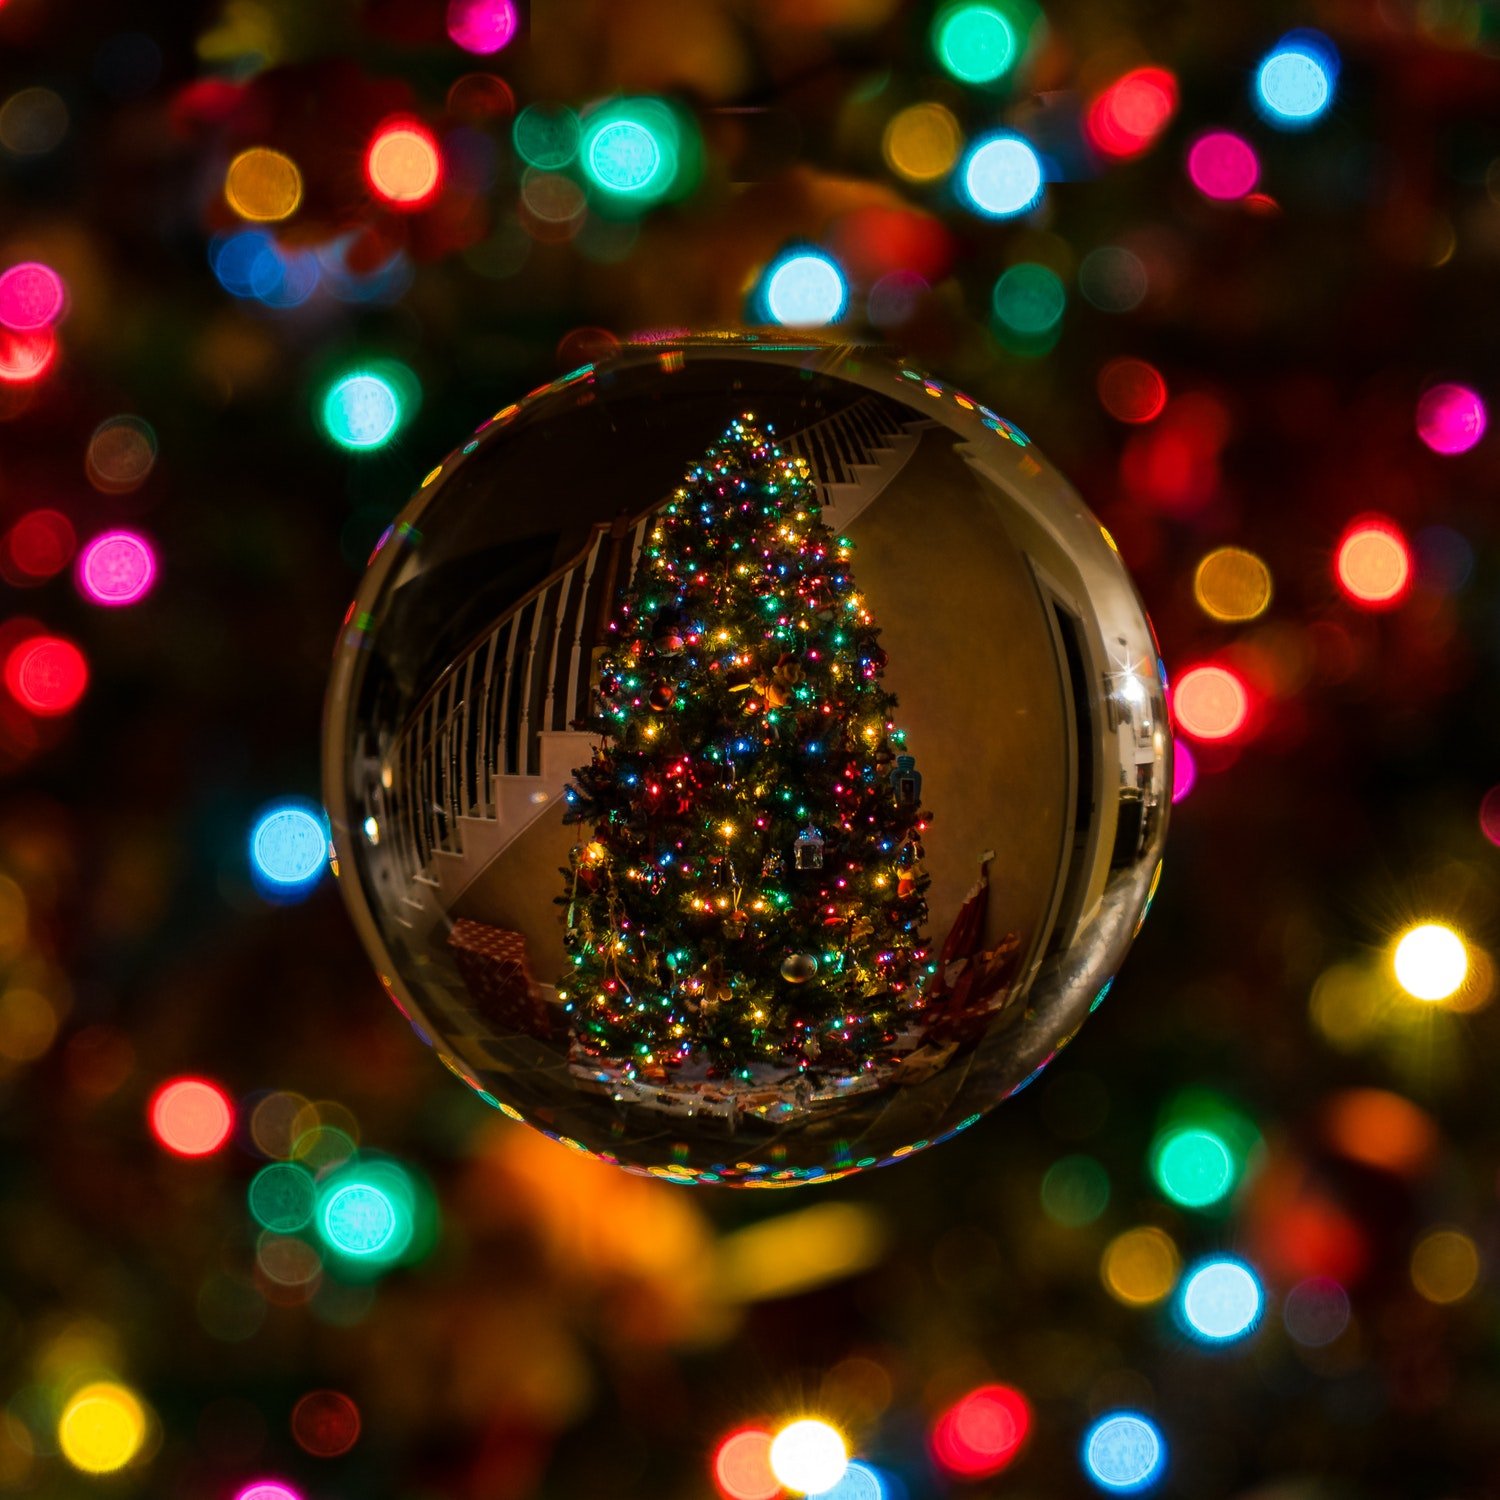
Focusing on the object in the orb is one of the main features of crystal ball photography. This effect is achieved when you take a picture from a short distance. If you are too far away from the object, it will look too tiny.
Post-processing is an important step for successful glass ball photography. You can achieve a mesmerizing bokeh effect by applying these Ps overlays with just a few mouse clicks. These plugins are useful for both inexperienced beginners and professional photographers who don’t have much time for manual image editing.