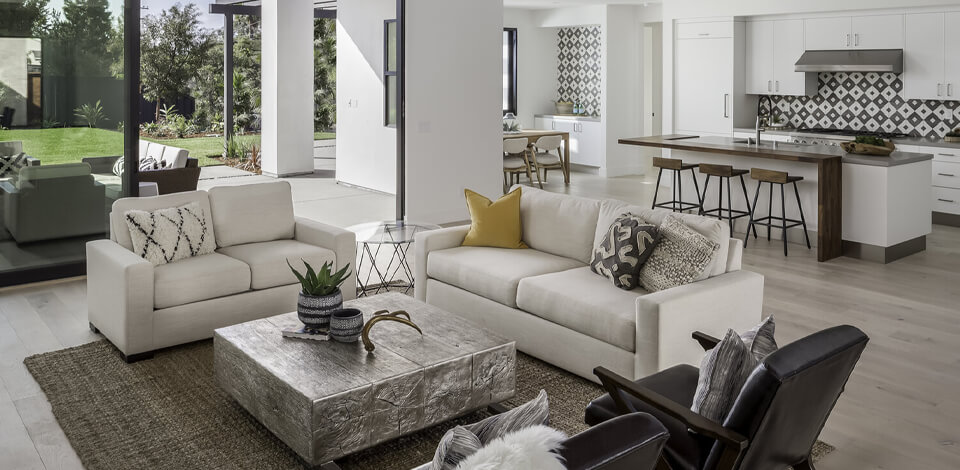
The flambient technique in real estate photography relies on merging flash and ambient lighting in your photos. Rather than merely snapping pictures with different exposure parameters, you take photos in 2 sets – the first one using ambient lighting and the second one using flash.
The mix of ambient lighting and flash makes such real estate photos look vibrant, clean, and eye-catching as long as you set the correct balance during editing.
If you want to receive high-quality photos, use any DSLR camera and pair it with a wide-angle lens.
Other than that, flambient photography requires the following real estate photography equipment:
Tripod. Photos in general and the flambient technique in particular can benefit greatly from tripods for real estate photography that will ensure the camera has the stability necessary for making post processing easier and quicker.
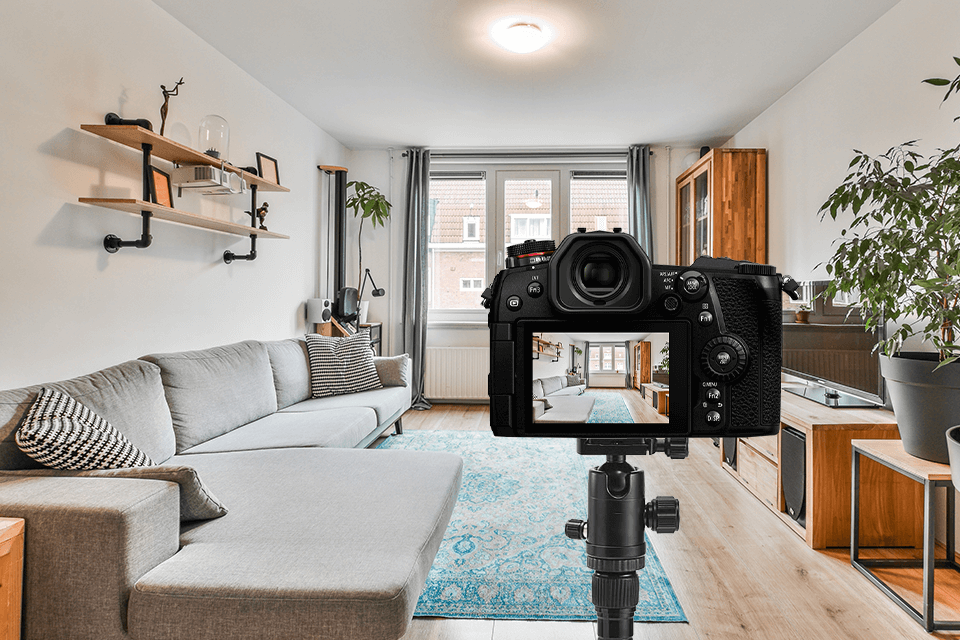
Recommended by Fixthephoto Team:
Remote shutter trigger. Even the subtlest pressing of the camera’s shutter button can disrupt the shot’s alignment. As such, it’s highly advised to get a camera remote control or a specialized application that you can use on your phone to release the shutter remotely.
When picking a remote control, account for the model of your camera. The list of potential options includes both universal apps for different camera models and applications for specific popular brands.
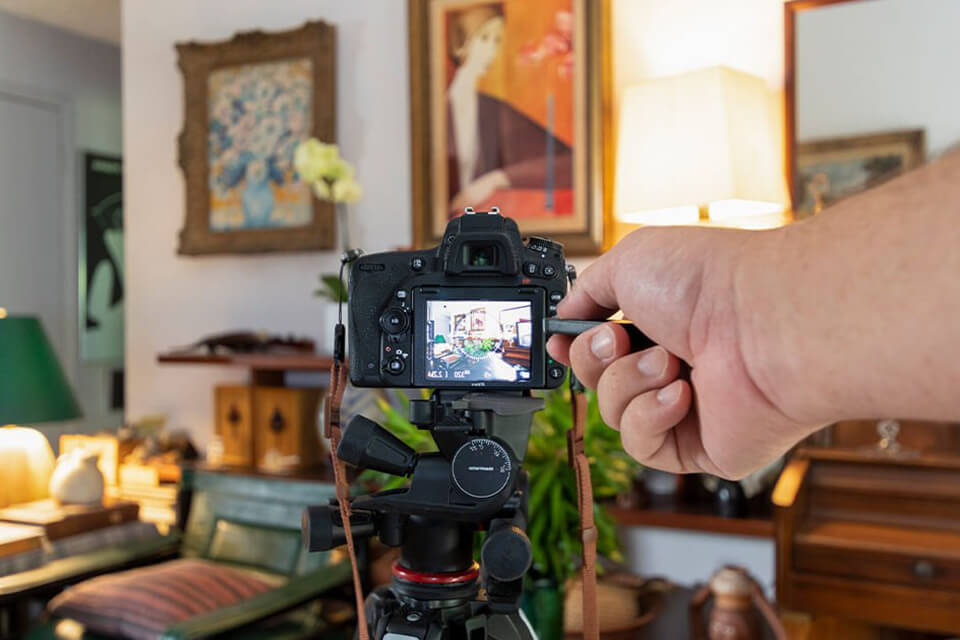
Recommended by Fixthephoto Team:
Flash. Any flash for real estate photos can do its job perfectly fine but I suggest getting an outdoor model to receive more lighting, which can be beneficial in darker environments.
Recommended by Fixthephoto Team:
Flash trigger. This gear piece is attached to the camera and serves to transfer the necessary signals to your light source. With the help of remote flash triggers, you can instruct the flash to fire or tweak its power remotely, which is far more convenient and time-efficient.
Recommended by Fixthephoto Team:
Optional equipment includes a light reflector and stand. They probably won’t come in handy often but some photographers prefer to store them in their car for those rare occasions when the house doesn’t have the right ceiling color.
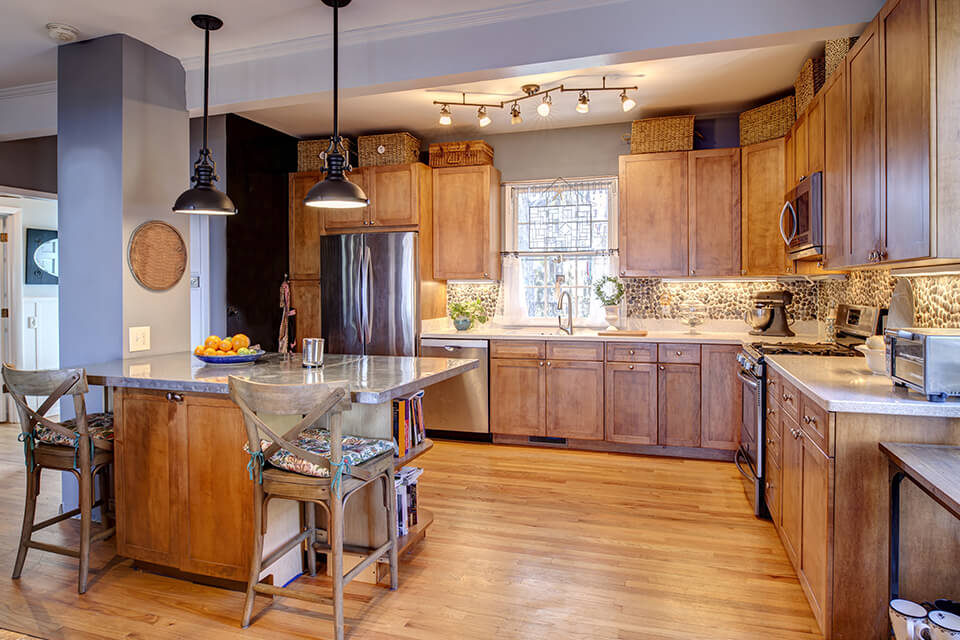
Set your cameras for real estate photography to manual mode since that’s the only way you can enjoy ultimate control over the exposure parameters.
The recommended settings are:
Consider experimenting with the camera focus a bit as well – take a couple of photos while having it set to “Wide”. If you’re a beginner who is still only learning how to shoot flambient in real estate photography, stick to auto white balance.
This commercial real estate photography shot is taken without flash, as you rely solely on the natural lighting that is filling the property. Set your camera to RAW to maximize the dynamic range boundaries and expose the shot in the middle.
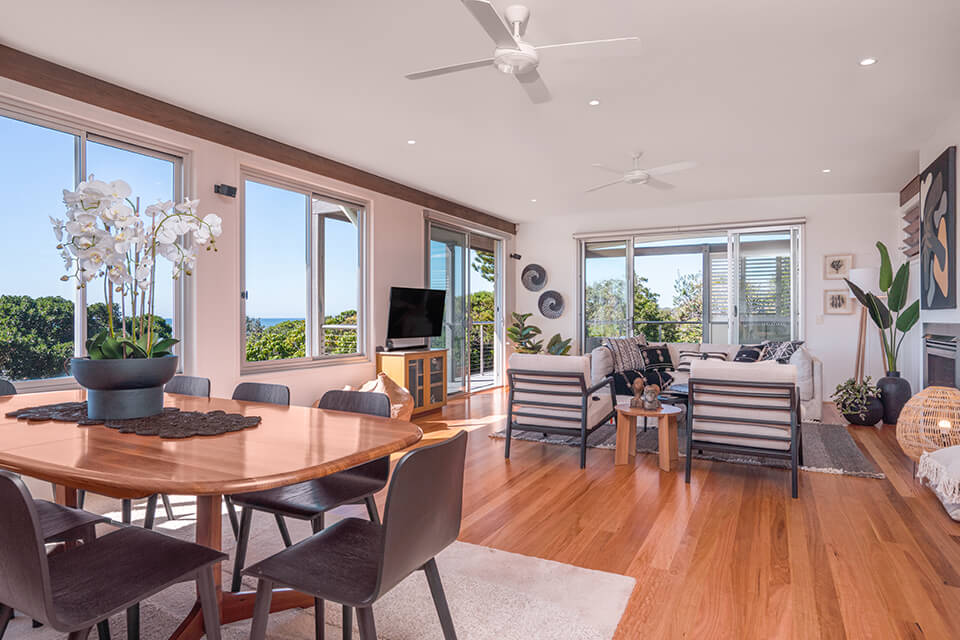
Take as many ambient photos as you see fit. On some occasions, you’ll only require a single ambient shot (0) while other situations need 3 (-2, 0, +2), 5, and more.
If you’re taking photos of a property with extreme lighting conditions, consider creating a bracket of 3 shots. Start with the mandatory (0) exposure and then take a shot with +2 and -2 to capture all the highlights and shadows.
Your objective here is to take a properly-exposed photo with an appealing window view, natural wall colors, and a bright interior that is lit by the flash.
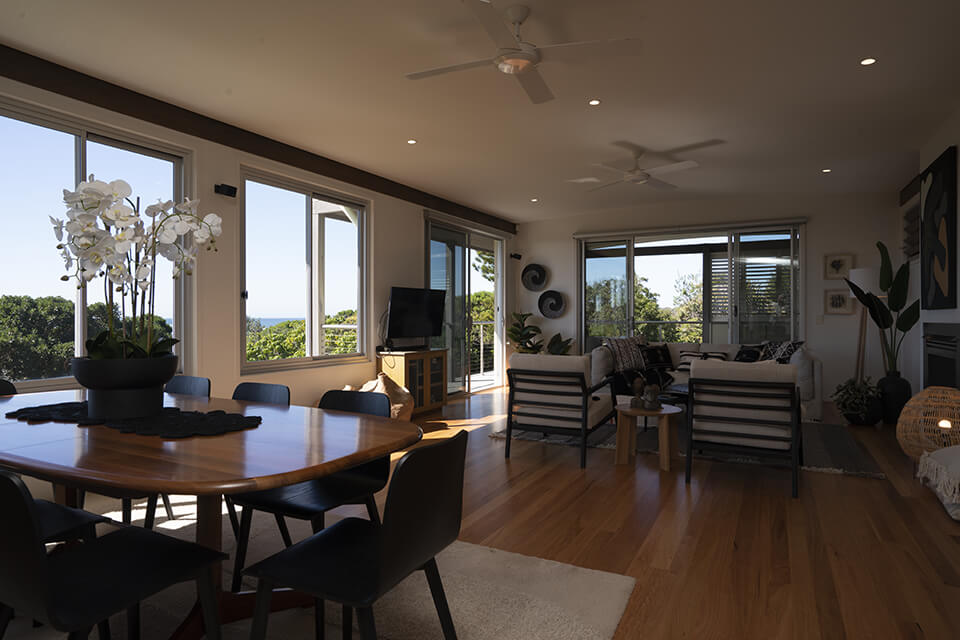
The best way to do flash photography is to remove the flash unit from the camera. Ideally, you should place it anywhere between 18” (45 cm) and 2ft (60 cm) below a white ceiling while aiming it directly upward.
Of course, you have the option of keeping the flash mounted on the camera but the photos you’ll take will likely have flash-caused shadows from various interior objects.
The optimal flash strength is determined by how much exposure is needed to have the windows properly lit. Since the flash doesn't affect anything outside the window, set the exposure according to the view and increase or decrease flash intensity until the interior is properly exposed.
If the property has a particularly beautiful or important window view, I suggest taking a third photo specifically for the windows.
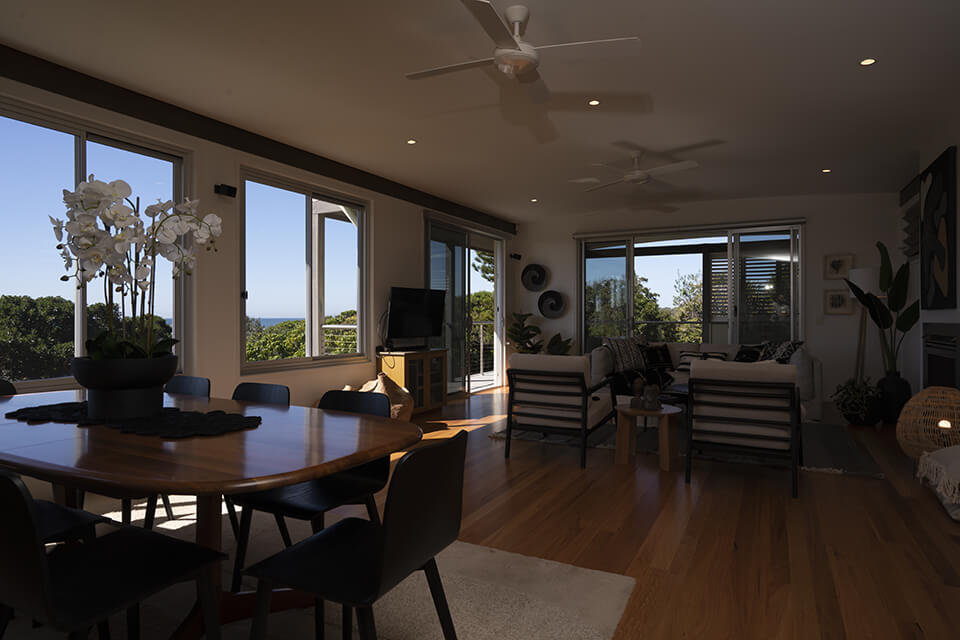
You can start by aiming a powerful flash unit straight at the window frames. Such an approach might sound unintuitive but aiming the flash straight at the window will allow you to enjoy a much smoother blending process during the image post processing stage.
Try out different angles until you’ve found a shot that has the smallest amount of flash reflections. If it’s possible to get rid of them completely, experiment with lighting for real estate photos — turn off the flash and take one picture without it while leaving the camera exposure parameter untouched, and later add that photo to the blending process.
Simply taking the photos will only leave you with an array of RAW images that won’t you give the desired flambient look. What you have to do is blend them with the help of Photoshop, alternative similar tools, or layering photo apps by stacking the photos as separate layers and combining them.
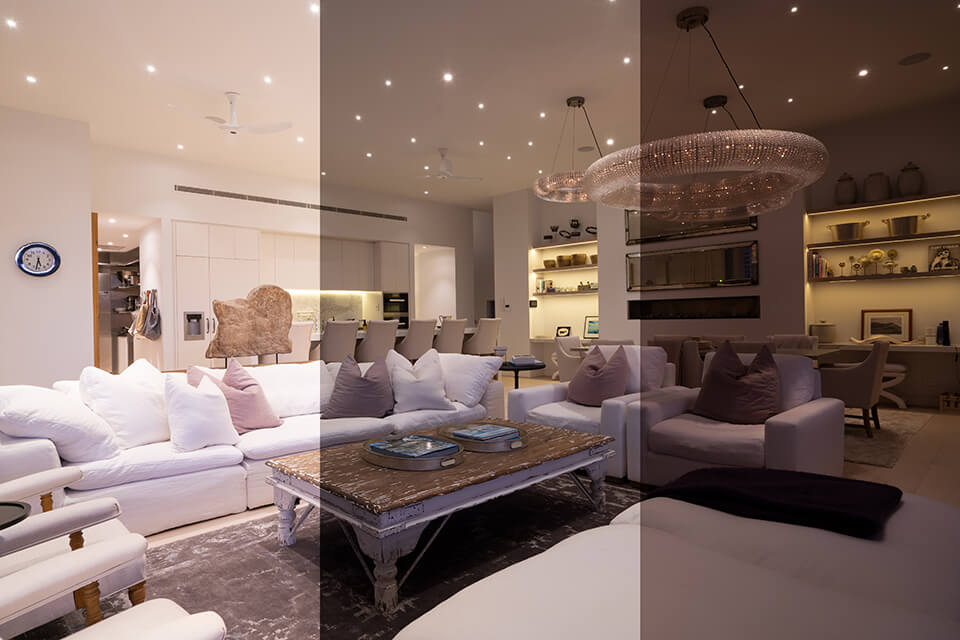
You also have the option of employing HDR software for merging and correcting the ambient exposures before combining them with flash exposure. For this purpose, I suggest using software like Aurora HDR, InPixio Eclipse HDR Pro, and Luminance HDR. Such programs offer tone mapping tools to adjust brightness and contrast, exposure fusion to blend multiple exposures, and color adjustments to make real estate photos more appealing and vibrant. Moreover, they have alignment tools to correct alignment issues in bracketed photos.
Make sure the ambient layer is placed on top of the flash shot and set the blending mode to Luminosity. This mode is used to blend the lighting in the photo without affecting the colors. With that in mind, you also need to add another layer and set its blending mode to Color, which will result in a 3-layered image.
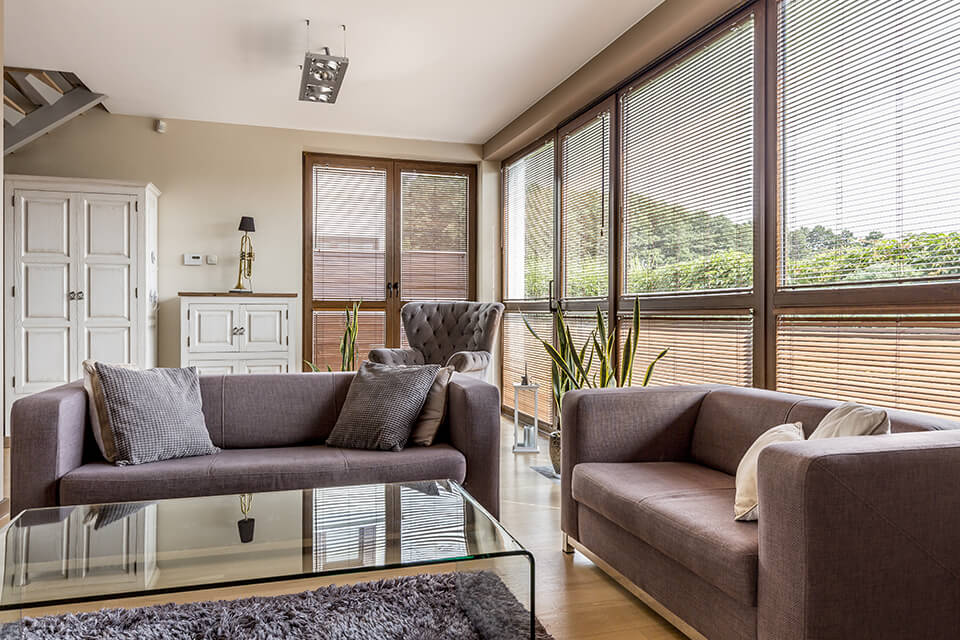
Now all you have to do is ensure the final photo looks perfect. If you’re unhappy with the result or if the photo looks unnatural, leave the image blending task to professionals. The enhanced photos can be used for creating social media posts, property listings, and implementing various real estate postcard ideas. Besides, you can send them to a credible virtual staging service and ask experts to create all-encompassing views of the space.
This collection of actions can be extremely useful for enhancing your flambient real estate photography by automating the color correction process. With their help, it only takes a couple of clicks to improve the exposure in ambient shots and adjust white balance in flash photos.
These actions are supported by all recent Photoshop versions that allow working with RAW and JPEG images.