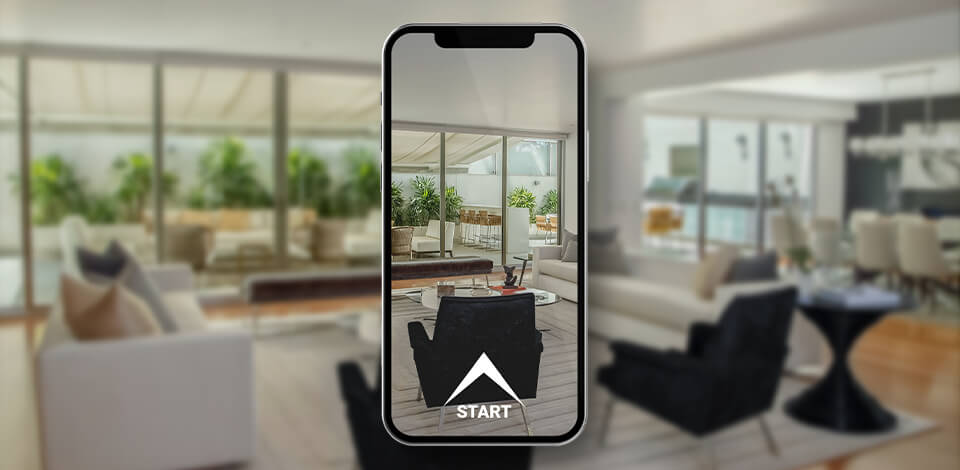
If you simply need to sell your property quicker, do a virtual tour of a house. In recent years, it has become easier and twice cheaper.
While the majority of realtors rely on real estate photography only, it has been proven that people are more included to purchase a property when they can “visit” it virtually, examine details, and generally get a better idea of that place.
If you also want to make such a tour across the place, check out my simple secrets of choosing proper gear, arranging the scene, editing, as well as sharing online.
The number of people interested in making a virtual tour for real estate is growing and that is for a reason. Virtual tours one-up traditional physical showings because:
They save time. Potential buyers can get an accurate feel of the property, understand its dimensions, room layout, and other characteristics without the need to visit it in person. Such an approach is really beneficial especially if people are going to choose between several variants.
Increase coverage. By sharing a virtual tour on the net, you can show a property to a bigger number of people than what you get with a traditional display. This is a wonderful real estate video marketing method, especially if you want to entice a new audience.
Help reach out to non-local buyers. If you want to “show” a property to people, who don’t live in that region, creating a virtual tour and sending it to them is a win-win option. They can make a buying decision without spending time and money on the road, which is an undeniable advantage.
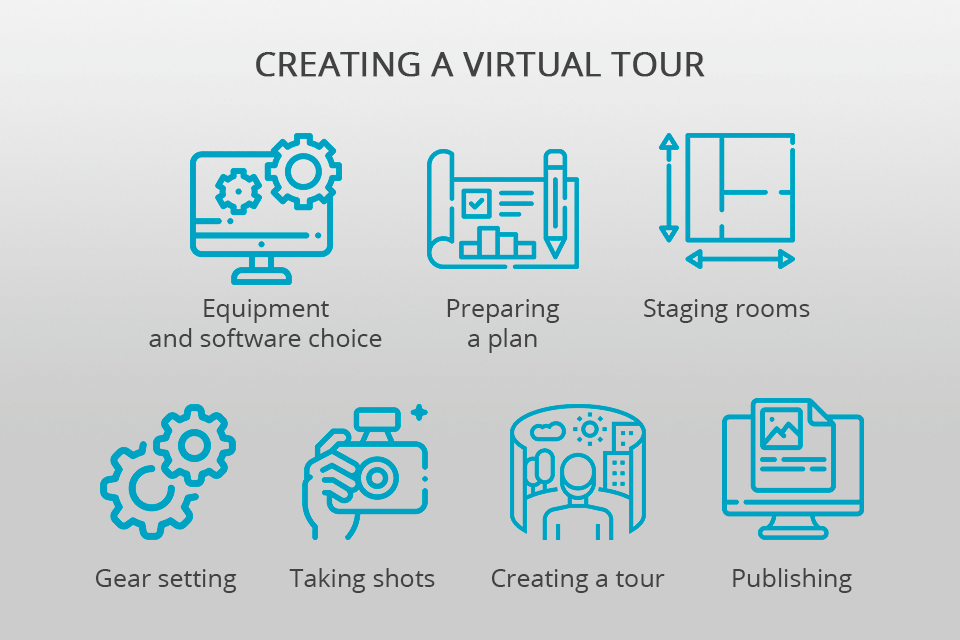
If you can’t currently afford to order professional 360 virtual tour services, you can prepare such a project on your own.
First of all, you need to prepare real estate photography equipment.
Most experts suggest investing in a DSLR rig for top-quality results. The word “rig” implies various accessories that you can attach to your DSLR camera for more convenient and efficient shooting. Typically, DLSR rigs are more expensive than all-in-one cameras and require more time to master all devices.
If you are going to purchase such a bundle, opt for Sony a7R series, Sony a6000, or Nikon D3500.
Moreover, you should consider getting a fisheye camera lens. It allows fitting a bigger area into a shot. Before you actually buy such a lens for building a virtual house, you need to learn the difference between cropped, circular, and diagonal models.
Other pieces of equipment that are necessary for getting crisp photos are a tripod and monopod. This first one has 3 legs and can firmly stabilize your camera during shooting. The monopod has one leg and is better suited for recording smooth 360º footage. If you plan to take panoramic images, you can’t do without a tripod head.
Once the shooting is over, you need to edit your videos and photos. For this, you should choose feature-rich virtual tour software. Professionals recommend considering such programs as Zillow 3D Home app, Asteroom, Matterport, and iStaging.
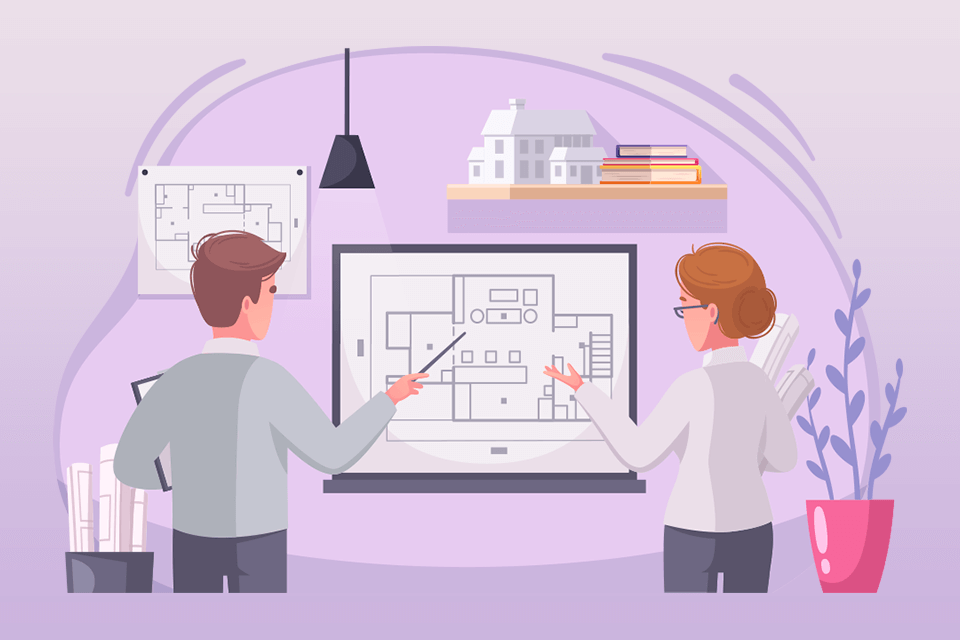
Even if you have visited a property a dozen times, you still should make a detailed plan to understand what rooms to film first, what angles to choose, how to capture the scene in the most appealing way, etc.
It is paramount to show each room as accurately as possible, and that requires a good amount of preparation. Make sure to mark the key spots and define the proper height for shooting.
Real estate agents often compile a checklist of rooms, transitions, and angles to ensure they remember all important details.
I also recommend thinking over a logical transition from one room to another. This plays a big role because some software for virtual tour creation automatically merge images into a tour and stick to the sequence that you offer.
First off, it is advisable to get rid of the mess. Even if you are pressed for time. Otherwise, you will have to use apps to remove unwanted objects from photo and spend quite a lot of time doing that.
Another thing to keep in mind is the amount of light. If the space is dim, you may fail to capture some objects.
If you don’t feel like making all those preparations, you can order services from iStaging, RoOomy, and similar companies. Specialists can paint the wall in the desired color, add pieces of furniture & décor, and more.
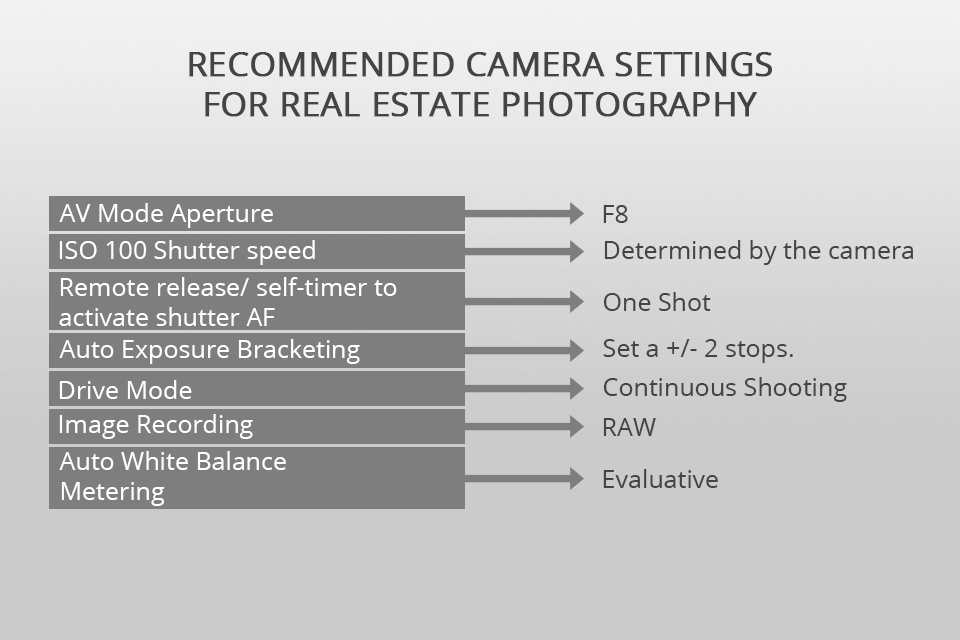
When every element in a room is in the proper place, you can get down to customizing real estate photography camera settings and lighting sources.
All your efforts to take panoramic and 360º images will go in vain if you don’t level up your camera. This is especially true if a room has many lines and angles that will end up looking off-kilter without correct adjustments.
Some tripods come with a built-in bubble level but if yours don’t – you can simply download a leveling app, e.g., Bubble Level or iHandy Level, to your smartphone and use it. When a bubble is located in the center of the lines, you can start taking photos.

Snap several test shots to ascertain your equipment is properly configured and that you’ve chosen the correct angles. If everything is right, you can continue taking pictures.
First, go to the backyard and photograph there. Next, take images of the facade. When you have a sufficient number of exterior pictures, you can get inside.
You need to adhere to your checklist not to miss something important. Place a tripod, stabilize your camera, and take pictures in the spots that you’ve chosen. Scrutinize a photo on the camera screen, then move a tripod, and continue photographing.
Remember that it is better to take more images than your planned rather than hurry up and ignore some angles.
Beginners tend to forget about windows and mirrors in a room. So, after a photo session, they notice glares in images that totally spoil a look of a place. If that is your case – don’t get upset. You can remove glare from glass in Photoshop in several steps.

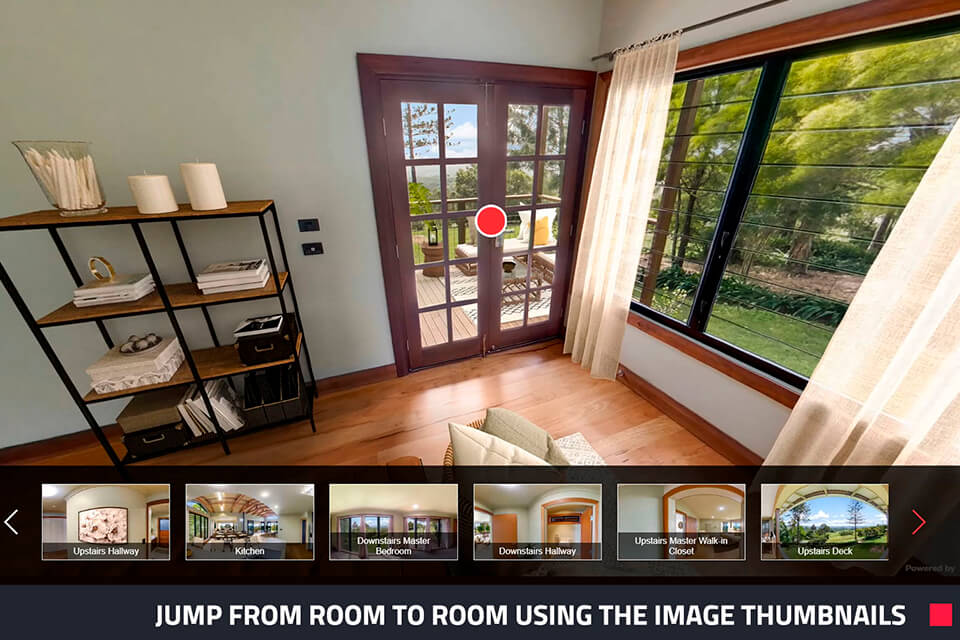
When you have all the required photos, you need to import them into your real estate photography software. You need to upload all static images one by one so that a program can stitch them in the correct order for 3D real estate photography tours.
If you want to receive 360º tours, you need to do the same with panoramic pictures.
Most programs or services, including BoxBrownie and ImmoViewer, will arrange your files in the right sequence (based on how you upload them) automatically.
Besides, many software are fitted with photo editing features, so you can enhance your tours to engage your audience even more. For instance, you can add interactive links, sound effects, text, etc. To speed up your workflow, you can create a virtual tour using a WPVR plugin that allows you to quickly connect scenes and add hotspots.
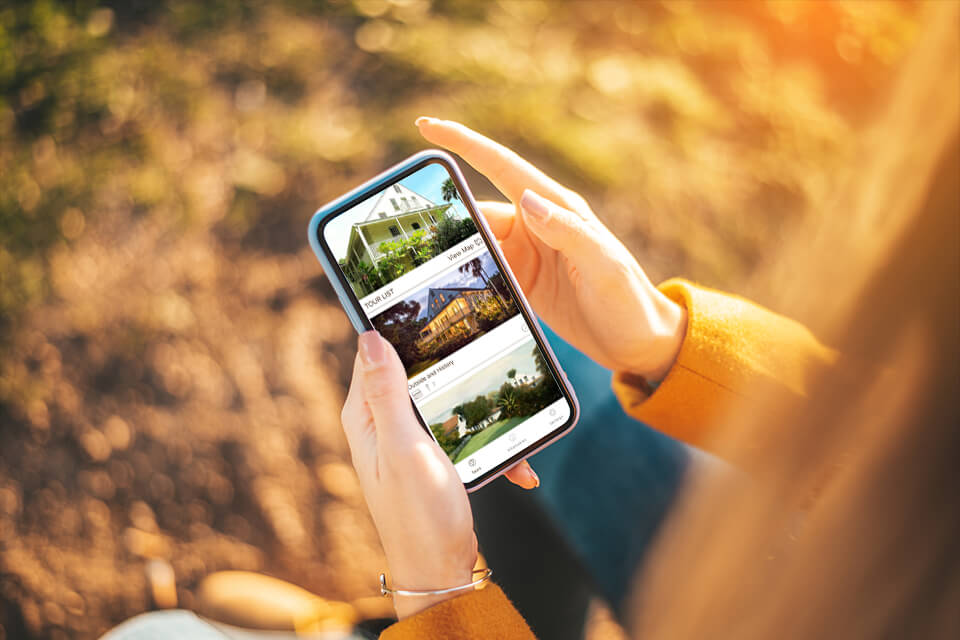
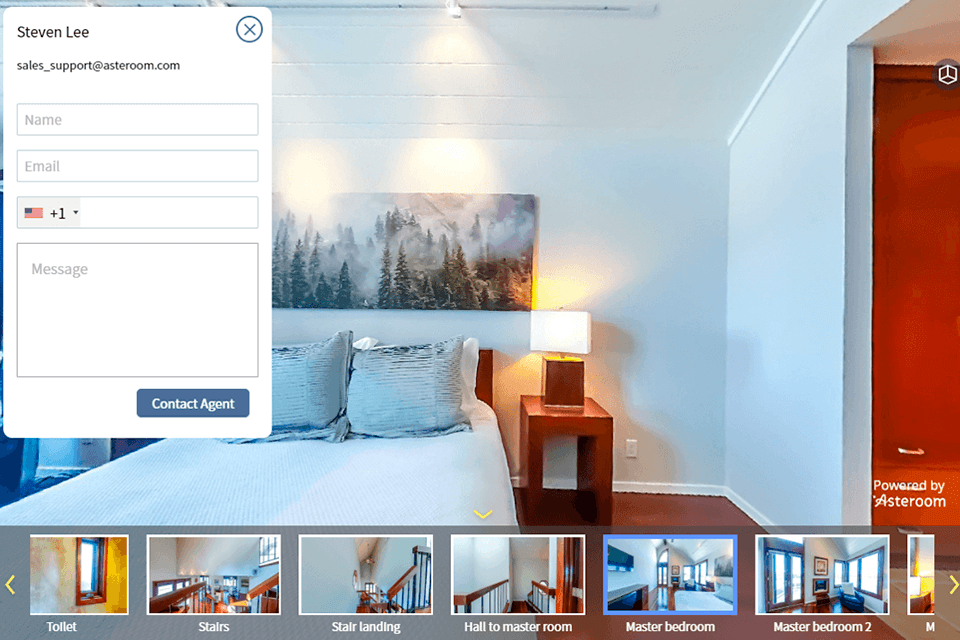
When you are done building a virtual house, you only need to present your project to clients on real estate platforms and your account in social media for real estate. Some software generate a unique link or HTML code that you can embed directly into real estate websites.
Keep in mind that some programs allow users to create branded virtual tours. In other words, your video will contain your name, brokerage, and contact info.
In general, it is better to have a branded and unbranded version of a tour. You can share branded pieces on your social media account, include them in emails, and add them to a website.
Unbranded tours will fit the bill if you are going to display them on listing services where any branding materials are rejected.


