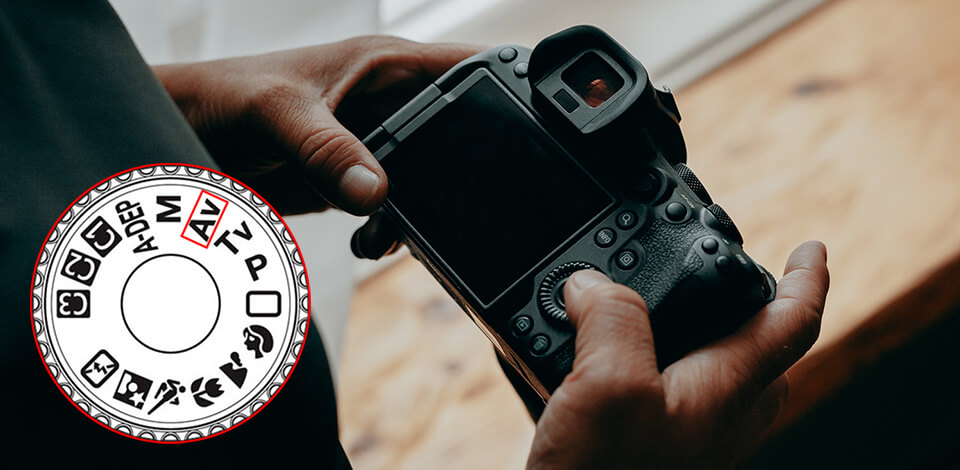
Aperture Priority mode, the common abbreviations of which are “A” or “Av”, enables a photographer to fine-tune the aperture and ISO, while a shutter speed is set automatically by a device.
This camera mode is not fully automated providing overall control over some camera parameters while forbidding you to tweak other important configurations like ISO, for example.
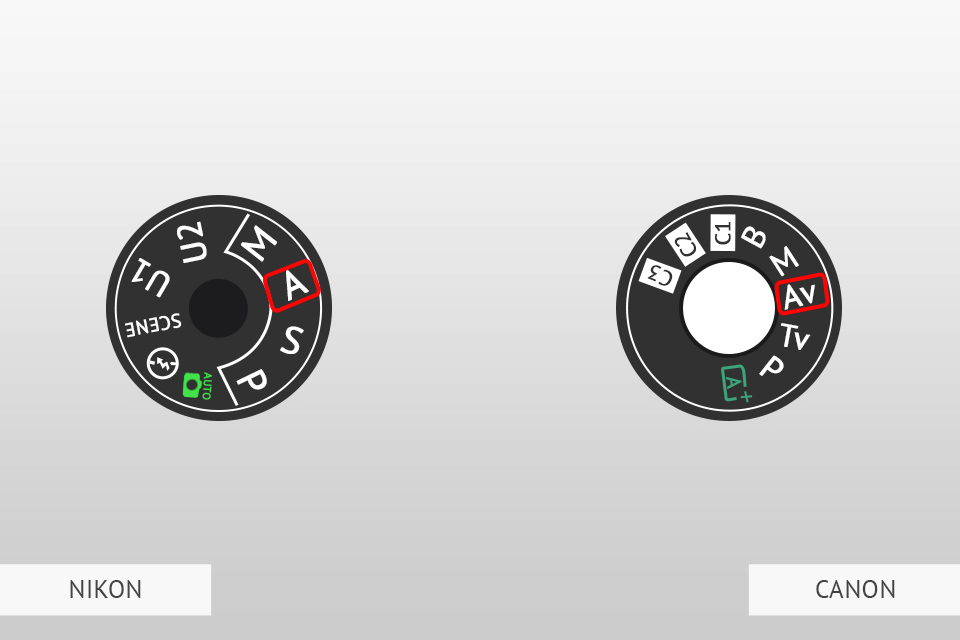
It is easy to define whether a camera supports this mode by checking whether there is a letter “A” on its body. You can usually find it on the Nikon, Fujifilm, Sony, Panasonic, Pentax, and Olympus cameras, whereas the manufacturers of Canon cameras denote this mode with the letters “Av.”
Praised for flexibility and speed, Aperture Priority photography brings the focus on the subject and composition, letting a photographer save time and effort in finding the most optimal exposure.
If you are a newcomer who does not know well how to fine-tune your equipment and has no idea what is an exposure triangle in photography, Aperture Priority mode is a real lifesaver. There is no need to worry about the appropriate exposure, and optimal shutter speed, as these parameters, will be defined by the system automatically.
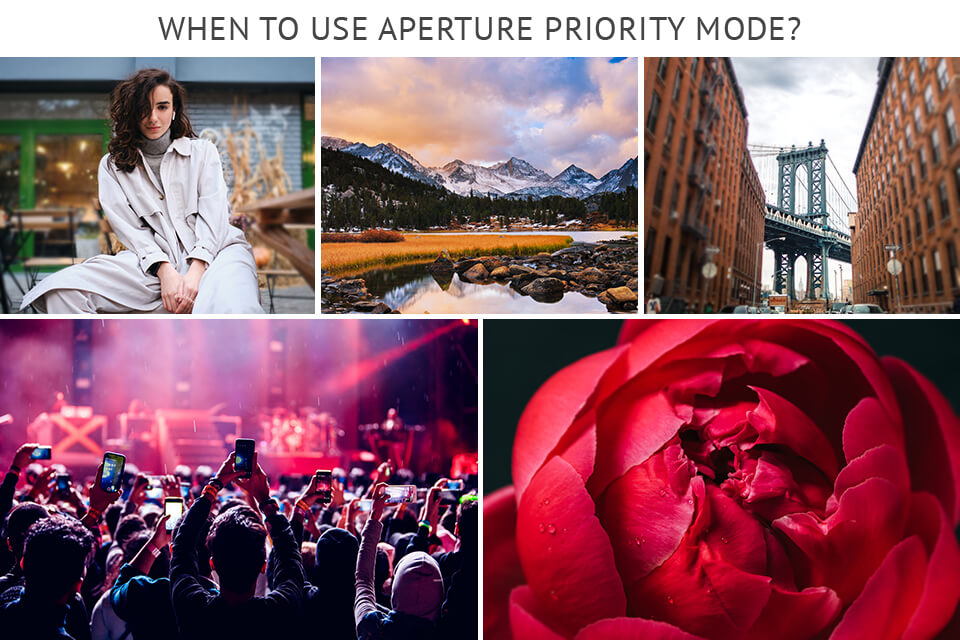
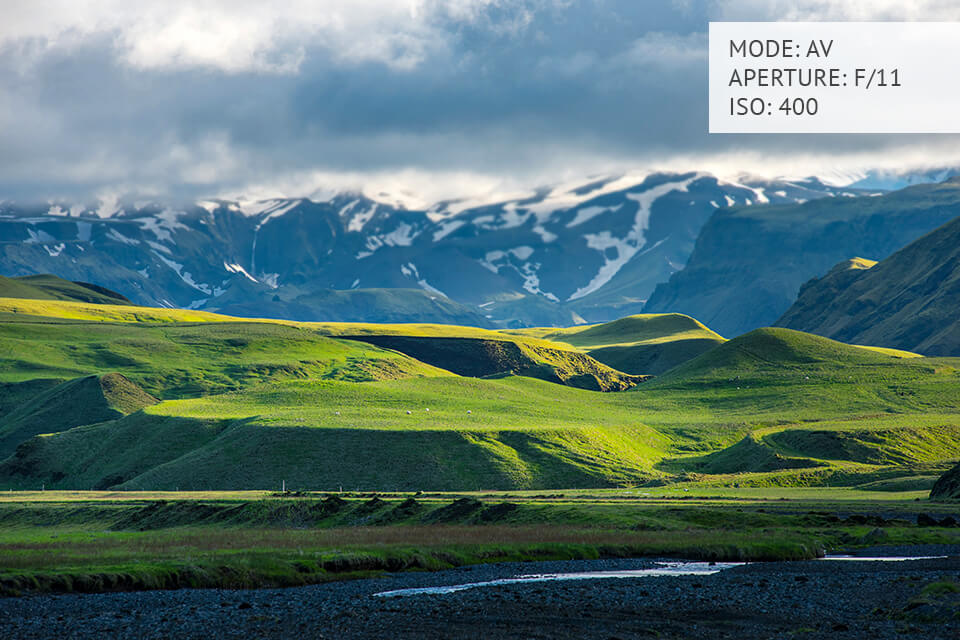
At the same time, a photographer is free to tinker with various apertures to see how they affect the images. Note that this mode is also popular among pro-level shooters who switch it on in various shooting scenarios to control the depth of field. Here are several examples:
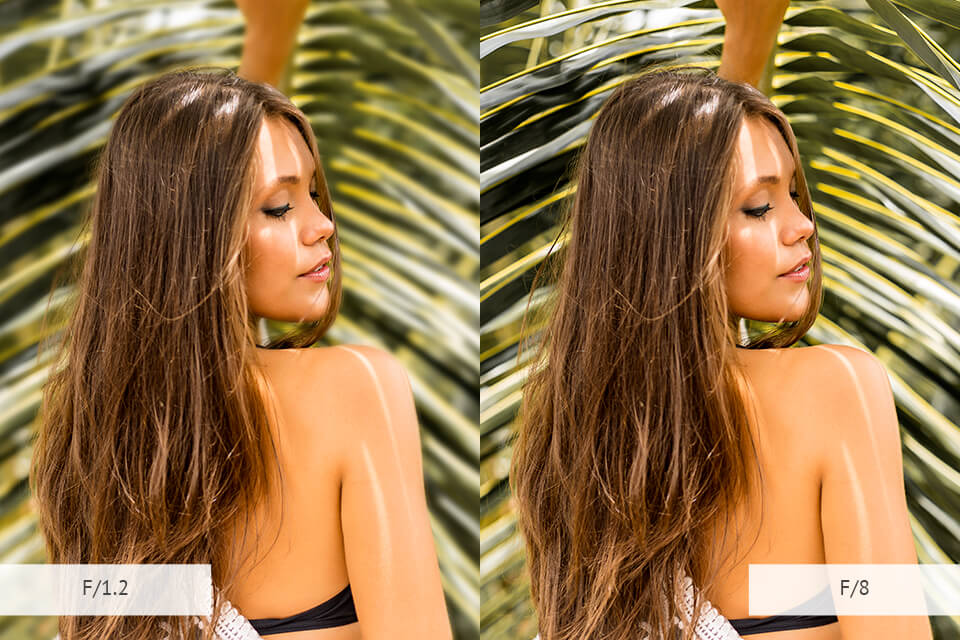
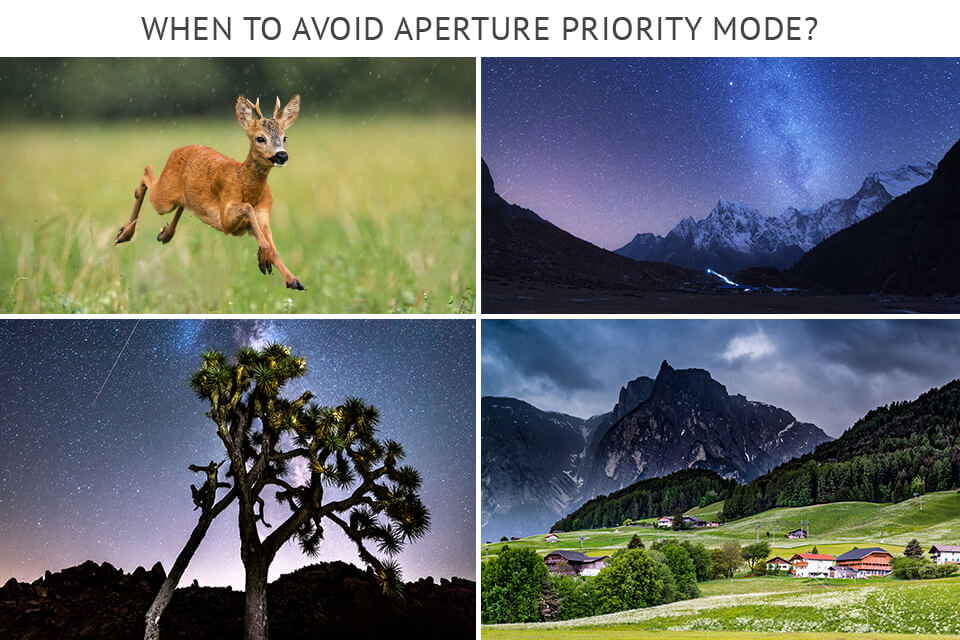
Most photographers cannot do without Aperture Priority mode, but sometimes this setting can deteriorate the quality of shots. Precise control over the depth of field is only possible in manual mode, which allows defining the opening of the lens' diaphragm on your own.
By tweaking this parameter, getting the depth of field required to produce the desired photos is a no-brainer. Check the examples below:
1. One spin of the PSAM dial to “A” (or “Av” position) is what you need to activate Aperture Priority mode. Note that some Fuji and Leica cameras do not come with this function, so the owners of these devices should switch to Auto shutter speed mode.
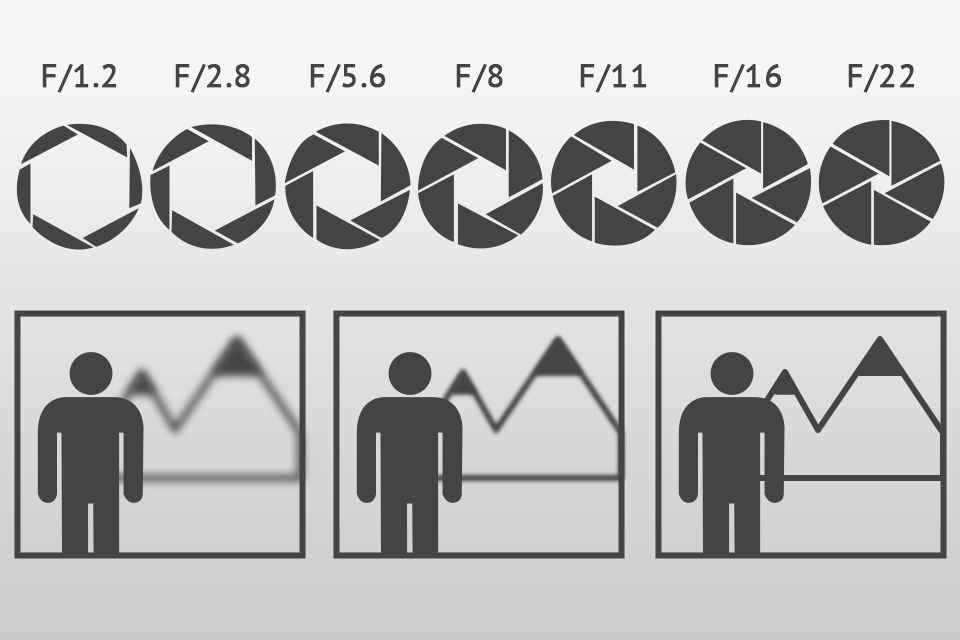
2. Then, select your aperture and depth of field manually, deciding on the f-stop, with which you are going to shoot. Remember that Aperture Priority mode does not allow altering the selected aperture. So, setting this parameter correctly to get the required depth of field and other specifications is paramount.
3. Pick the right ISO in photography. If you are shooting unmoving subjects installing your camera on a tripod, you should adhere to the standard ISO, which is usually 100.
4. Release the shutter button to take the photo. Taking into account the selected aperture value, your camera system will define the most optimal shutter speed automatically to attain the right exposure. To check if the exposure is correct, look through a viewfinder.
If the picture you see does not satisfy you, calibrate the aperture or benefit from exposure compensation to override exposure settings picked by a camera automatically.
No, it is semi-automated, meaning that a photographer can control the exposure manually by configuring the aperture and ISO limits.
Yes, many pro-level shooters use Aperture Priority mode to eliminate the undesired stress when trying to take great photos. The only settings they need to fine-tune in this case are aperture and ISO. For example, portrait and wedding photographers prefer Aperture Priority photography as it lets them control depth of field easier.
Most lenses are sharpest at two or three stops from wide open. So, generally, photographers use ƒ/8 or ƒ/11 and the result is always satisfactory.
Shooting at f/22 aperture lets a photographer take the whole scene with both close and distant objects in focus. Known as a wide depth of field, this technique is opposite to the one that only highlights the main object blurring the background.
If you enquire how to put my camera on aperture priority mode, find PASM dial on your equipment and turn it to “A” or “Av” position depending on your camera model. For example, Nikon photography cameras are fitted with a Mode button, which is specifically designed with this aim. Some models with outdated designs (like Fuji and Leica) allow switching on this mode by spinning the shutter speed dial to Auto and setting the aperture manually on the camera lens.