
When shooting at coastal or tropical locations, lens fogging is one of the most common issues you’ll have to deal with.
Taking a DSLR camera with its lens from a chilled, low-humidity area like the interior of your car or hotel room to a hotter, high-humidity location leads to condensation.
You can prevent the appearance of fog on camera lenses by properly storing, protecting, and acclimating your equipment. The main thing you can do to battle condensation is maintain the temperature of the camera and lens over the dew-appearing point, which signifies the moment the humidity in the air starts to condense and return to its liquid form.

Condensation is the direct opposite process of evaporation; instead of water particles transforming from liquid to gas, here the water molecules in the air convert back into a liquid state.
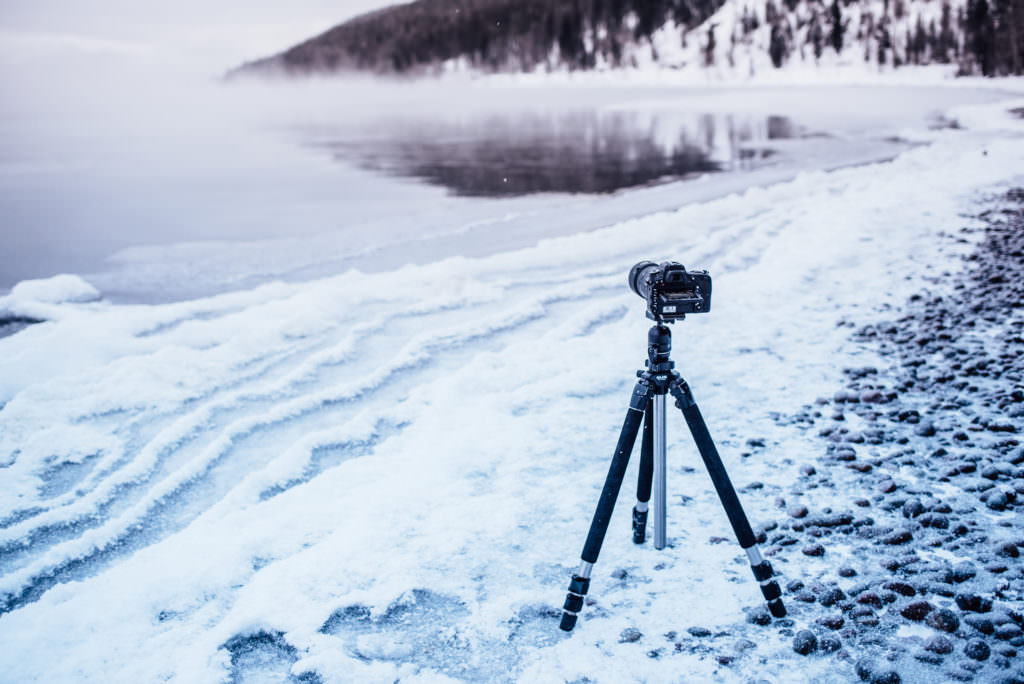
The most typical scenario in which you might receive a fogged lens involves transferring the camera from a warm and dry area to a cold and humid one and vice versa. For instance, the lens might become foggy during a sunrise photoshoot on a chilly day or when you go inside a warm cottage after spending the last few hours engaged in a winter photoshoot.

Increased humidity can further accelerate this process. Tropical areas are particularly warm and humid, making lens fogging a much more pressing issue whenever you enter or leave a dry, air-conditioned room.
Other environments that increase the chances of this problem occurring are large water bodies, windless closed spaces, valleys, etc.

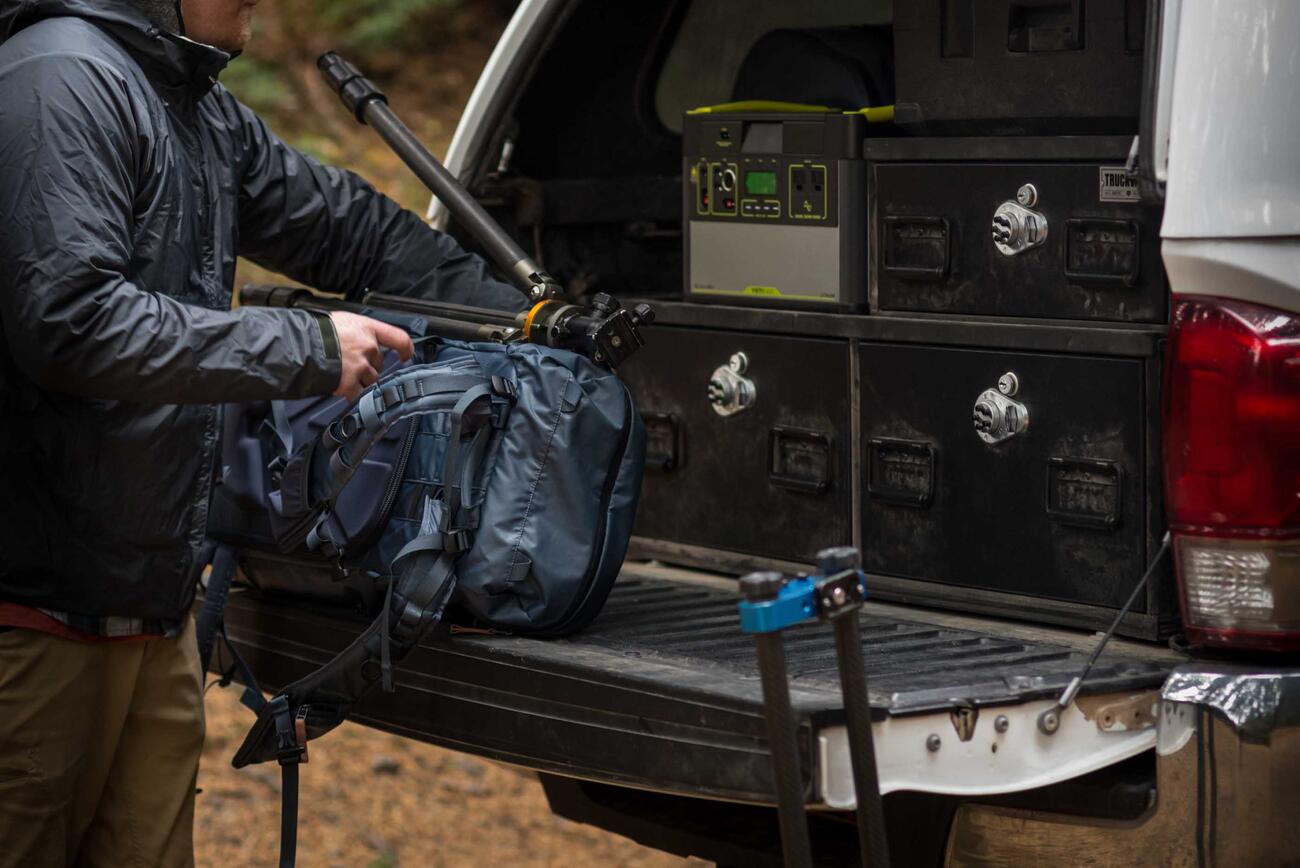
The first thing you can do to deal with condensation and lens fogging is to ensure your photography equipment is constantly covered and protected. It doesn’t matter what temperature or location you’re shooting at, your equipment has to remain safe, dry, and secure, particularly during your travels.
You can consider purchasing:
Camera bags. Consider picking a waterproof model that is compatible with most cameras and comes with a rain cover.
Camera backpacks. A quality photography backpack has to provide easy access, sufficient padding, and customizable dividers.
Camera rain cover. It will ensure you can freely continue the photoshoot during abrupt rainfalls, snow, and even sandstorms. It’s possible to create a DIY rain cover on your own or simply purchase one from the many camera stores available in your town or online.
Anti-fog spray. Longevity is the key factor here. Cheap sprays usually lose their efficiency a few minutes after being applied while quality products can ensure the lens doesn't fog up for hours or even multiple days.
Dew heater is a special device that is wrapped around the lens and serves to warm up the gear to prevent condensation and fogging.

If your room has a secure balcony, consider placing your photography gear there to help it acclimate. Just remember to not leave the lens inside the bag. Having the equipment stay on the balcony for about half an hour should be enough.
If you’re going out before dawn to make sunrise photos, for instance, you can take the camera and your main lens outside once you’ve woken up so that the gear is acclimated to the environment and has fogged up and defogged by the time you’re ready to head out.
While protecting your equipment by sealing it is perfect for storing it inside, the best way to speed up the acclimatization process is to get rid of as many barriers that prevent direct contact as you can.

If you’re on the way to the next photoshoot location while driving in a car, store the camera and the rest of your gear in the trunk. This way, it won't be affected by air conditioning and will have an easier way of acclimating to the temperature and humidity level on location.
Pro tip: Occasionally, however, you might want to keep the camera near you (should you accidentally come across a memorable shot). If that happens to you a lot, turn off the air conditioning and lower the windows.
Such an environment will allow the lens to acclimate to the temperature and humidity outside while still making it easy for you to take spontaneous photos when needed.

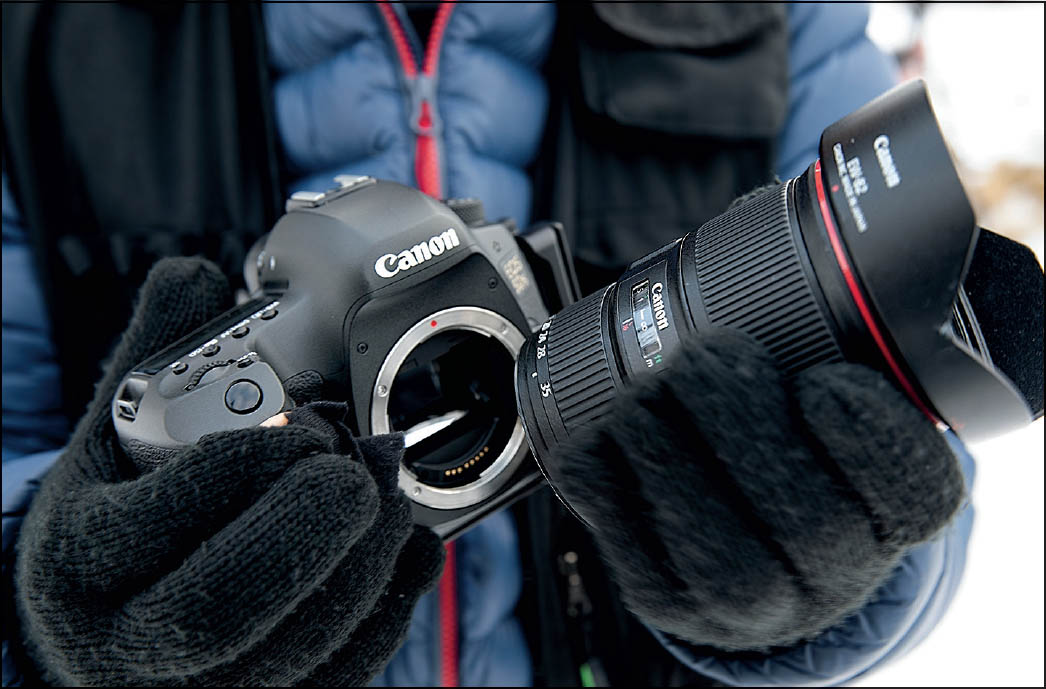
Even though no camera lens anti fog method focuses on specific lens parts, you can remove all filters like diffusion filters (https://fixthephoto.com/diffusion-filters.html What Are Diffusion Filters and How to Use Them) or lens caps to speed up the process.
Otherwise, an ND filter or the lens cap will prevent temperature equalization and slow down the acclimatization process, which will lead to intense fogging once you remove the cap right before the photoshoot.
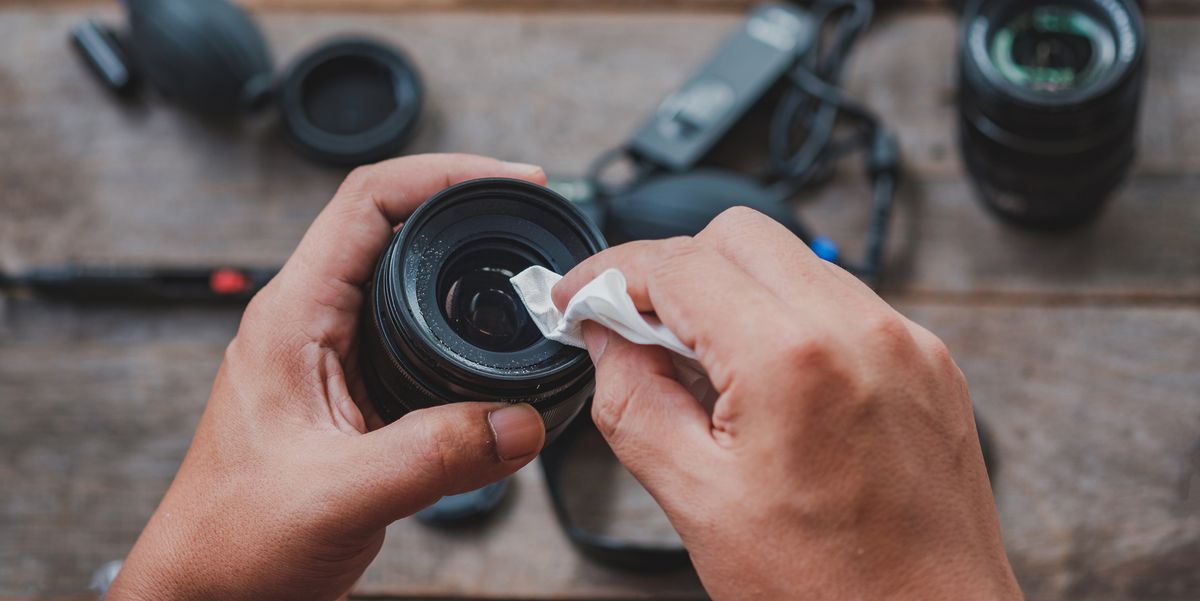
Remember to regularly wipe the front of your lens. Such an approach will let you keep track of whether condensation is still occurring and if you’re ready to begin shooting.
Additionally, if the fogging isn’t particularly noticeable, you can swiftly wipe the lens and instantly take a couple of photos before the fog begins reappearing. Such a tactic ordinarily works if the acclimation process has been ongoing for a bit.

As such, it’s a good idea to have a microfiber cloth at hand at all times. If you don’t own one and it’s already too let to get one, use a different suitable material for wiping the lens, like your t-shirt.
Before your next photoshoot, purchase multiple clip-on microfiber cloths that are available in small, convenient pouches, which you can easily attach to the camera strap. This way you won’t have to go through the entire bag until you find the tiny little cloth that will always be the last thing you stumble upon.

If you’re hosting an outdoor photoshoot and don’t have any time to spare, you’ll need to use a lens that has already been acclimated. Alternatively, consider taking camera lens foggy shots that make the created blur a part of the composition.
For instance, a foggy lens allows establishing a beautiful moody atmosphere for wintertime landscapes. You can also use it to add smooth, soft lighting to the scene that conveys a sense of reverie.
The usage of a fogged lens will lead to a loss of detail, but you can use that to your benefit by masking an overly busy backdrop. Lastly, you can dabble with abstract photography and take some artistic shots with interesting camera movements, panning, etc.
Any photo that is severely foggy because of condensation is ruined and you won't be able to restore it no matter what you do. That said, if an image only has a little bit of fogginess, there's a good chance it can still be saved.
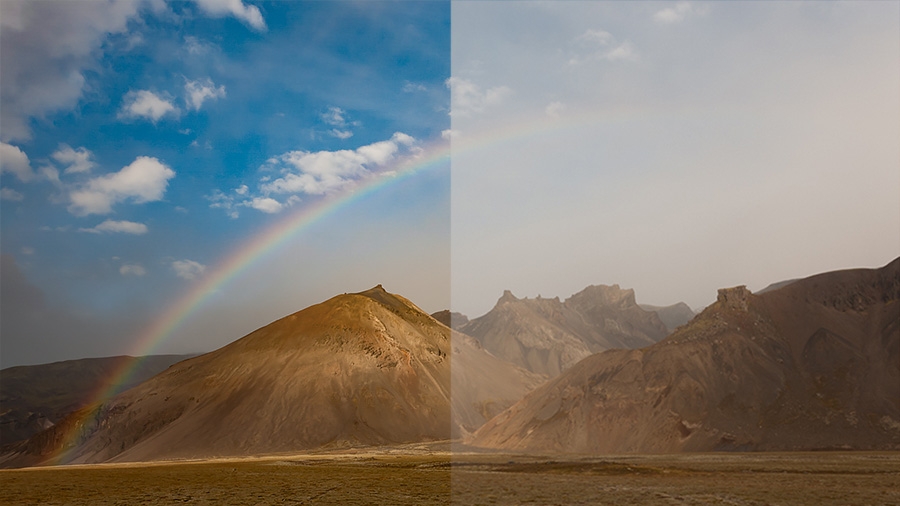
You can start by increasing the contrast and clarity values in Lightroom or by employing the Dehaze slider.

Go to the Develop section, expand the Basic panel and find the Dehaze slider. Move the slider to the right to decrease the amount of haze in the photo. You can also drag it to the left to boost the haze until you’re happy with the result.
If the colors look overwhelmingly strong after applying Dehaze, consider adjusting the Saturation or Vibrance sliders, which you can find in the same panel, to decrease hue intensity.


Use a heater. If the lens in your camera has become foggy while you’re still taking photos, consider going back to your car for a bit and turning on the heater. Just be sure to avoid turning it on to the maximum since the point is to gradually increase the temperature of your photography gear to get rid of condensation.
This anti fog for camera lenses method can take somewhere between 15 to 60 minutes to take full effect.
Take advantage of a hairdryer. If you’re close to your house/studio/hotel room, it’s a good idea to run your hairdryer on a low setting near the camera. Just be sure to move the hairdryer around so that the heat isn’t focused on one specific area.
Hand-warming gel packs. Even though heating up the camera can help deal with lens fogging, it's common for the fog to back down only to reappear a while later. Since warming up the lens quickly isn’t always a guaranteed solution, you should also consider employing hand-warming gel packs to get a more permanent result.

Silica bags. Some photographers don’t leave for outdoor photoshoots without silica bags in their backpacks. Take that approach to the next level and always pack some ziplock bags with silicone kitty litter. Both options are valid since they contain the same material – sodium silicate, which can absorb about 40 times its weight in liquid.
Consider organizing your equipment inside the bag by placing a couple of silica backs near the camera and lens. Be sure to take out the battery and SD cards before you do so and keep those compartments opened to secure improved airflow and ensure all moisture is absorbed from your gear.

Dehumidifier tin. You should consider purchasing a Hydrosorbent silica dehumidifier tin that serves a similar purpose. In this case, the silica gel is contained in an aluminum canister that offers humidity protection for about 3 cubic feet of space.
Such a tin is a particularly good fit for small spaces like backpacks, suitcases, etc. You merely have to wait for your equipment to acclimate to the surrounding temperate and once all the condensation has evaporated, you can take your camera out and start taking completely fogless photos again.

If you don't have the time or the will necessary to fix and enhance your landscape images manually, consider applying these professionally made presets instead.
They will properly tweak all the main photo settings, perform color correction, and adjust the temperature, while also allowing you to pick from different eye-catching effects that will make your photos even more unique.


