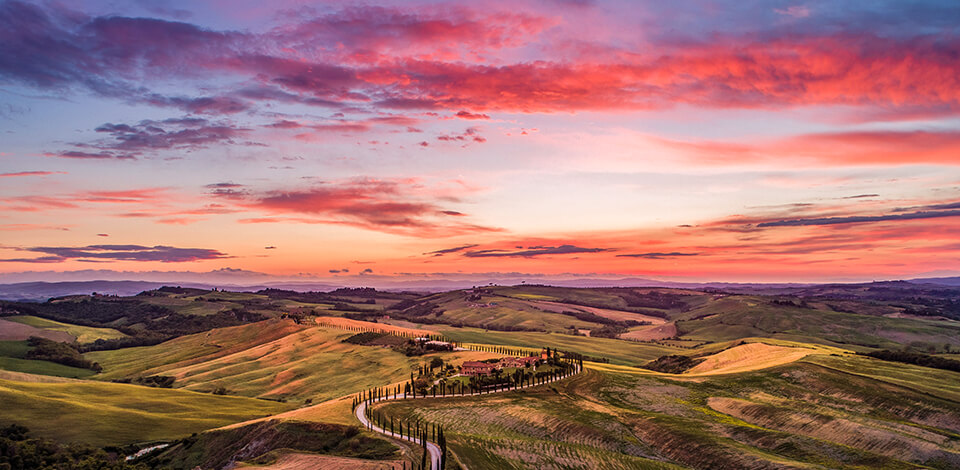
If you are willing to capture the fascinating dawn with your camera, it is essential to know several sunrise photography tips & simple tricks, commonly applied by experts. The approximate time I always come there is 5-6 a.m., taking into account the season and location.
Preparation is fundamental for your morning sun pictures. Below, I will share what gear is necessary for shooting sunrise, and what camera configurations will be advantageous.
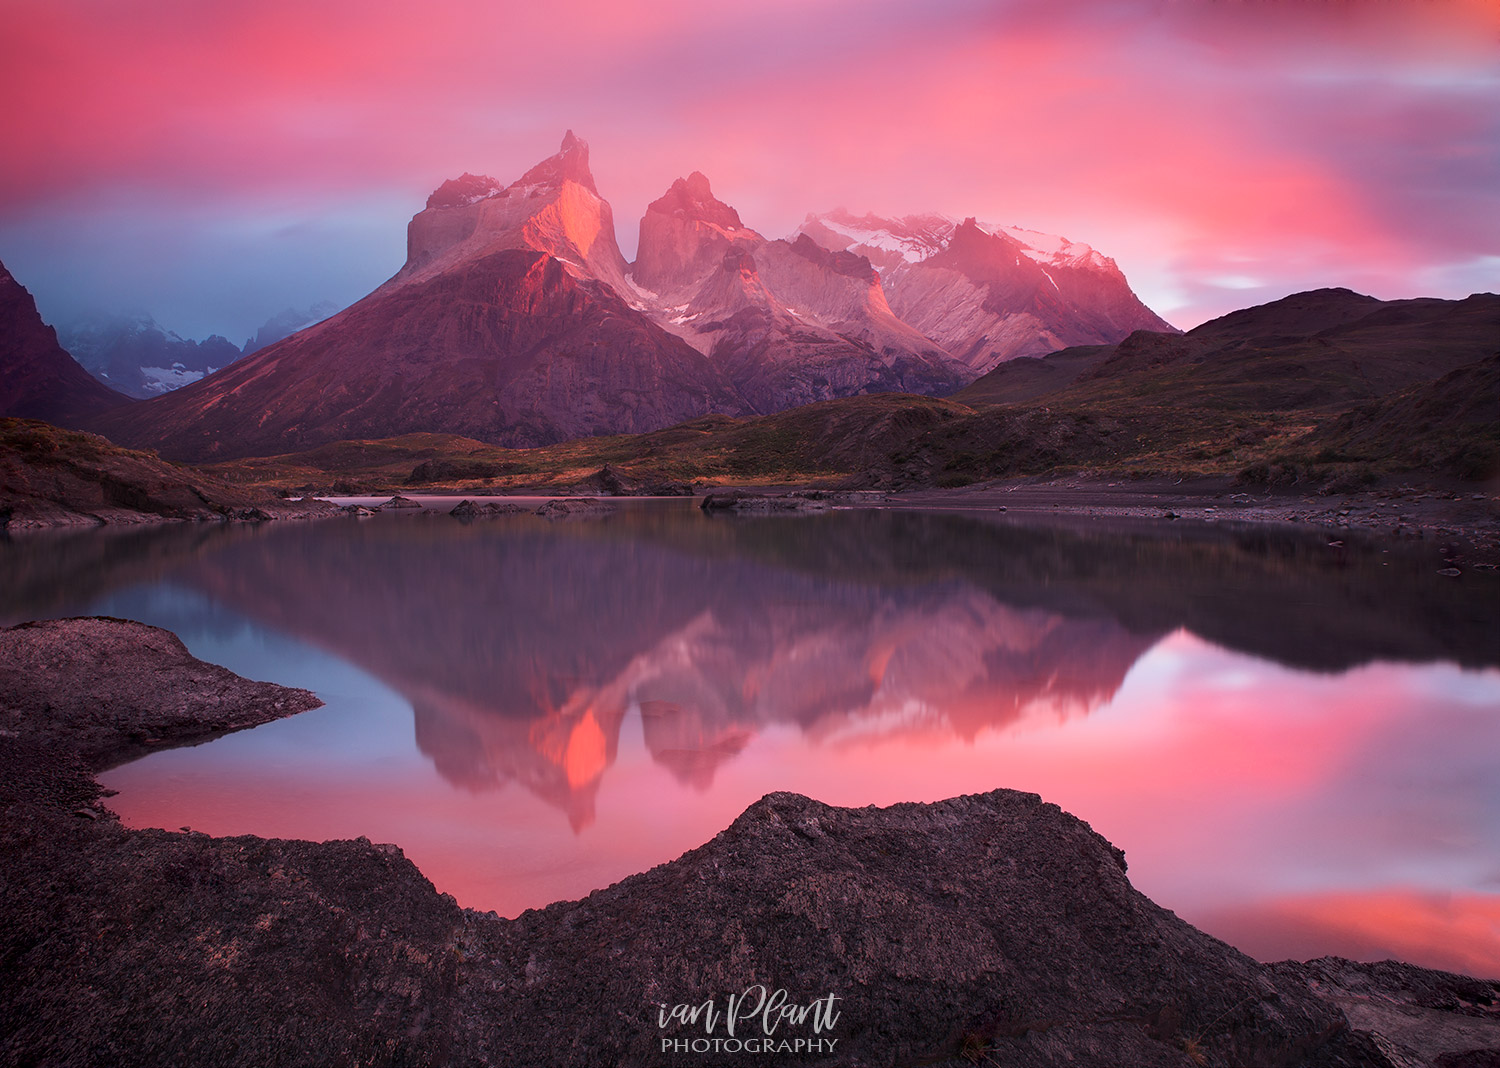
Discover photo locations that may be appropriate for capturing a sunset 1-2 days before you start. Search compelling locations, where you can make a sunrise photo alongside the horizon, and where you will have a possibility to involve foreground objects and shapes to your picture.
Sunrises only last a couple of minutes, that’s why you have you consider these intricacies before the sunset starts. In other cases, you are likely to miss the finest photos.
Moreover, pay attention to the weather conditions. There exists a wide range of sunrises that create plenty of shades and patterns in the sky. Don’t opt for sunrise photography only on clear-sky days, as despite the fact that these can draw some splendid colors, cloudy or partially cloudy days usually work perfectly well.
The precise time of your arrival depends on the spot you choose. If the place is unknown for you, it is better to come super-early to have enough time for exploring the location and finding your angles. If the spot is familiar to you, that much time is not necessary.
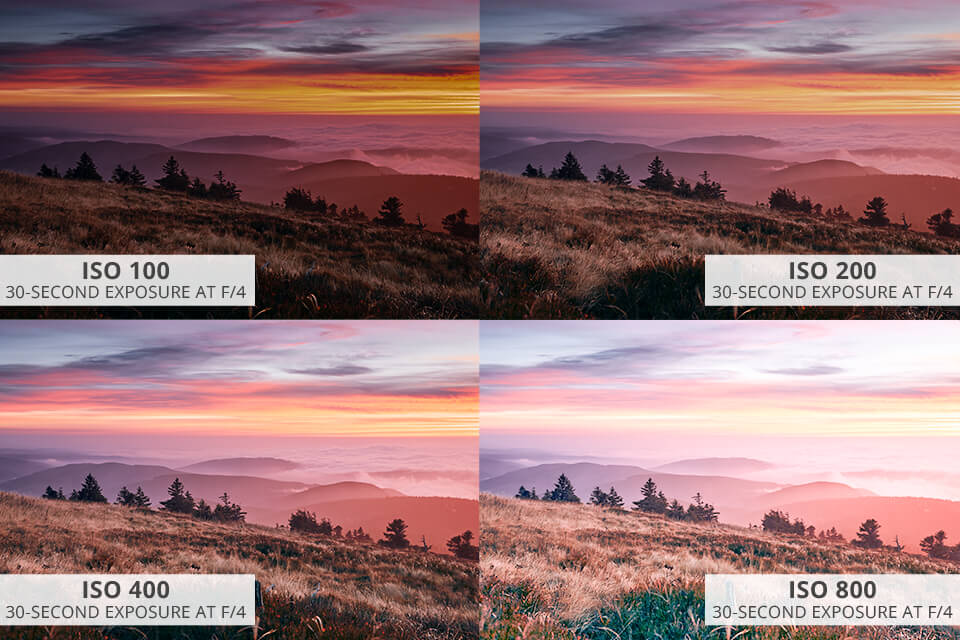
As the light is much poorer in the dawn than in the daytime, professionals advise to set low ISO. If you plan to shoot with 100 ISO, images will be flat and dull, and if you apply a higher index, the picture will result too light.
Nevertheless, a moment you want to use for shooting the sunrise is also vital here. All the sawn period can be subdivided into the stages of pre-dawn, peak dawn and post-dawn, when the sun has already risen.
Sometimes it is worth applying ISO 100, when, for example, you notice that the sun is bright, but still keeps its rose-orange or red shade. Besides, low ISO index will ultimately let the beginners avoid noise.
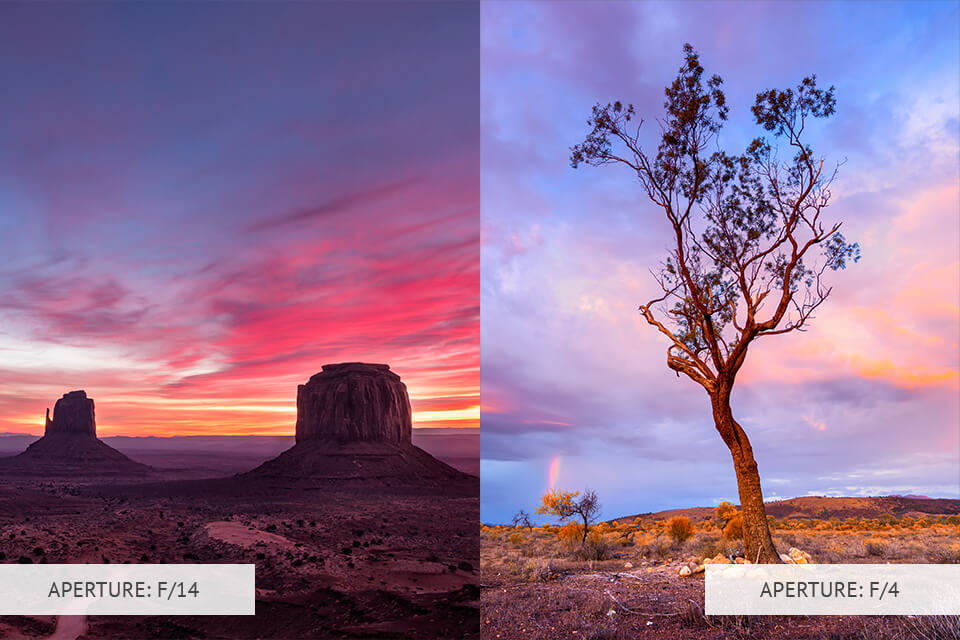
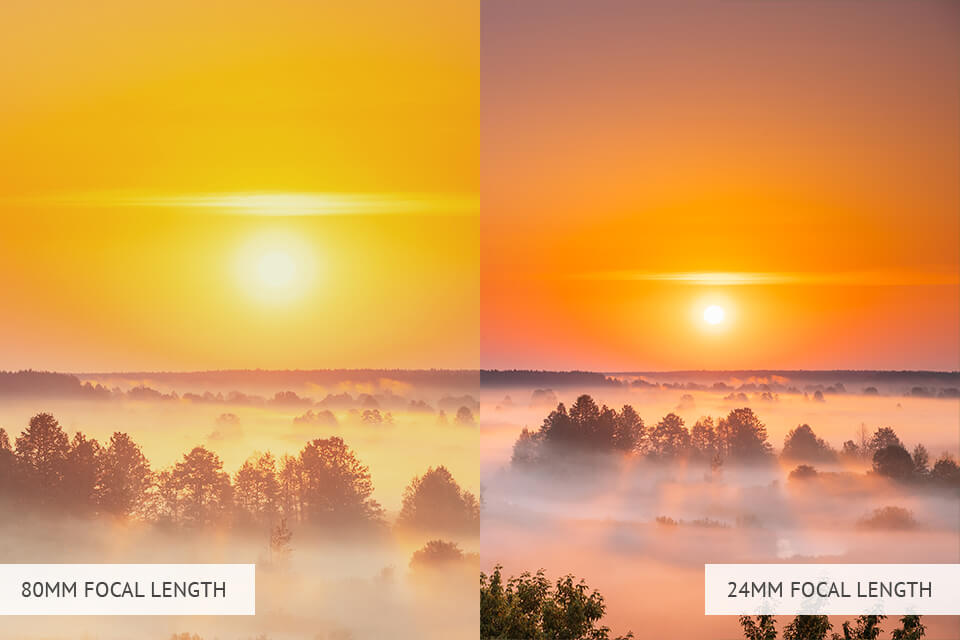
The majority of photographers prefer big-size gear - f/11, f/14 or f/16. It allows to deepen the sharpness. Thus, if you capture a person or any object at dawn, your main object and the background will be zoomed.
If you want to blur the background and emphasize the foreground object, set low aperture, for example, f/4 or even lower. Try various aperture indexes and compare the result.
When you take shots toward the sun, it can be difficult for your camera’s autozoom to fix on something because of the lighting intensity. If possible, adjust the manual focus to make sure the images you capture are immaculately sharp.
Select the shutter speed to give you a correct exposure. Look at your light meter when setting the shutter speed and once it reaches "0," it means the exposure is set properly. To facilitate the process, adjust an aperture priority camera mode (if available), and the most suitable shutter speed for a correct exposure will be automatically chosen.

Applying an appropriate camera for landscape photography will give you all the facilities necessary to capture a splendid sunset. The one I frequently use is Olympus OM-D E-M1 Mark III. It is fairly lightweight, so I can omit using a tripod, and with the help of a good zoom, I am able to shoot every little detail.
Before arranging the sunrise shooting, you should determine the precise dawn time for capturing its brightest moments. For this you may employ one of the most widespread applications for photographers, which detect the phenomena time. I use The Photographer’s Ephemeris, which not only lets me define the exact time of the dawn, but also provides the info regarding the sun’s location on the horizon, depending on where I am at the time.
Moreover, it is highly recommendable to monitor the weather in advance, to prevent losing the opportunity to capture the desirable pictures because of unfavorable weather conditions. An example of such an app is AccuWeather, where you can learn whether clouds will cover the rising sun at the moment of shooting.
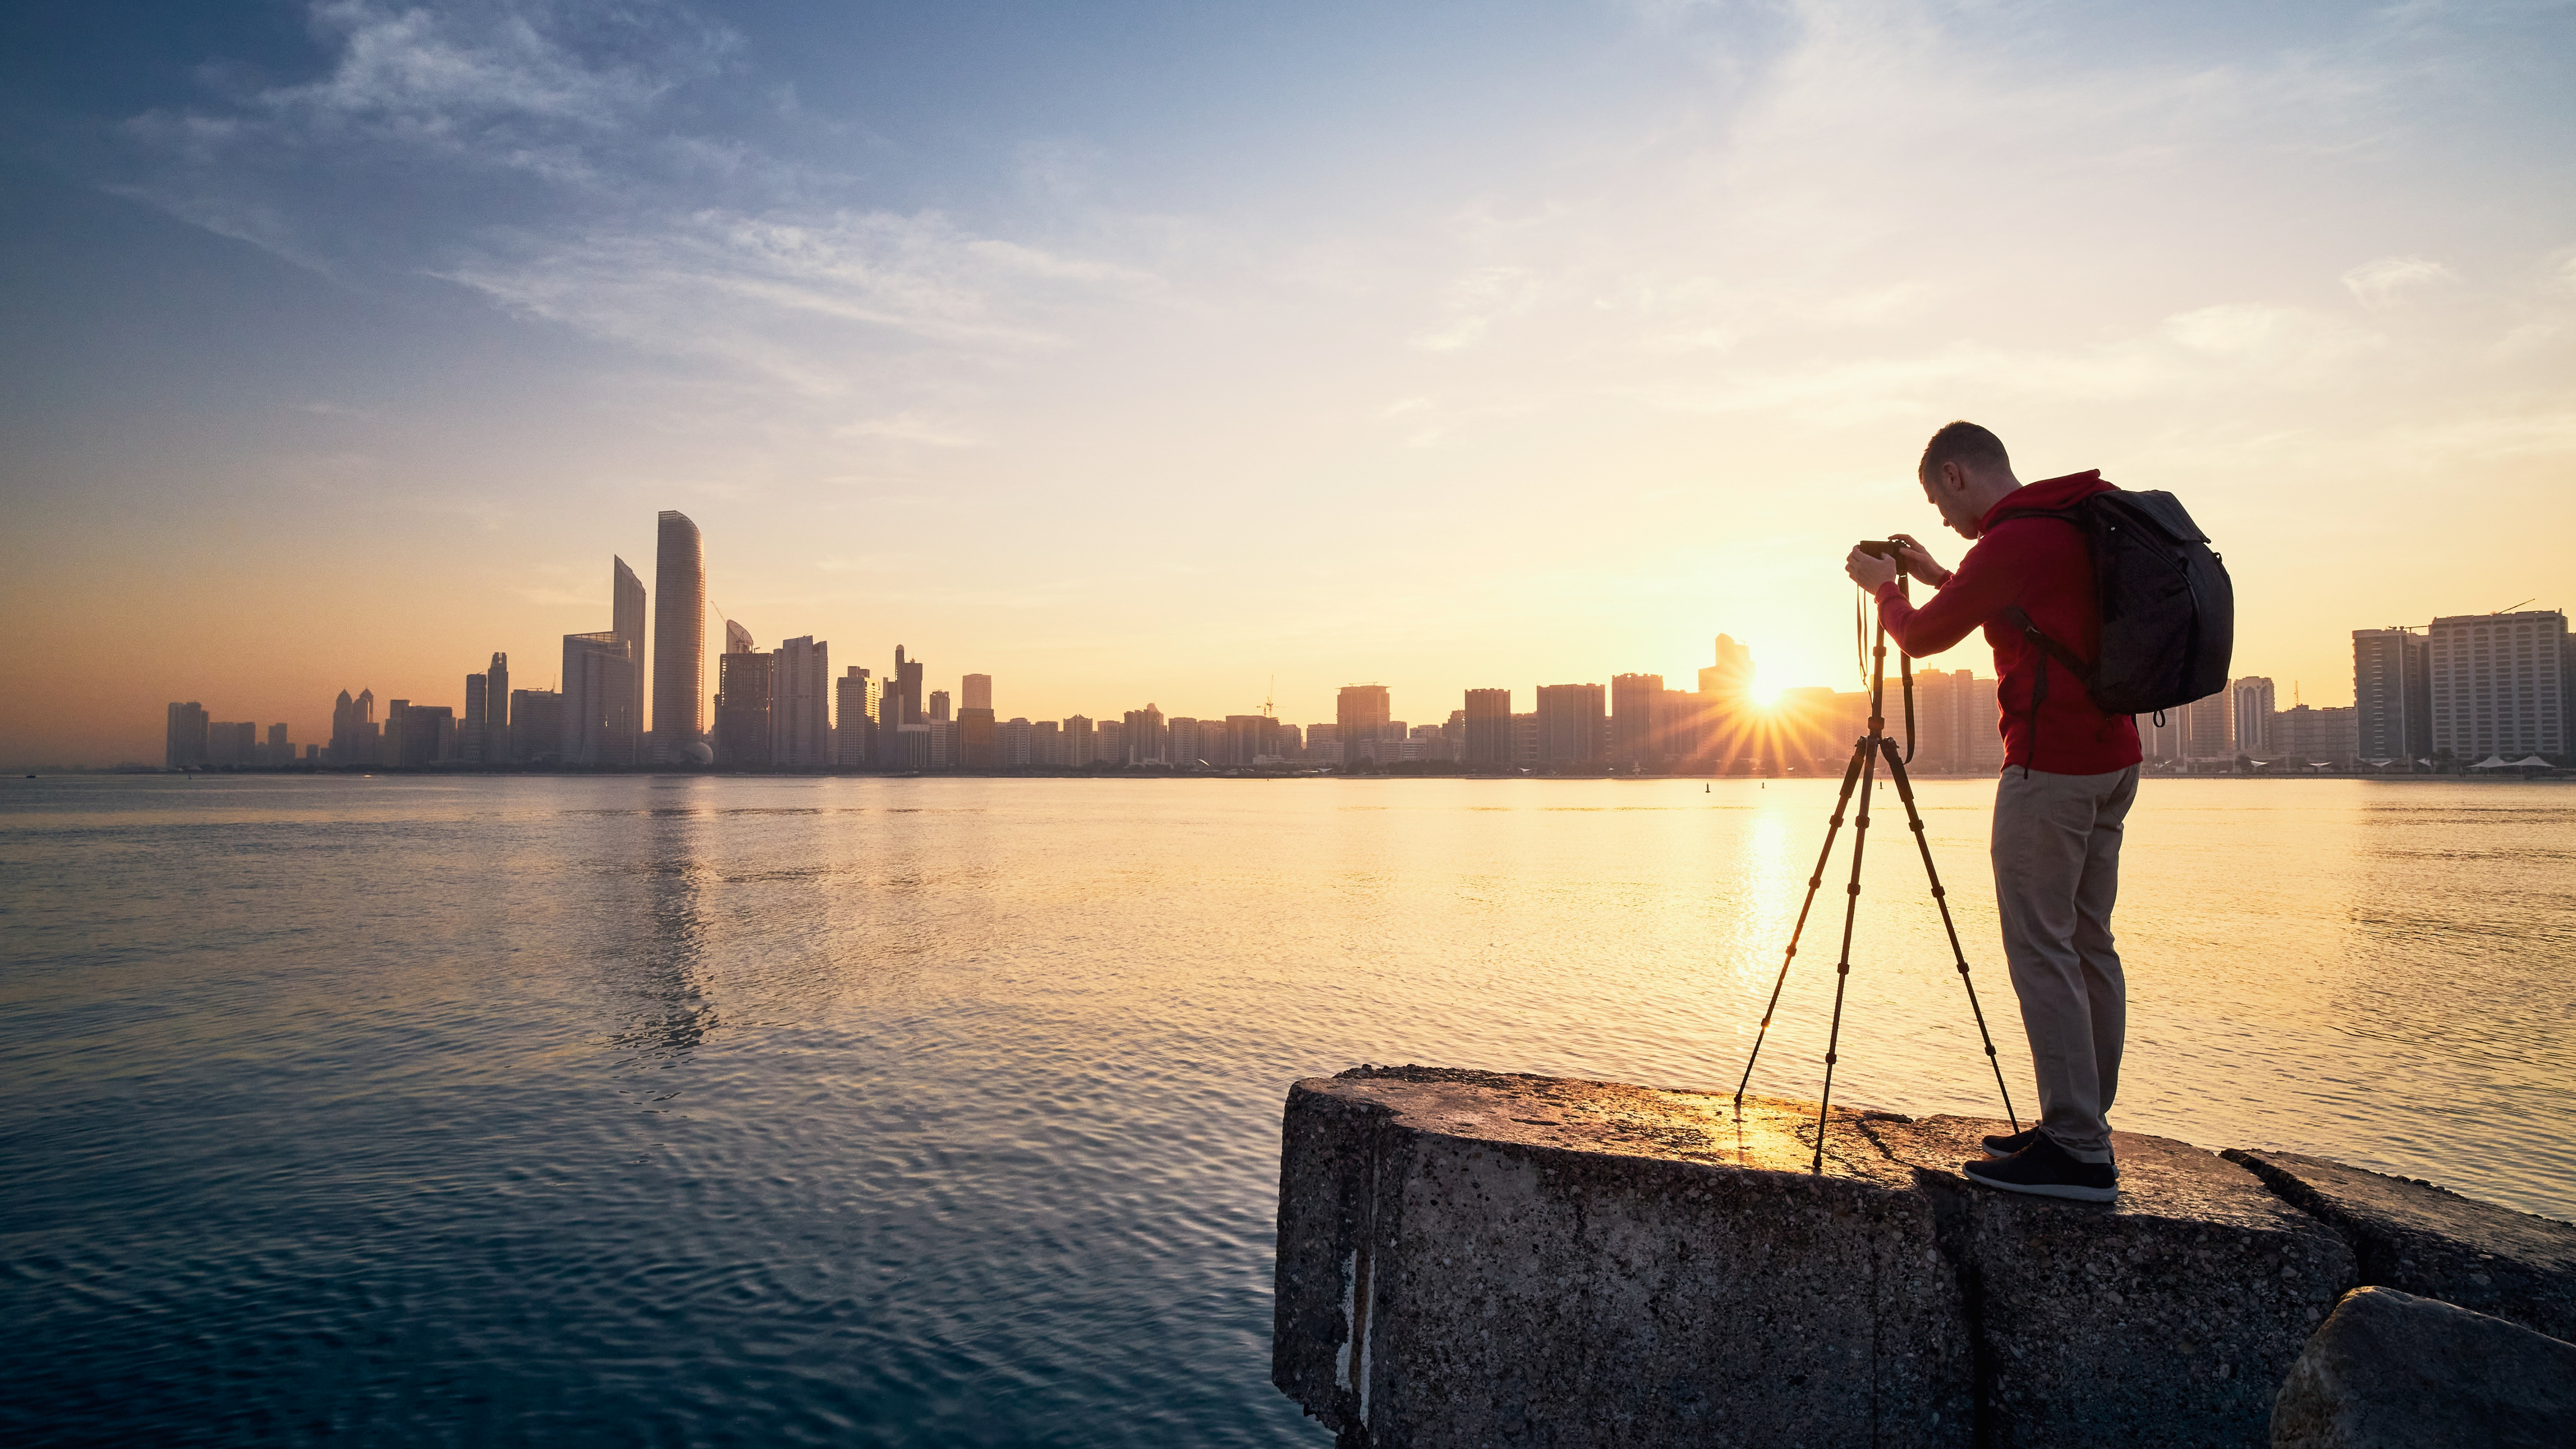
The thing I advise taking with you while shooting the dawn is a tripod. It may come in handy in case your lens and camera are heavy. Check out a stable Vanguard Alta Pro 2+, which is of proper height and is strong enough to carry all heavy equipment.
While applying filters can slightly worsen a picture quality, some of them are still appropriate for sunrise. Graduated neutral density filter will equilibrate the scene by making the upper portion of the sky darker for you to shoot a well-exposed and dynamic image. And you will be able to stifle the light with a neutral density filter, appropriate for a long-exposure technique application to blur clouds or/and water.
Furthermore, keep in mind that the morning air can be quite humid, or you might need to capture a sunrise in the mist. Therefore, additional equipment protection is a must. Consider purchasing a spacious bag for the equipment. I also recommend acquiring a special camera case, which will protect its mechanism from humidity.
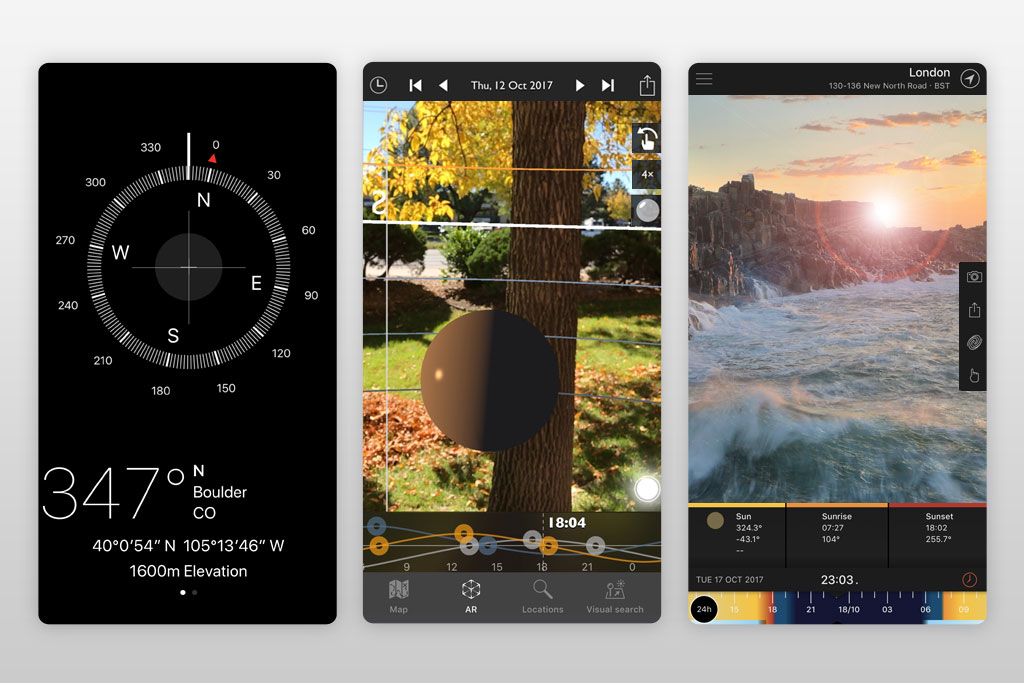
I use The Photographer’s Ephemeris, which not only lets me define the exact time of the dawn, but also provides the info regarding the sun’s location on the horizon, depending on where I am at the time.
Moreover, it is highly recommendable to monitor the weather in advance, to prevent losing the opportunity to capture the desirable pictures because of unfavorable weather conditions. An example of such an app is AccuWeather, where you can learn whether clouds will cover the rising sun at the moment of shooting.
To get a good sunrise shot, it is not obligatory to catch the sun itself, as you will not get the desirable soft light with golden glow.
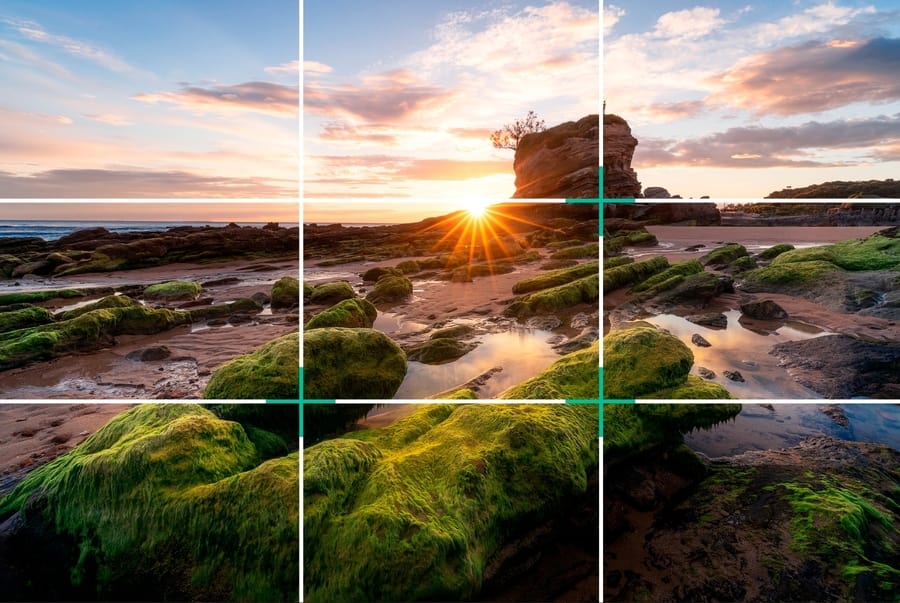
I recommend applying the rule of thirds. A lot of cameras are featured with the special mode, activating which you get the directional screen lines. The point is to put the most significant object, splendid light or the most vivid area at horizontal and vertical lines intersection.
For example, during the sunrise shooting, visualize trees in the forest, a tall grass filed, feathery clouds or a curving trail to lead the viewer’s eye through the picture of the sun on the horizon.
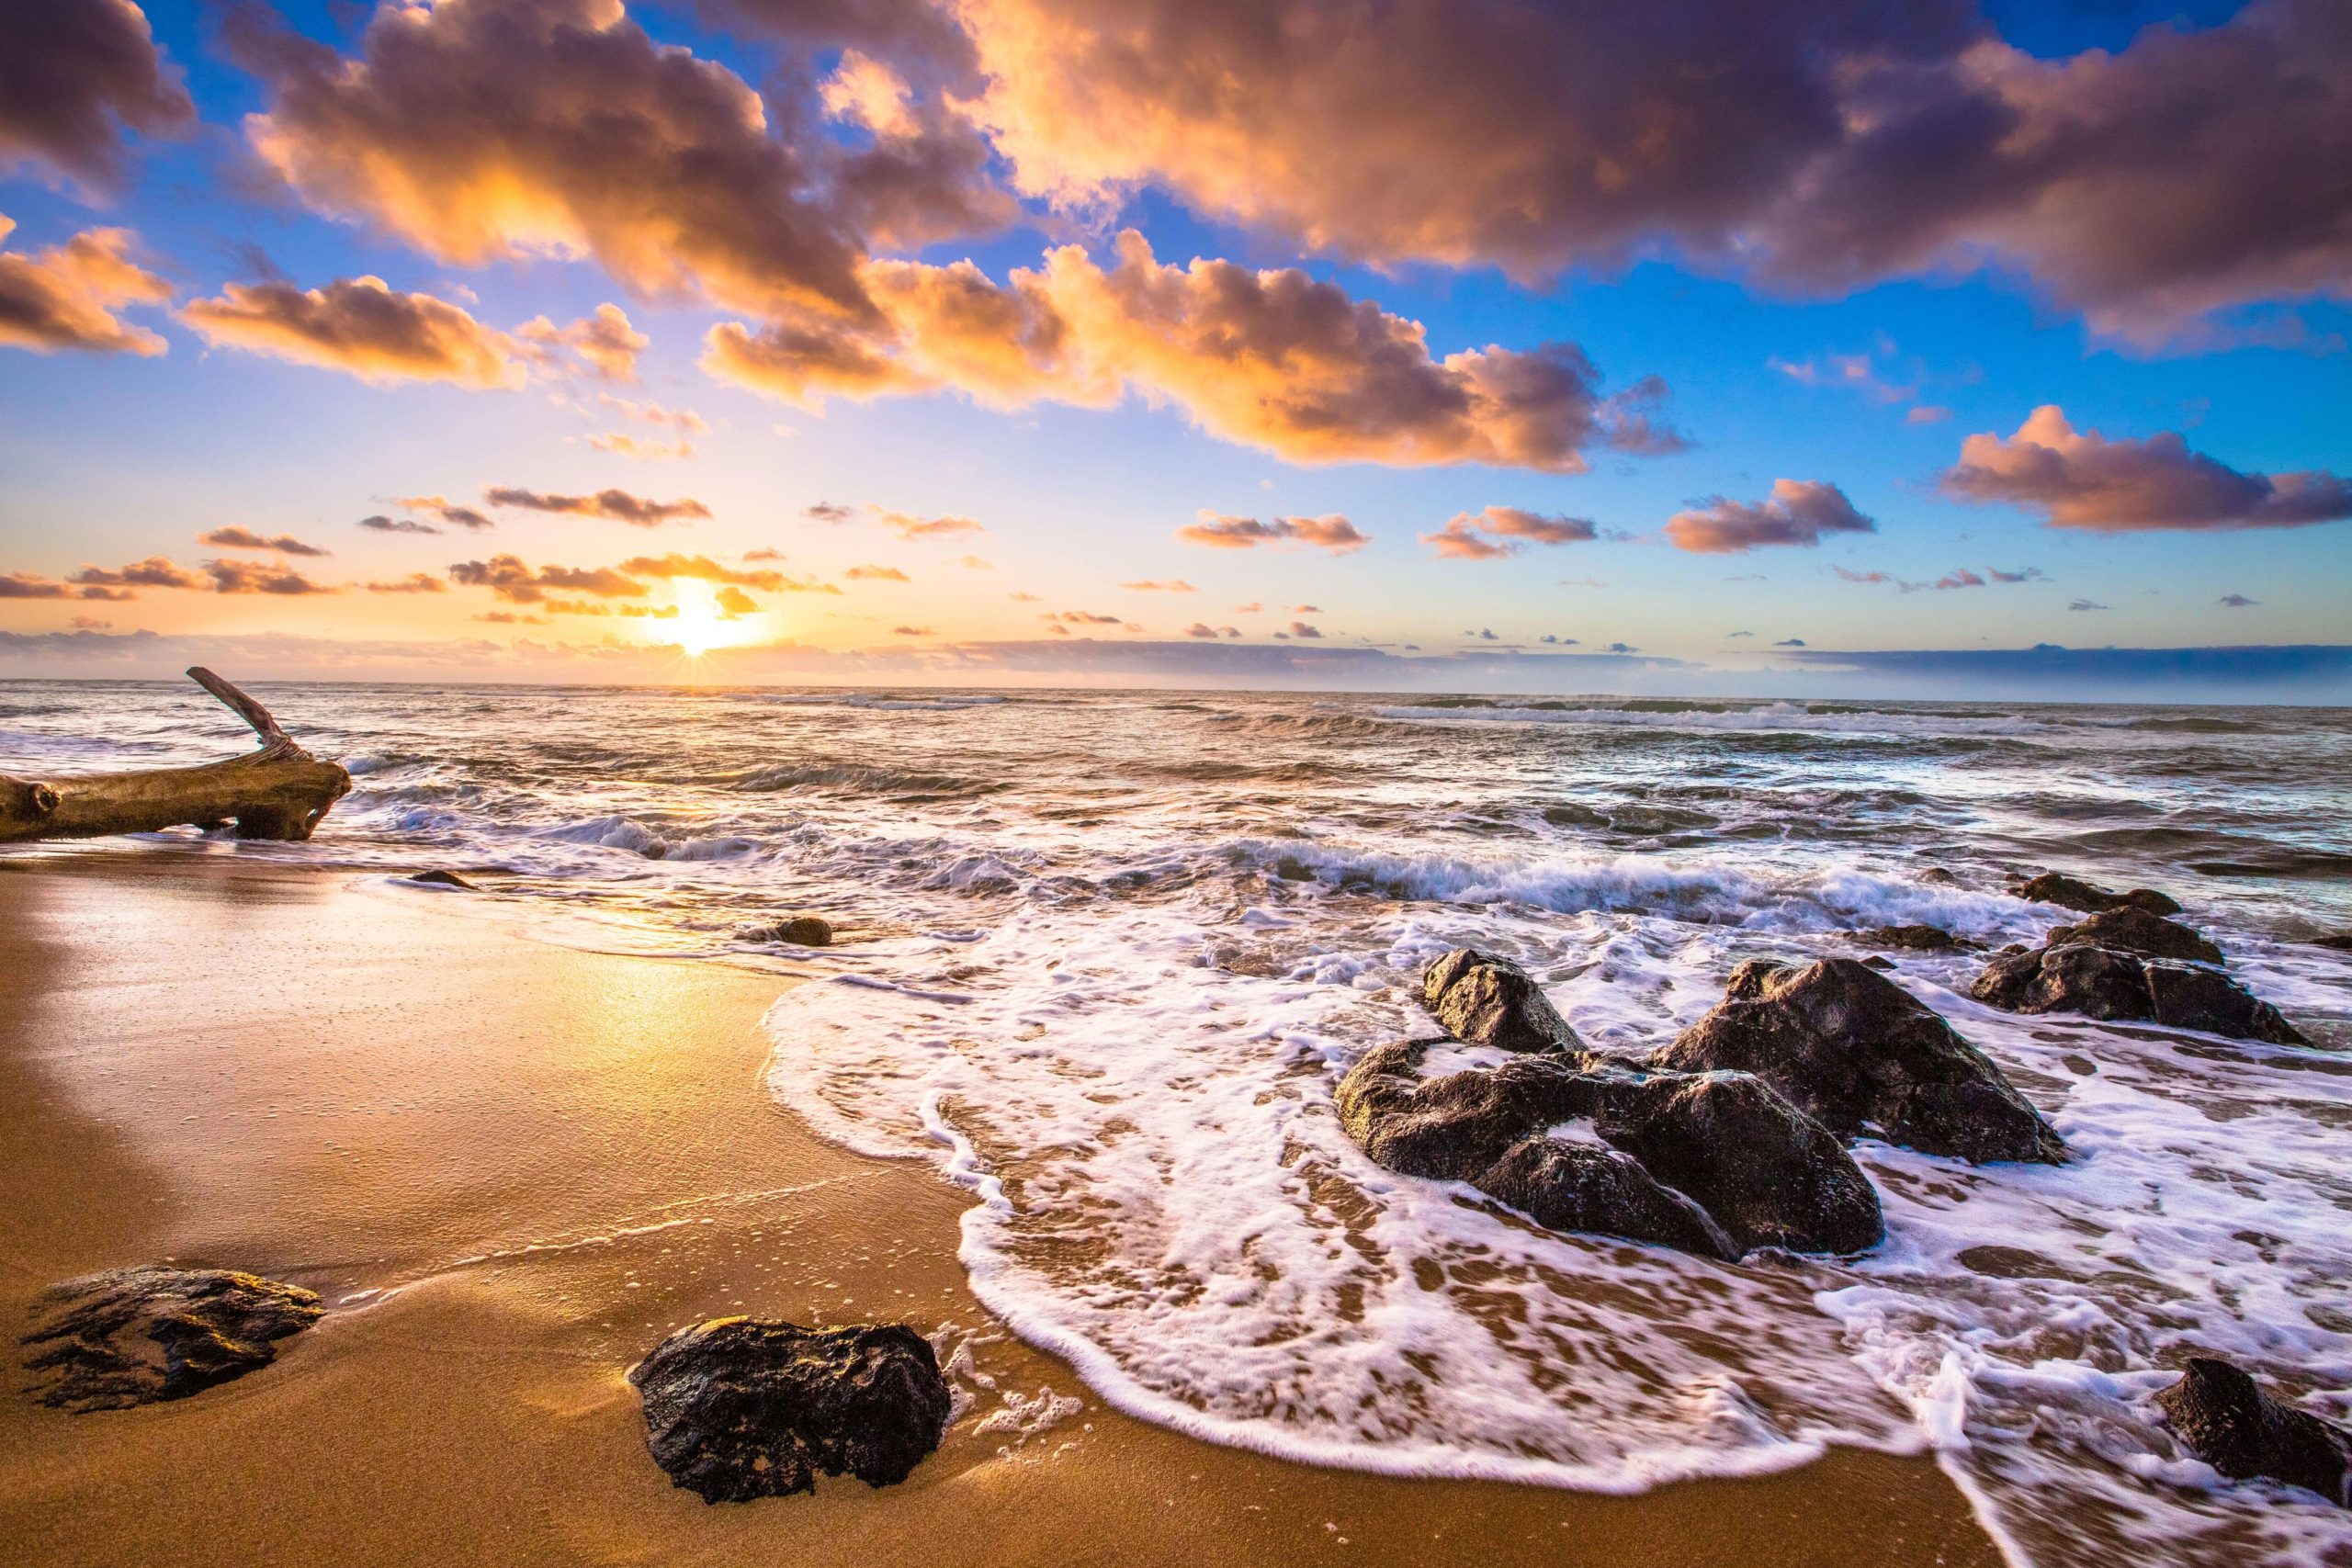
Undoubtedly, you can take a common photo of a direct horizon line strictly subdividing an image in half. But such a shot will look unexciting and in such a way you will not be able to render all the beauty and agility of the dawn.
Therefore, I recommend applying a perspective experimenting with landscape photography to differ from others.
Once you’ve used this tool, add more dynamic scenery to your image. If it is a cool and cloudy sky that emphasizes the sunlight, place them to the upper two-thirds of the scene. If you have a vibrant foreground, but the sky is not that catchy, place it at the bottom two-thirds of the shot.

In the process of taking sunrise photography you have to note that the sky can rapidly change. Thus, don’t get pleased with several shots taken at the same time. You can anticipate your picture, waiting for a cloud to float across the sky to the right position. Or, for instance, you will see the shadows becoming more compelling, and the light – milder.
Arrange your shooting process with a slight interval. The best photo may turn out to be the one you initially did not bet on. Besides, I advise you periodically return to the same place in order to capture the sunrise sun, as you can get totally different shots from the same scene.
If you are not willing to spend plenty of time on improving your sunrise photos, you can apply free Lightroom presets. By doing so, you will adjust all main photo parameters, correct the colors and temperature, and will be able to use various striking effects, which will diversify your sunrise shots.