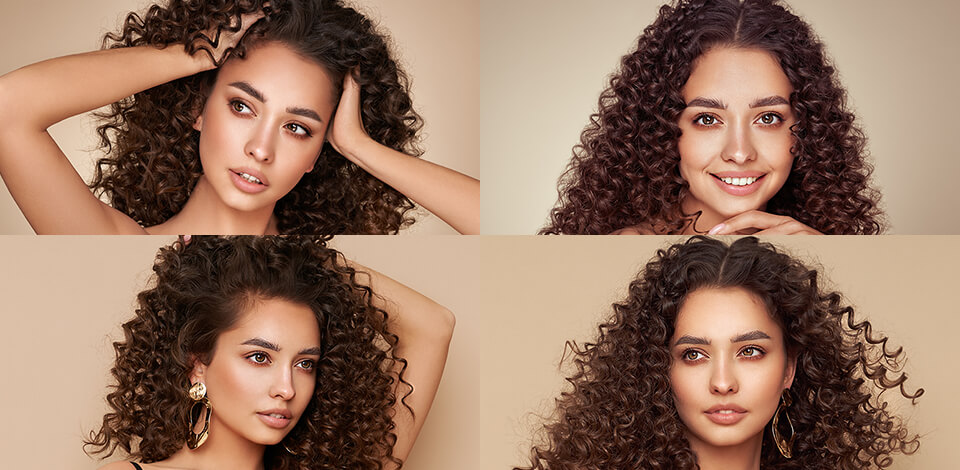
Note: Always remember that photography cannot tell who you are or what you really look like, so never forget to love yourself just the way you are.
There are no people who look great in every photo they take, and that’s okay. I’m sure each of you has unflattering photos you wish were never taken. I’ve put together this guide to help you find your best angle and be confident in front of every camera, every photographer, and every condition. Follow my advice and you will learn how to find your angles.

The most common mistake when looking for the best angle for pictures is overdoing head turns. By turning your head more than you should, you may miss the perfect angle.
I advise you not to rotate your face more than 1-2 inches, otherwise you risk losing your real face. By directing your nose further from the center, you change your face. The resulting angle may suit you but you will look less like yourself.
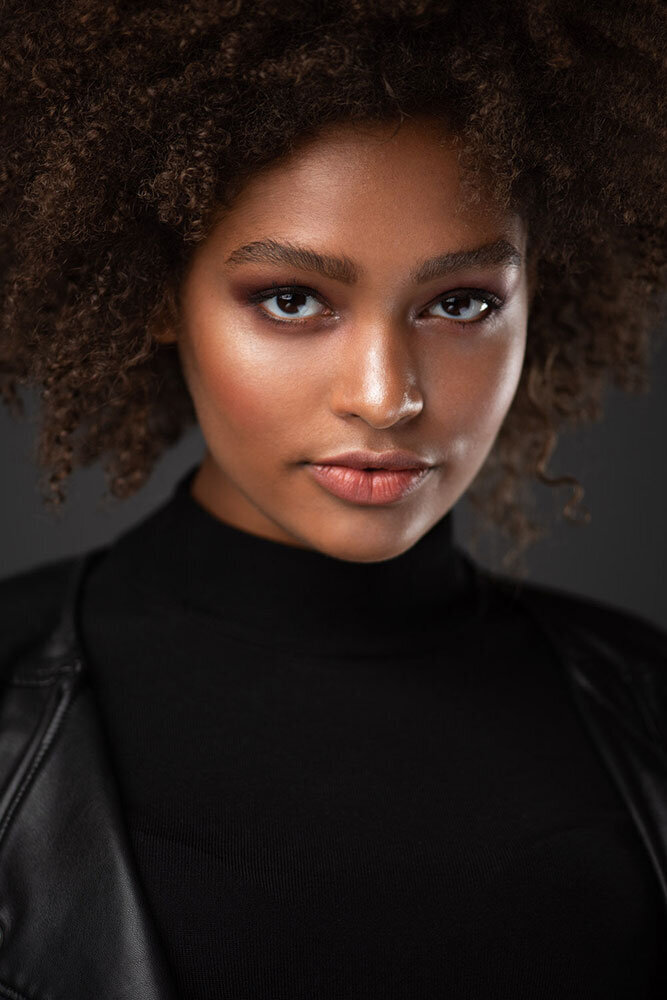
Try to turn your head not only to the left or right but also slightly up or down. Tilting your chin slightly up or down, look at yourself and see how your face is changing. For some, a chin pointing upwards is suitable, while others will benefit from a slightly downward-pointing head.
There is also a good pose almost for everyone – this is tilting the chin down and turning the head three-quarters to the side. With this position, you can play almost any emotion – from positive ones (coquetry) to negative (anger). Try it and you will notice how it decorates you.

You may have seen some photographers lift their fingers and control the rotation of the client’s head when taking a portrait to see which side looks best. So, what exactly are they looking for?
It is very difficult to find perfectly symmetrical faces, especially among random people. By checking each side, we are looking for which side of the face will be more beneficial for asymmetrical facial features.
Almost all of us have a smile as asymmetrical as the whole face, and this can also help if you are wondering how to find your best angle for photos. It may well turn out that the right side of your face looks better when you have a calm expression, and the left side when you smile.
In order not to spoil the frame, your smile should be sincere and natural. Just showing your teeth will not be enough, because it will be feigned, and thus you will not determine from which side it looks better. The simplest and the best way to get a real smile is to just laugh.
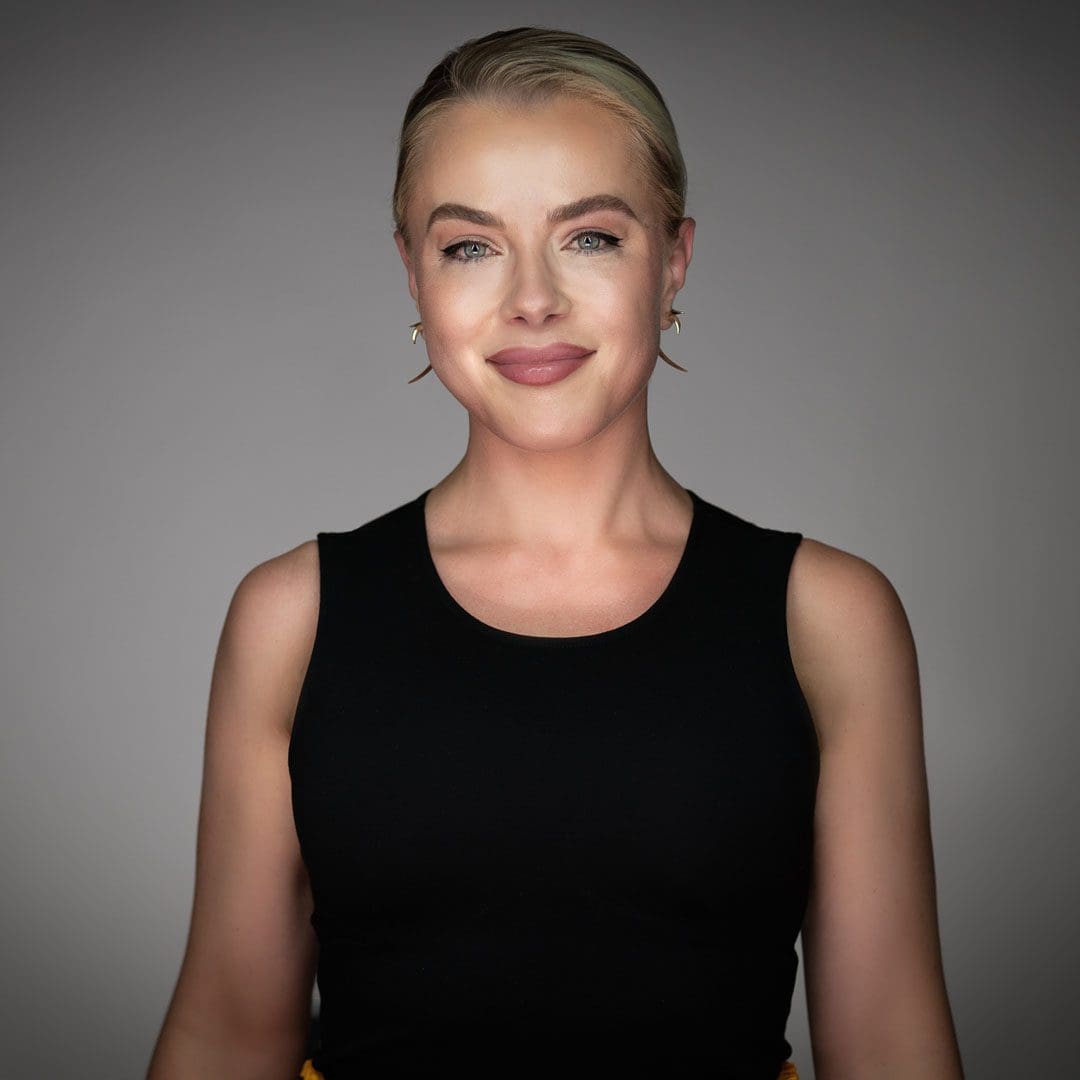
Surely, you have had a situation when you took a selfie and then watched your nose much larger than it is. This is because the camera “zooms in” the closest objects. That is, the closer you place an object to the camera, the bigger it will appear in the picture.
Remember: the farther from the camera = the smaller, the closer to the camera = the bigger
When taking a photo, try to step back from the camera. When within 5 feet of the photographer, I suggest shifting your body weight onto the back leg. This way the lower half of your body will be slightly further away from the camera, and this will help to keep it from being bigger in the picture.
To appear a little taller in the photo, straighten your posture. Don’t hold your breath, as you risk getting high swollen shoulders in the picture. If you are taking a photo when sitting, stand on your tiptoes – this will make your legs look longer.
Define proper triangles and leading lines. By knowing your angles and triangles, you will be able to deepen your photos and create an attractive shape. Just think about it in advance and rehearse model poses to shine on the photo shoot.

You can easily distinguish a truly photogenic person from someone who is just posing: in the first case, a person does not have to pretend. Even if photographing makes you nervous, don’t let it distort your natural emotions.
Don’t try to put on a smile that you think is appropriate for the circumstances, but smile the way you normally would. The same applies to the shape of your eyes and cheek line. Your photos will look better if your face shines with sincere emotions.
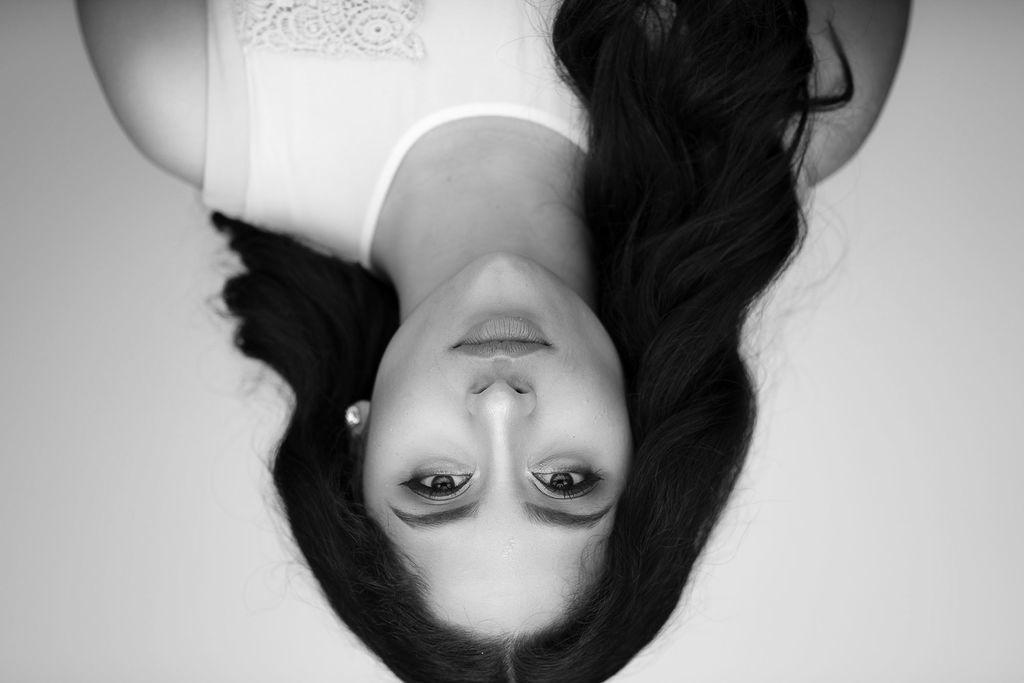
Among the useful angle tips, you can also try a flip photo. By turning the image upside down, you begin to perceive things differently and see the asymmetrical features that stand out the most.
This can help you choose the shot that best matches your client’s look. You can easily check this with the camera connected to a computer while shooting, and you can quickly flip the image on the large monitor to find the best side of the face.
Pro Tip: Test the faces with the shots you’ve taken before and make certain that the flipped image reveals any noticeable issues that could be fixed with a simple head tilt or turn.

Consider the lighting when looking for your best angle, as light can make your face look bigger or older. However, if you choose the proper light during portrait photography, then you have every chance of getting your very best photos.
The shadow on your face can spoil even the best angle. To prevent this, set the main light source in front of you, and make sure there is none behind you. Everyone with ring lamps can achieve good lighting nowadays. However, remember that natural light, whether from a window or outside, always wins.
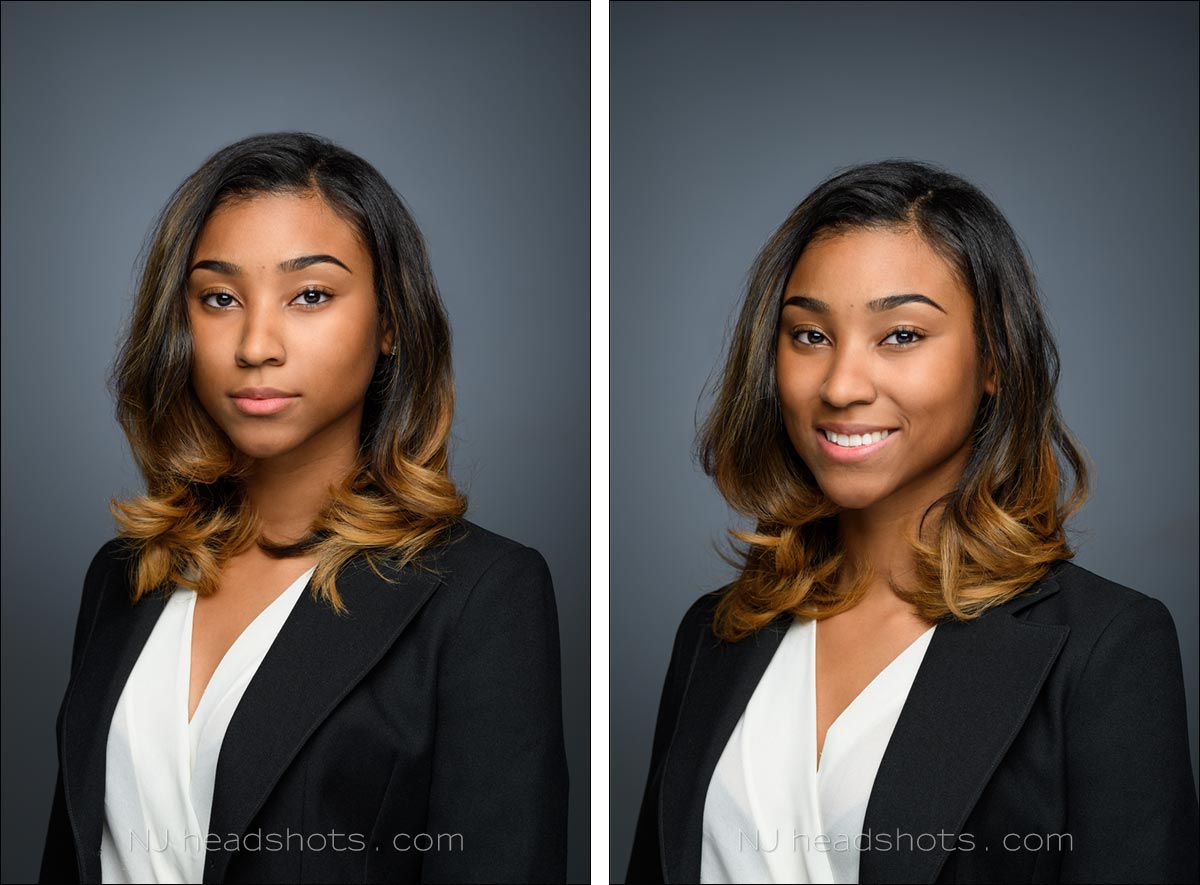
Depending on the emotion, we can smile in different ways, which means that you may like one of these smiles more than others. Try smiling in front of a mirror for a while, showing or hiding your teeth, to see which kind of smile suits you best.
Start to exercise in front of the mirror, trying all sorts of male or female poses. Don’t be afraid to look awkward – just play with emotions. This will help you find the right angle and understand exactly how you will look best in pictures.
To become photogenic, you just need to know the attractive portrait photo poses, picture angles, and little tricks to help you relax in front of the camera. To find your ideal combinations of all of the above, you need to play around with this and take pictures more.
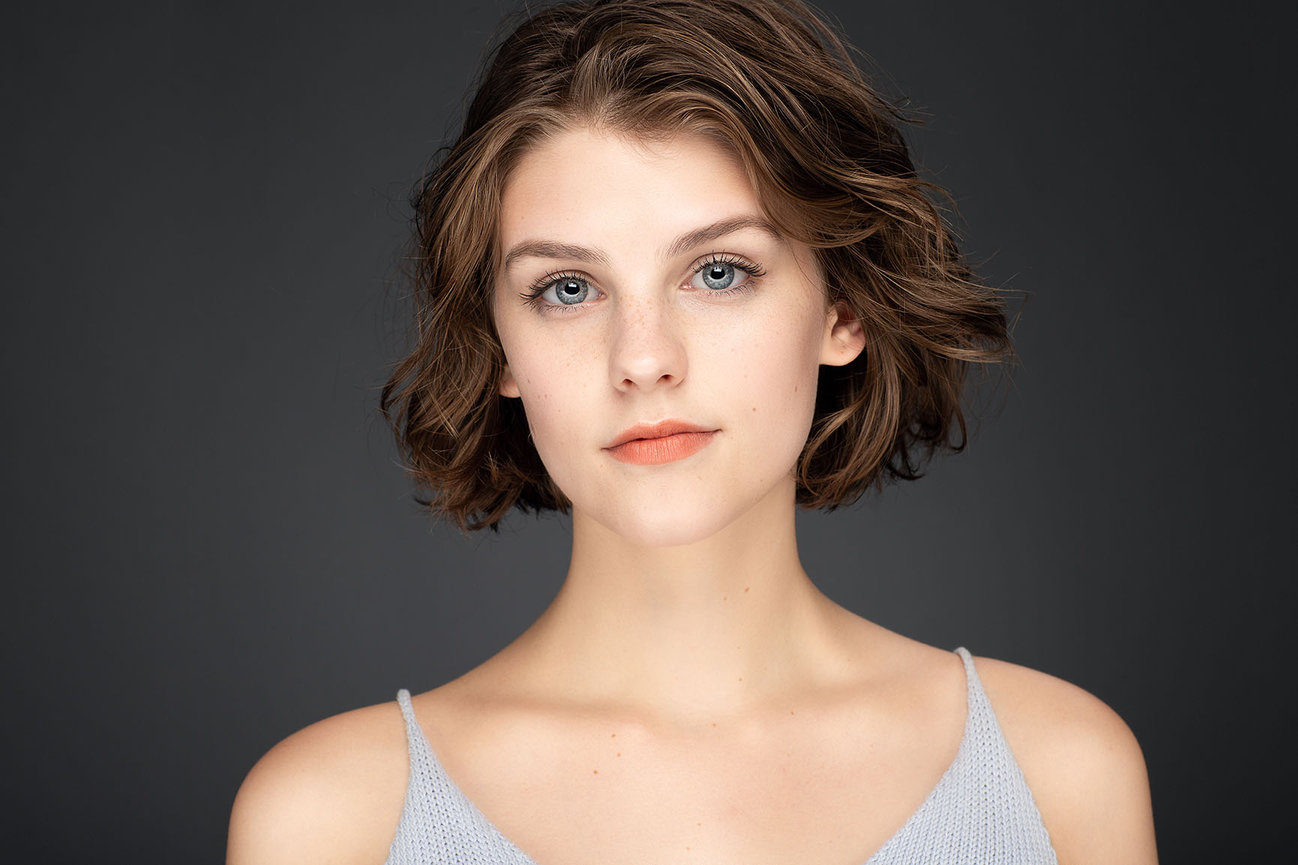
They are photos where the entire face is visible, including both eyes and ears. By having symmetrical facial features and knowing your angles, you can get amazing shots from this angle, which is considered the most eye-catching.

In staged portraits, you are unlikely to find many profile photos, but for candid photography, this is what you need. This pose assumes that the model’s face is at a 90° angle to the camera. As for gaze direction, it will be natural if the model looks ahead.

Realizing the most creative portrait photo ideas with a ¾ angle will be a breeze for you. Just take a frontal pose and turn your head slightly away from the photographer. Thus, the photo will show one ear and two eyes. You can turn your head in any direction, depending on which one you like best.

Your best angle for pictures could also be the more radical ⅔. To test it, turn your head even further away from the photographer than with ¾.
The most important thing here is to ensure that the tip of the nose does not go beyond the line of the far cheek. Don’t turn your head too much, otherwise, you risk looking weird and unsightly. Also, pay attention to your eyes in this pose.
Posing can be stressful and frustrating, especially when you have so many rules to follow while shooting. Once you’ve learned the basics of posing and mastered them automatically, you’ll be able to focus on more interesting and creative things and no longer worry about how to find your angles.
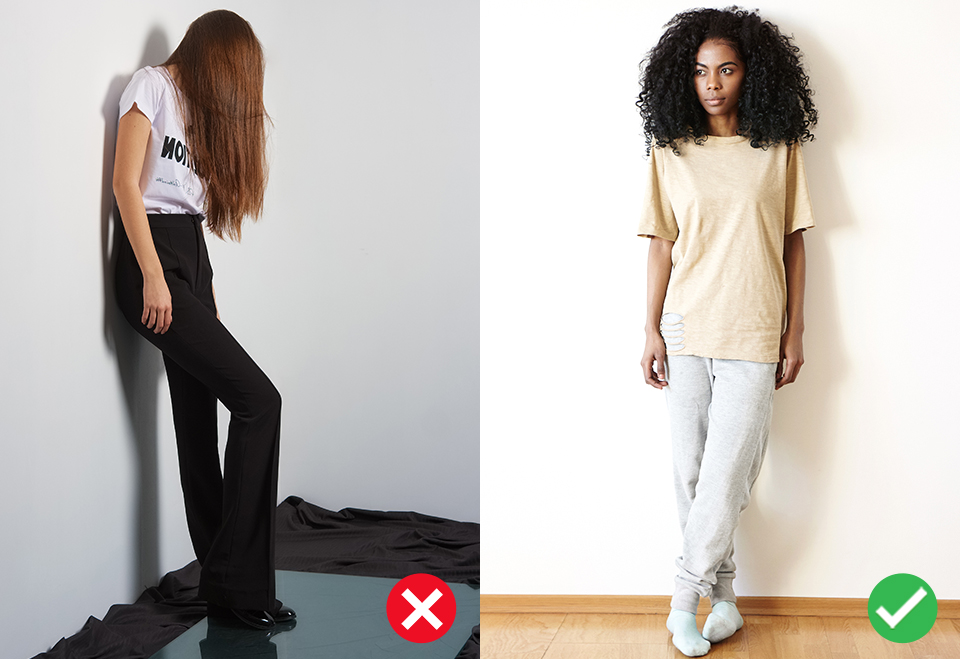
Women often fail to stand up when shooting full-length and ¾ portraits. Start with a simple, attractive pose, and then slightly shift the arms and head. Most women instinctively lean away from the camera. It would be better to do the opposite.
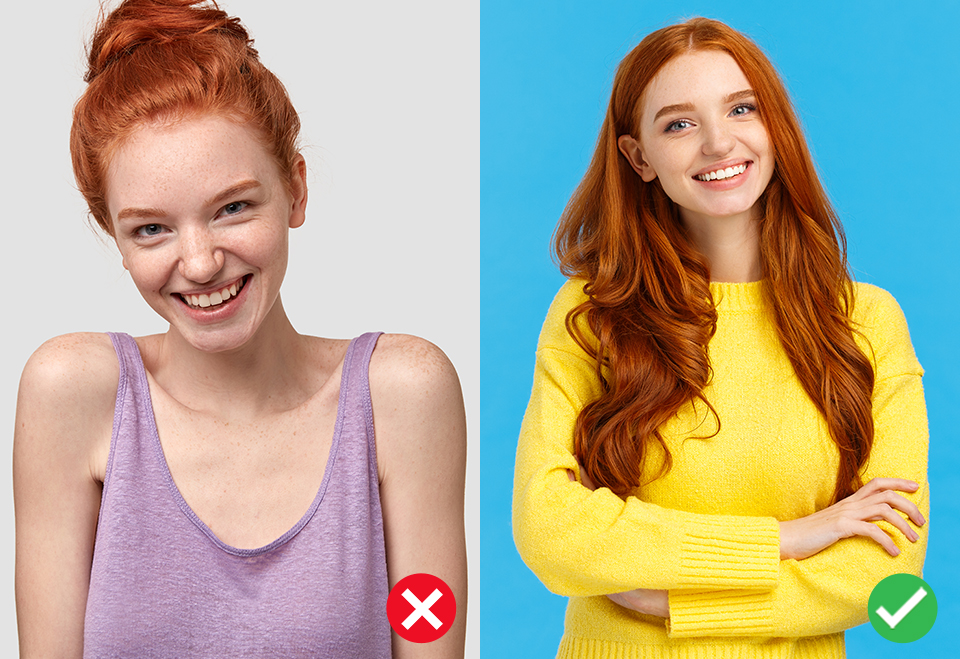
Never close your arms to your body, especially wearing short-sleeved or sleeveless clothes.
To slightly bend your arms at the elbows and take them away from the body, you can put your hands on your hips, put them in your pockets, throw them over your head, or hold a prop, clasp fingers behind your back, or lean against a wall.
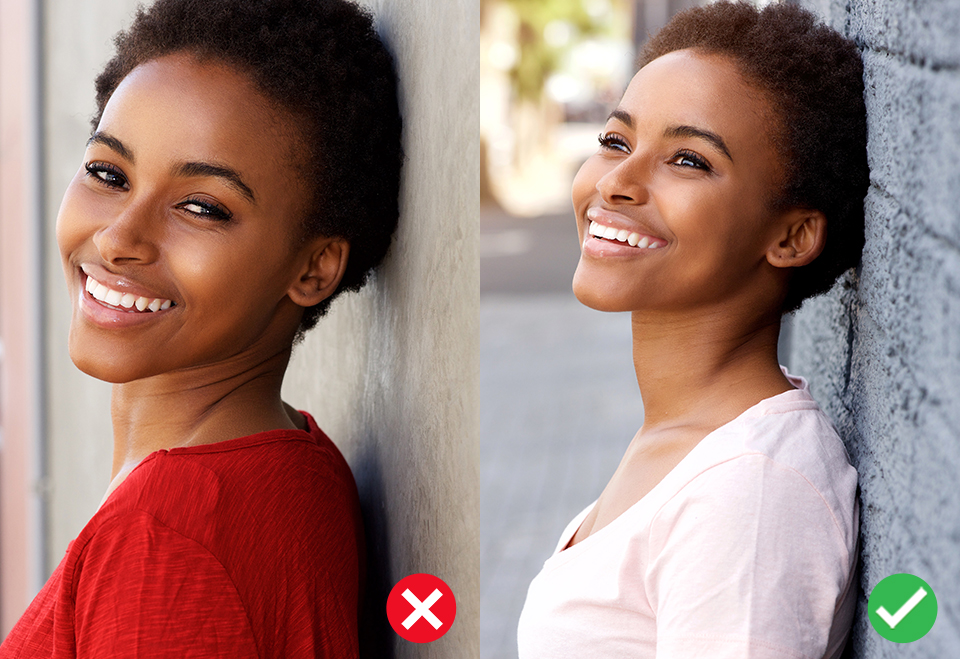
If the woman is turned away from the photographer, and she is looking over her shoulder in his direction, plenty of wrinkles will likely form on her neck. It doesn’t matter what shape or age she has.
To correct this situation, you can turn the upper body and shoulders more towards the photographer, so that the folds become less visible, and hide the folds of the skin behind the hair.
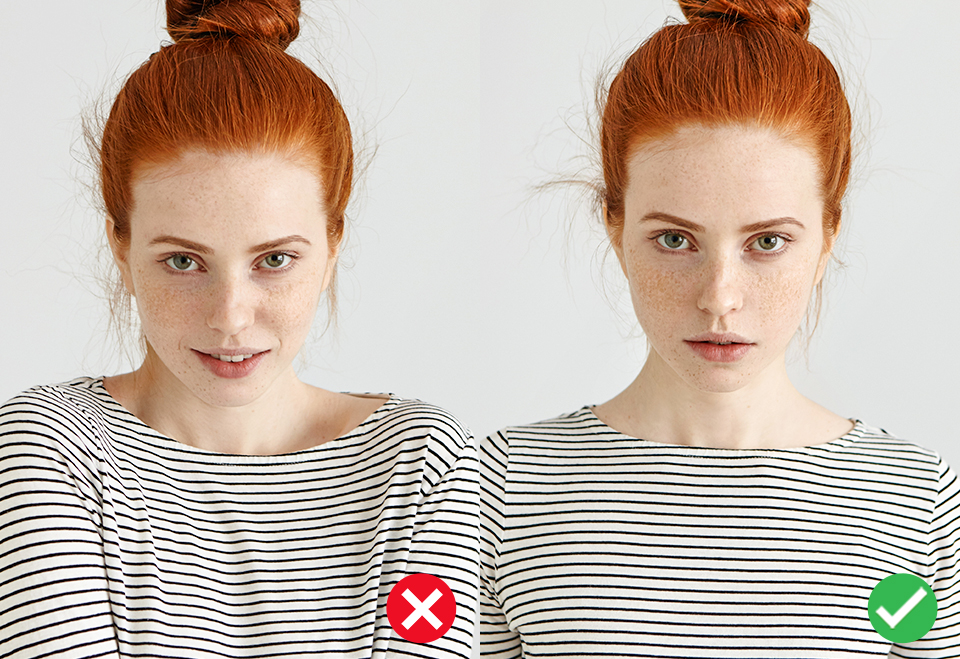
It’s better to avoid shots in which the woman’s shoulders are parallel to the plane of the shot. The shoulders are the widest part of the body, and our task is to “reduce” its width using angle tips.
On the contrary, a slight turn of the shoulders will “lead” the viewer’s eye into the frame and draw attention to the face. You can easily break this rule, but you should be very careful, especially if the model has a complex about her body.
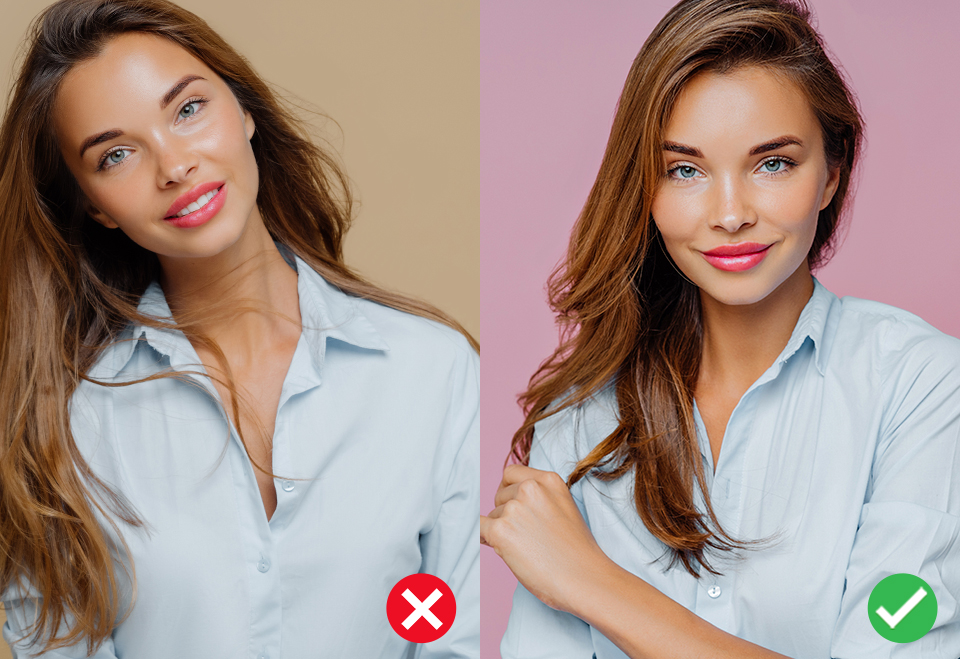
The tilt of the head, not compensated by the body action, looks too pompous and defiant. It is better to direct the chin towards the photographer.
Complete the tilt of the head with the gaze direction and corresponding movement of the body and hands. You should always ask yourself: “What does this posture express?”
Now that you’ve taken some compelling shots, after learning how to find your best angle for photos, and are getting into post-production, try these actions. Eliminating blemishes, fixing face tone, making hair neater, improving eyes and lips, whitening teeth, and applying eye-catching effects – they can do it all. The variety of effects is incredible, so finding the right one for any portrait will be hassle-free.
The ¾ angle can be called universal for most people. To try it on, first, look directly at the camera and then look away from it a little.
Do not consider one side less beautiful than the other. The fact is that one of the sides looks more symmetrical, while the other emphasizes the asymmetry of your face more. As a rule, the more asymmetrical you look in a shot, the less you like it.
Overall, the side doesn’t matter that much. However, there is a universal formula for angle. Raise your hand with the phone slightly above your head and tilt the camera down a little. This angle should be 45 degrees. This simple formula is half the battle for an eye-catching selfie.
Indeed, there are several angle tips during a group shot. First, turn your beautiful side to the camera instead of looking directly into it. Secondly, try not to be in the very center of the picture. As I wrote above, your emotions must be sincere and not feigned, a group shot is no exception. Also, don’t forget about your posture, because if you hunch over, you won’t have a chance to look compelling. It doesn’t matter if you are sitting or standing in the picture, you should do it with a straight back.
Sure! Such people dislike being photographed, as the camera adds either extra weight or extra years to them. However, there is also the opposite phenomenon, when people turn out to be even more beautiful in the photo than in life.
There is no universal pose that adorns every person, whether female or male poses. However, shifting your weight onto one leg will make you look more attractive. This is because, by distributing it evenly on both legs, your posture looks tenser, which is reflected on your face. Men look more photogenic when they stand at an angle to the photographer and put their weight on one of their legs. If you do it on the back leg, then you will look more relaxed, and if you do it on the one that is standing in front, then you will radiate strength and self-confidence. Women look beautiful looking straight at the camera with their feet on the same level. You can transfer weight to any of them. Also, try lifting your shoulder and tilting your head slightly towards it, this will look gentle and compelling.