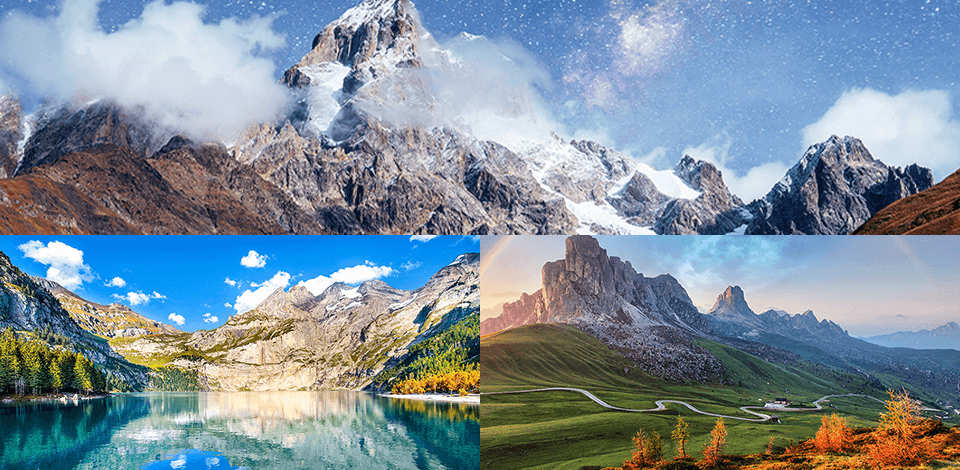
Now it’s high time for you to take dramatic, voluminous, and emotional images of the highlands. If you want to master this genre of photography, you need to learn special techniques and acquire skills to build a proper composition.

Hobbyist photographers often fail to take voluminous mountain shots. Besides, such images either lack light or are overexposed. In this article, you will learn how to avoid such mistakes and will discover many handy composition tips.
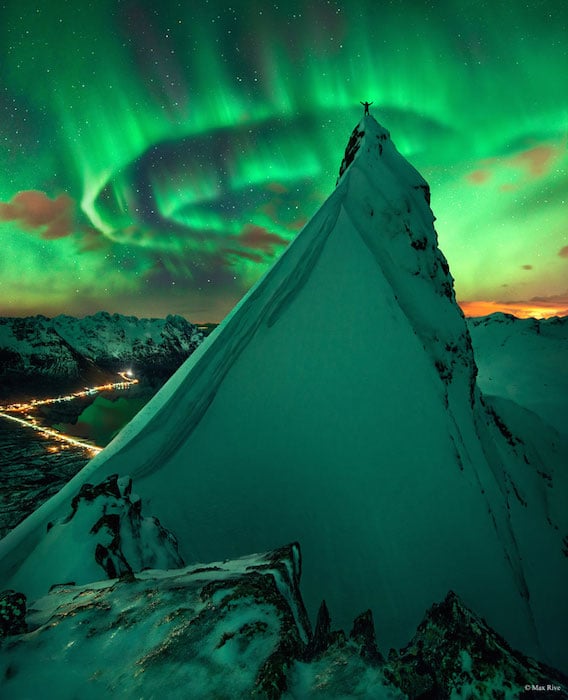
To take beautiful images in the mountains, think of when and where you would like to organize your photo session. For instance, if you want to capture Northern Lights flickering above the highlands, learn the exact place and time when this natural phenomenon is perfectly visible. Usually, Aurora Borealis is the brightest on September 21 and March 21.
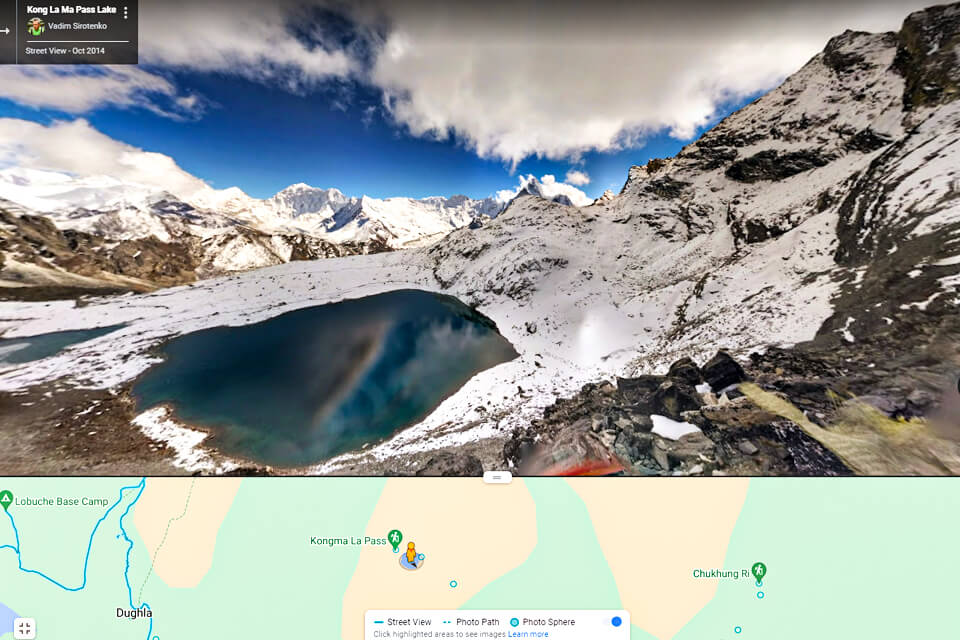
You can also use special mobile apps to discern how this or that mountain looks on a certain day and time. Google Earth, Photo Pills, and Sun Surveyor are the most popular options.

It is difficult to predict the weather in the mountains, so be ready to wait until the wind/rain calms down to take the desired photo. Experienced photographers claim that it is better to practice landscape photography in the mountains in cloudy or foggy weather.
To receive a bright shot, conduct a photo session in the morning or the evening. The daylight is too intensive, so you are likely to get overexposed and flat images on a sunny day. Photos of mountains in the moonlight against a starry background look gorgeous. But you need to purchase additional lighting equipment and practice a lot to convey the beauty of nature in your pictures.

Photographers who have already worked in the highlands know well that light there differs from what we are used to. For instance, the light that penetrates clouds at sunrise or sunset can reach mountain peaks only in several hours.
So, timing is crucial if you want to take images at golden hour. Clouds, weather, and season can affect the sunrise and sunset periods. For example, in winter, it takes longer for the sun to come up or go down, as it rises lower in the sky at a shallower angle.
One of the most useful mountain photography tips is to arrive at the destination several hours before the required time (1 hour before sunset). Otherwise, you run the risk of missing the optimal lighting conditions for your photo session. Note that the higher the mountains are, the sooner you get soft lighting. This rule works vice versa for sunrise.
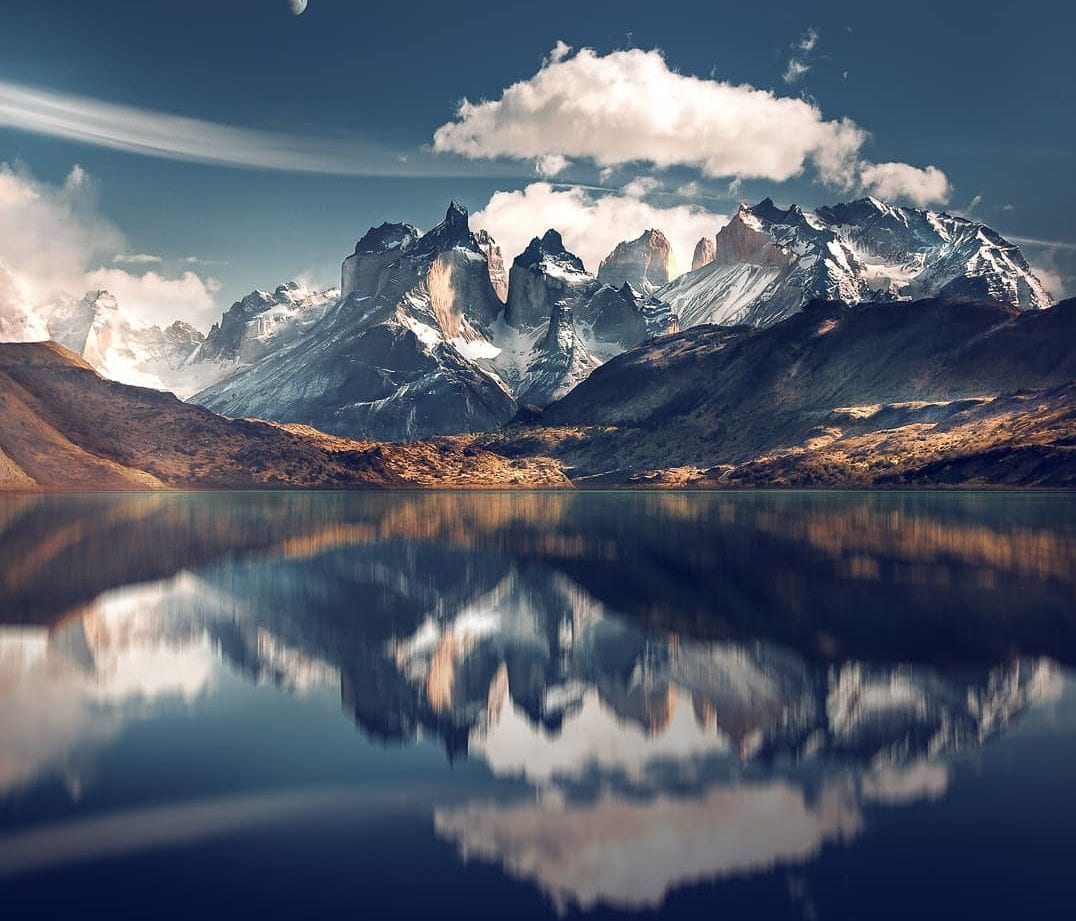
If you practice photography in mountains, it is better to use wide-angle lenses. Compose your shot so there is some scenery in the foreground and mountains in the background. This way, you will get the effect of a mountain hovering over the ground, while the base will appear more massive than the top.
Before taking a shot, make sure that the foreground scene carries a certain meaning and is interesting to look at. A flower valley, a lake, or a stream flowing down a mountainside add some depth to photos and create leading lines.
When photographing the highlands, always check whether the mountain peaks get in the frame. Besides, make sure there is some space above the mountain. If there is the sky as a background, it should occupy approximately a quarter of the frame. However, if there are clouds of interesting shapes, a rainbow, or beautiful stars, they can occupy the third part of a shot.

The idea of capturing so-called negative space in photos of mountains is quite popular among photographers. Try to photograph a single mountain against a clear sky to create a dramatic and emotional composition.

To show the majesty of mountains, juxtapose them with smaller objects. For example, you can ask a person to pose again cliffs. Make sure that a model wears something that creates color contrast. Besides, choose the proper distance.
If your subject stands too close to the camera, you will fail to convey a sense of scale. If a model is too far, your camera will only capture a colored spot.
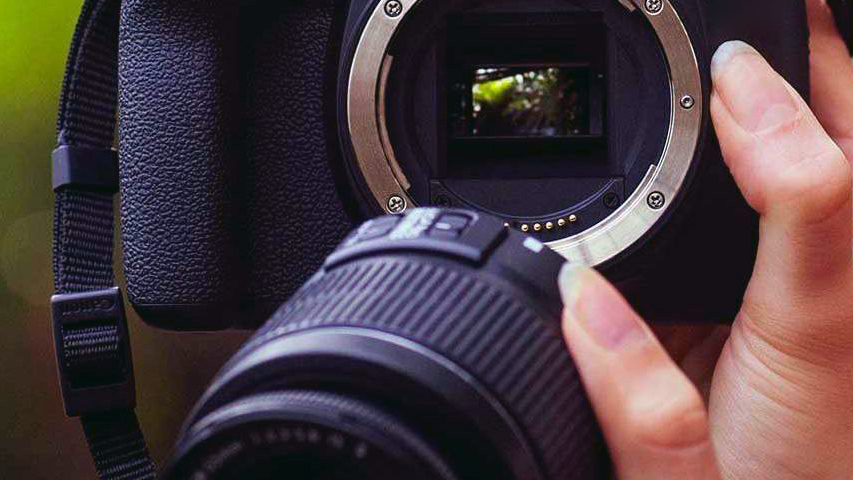
Experienced photographers take pictures of mountains in the 300-600mm range. Of course, they use lenses for landscape photography that provide an extra sharpness, but their added light-gathering capabilities are not that impressive. Carrying a bulky 500mm prime lens to the mountain top is very tiring. So if you favor Canon cameras, opt for Canon EOS & Rebel Series 2X Teleconverter. It allows extending the range of the longest lens you have.
For instance, with a 1.7x teleconverter, you can turn a 70-200 mm lens into a 340mm lens. The market offers 150-600mm zoom lenses that deliver quite sharp pictures for the range they offer.
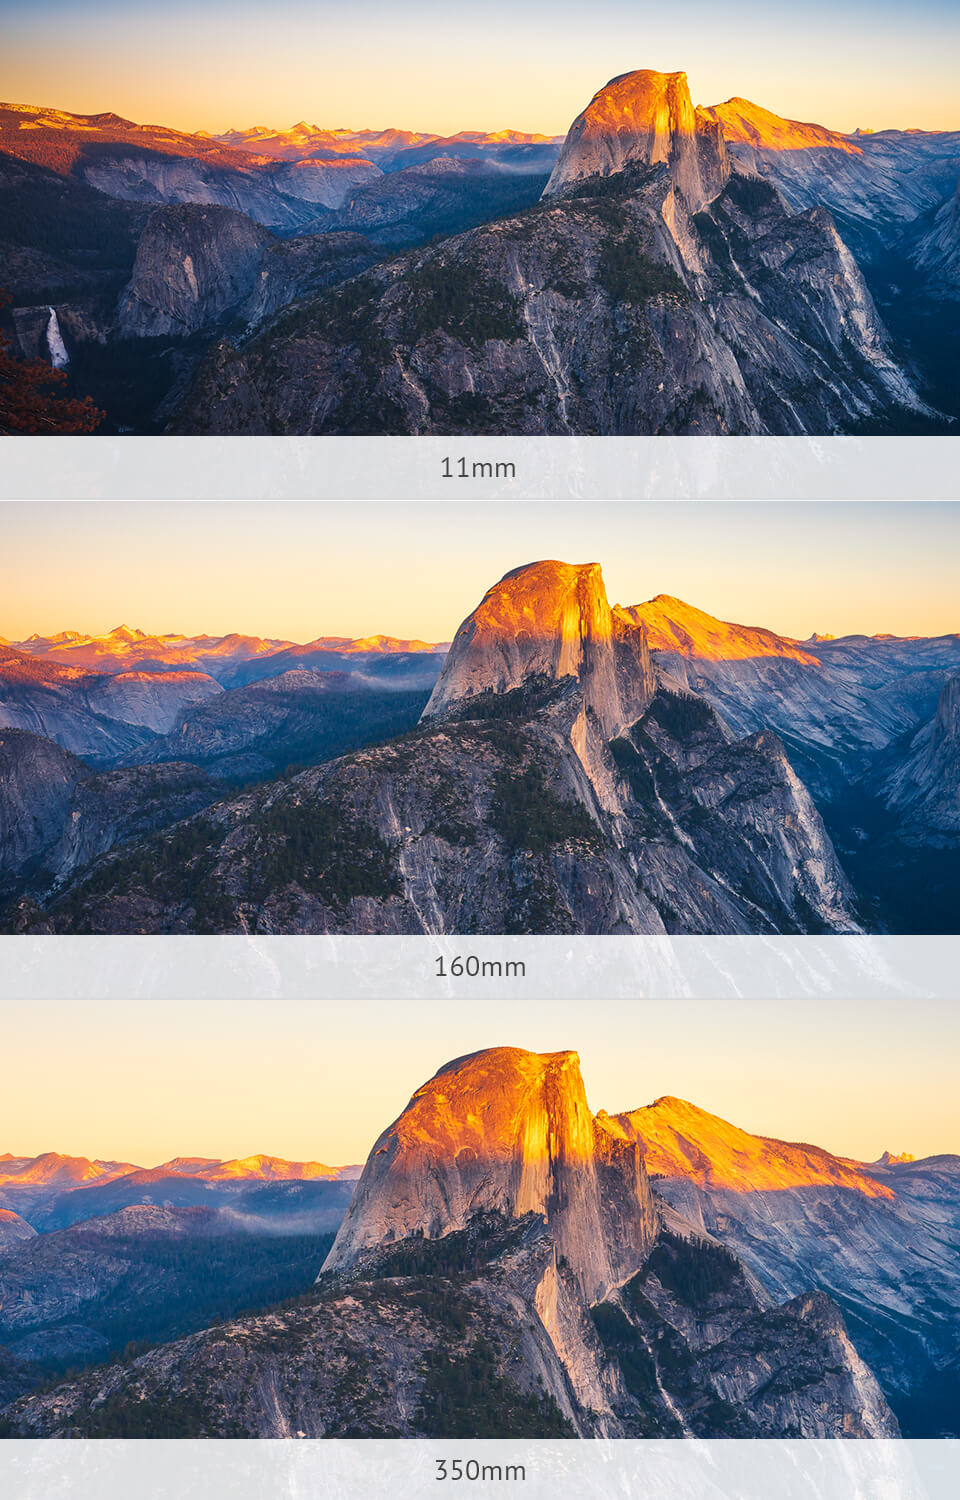
If you want to show the texture of the mountain or emphasize specific details that are far away, take pictures at a long focal length. It is generally recommended to use a wide-angle lens like Canon EF-S 24mm f/2.8 STM.
However, I suggest you select a long telephoto lens, which has equal or even better specs for capturing impressive pictures of the highlands. A lens with a 100-500mm focal length can increase the field of view greatly and let you capture magnificent scenes with different layers and details.
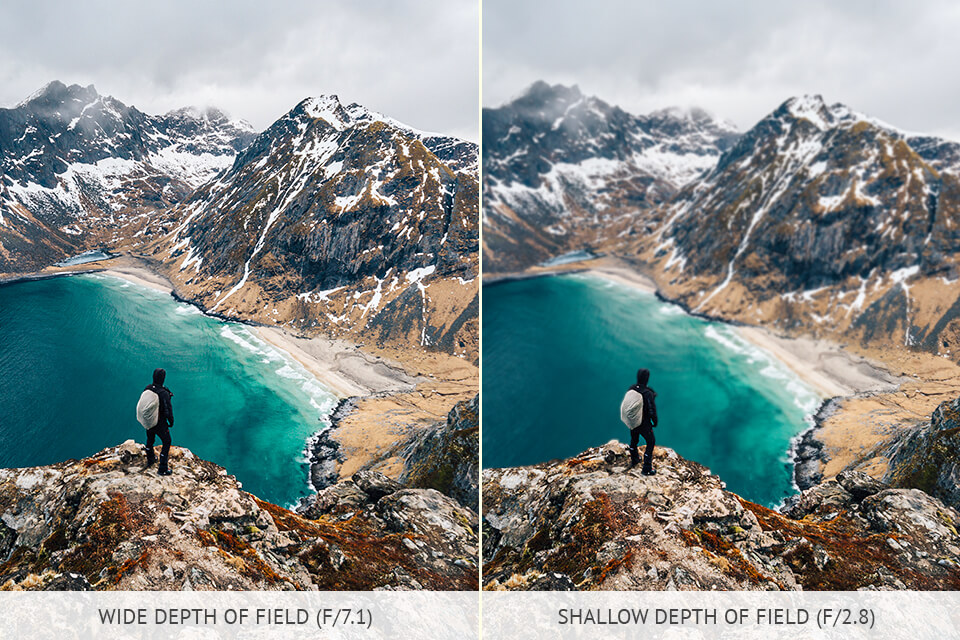
To increase the depth of field, you should use a narrower or smaller aperture. There isn’t a universal aperture. So, when adjusting this parameter, you need to consider the lighting and shooting conditions. Are you going to use a tripod or take a picture handheld? Usually, photographers set f/7.1 or higher to take a picture of mountain. The right aperture settings are very important, especially when capturing dynamic and detailed mountainous sceneries.

Contrast in photography of mountains is necessary to take voluminous and interesting pics. It is possible to get the maximum contrast using a circular polarizer filter.
When photographing opposite away from direct sunlight, you can adjust the contrast level and color scheme of your images by a quick twist of a CP filter. Besides, you can control glare and reflections in your mountain images with ease.
This collection of presets for editing landscape photos is a great find for beginning editors. With these filters, you can adjust contrast, white balance and temperature, add light, and correct colors with just a few mouse clicks. Just import presets to Lightroom and apply them to your shots.


