Want to make your phone photos look like they were taken with a professional camera? You can achieve this by knowing how to set the various parameters of your smartphone correctly. I have dedicated this detailed article to the secrets of smartphone photography that will help you improve your skills and take your photos to a completely new level.
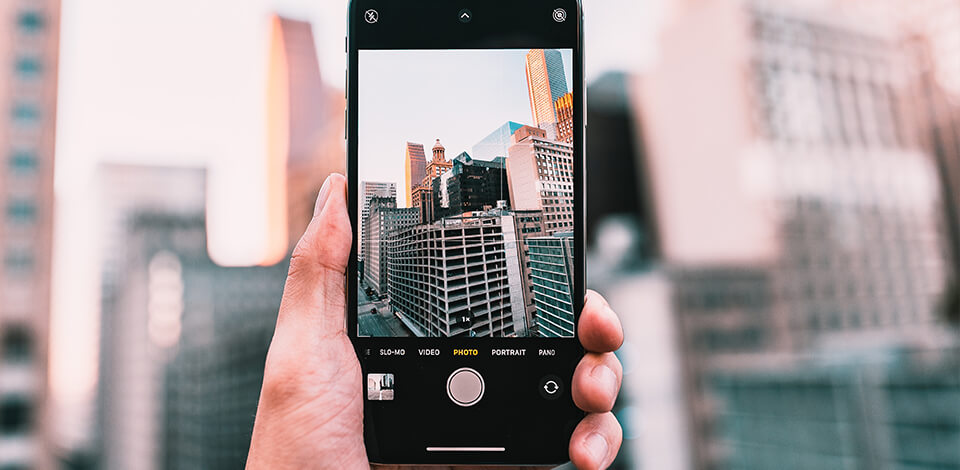
The key to a successful shot is the ability of the photographer to react quickly to capture the scene before it changes. All you need to do this is to know the shortest path to your camera.
If you prefer phones on the Android operating system, then most likely you just need to double-click on the power button. iPhone users will need to quickly swipe up on the screen or press the camera icon hard. In any case, just study all the shortcuts on your device to be ready to capture any event around you.
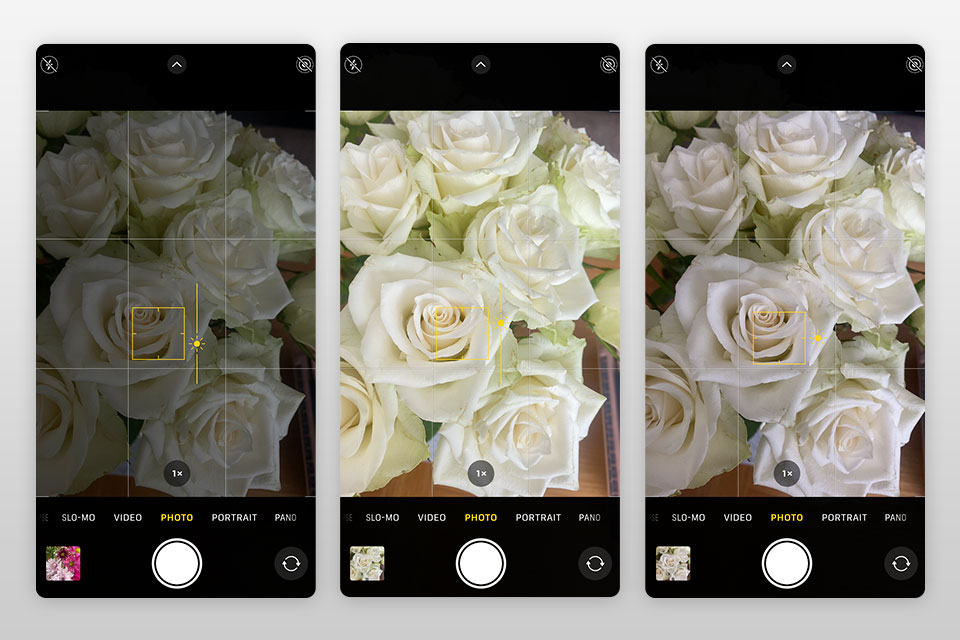
Camera phones are designed to expose dark, dimly lit objects against a light background. That is why it makes sense to set the exposure manually to avoid awkward shots due to default settings. By touching the screen using the camera, you can change the focus of the picture, but that’s not all. This is also used to automatically adjust the light transmitted by the camera lens. However, this is still not enough for good photography with smartphone and I advise you to do everything manually.
To do this, go into the camera, and tap the screen as if you are going to change the focus. After changing the focus, you will notice a small sun icon and a vertical scale. By lowering or raising this scale with your finger, you can adjust the lighting. Thus, your smartphone will understand what to build on, and you will take care of proper lighting and brightness of the frame, restoring the necessary details in the photo, especially in its dark parts.
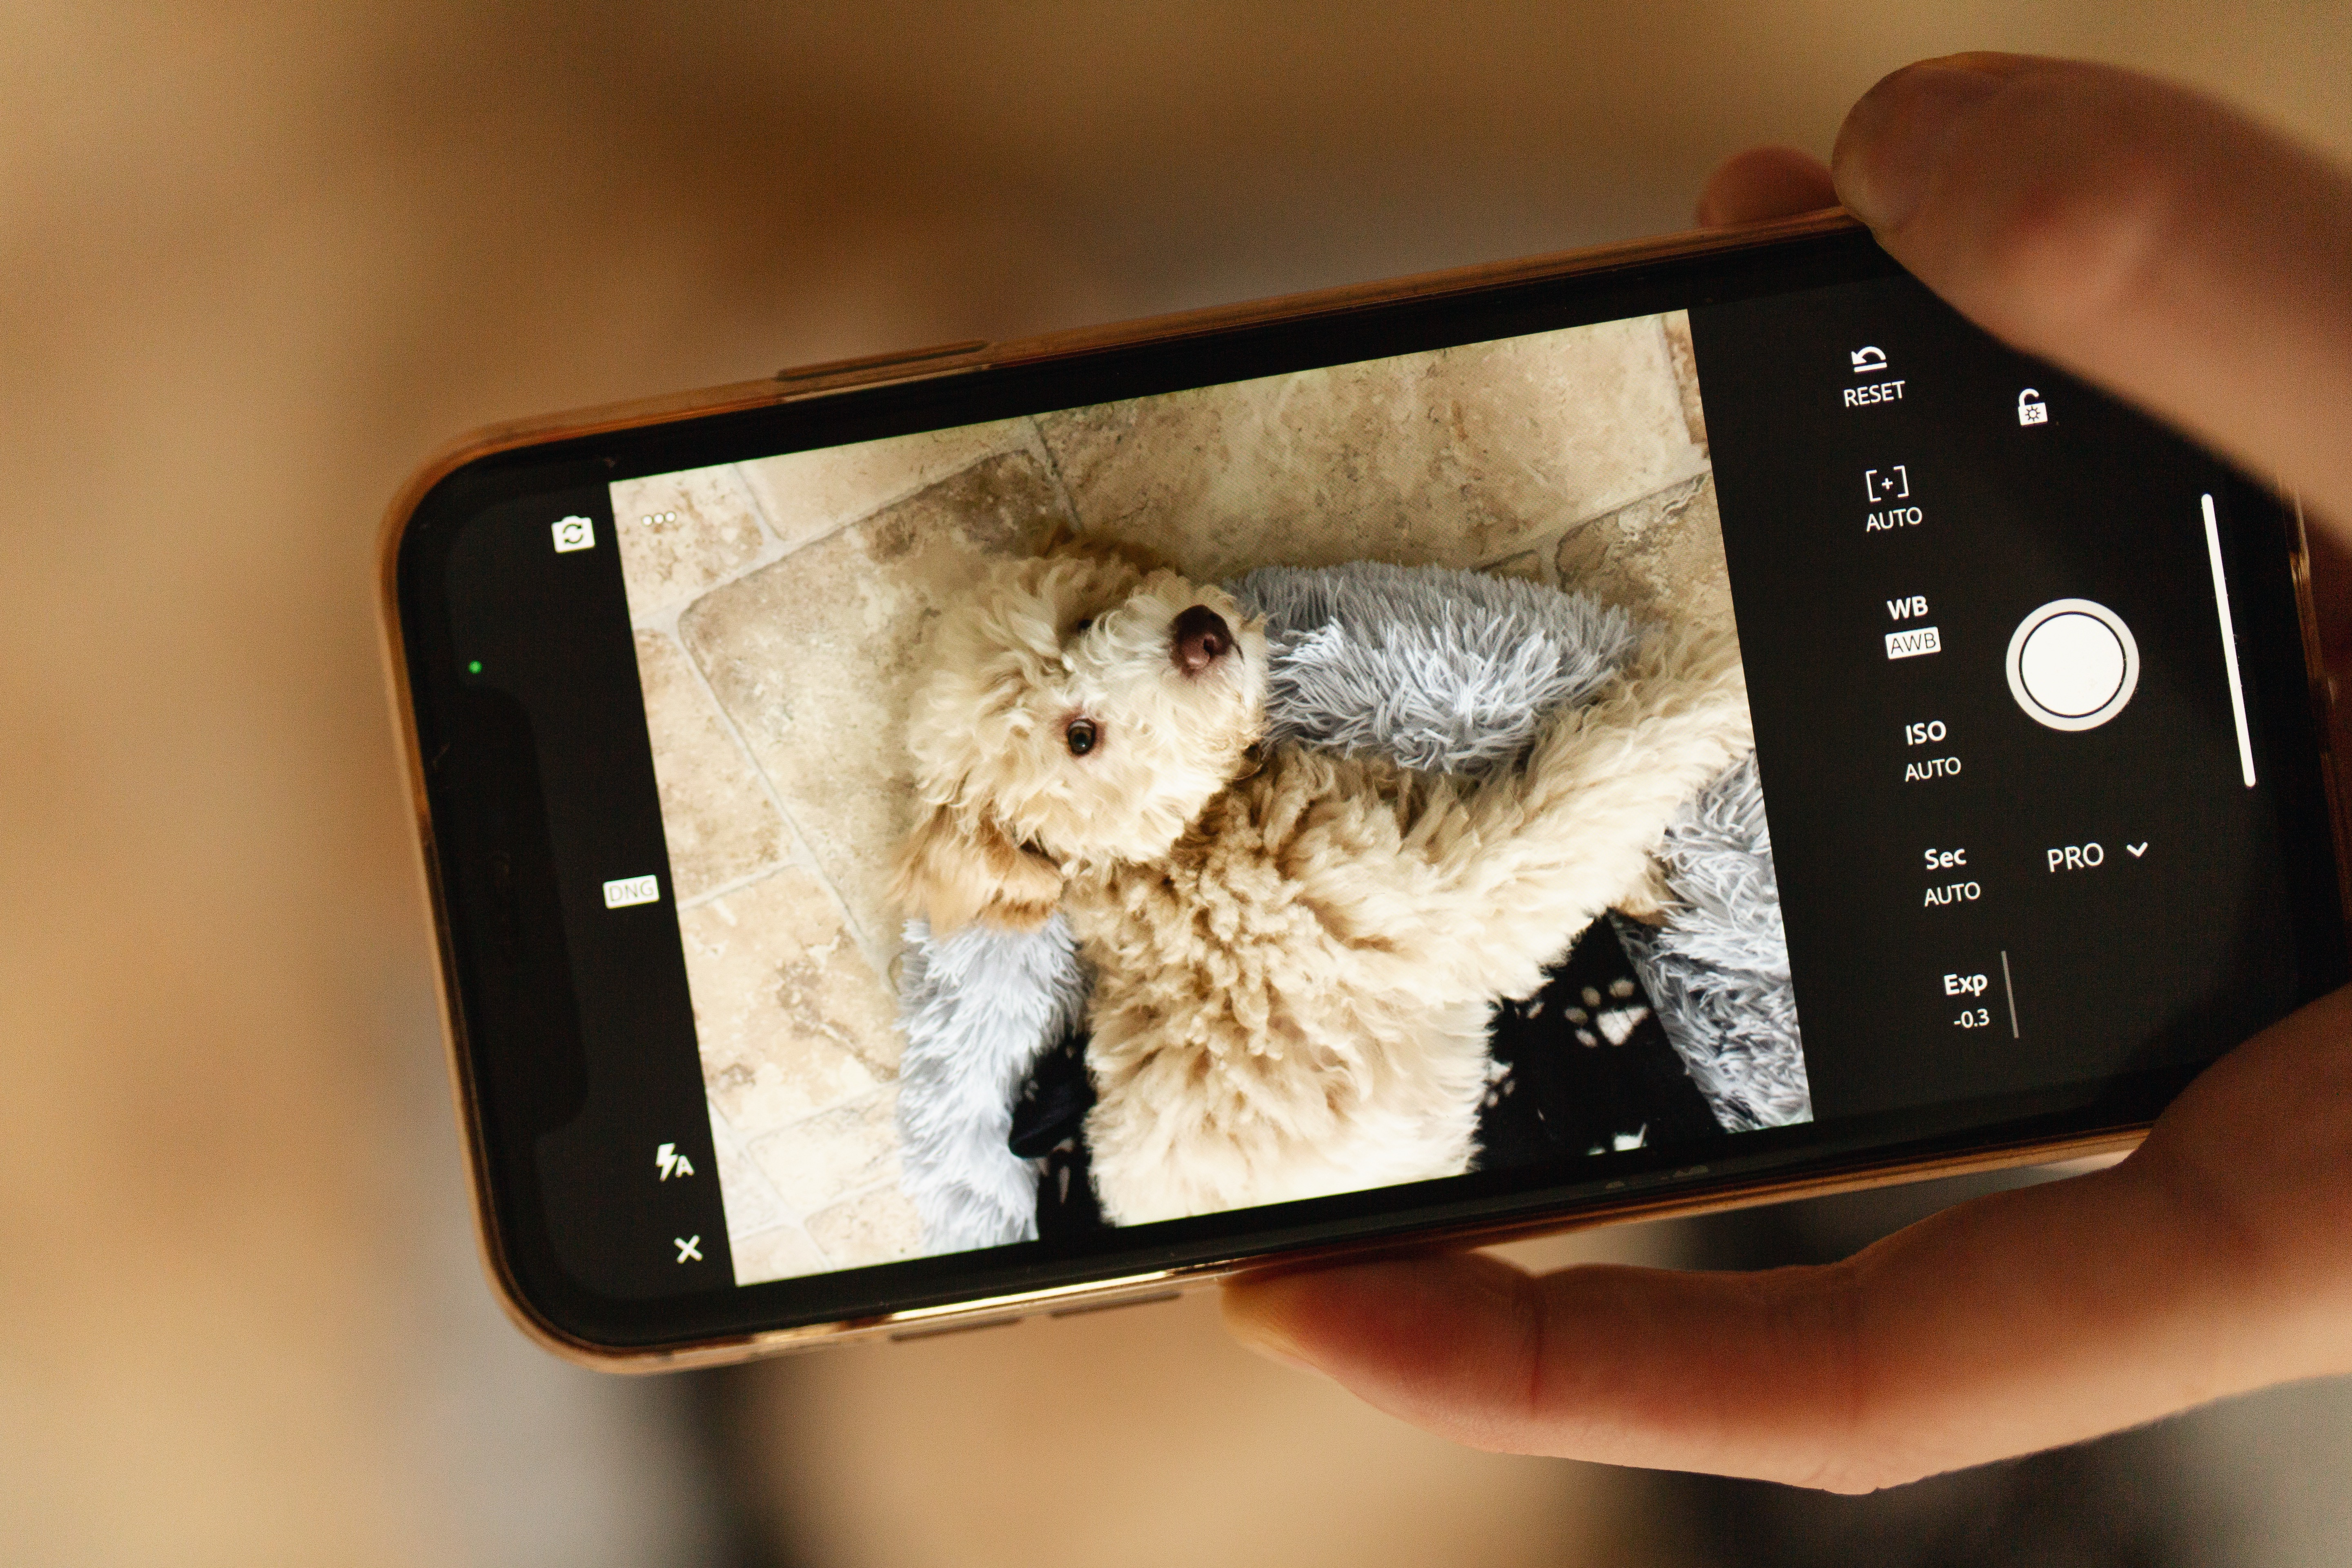
The RAW image format is used for lossless compressed images. It carries much more data than, for example, a lossy JPEG. By editing a photo in RAW format, you can enjoy a wide range of possibilities. Exposure and white balance adjustment, color control, highlight & shadow restoration will become more flexible.
However, you will have to sacrifice the free space of your device for such advanced features, because the RAW file takes up a lot of space. Also, your smartphone camera may not come with a RAW format option. To get around this hassle, install the Lightroom mobile app, which offers lossless, compression-free mobile phone photography and pro-level editing.
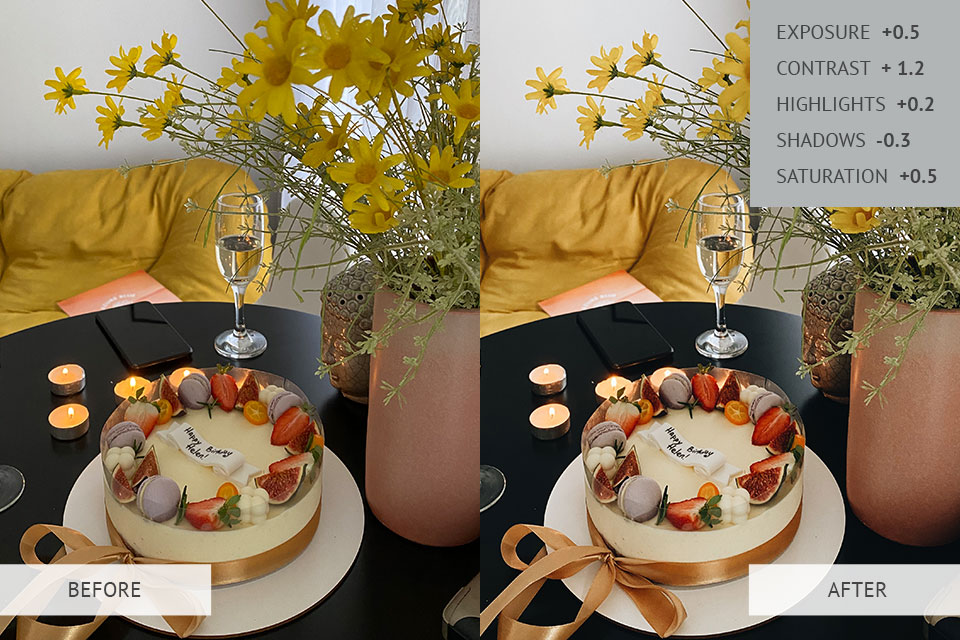
To spice up and beautify your photo, or change its size and format, try different filters and effects in free photo editing apps. All this can be done in Snapseed, VSCO, and other popular photo editing apps for Android and iPhone. If you’re interested in more in-depth photo improvement, try the Lightroom mobile app.
If you don’t want to learn how to edit images and want to immediately achieve results like your favorite bloggers, entrust this task to real pros. They can enhance colors, remove imperfections, and do any manipulation to achieve creative results. They can also copy the editing style of your favorite bloggers.
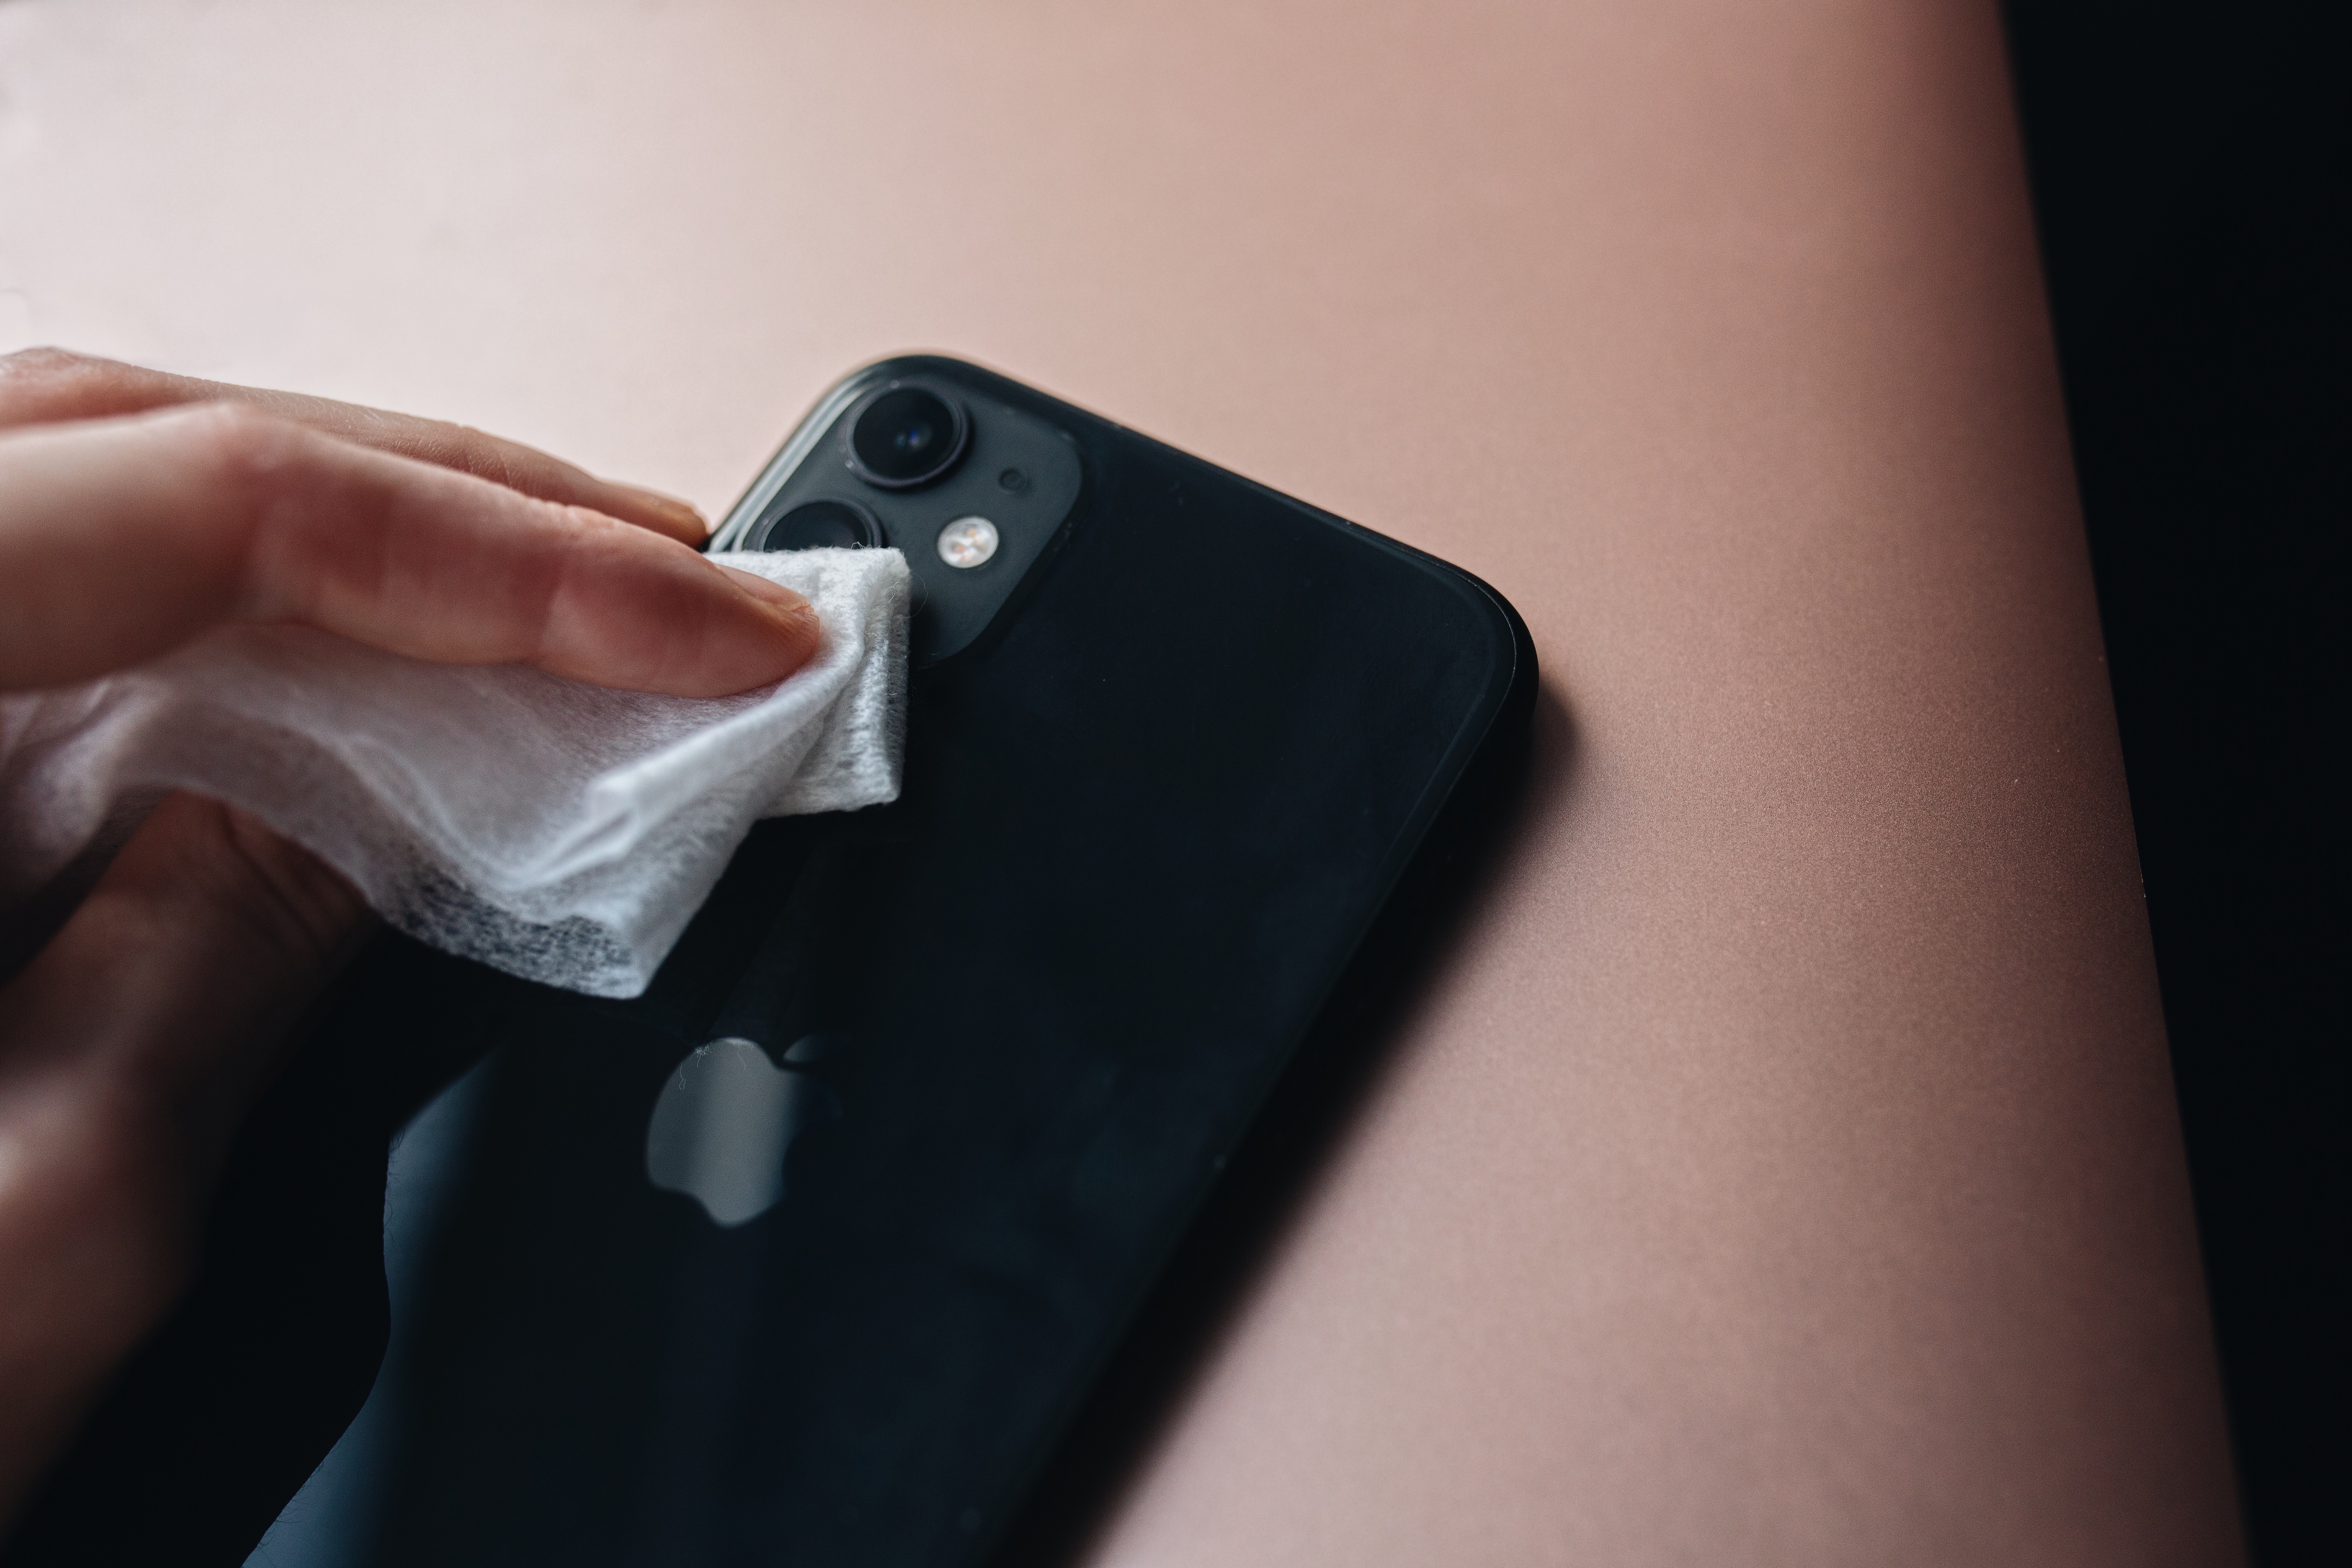
We often overlook something as simple as cleaning the lenses of your camera, and it makes a big difference in the quality of photography with mobile phone. If you notice that the lens is dirty while outdoors, simply wipe it with a cloth, however, when you are at home, be sure to thoroughly clean it. The special lens cleaner kit does an excellent job with this challenge.
A smartphone is a thing that we hold in our hands most often during the day, thereby giving it all the natural oil produced by our body. It is where the surrounding dirt and debris stick, and this combination causes dirty highlights and smudges in our photos. To keep your phone shots crisp and clear, properly clean your lenses every few weeks.
It often happens that you want to capture something from afar and your hand reaches out to zoom it in. However, I strongly recommend not to do this, otherwise, you risk seeing graininess, blurring, and pixels in your image. Don’t be lazy and get closer to your subject – it’s easier than taking the picture again. Alternatively, you can take a closer look at special zoom lenses for smartphones. They will help you capture a beautiful scene from afar without ruining the quality and clarity of the photo.
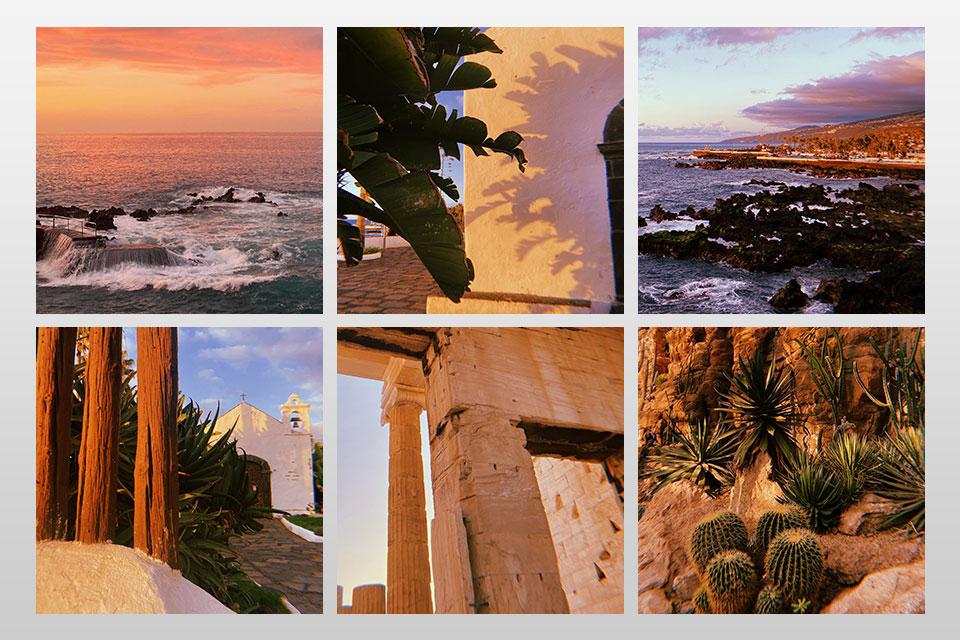
Most photography tips also apply to mobile photography tips, and gold and blue hours are no exception. These terms refer to a short period of the day before sunrise and sunset. They give a soft, magical effect to your shots, as opposed to the rough daylight sun leaving very crisp and dark shadows on everything.
Golden hour photography will brighten your shots with a reddish soft light, while blue hour shots will look slightly cold, bathed in a bluish gentle light.
What is difficult to experiment with when shooting on a phone is perspective. However, you can also circumvent this by using additional phone camera lenses. Models such as fisheye or macro have every chance to diversify your photos and give them interesting new angles.
The great advantage is that carrying them with you all the time is no problem because they are very small and lightweight. I advise you to take a closer look at the KEYWING Phone Camera Lens 3 in 1 Phone Lens Kit, as they have won the hearts of many photographers.
If you want to expand the range of angles and ideas for your photos, try using an iPhone tripod. This uncomplicated tool, combined with a remote shutter release, is a real boon for those who are in pursuit of the clarity of their photos.
It will help you a lot when implementing such mobile photography ideas as time-lapses, photo shoots at night, or with long exposures. I recommend you Joby tripods – they have become popular due to their versatility and ease of use. If you’re not sure you’ll be using this tool often, try the DIY iPhone tripod first to see if you need it. Additionally, for on-the-go stabilization, exploring the option of the best phone gimbal can further enhance your mobile photography experience, ensuring smooth and professional-looking shots.
If you are a fan of minimalist photography, then try negative space photography ideas. This term refers to shots where there is a large amount of empty space around the main subject. In other words, the effect of positive space or the main focus is achieved due to this empty space around.
This way, your photo will look light and uncluttered, giving the viewer’s eyes a little break, and pleasing him with something weightless and inviting. These shots have a strong effect on viewers, as by including a lot of unoccupied space in the shot, you make your central subject stand out.
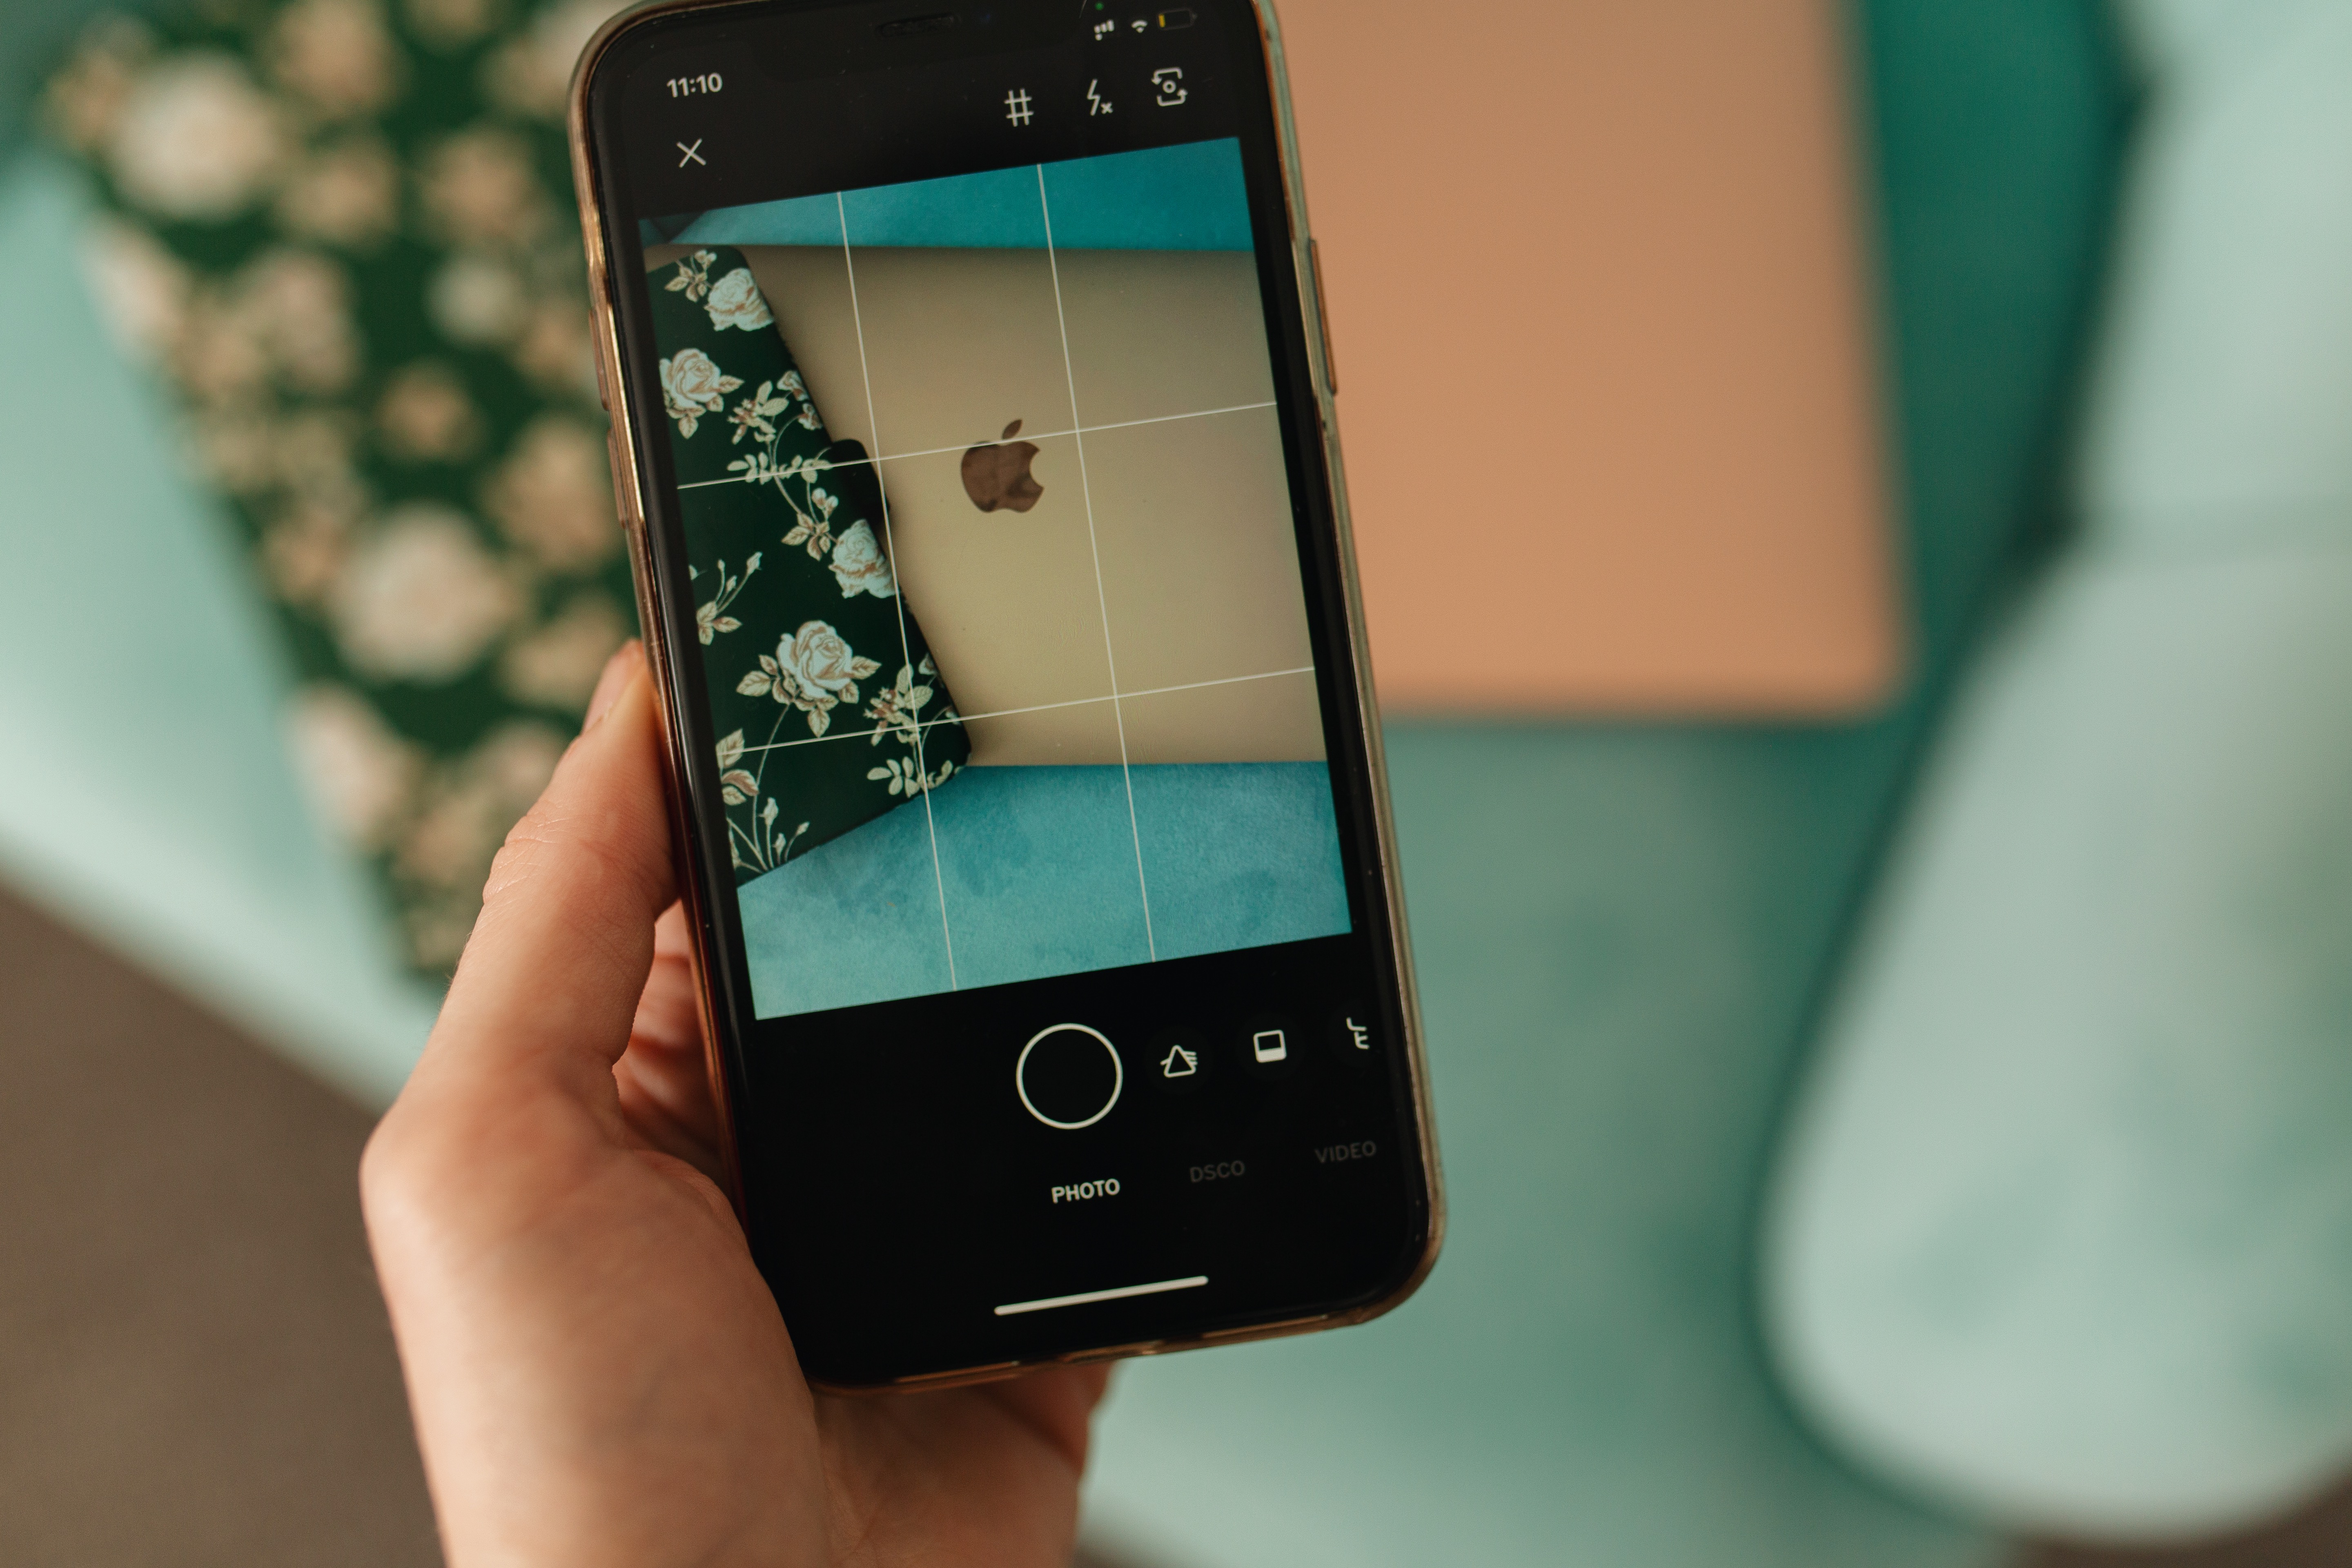
Perhaps the simplest yet most effective way to make your smartphone photography look more professional is to take care of the composition by turning the camera grid lines on. By doing this, you will always have lines in front of you on the camera screen. They will help you adhere to the rule of thirds in photography, which says that the photo should be divided into horizontal and vertical thirds. Thus, you will have nine cells at your disposal.
To be specific, all you need to do is to place your subject in the frame in such a way that its points are at the intersections or along these lines. This will give the shot a pro look with the balance it achieves by adjusting to the eye of the viewer. To turn on the grid, look in the camera settings for the Grid option.
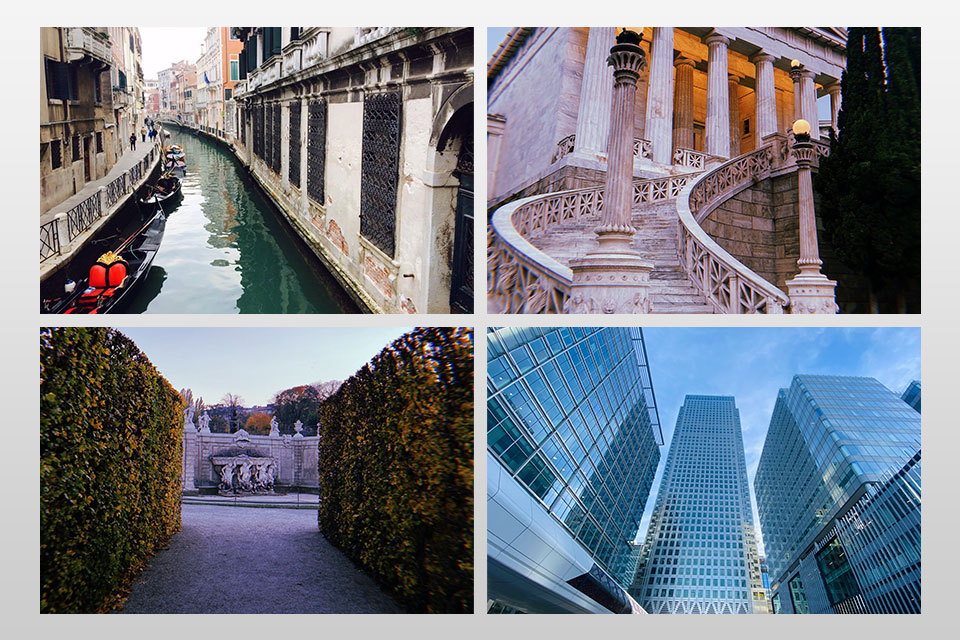
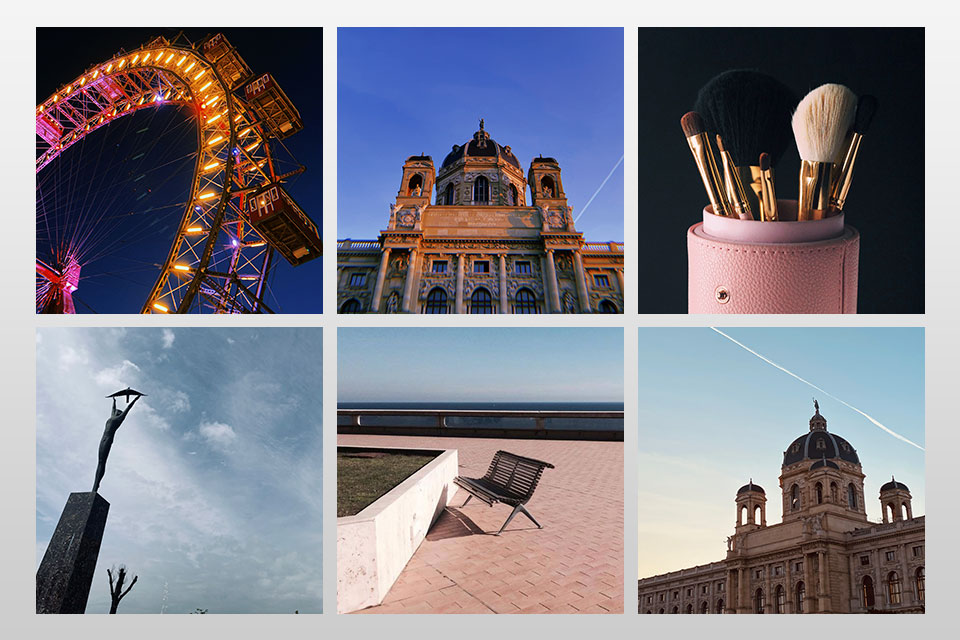
Another easy way to make your shot attractive to the viewer is to use leading lines, whether straight or circular. More specifically, buildings, roads, or even some objects such as furniture can serve as such guides for you.
If you are photographing a model, she may stretch her arms up or to the sides, if you are photographing a street, capture a road sign in the frame, and so on. Try to always look for and find such lines, and once found, adjust the scene so that this line leads to your central object. These shots have a particularly pleasing composition.
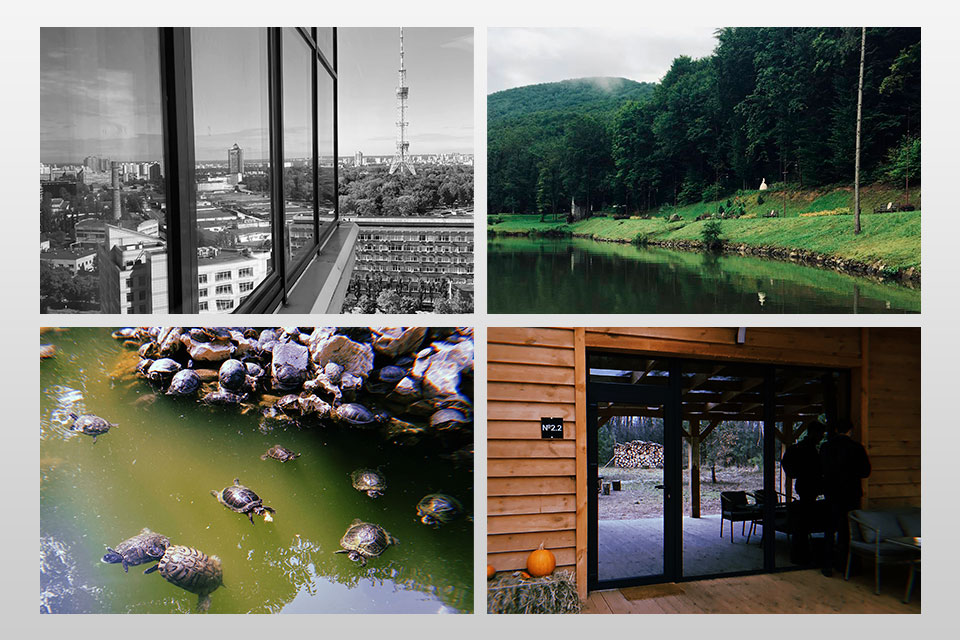
Mobile photography ideas can be simple to implement, such as reflection experiments. The only difficulty that can happen is to find such a reflection. Pay attention to everything around you, such as puddles after rain, because even they can give your picture special magic.
If there is a pond nearby, be sure to take a walk to it to capture beautiful scenes of the city or mountains in its reflection. If the wind creates ripples in the water, it will give the picture an abstract look. Also, don’t forget the windows of buildings or simple sunglasses – anything that has reflections can help you create great reflection photography.
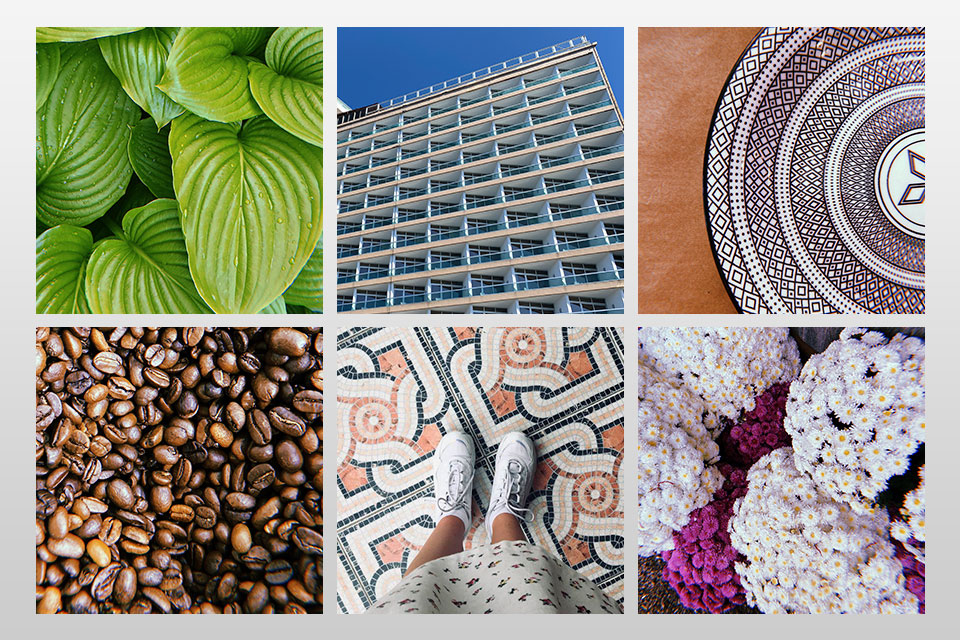
Repeating patterns of crisp visuals can be another embellishment to your shot. It can be geometric shapes, different colors, lines, or shapes. Repetition in photography creates an unusual vibe and has an impressive effect on the viewer. Therefore, a neat tiled floor or brick wall can come in handy during a photo shoot. Even more spectacular are natural or unintended patterns, such as congruent fire escapes.
They not only enhance visual interest but also contribute to a cohesive and harmonious aesthetic.
Repetitive elements offer a storytelling tool, emphasizing the symmetry and order within chaotic urban scenes or highlighting the natural beauty of landscapes. By recognizing and emphasizing these patterns, smartphone photographers can turn ordinary scenes into visually compelling narratives, adding depth and intrigue to their imagery.
So, next time you frame a shot, pay attention to the repeating elements around you—they might just be the key to capturing a striking and memorable photograph with your smartphone.
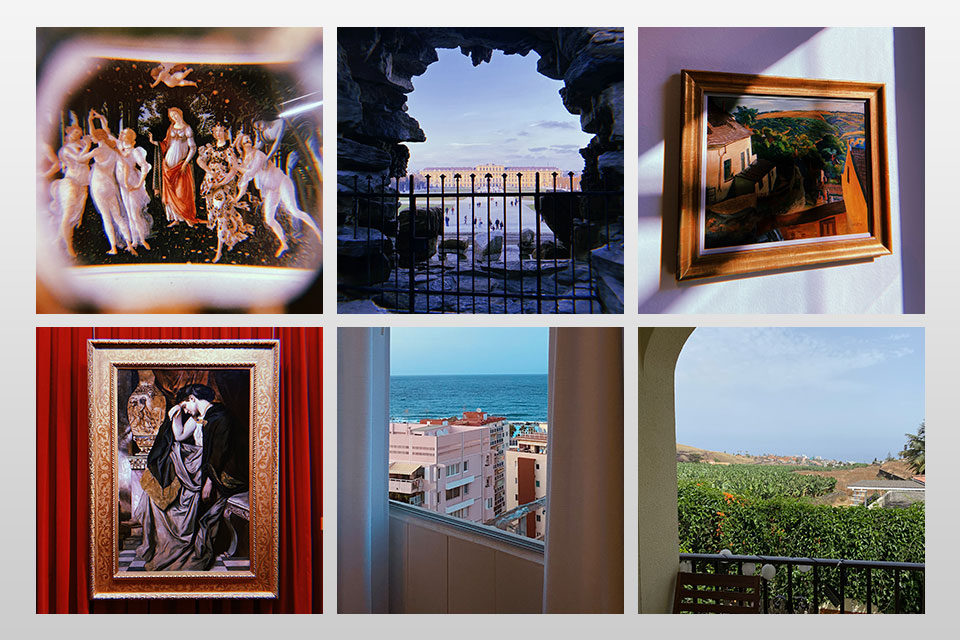
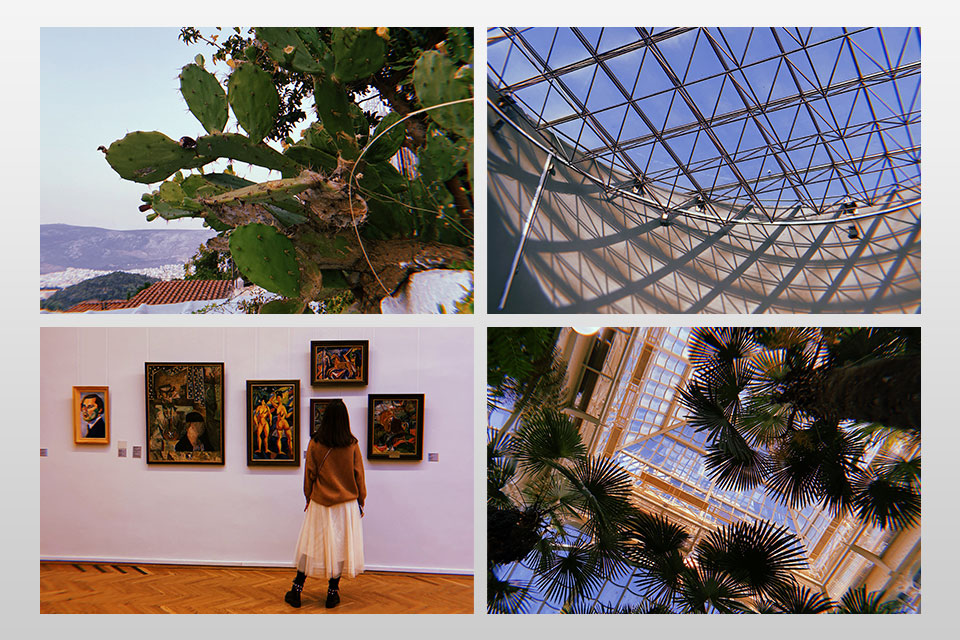
If you want to work on perspective and are looking for something that will take your viewer where you want to go, try different framing options in mobile phone photography. This will deepen your photo and bring order to the composition. If we talk about specific examples of framing in photography, then just look around – trees, flowers, and other elements of nature will perfectly cope with this task.
However, it can also be architectural details such as doors and windows, bridges and stairs, streetlamps and fences, and so on. With more effort, you can achieve this effect with light and shadow, which will look especially impressive.