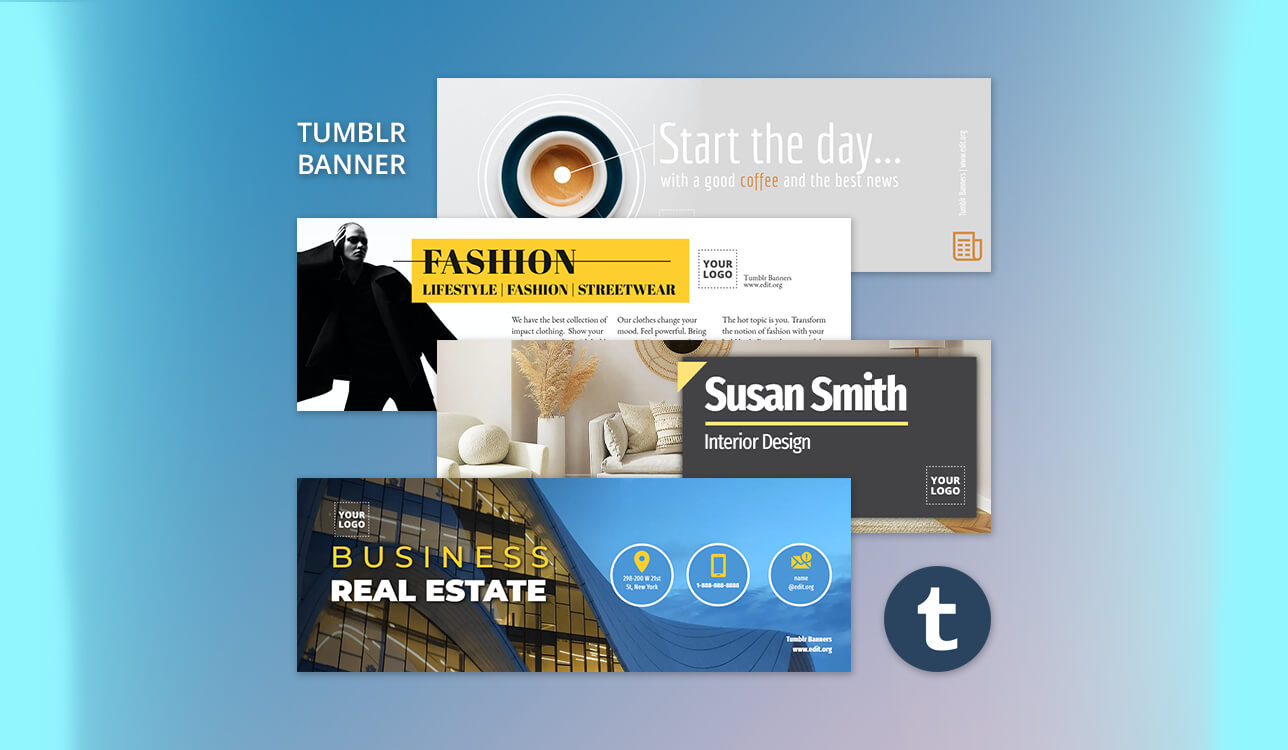
When working on my blog designs, I did not pay a lot of attention to Tumblr banners at first. However, when I started to update headers more often, I realized that a person’s first impression depends on them. Before one reads a post, a banner already creates a certain mood, be it calm, bold, or nostalgic.
I tested 15+ Tumblr banner makers to choose practical solutions that support advanced layout control and allow users to create sharp banners with easy-to-read text that fit into Tumblr layouts.
I quickly discovered that there is no need to use complex tools to create a good Tumblr banner. It’s more important to design banners with clean layouts and readable typography elements. Below, I have reviewed the best solutions that help me create aesthetic, perfectly balanced banners quickly without creating overly complicated designs.
| Tool | Best for | Free plan | Who it’s for |
|---|---|---|---|
|
Clean branded banners
|
Limited
|
Brand-focused creators
|
|
|
Template-based designs
|
Limited
|
Beginner bloggers
|
|
|
Quick aesthetic edits
|
Limited
|
Aesthetic blog owners
|
|
|
Motion & animated banners
|
Free
|
Motion-first creators
|
|
|
Lightweight photo-based banners
|
Limited
|
Photo-based blogs
|
|
|
Fast text-focused headers
|
Limited
|
Text-driven blogs
|
|
|
Minimal graphic layouts
|
Limited
|
Minimalist bloggers
|
|
|
Creative collage banners
|
Limited
|
Creative storytellers
|
|
|
PSD-based custom banners
|
Free
|
Advanced designers
|
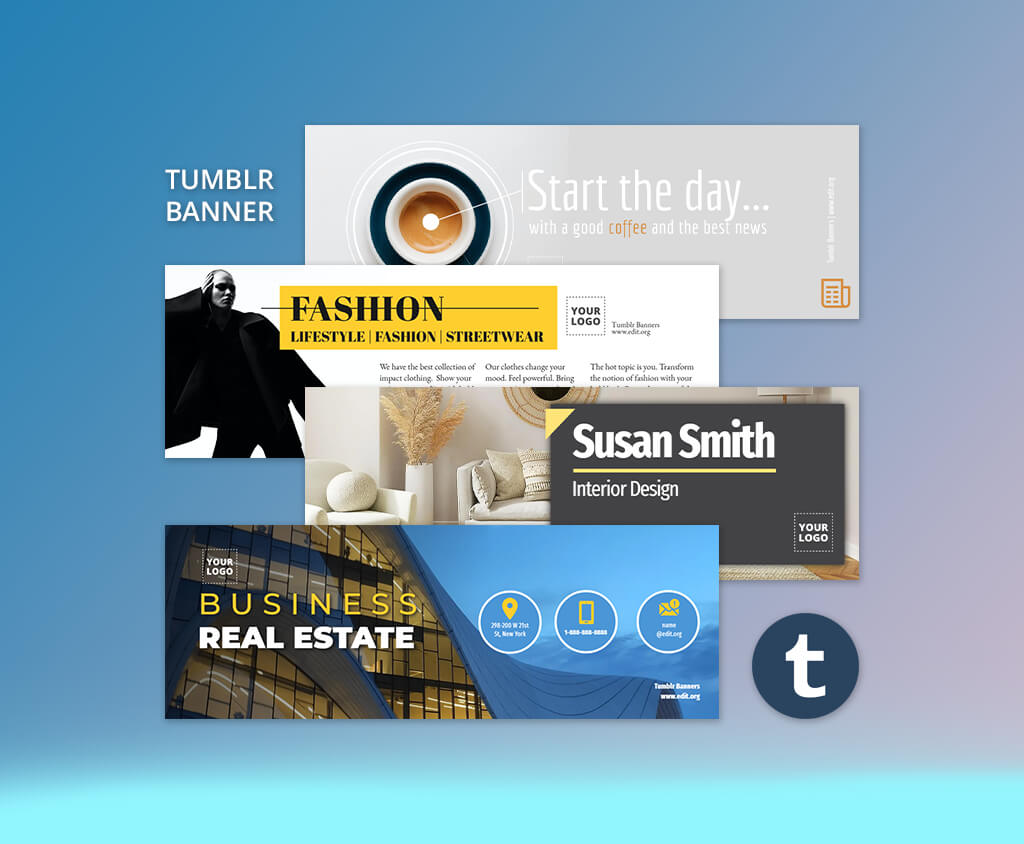
When working on my projects, I discovered that it is when a visitor takes the first look at the Tumblr banner that they decide whether the blog is worth reading. Even before one notices the posts, tags, or layouts, the banner forms their first impression.
I noticed this effect often when creating banners for blogs focused on Tumblr photography, where the header allows one to provide visitors with information about a blog’s style. I typically pay attention to the following when designing banners:
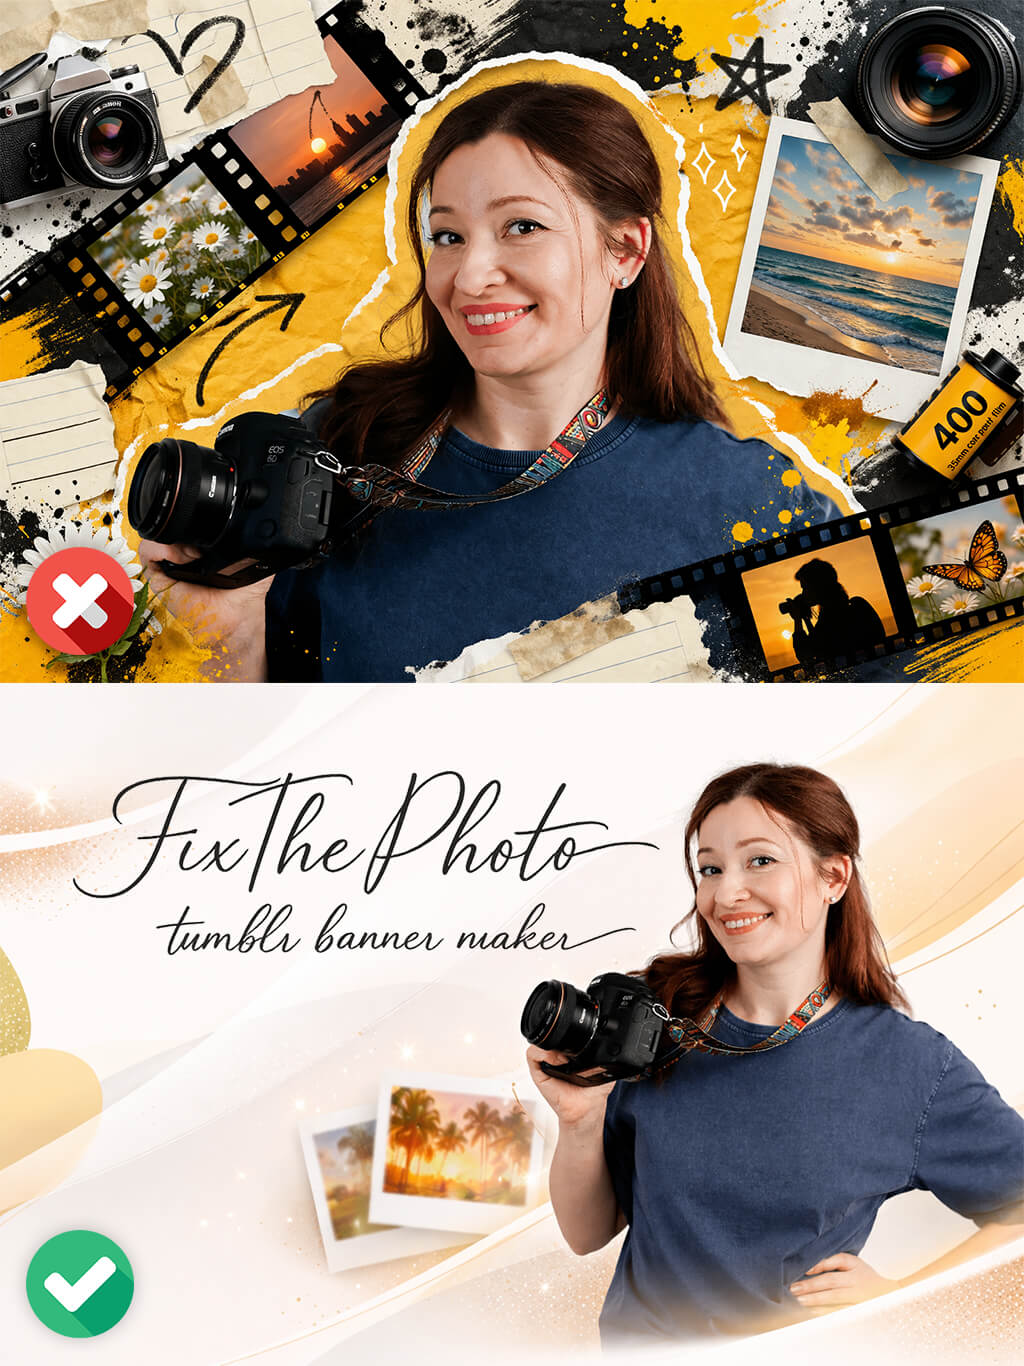
First impression is more important than excessive decoration. Instead of considering a banner as a simple background image, I prefer to consider it as an introduction to the site’s content. If it is blurry or difficult to interpret, it’s difficult to understand what the blog is about.
Negative space is necessary. Tumblr banners are horizontal. This is why I avoid designs that look cluttered. It’s important to maintain the right distance between the elements and avoid putting them close to the edges.
Style is better than complexity. The usage of simple aesthetics with soft gradients, grain, and minimal text is a better choice than applying many effects.
Visual rhythm. I design banners with the pacing that matches the blog. Slow and airy rhythms are better suited for personal journals. Branded pages require a sharper and cleaner style.
Previewing banners on the platform is crucial. When I upload my images, I double-check whether they look the same on different screens. It allows me to avoid cropping important parts or making my banners blurry and poorly-balanced.
When a viewer sees a calm and well-designed Tumblr banner, they are more likely to stay on the page instead of keeping scrolling.
Adobe Express is my top choice for situations when I need to create clean Tumblr banners quickly without spending a lot of time on design. I used it to create seasonal headers and branded blogs. It allows me to focus on accuracy when designing layouts. While it’s hardly suitable for implementing experimental ideas, it helps me make my workflow more predictable.
What I like most about this professional Tumblr banner maker is that it supports a custom canvas size and has a drag-and-drop layout. It allows me to specify Tumblr dimensions precisely. Then, I place text and images in the center and export my banner without worrying that any important part of it will be cropped.
I can also choose custom brand fonts and color styles to maintain consistency when creating banners for the blog. Adobe Express is suitable for those who want to create a polished, modern-looking Tumblr banner that looks clean and intentional.
Best for: creators who want fast, clean Tumblr banners
Price: Free plan; paid from $9.99/month
“I start by choosing a clean template and add a custom image and text. When I do not edit my banners too much, the outputs look more intentional.”

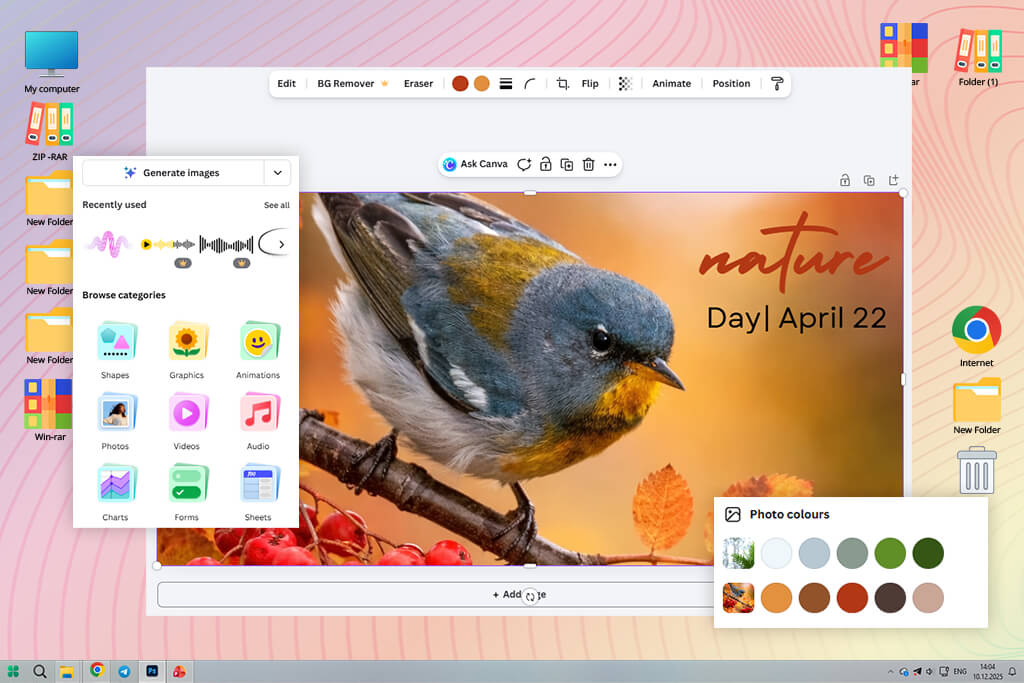
Canva is a powerful solution for those who want to design a Tumblr banner with ease and make it look perfectly balanced without focusing too much on every design choice. I prefer to use it when creating clean banners for aesthetic blogs and themed pages. Such simple banners have a soft feel and are perfectly organized.
I was pleased with the collection of banner templates and advanced grid-based layout control tools. Using this easy Tumblr banner maker, I was able to adjust spacing and alignment quickly to make the combination of text and images look intentional. Typography tools are also useful, especially when one needs to create wide Tumblr headers that are easy to read regardless of the size.
Canva is more suitable for those who want to maintain consistency. However, it does not always allow one to achieve high precision. It allows users to design banners with a calm, familiar feel. Such headers look perfect on Tumblr, even if you don’t spend a lot of time on them.
Best for: aesthetic and personal Tumblr blogs
Price: Free plan; paid from $15/month
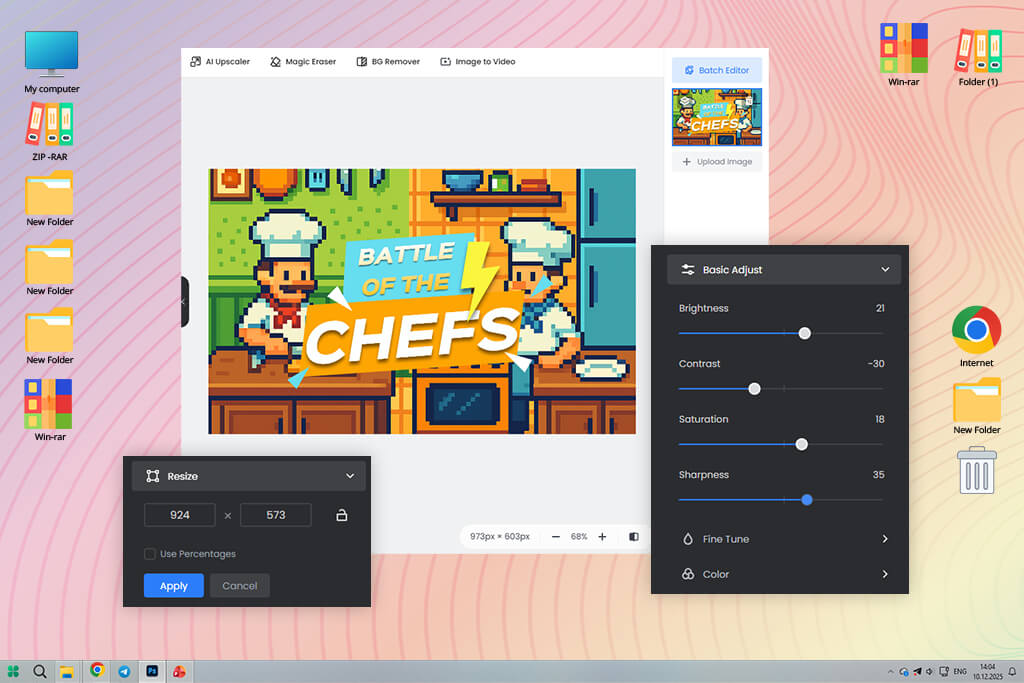
Fotor is the best solution for my needs when I wanted to implement a banner idea or polish an output quickly. I prefer to use it to enhance my photos, adjust hues, and create clean header images without creating layouts from scratch. The workflow is streamlined. This Tumblr banner maker for beginners makes it easier to update banners regularly or test several visual ideas.
I often used its accurate crop & resize tools, relied on its one-click color adjustments, and used image sharpening tools. They allow me to quickly resize my images to fit Tumblr banner dimensions without making them blurry. I did not use text overlay often, as I wanted to use only minimal titles and typography to avoid making the image too cluttered.
Best for: photo-based Tumblr banners
Price: Free plan; paid from $8.99/month
“Text placement is more important than effects. It was easy for me to keep captions minimal and centered. This helped me create a clean banner without any unnecessary elements.”

I often use CapCut when I need to create experimental Tumblr banners. While this service was built as a video editor, one can use its canvas to create an eye-pleasing banner design.
I like the fact that this Tumblr header maker allows me to set a custom aspect ratio and use layered text placement. Its timeline makes it easier to create banners, choose the right spacing, hierarchy, and visual rhythm. This extensive functionality makes it different from many regular banner makers.
CapCut can hardly be considered the fastest service out here. However, it’s suitable for creating attention-grabbing banners. If you want to create a banner for a blog with a bold or modern aesthetic, this service might be exactly what you need, as it gives you a high degree of creative freedom.
Best for: bold, modern Tumblr designs
Price: Free; paid plans available

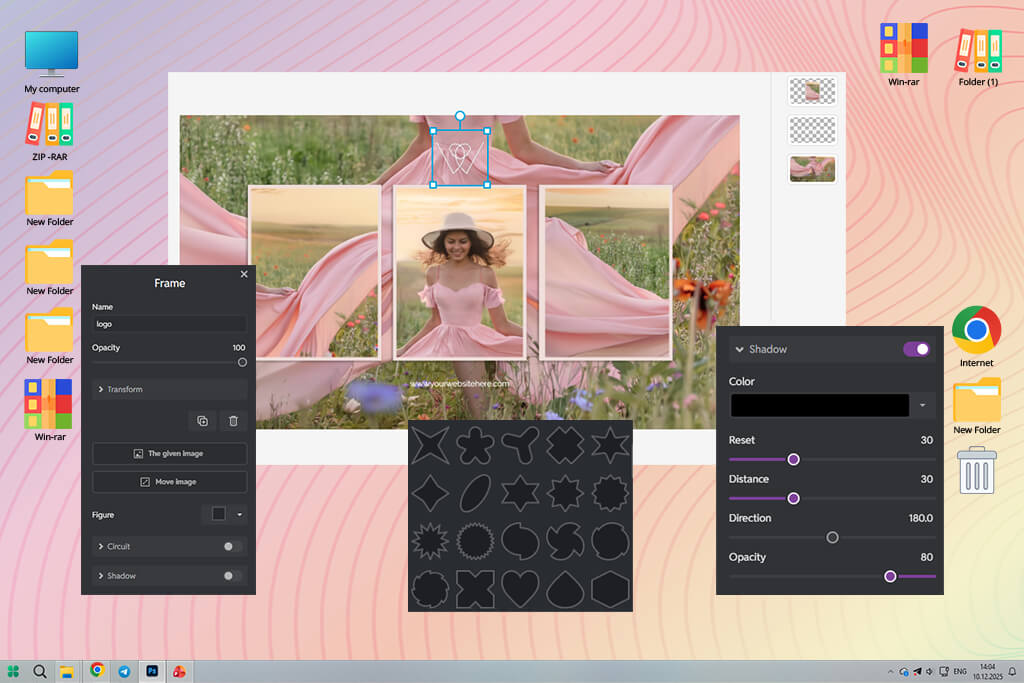
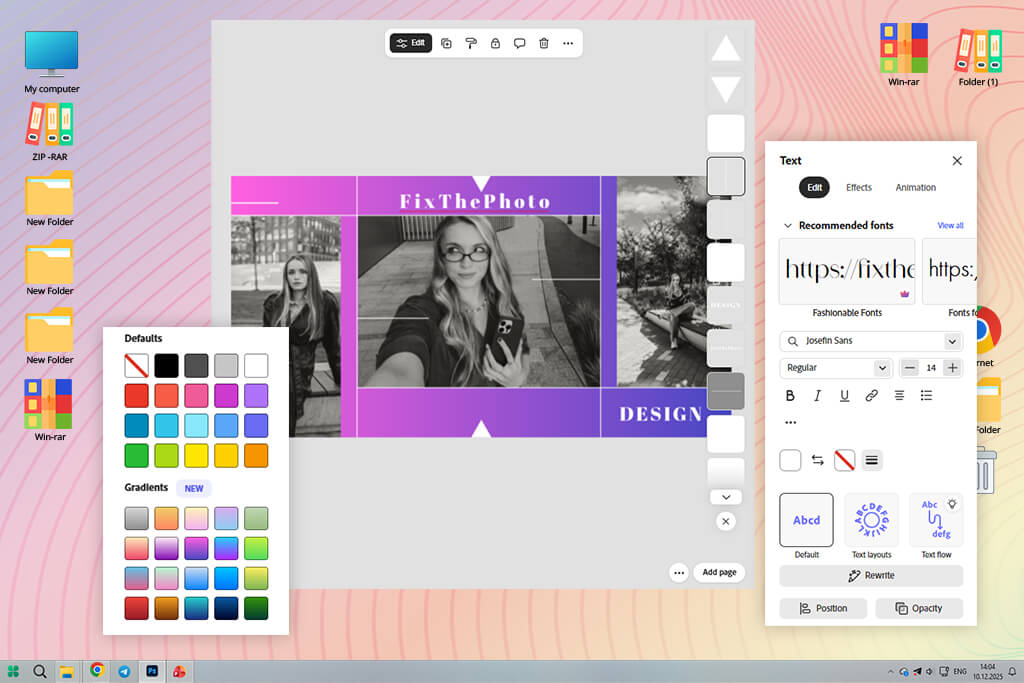
Pixlr is more suitable for situations when I need to create and edit my banners manually without installing desktop software. It’s more suitable for traditional image editing, making it perfect for users who know how to work with layers.
What I like about this platform is that it supports layer-based editing and freeform text positioning. Using its features, I can choose the most accurate placement of elements and align text and graphics to create a banner that fits into Tumblr’s layout.
Pixlr is the top choice for creators who edit their designs manually and do not want to install desktop Tumblr banner maker software. It allows one to control the output with high precision and create clean and well-thought-out banner designs.
Best for: users who want manual layout control
Price: Free plan; paid from $7.99/month

Snappa is best suited for banners focused on text. I used it to create blog titles, announcement headers, and basic quote banners. It was perfect for my needs, as I prioritized clarity over decoration.
The key advantages of this service are its canvas presets and font pairing. Due to this, I was able to design balanced text layouts with ease. I did not notice any visual noise in the output, so it was easy to create banners that were easy to read and had a calm feel.
Snappa is all about creating functional designs. It’s hardly suitable for creating visually striking designs. You can use this online Tumblr banner maker free of charge to create clean headers with text.
Best for: text-heavy Tumblr headers
Price: Free plan; paid from $10/month

I enjoyed using VistaCreate when I needed to create banners for lifestyle-focused Tumblr blogs. This Tumblr banner maker with templates helped me design a well-balanced banner that conveyed a soft emotion. I used layouts with pastel hues, minimal typography, and a visual narrative centered around a certain mood, as I did not want to increase contrast too much or use bold branding.
When comparing this service with the best VistaCreate alternatives, I decided that this solution was best suited for maintaining a soft visual flow without making the process too convoluted. I liked using its design templates, background overlays, and color harmony tools.
Using this custom Tumblr banner maker, I was able to choose the right visual style with ease and maintain a cohesive feel. Even after I replaced images or text, the banner looked clean in most cases. It rarely looked distorted, which is crucial for aesthetic blogs.
VistaCreate is an excellent Tumblr banner design tool for those who value consistency and atmosphere. It’s hardly suitable for experimenting or creating edgy designs. However, it’s suitable for designing visually-consistent banners with a gentle feel. It delivers decent results and is easy to use.
Best for: lifestyle and aesthetic blogs
Price: Free plan; paid from $13/month
“I discovered that it was more convenient to use one template style. I selected a certain mood and was pleased by the fact that the banner stayed visually consistent.”

After testing BeFunky, I concluded that it’s better to use it for making some final edits, as it can hardly be used as a full banner creator. I prefer to use it after designing a banner using another software. It’s suitable for resizing images, adjusting brightness, or improving contrast before publishing them on Tumblr.
In this respect, it is similar to popular Tumblr photo editing apps that prioritize speed over clarity. This Tumblr banner creator supports one-click adjustments and has convenient resize tools and basic text overlays. With it, I can easily resize my banner so that it fits Tumblr’s dimensions. There is no need to create the layout from scratch.
BeFunky stands out for its speed and intuitive functionality. It was not built for creating complex layouts or aesthetic experiments. However, you can use it for situations when you need to add a final touch or fix your image quickly. It will allow you to enhance your images without disrupting your routine.
Best for: quick banner tweaks
Price: Free plan; paid from $6.99/month
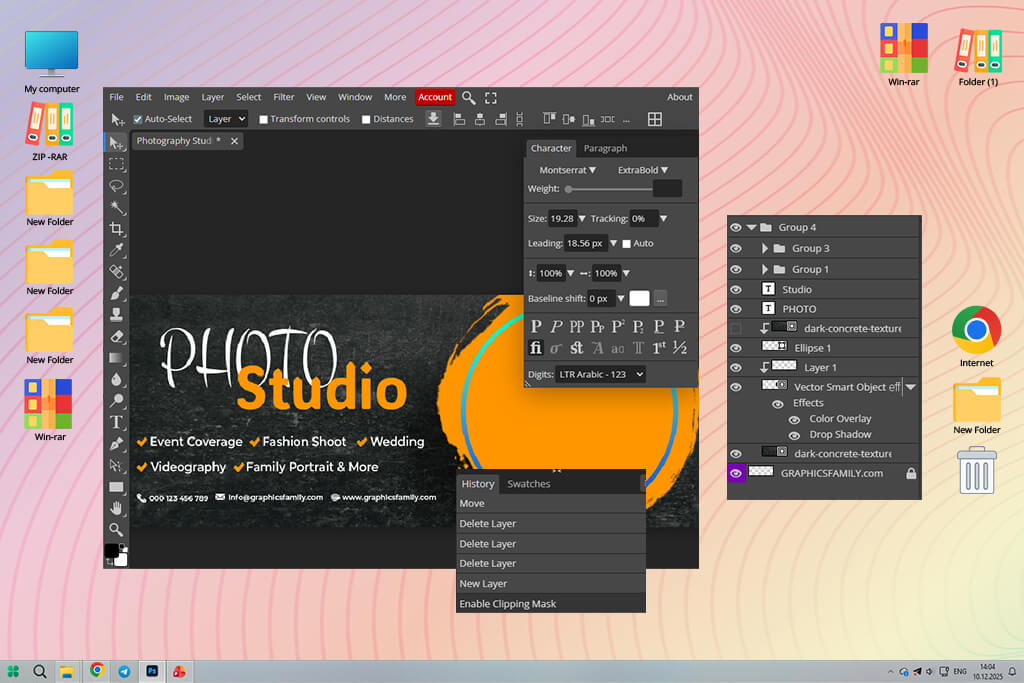
I started to use Photopea more often when working on layered banner designs in PSD formats. I do not know many web-based services that allow users to work with complex layouts without making layers flat or causing text alignment issues.
What I like the most about this Tumblr banner maker app is that it supports layer editing for PSD files, allows users to adjust text positioning with high precision, and uses pro-grade selection tools. This is useful for those who need to enhance banners created in Photoshop. Using them, you can align typography elements or export professional-quality headers for Tumblr.
This free Tumblr banner maker has powerful functionality, making it especially suitable for experienced users. The UI might be a bit challenging to use unless a user already has some prior experience. Novices will find it too convoluted. Photopea is the top choice for those who want to maintain full control over their projects without installing a desktop program.
Best for: advanced users and PSD-based banners
Price: Free; ads-supported
When I started to work on banner designs for Tumblr blogs, I stopped considering them as decoration. I realized that many people judge all content based on the way the header looks. It’s somewhat similar to a filter.
If its hues look slightly off and typography elements are misaligned, it might spoil the overall impression. This is why one should focus on choosing the right Tumblr banner maker with professional-level templates to achieve the desired result.
When looking for a suitable service, I was interested in the right balance between speed and manual editing tools. It’s better to choose a convenient platform that allows users to access templates to adjust proportions and spacing automatically. Besides, it’s necessary to be able to adjust designs manually to give them a unique feel.
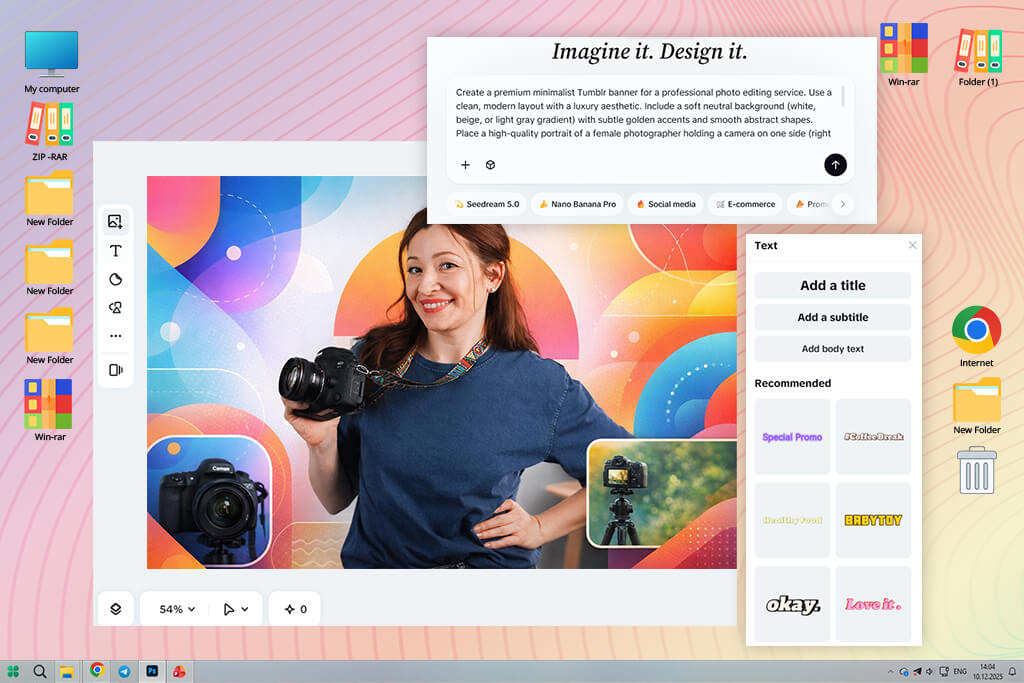
I prefer to use an AI Tumblr banner maker to come up with background ideas and choose the right colors. Then, I continue editing the banner manually. I improve contrast, change text weight, and adjust alignment until the design looks perfect for Tumblr’s layout.
Templates allow users to adjust sizing automatically and achieve the right balance. However, if you use them without any changes, your banners will look too generic. This is why I prefer to change fonts, make colors look softer, and add a grain effect to make the header more eye-catching.
Below, we have outlined the way different approaches change the output:
| Approach | What it’s good at | Where it fails | When I use it |
|---|---|---|---|
|
Template-based banner makers
|
Quick creation of a layout with the right dimensions
|
Might look generic
|
When I need to create a redesign quickly
|
|
AI banner generators
|
Idea generation, color direction
|
Requires manual cleanup
|
When I’m looking for a source of inspiration
|
|
Manual editors
|
Advanced control, unique look
|
Slower workflow
|
Final stage
|
|
Hybrid (AI + templates)
|
Speed + personality
|
Requires taste
|
Most projects
|
The best banners don’t need to look eye-catching. They show a viewer what they might expect to find on a page. When the header looks sharp and well-designed, it’s easier understand what the site is about.
We tested top Tumblr banner makers when working on different designs for updating our blog. We did not want to focus solely on the lists of features, so we opted for a practical approach instead. Our FixThePhoto team uses this approach daily when working on our design projects. We decided to use the tools in the same way creators do when updating their Tumblr headers.
We used each Tumblr banner maker online to design several headers from scratch. We used the same images, color palettes, and text styles. Our main goal wasn’t to create the ideal version of a banner. Instead, we wanted to understand whether it was easy to iterate, make changes, and reuse the designs we created without quality loss.
When testing, we excluded Crello, DesignBold, RelayThat, Stencil, and Easil from the final list. Even though these platforms have convenient templates and allow one to create a layout quickly, they make it challenging to adjust the Tumblr header size with high precision, control typography elements, or iterate quickly. It makes it hardly suitable for those who need to update blogs quickly.
When testing these services, I focused on the following:
Banner size accuracy. Whether the service allows users to export banners in the right size for Tumblr headers without cropping them or making them blurry.
Template flexibility. Whether a user can customize templates.
Typography control. Font readability, spacing, and the way text looks on wide banners.
Image quality after export. Whether the banner looked sharp enough on desktop and mobile screens.
Speed of iteration. How quickly I could duplicate, change, and test different banner versions.
Aesthetic consistency. Whether the output looked natural on Tumblr and did not look like generic social media content.
When testing each service, we followed the same procedure. After creating two versions of a banner, one minimalist, the other more creative, we would export them and add them to the Tumblr blog layout to preview them.
We ranked the tools lower if they required us to take too many steps or did not help us to achieve the right visual balance. We decided to rank higher the services that allowed us to create banners in Tumblr’s aesthetic. This is why our final list includes only practical banner makers that allow us to achieve visually clean outputs and reuse them.
Most Tumblr headers have 3000 × 1055 px or similar wide ratios. To get a high-quality banner, you should use a service that does not make images blurry or crop them on desktop and mobile devices.
Adobe Express and Canva are the most popular choices, as they have collections of templates, come with intuitive text controls, and support quick exports. You can use them without any experience in design.
Yes. Canva, Adobe Express, and Photopea have free versions that allow users to create a clean banner. It’s better not to apply heavy effects when using such versions and keep layouts basic.
Using AI tools, one can experiment with different layout ideas and generate backgrounds quickly. However, it’s still essential to be able to adjust the output manually. AI tools are suitable for creating the first draft, not the final version.
Templates will help you generate banners quickly and achieve consistency. However, if you have a recognizable visual identity and want to maintain full control over the output, you can use custom designs.
Many blogs update banners every season or every few months. It allows their owners to keep the design fresh without changing the theme drastically.
If the banner does not look clear enough, it might happen because of the wrong export size or compression issues. Be sure to export your output at high resolution and do not scale the banner inside Tumblr after uploading it.


