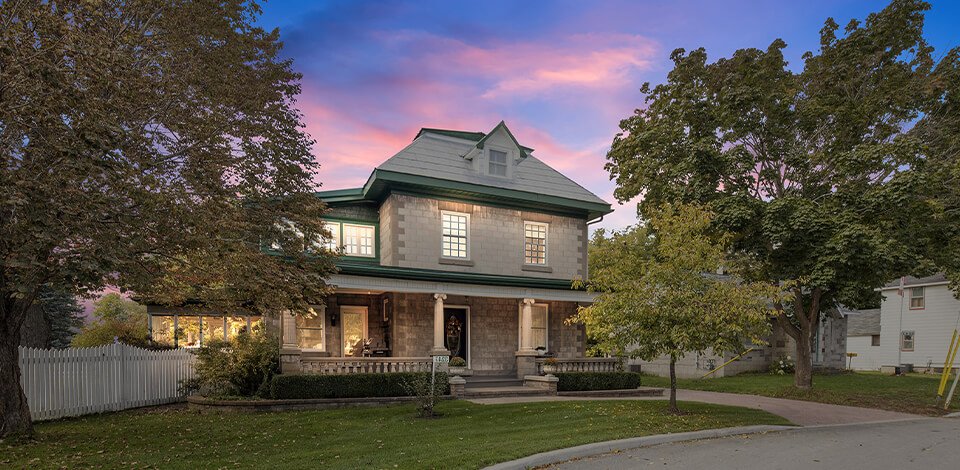
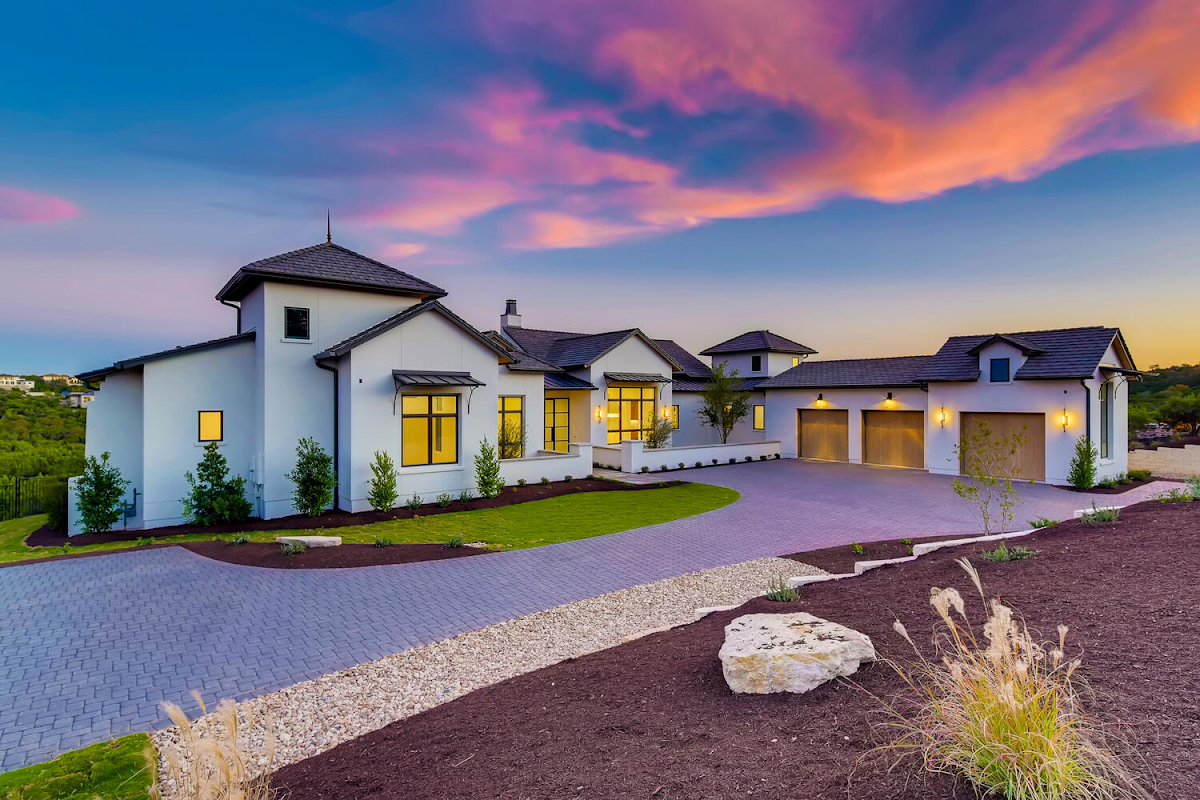
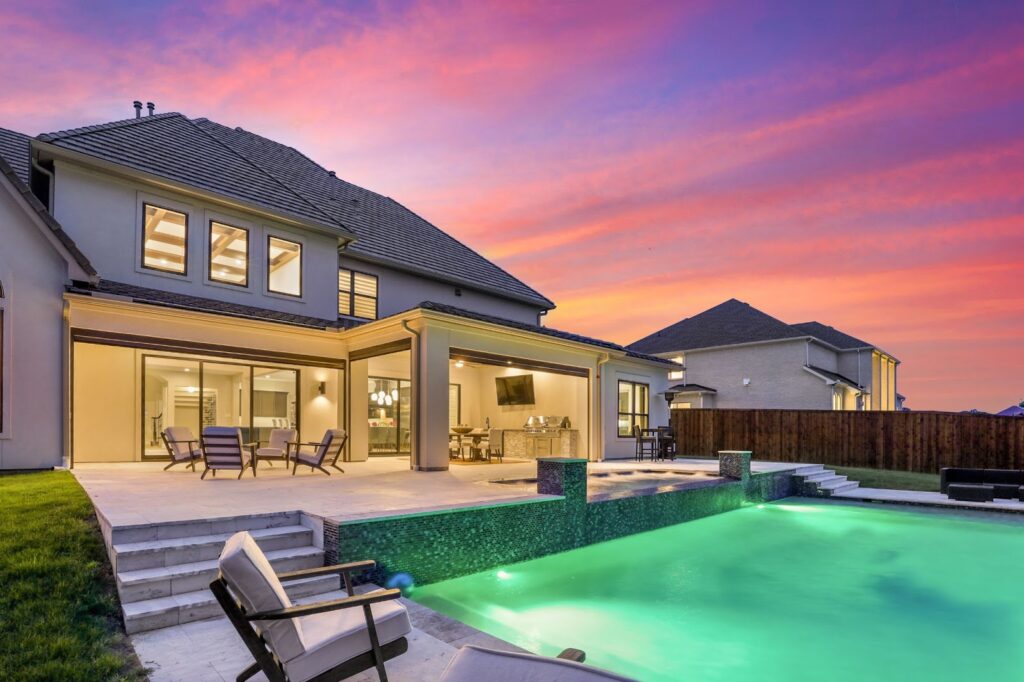
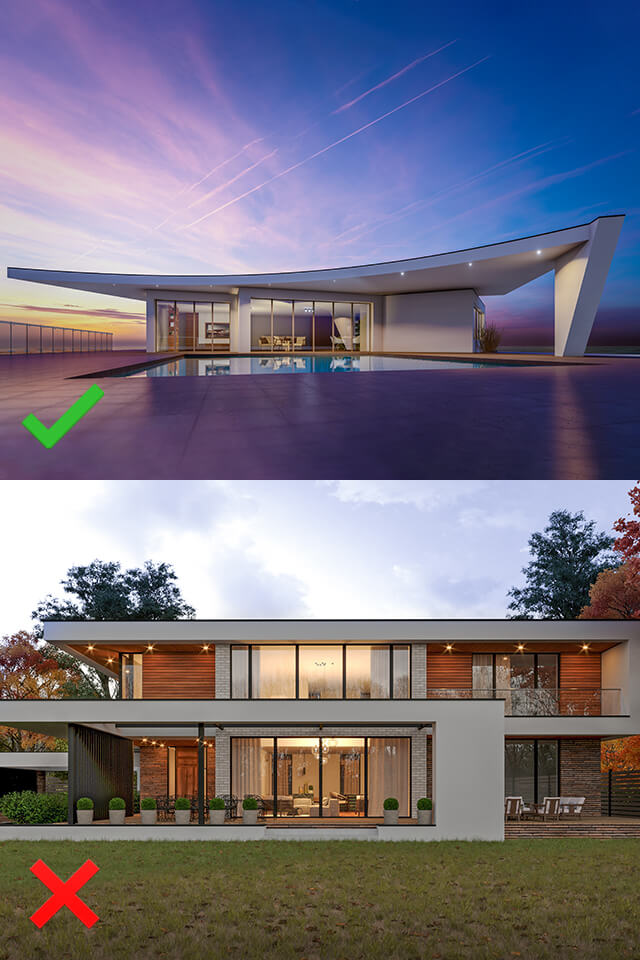
Practicing real estate photography in twilight is very rewarding considering how beautiful images you will get. The soft and gentle light of a setting sun can embellish property pictures, make shadows longer, and give a scene a welcoming atmosphere.
To take twilight real estate photos, you should be ready at the spot at least 20 minutes after sunrise or before sunset. Timing is paramount because that magnificent orange hue lasts only for 10 minutes.

First off, you need to plan a photo session. Since experts choose daytime for interior photography, it will be easy to allocate another date for taking twilight images.
Allocate a separate date for capturing the beautiful day to dusk transition, ensuring you arrive an hour prior. This time is needed to prepare your gear and choose the best angles.
The twilight period passes very quickly and you actually have just several minutes to take the pictures. If you arrive late, you will miss your chance. Moreover, keep tabs on the weather forecast and opt for cloudless days.
Experts in commercial real estate photography recommend turning on external lights on a property because natural light during a sunset may not be enough for taking crisp images. Undeniably, light emitted by a setting sun is beautiful but if you photograph large units, you need additional illumination.
By illuminating the exterior, you can showcase the architectural features, textures, and colors more vividly. Strategically placed lights can highlight the charm of a well-maintained garden, a welcoming entrance, or an inviting patio. These details add depth and character to the images, making them more captivating to potential buyers.
The right lighting can create a warm and cozy ambiance, especially during twilight shots. The soft glow emanating from well-lit windows against the dusky sky can evoke a sense of comfort and relaxation, making the property feel more like a desirable home.
Additionally, a well-lit exterior conveys a sense of security and safety, which is an important consideration for potential buyers. Adequate lighting can showcase well-lit pathways, entrances, and outdoor areas, assuring viewers that the property is well-maintained and secure. However, take some time to experiment with light and choose options that work properly for your twilight house for sale.

Taking real estate images in dim light is tricky so you need to pay special attention to real estate photo camera settings. In most cases, you can achieve better results if you adjust your camera manually instead of relying on auto settings. Thus, you receive more precise control over the exposure triangle.
If you happen to work in low-light conditions, you may need to raise ISO in photography letting more light reach a sensor.
A good starting value is ISO 800. However, feel free to alter this parameter if you see it doesn’t meet your current shooting conditions. As for aperture, the most popular value ranges from F8 to F11. Thus, your entire scene will be in focus.

If needed, you can choose a shutter speed that matches the available light. At twilight, the parameter may be up to 4 seconds. Once again, if it is possible opt for manual focusing to ensure all parts of a building are equally sharp and detailed.
Those who specialize in twilight real estate photography, claim that sometimes it is obligatory to use a slower shutter speed so that a camera can get more light. However, such manipulation may result in increased camera shake.
To prevent such problems, you should consider purchasing a sturdy tripod for real estate photography. Geekoto 77in tripod is a reasonably priced model suitable both for novices and professionals.
Moreover, when the surrounding light is scarce, your camera’s internal AF system may fail to work correctly. Thus, you should turn on manual focus and use a tripod for a totally crisp image.
A camera flash or continuous lighting is another indispensable piece of a real estate photography equipment kit. With such devices at hand, you can greatly improve composition and illuminate those areas that are naturally hidden behind a building and remain in almost total darkness.
With a flash, it is also possible to make shadows less harsh. This is a real problem when taking twilight real estate photos because there appear lots of inky shadows that can spoil an otherwise eye-pleasing scene.
Of course, you can harness your camera’s embedded flash but a wireless flashgun is more advisable if you want to reach farther spots. My personal recommendation is Godox V860III-O.
Charming twilight lighting is created by the mixture of the blue of the sky and the yellow of the fixtures. However, the color temperature of photography light bulbs in houses may have different temperatures so there will appear inconsistencies between natural light and those emitted by artificial sources.
Some lamps have a yellow light, while others produce something closer to white. However, don't get despaired. You can easily fix this issue with the help of the Local Adjustment Brush in Lightroom.
To make an accurate selection, you should use a Luminance or Color Range Mask. If you have a photo with many windows and they differ in colors, take advantage of the Clone Stamp to select them and make them identical. You can also do the same in Photoshop.

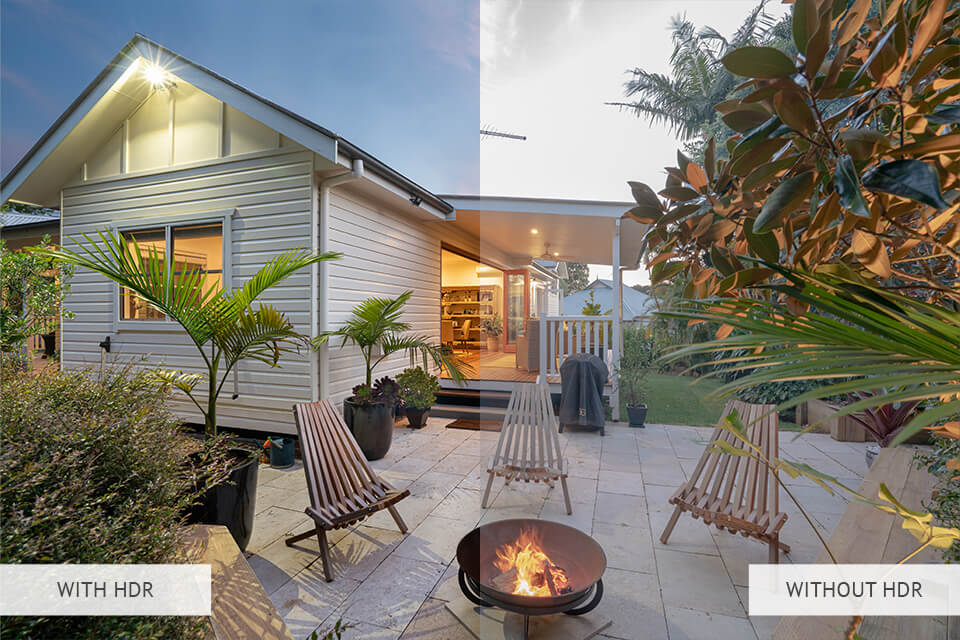
Contrast is rather limited during sunset hours. So, to get an ideal exposure, you may have to experiment with bracketing photography and take multiple twilight images at varied shutter speeds for each composition.
A good rule of thumb for HDR real estate photography is to have 3 bracketed exposures – correctly exposed, one exposed for the highlights (underexposed), and the last one exposed for shadows (overexposed). For a quick shot, it is advisable to use AEB (Automatic Exposure Bracketing).
After a photo session, I recommend editing pictures in Adobe Photoshop. You can stack pictures as layers and use a mask to reveal or recover details. Next, you need to customize the blur and transparency of a layer mask to achieve a smooth transition.
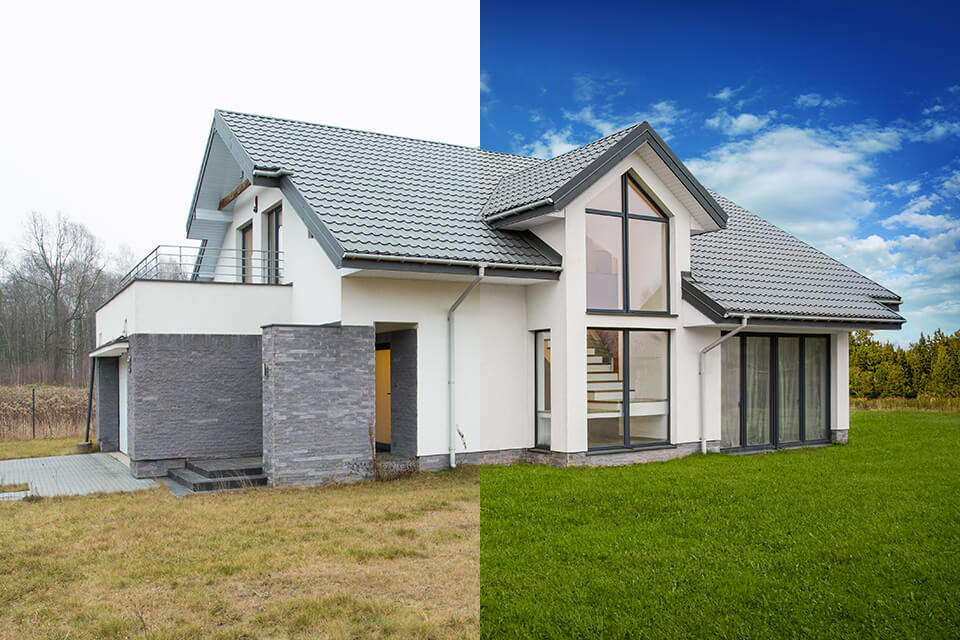
No wonder, the sky during twilight is arresting so many photographers like to keep it intact in twilight real estate photos. However, there appear situations when the original sky steals interest from a picture and it is better to replace the sky in Photoshop.
If you weren’t lucky to take property images when the sky was dramatic and captivating, you can play around with different sky versions in Photoshop. This way, you can create a picturesque image that will immediately attract viewers. Such an approach is also justified if the sky is overexposed or blown out, and it is impossible to see details in a photo.

If you don’t feel like spending hours in order to enhance your twilight real estate photos, you can greatly speed up this process by using these pro-grade effects. With them, it is possible to correct colors, adjust exposure, and other parameters.
You can use filters for improving not only twilight images but also other real estate photos, including those taken indoors and outdoors. The biggest advantage of this package is that it is absolutely free.


