To create attention-grabbing posters, logos, and advertising materials, it's important to know how to bend text in Photoshop. By effectively manipulating text, you can make it match up with the graphic in images and focus viewers’ attention on specific elements. It is also important that the letters are not deformed.
However, you may notice that letters become distorted while you are bending text. To prevent such problems and create top-quality designs in Photoshop, you should read this detailed tutorial and repeat all the steps.
This approach is very popular as you can create a text layer with any inscription. Keep in mind that warped text is typically spaced further apart, so you need to adjust the leading slightly higher. To bend text in this Adobe photo editing software, take the following steps:
Launch the program and click File > New. Enter the document name, and set such parameters as Width (800px) and Height (500px). Choose “White” for the Background Contents. Click OK.

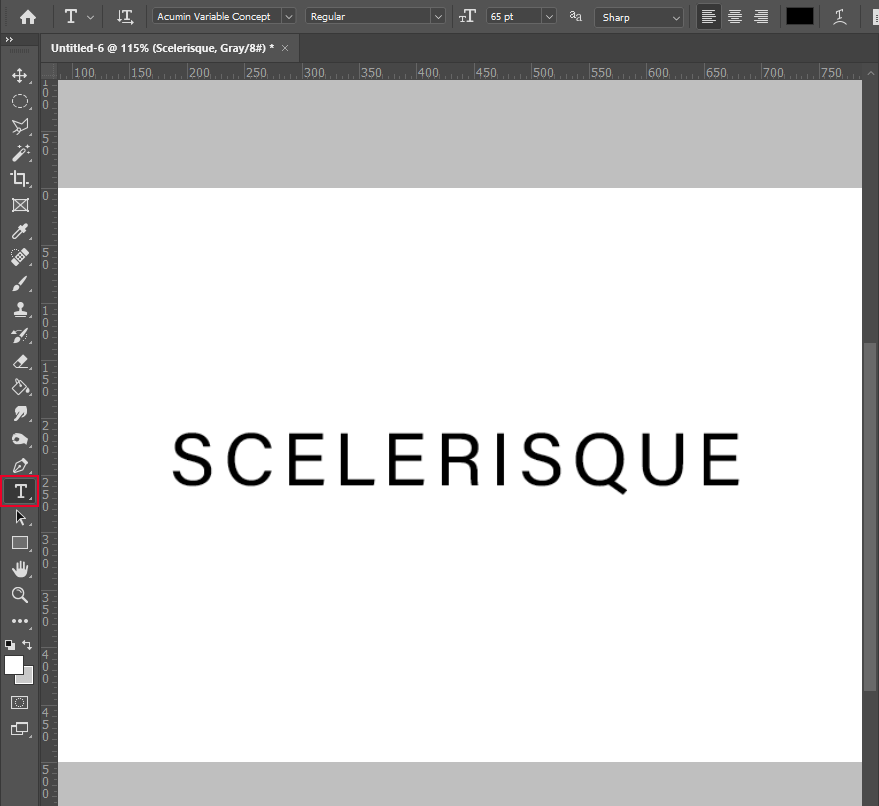
Select the Text tool (T) and enter your text. The inscription can be small, just a few words, to make it stand out. You can also change the color of text and make gold text in Photoshop, as well as write text in uppercase or lowercase.
To make your design unique, you can change the font. Photoshop offers many fonts to choose from, but if you want to create a one-of-a-kind project, you should find out how to add a font to Photoshop and search the net for original fonts.
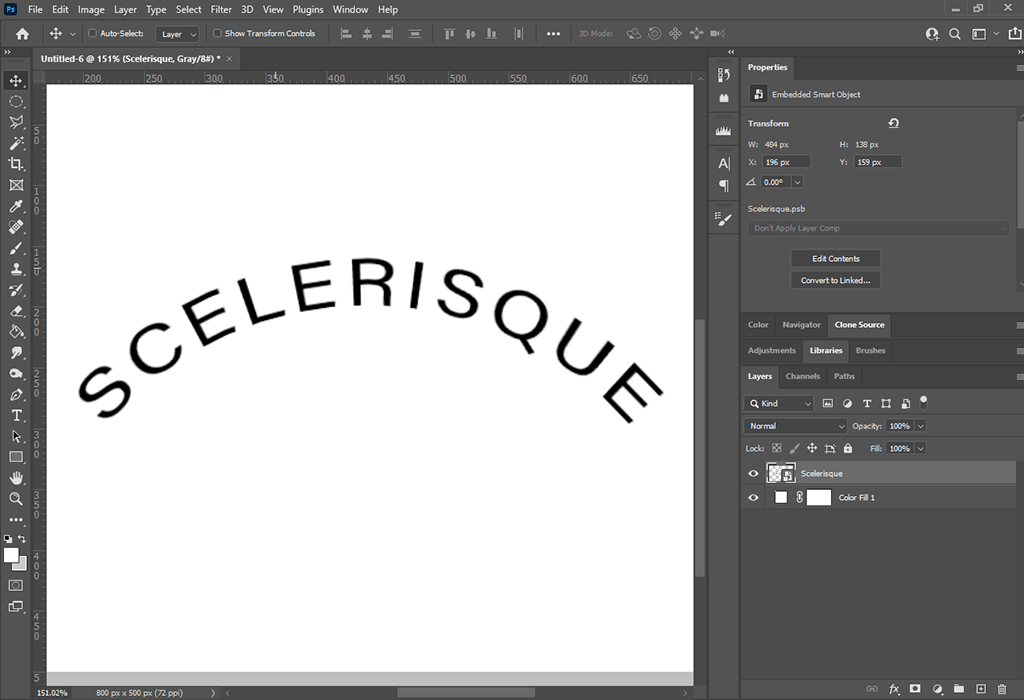
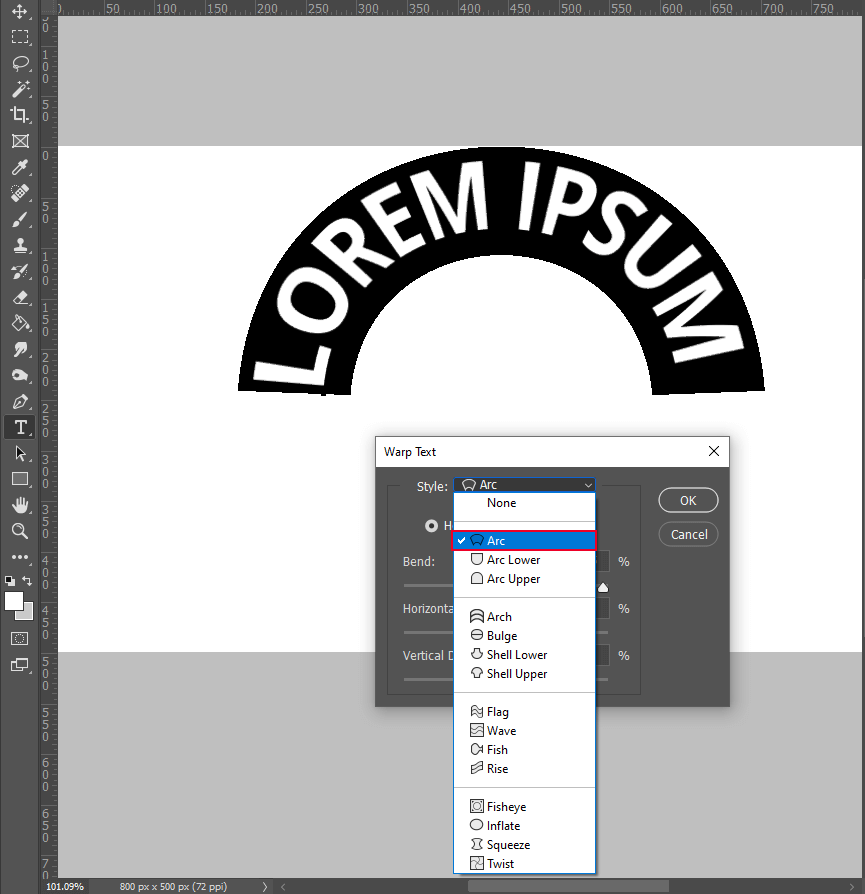
While creating curved text Photoshop, you will frequently use the Type tool (T). At this point, you need to activate it and right-click on the “Create warped text” icon in the toolbar.
There will appear the Warp text window. Select the “Arc” style there, check the Horizontal option and set the Bend value to +20%. Click OK.
Done. You can save the curved text or use it further, for example, paste it into a photo.
If you have images that require professional editing, you can get in touch with our experts and let them take care of your photos. They will correct colors, improve skin tones, fix various defects, remove stray hairs in Photoshop, and more.
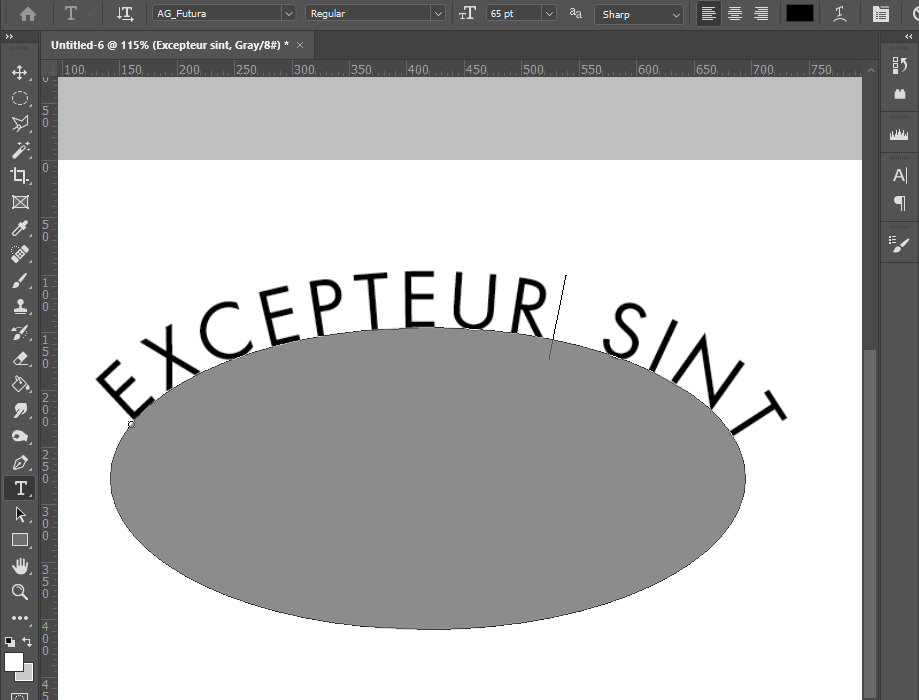
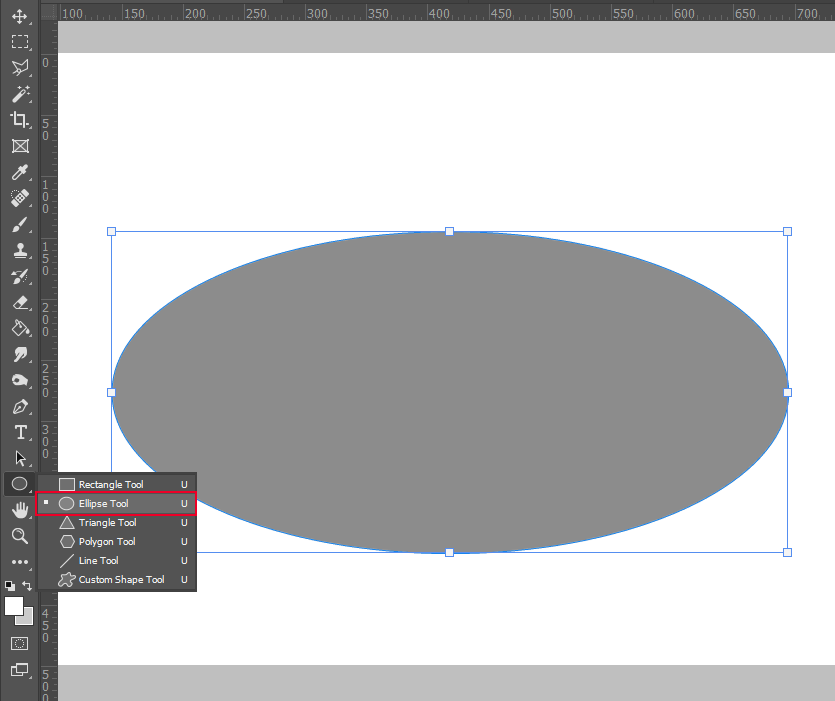
Open the software, and choose File > New. Select the Ellipse tool (U). Make sure you have the “Shape” mode on and then draw the ellipse of 710 px x 270 px.
Remember that you can use any shape you want or use the Pen tool (P) to draw your own path for the text. While dealing with photos, it’s better to choose the Ellipse tool.
In case you need another shape, head to the options bar that is below Photoshop menu, click on the dropdown menu and choose Path. Draw the needed path in your document. If you draw the path with the Shift key held down, you will get a perfect shape be it a circle, a square, a polygon, etc.
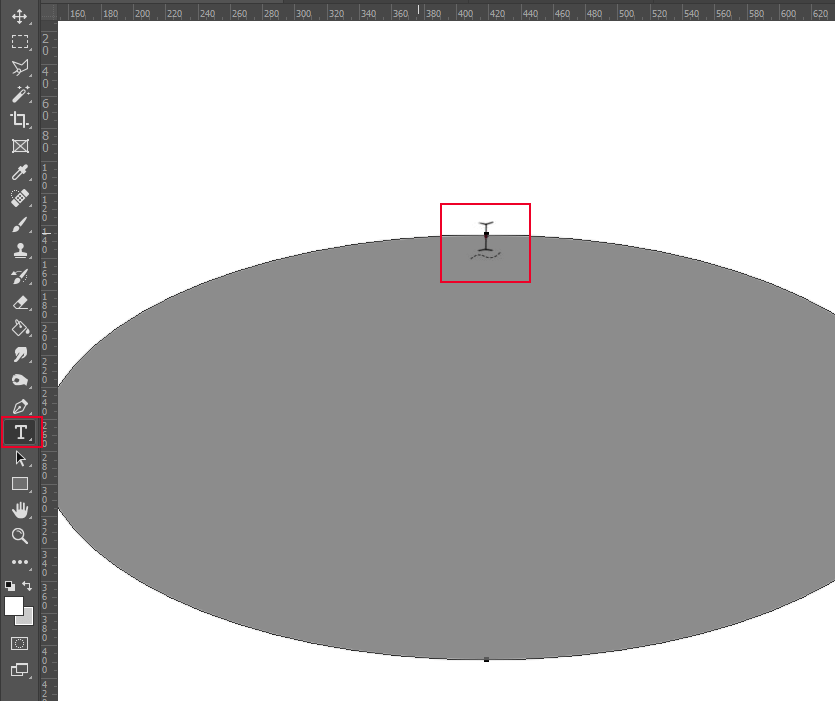
Select the Text tool (T) and click on the edge of the ellipse when you see the Text cursor change to the “Text on a Path” cursor.
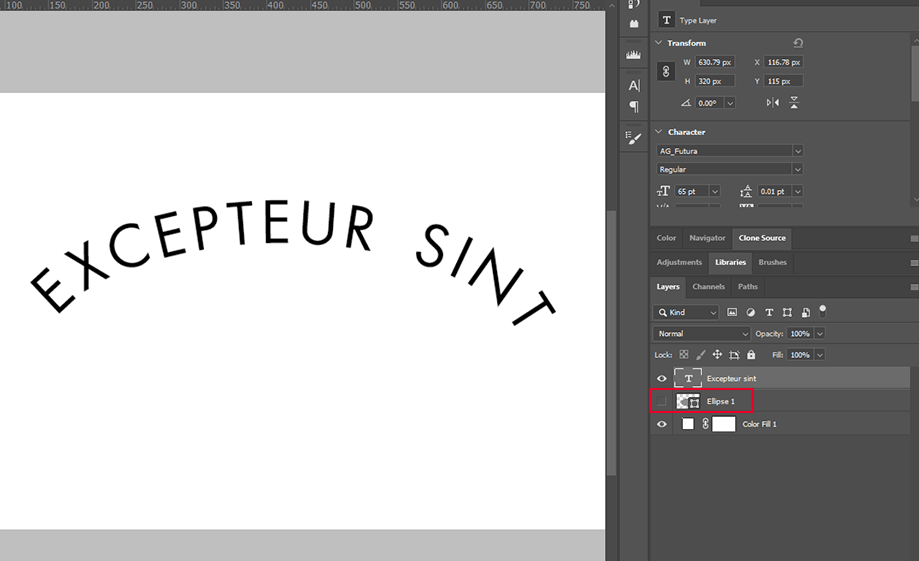
Once you are done, you should hide the ellipse layer by clicking on the eye icon next to the layer name. There will be only the text visible and use can use it for your future projects.
For example, you can add text to a picture. First, you may need to remove text in Photoshop from an image and then add your own inscription.
If none of the above methods of how to curve text in Photoshop suit you, make sure to try this variant. However, using the Warp Text Tool, you can achieve amateurish results but in a very quick way. In fact, this method is aimed at warping the shape of the text in order to make it bulge, pinched, etc.
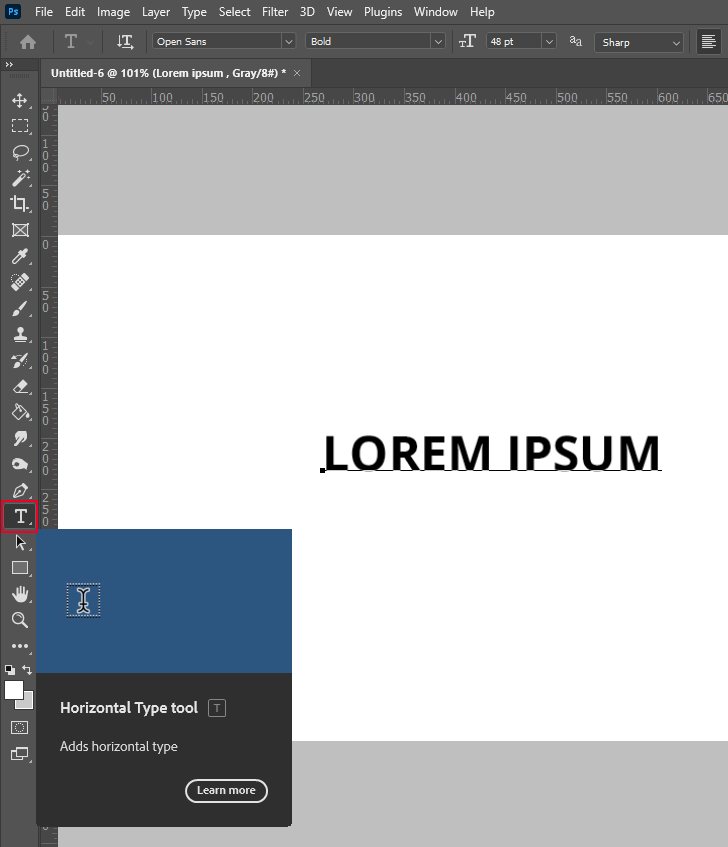
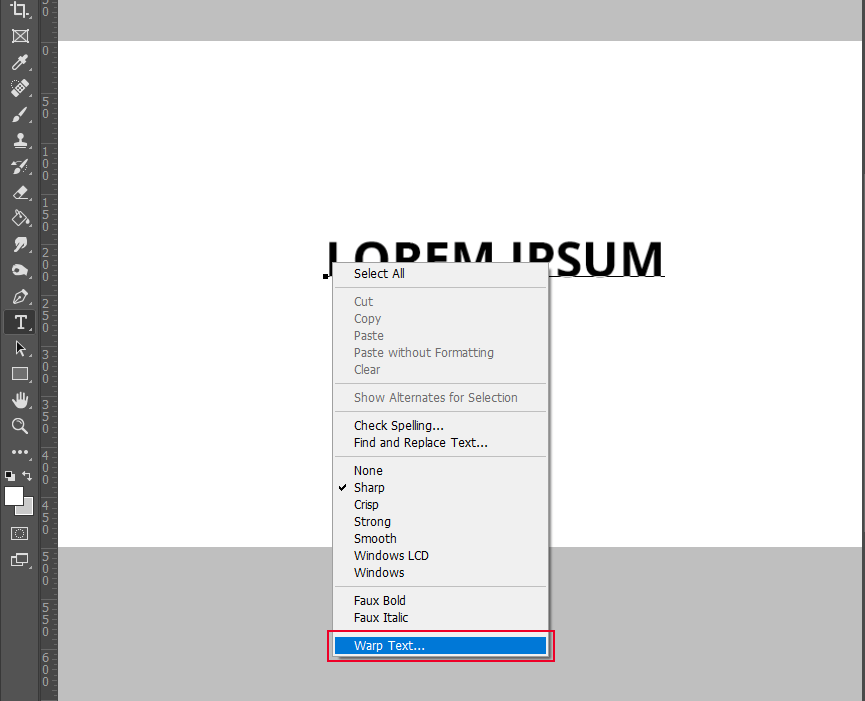
First off, enter your text. Be inventive at this stage. You can check out the best Photoshop text effects tutorials and make 3D text in Photoshop or apply other cool effects. Besides, you can outline text in Photoshop to make it easy to read on any background.
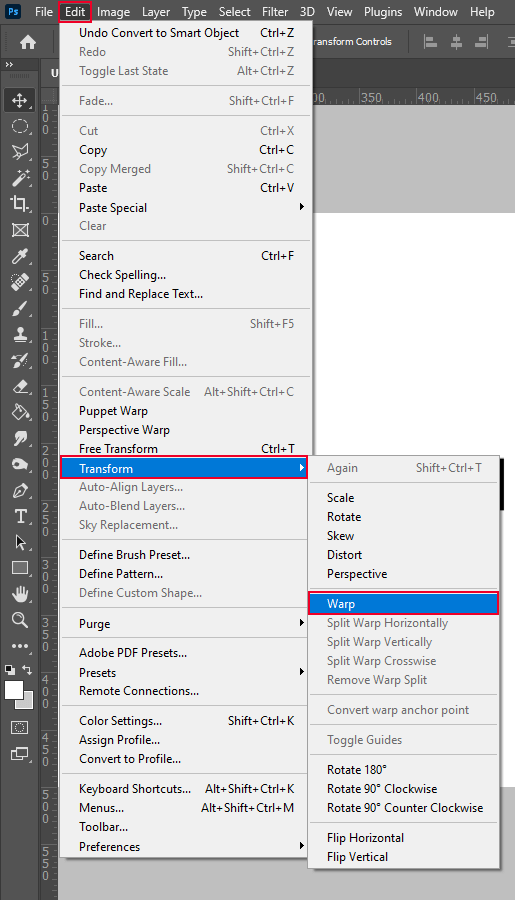
Select the text layer and head to Layer > Smart Objects > Convert to Smart Object.

Choose Edit > Transform > Warp.
Click and drag the anchor points of the warp grid.
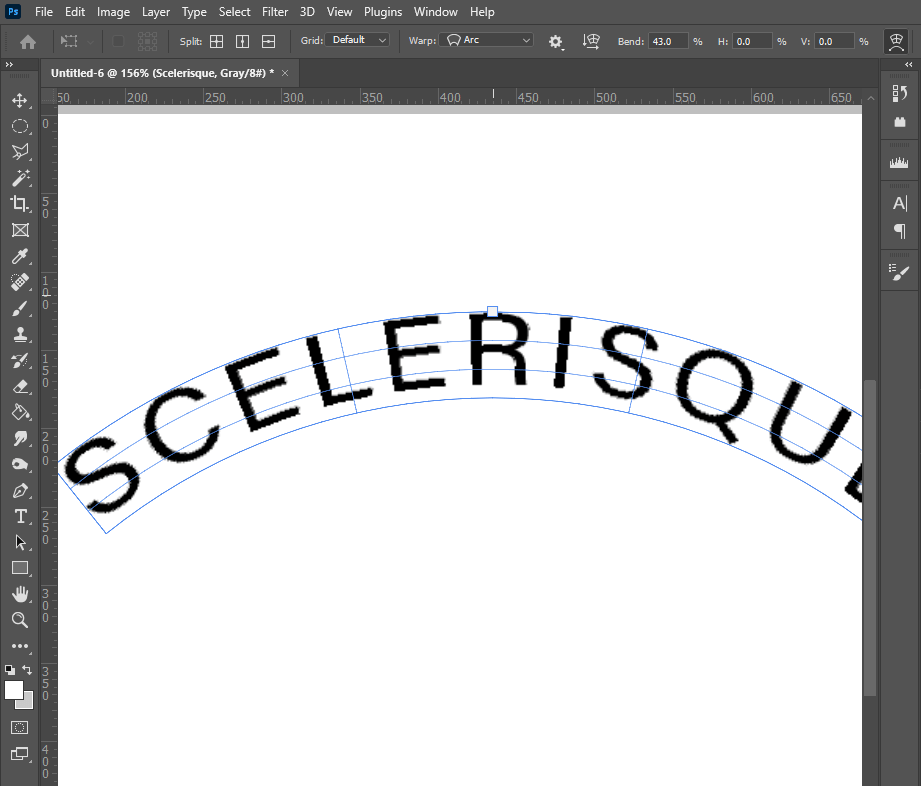
Once you’re done, click the commit transform icon in the toolbar.