
Would like to remove text in Photoshop that spoils the entire image? It’s possible to fix this issue without ruining the background, even if you are a complete beginner. Follow this tutorial to remove text in Photoshop in 7 simple steps.
The first thing you should is to check the Layers panel to see if the text has a separate layer. If it does, you can simply select or hide it and the text will disappear.
If the layer has been merged with others, however, the process of deleting the text will be a bit more complex.

First, we’ll create a selection around the letters. You can use any selection tool you prefer, but I recommend working with the Magic Wand Tool (W). Find it in the toolbar on the left. Right after choosing it, click on the second icon at the top bar.
This will make it more convenient for you, as it will help you keep the original selection and add to it, instead of creating many selections.
Another way of achieving this is to hold down the Shift key. Click on the first letter of the text. This will create a selection.

Now, all you have to do is click on all the letters one by one to select them.

The next step of removing the text in Photoshop is expanding the overall area of a selection. In order to do that, click “Select” in the main menu, find the “Modify” option from the dropdown list, and choose “Expand”.

Enter the value of 2 or 3 pixels and click “OK”. Make sure not to check the box below.
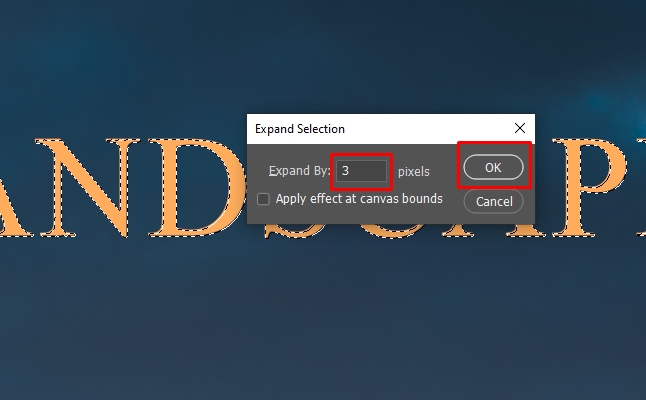
Now, we’ll restore the part of the image that should be behind the text. The Content-Aware Fill copes with such situations the best.
Open the “Edit” menu and go to Content-Aware Fill. If you’re a fan of saving time by using Photoshop keyboard shortcuts, you can press the key combination Shift+Ctrl+K/Shift+Cmd+K.

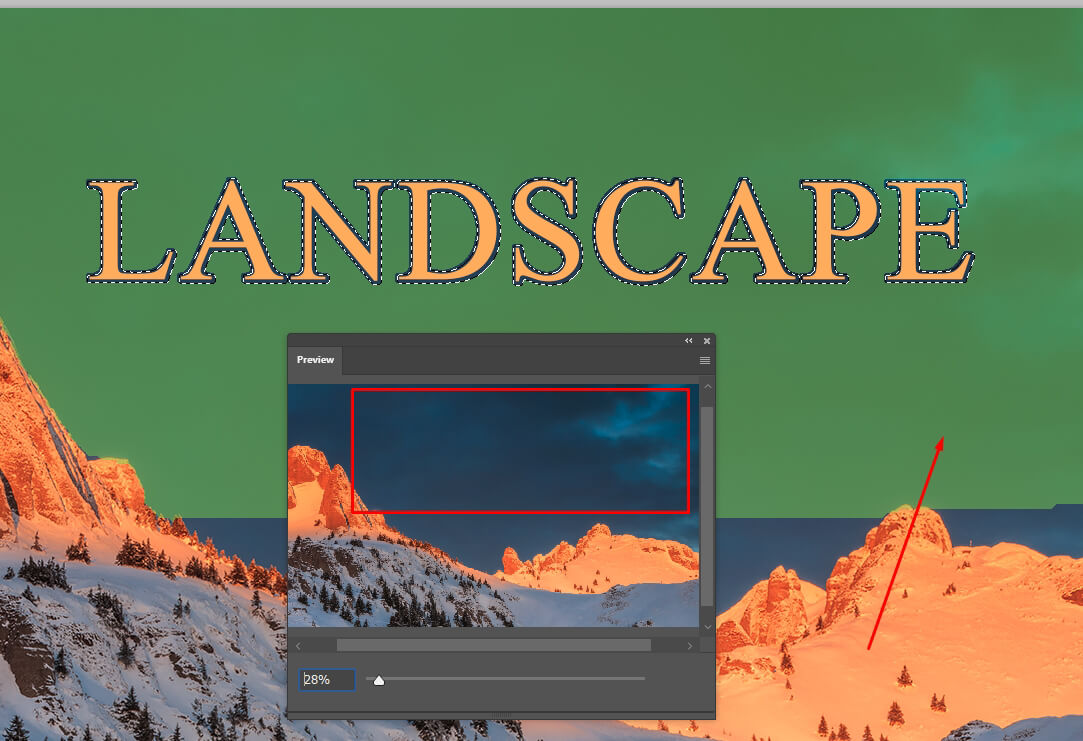
The green overlay is the area that will be sampled to fill in the selection. Accurately adjusting this area is the most important part of getting great results from this tool. Remove or add to the area by using the Sampling Brush Tool.
The changes can be previewed in real time with the help of the “Preview” box. The box can also be enlarged if needed.
Now, the text has been erased and the background restored. All that is left is the selection.

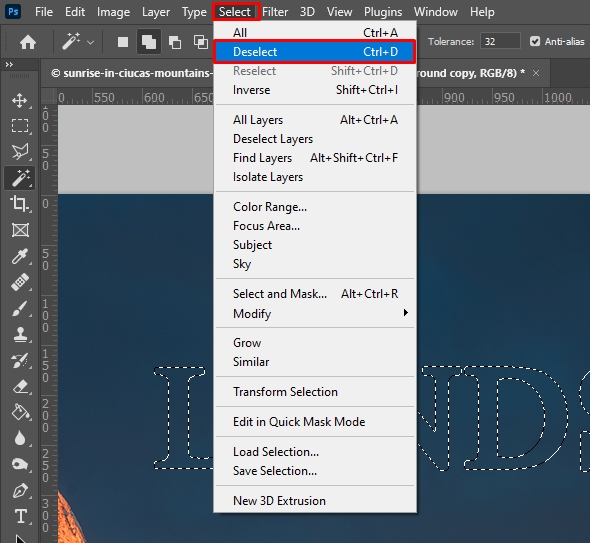
Go to “Select” and navigate to “Deselect” or use the hotkeys Ctrl+D/Cmd+D. This will make the selection disappear.
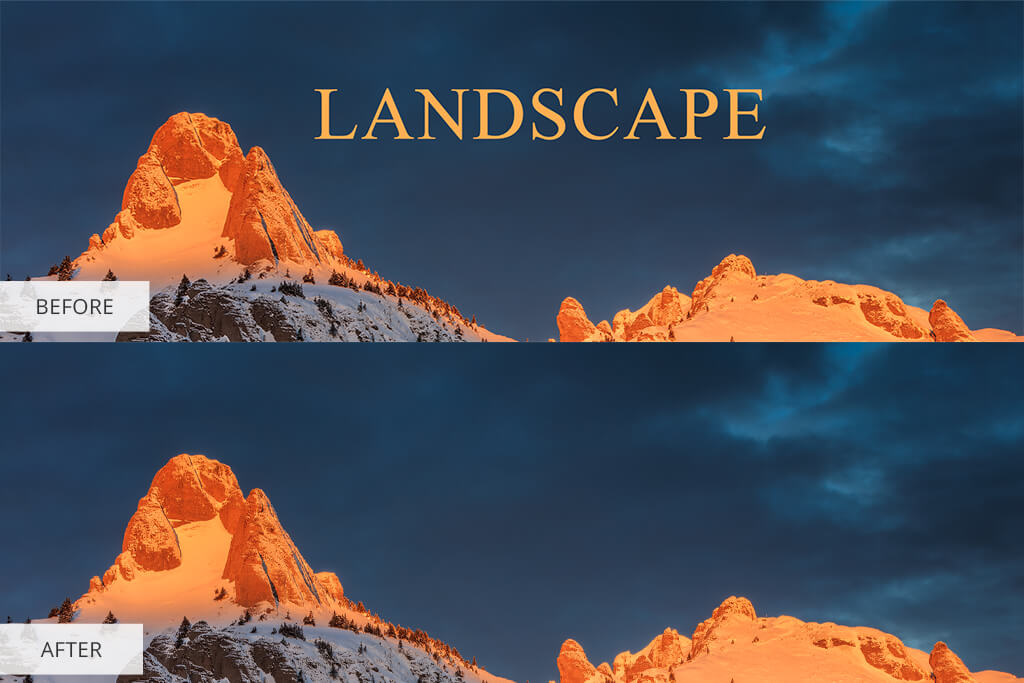
Problem solved! Now, you know how to remove text from a picture in Photoshop. It’s impossible to tell that there was any text in the image before this.
If you also have a photo spoiled by shadows, don’t worry! There’s also a super simple way of removing shadows in Photoshop.
Finding new fonts is a headache even for famous graphic designers. Buying fonts for projects can be a waste, as sometimes a purchased cool font may not suit the customer. That’s why I recommend taking advantage of this collection of high-quality and trendy fonts absolutely for free. Add fonts to Photoshop and attract more clients.