
My job as a photographer and writer at FixThePhoto has taught me how important image copyright checkers are. Every photo or graphic online is protected by copyright as soon as it’s created, so using images from Google or social media without permission isn’t safe for blogs or client projects.
In this guide, I’ll walk you through my experience testing 30+ image copyright checkers and explain why choosing the right tool isn’t always easy. Copyright violations can lead to serious problems, including legal action, fines, and financial penalties.
I once had a serious warning from a stock photo agency that claimed I used an image without a license. It could have ended in thousands of dollars in fines (according to US law, penalties can range from $750 to $150,000 per image). After that experience, I make sure to check every image before using it.
Simply put, copyright is a law that gives creators full control over how their original work is used. This applies to photos, illustrations, graphics, and almost any type of image.
For example, under U.S. law, copyright protects “original works of authorship, including ... certain other intellectual works”.
The key point is that you don’t need to register an image for it to be protected. As soon as a photo or digital artwork is created and saved to a file, copyright automatically applies. The U.S. Copyright Office clearly states that no formal registration is required for copyright to exist.
In simple terms, almost every picture you see on the internet is legally owned by someone. This is true even if the picture doesn’t have a © symbol or a watermark on it. That famous painting, a random photograph from a Google search, or an illustration posted on social media - they all have an owner who automatically has the right to control how it’s used.
These rights allow the creator to copy the image, make edited versions, share it, or show it publicly. Because of this, you can’t legally take an image and use it in our own projects without permission or the right photography license.
Creators can benefit from a digital copyright checker, as knowing that your work is protected is a kind of encouragement to create more. Moreover, you can then sell, license, or get profit from your images.
For users such as bloggers or businesses, following the photography copyright rules helps prevent serious legal trouble. Using an image without permission can result in fines or lawsuits. In the U.S., standard penalties range from $750 to $30,000 per image, and if the violation is intentional, fines can reach up to $150,000 for a single project.
For instance, the Borderless Councel blog gives a clear warning: if you use an image without permission, the owner can take you to court. The result could be expensive fines and other legal penalties.
I know someone who used an image they found online, and the owner contacted them. They quickly took the image down. That one simple action saved them from having to pay thousands of dollars.
Large companies often work with monitoring services that track where images are used online. If they spot an image being used without permission, they can send legal notices or payment demands. Because of this, it’s safest to treat every image you find online as copyrighted unless you clearly know it’s allowed to use.
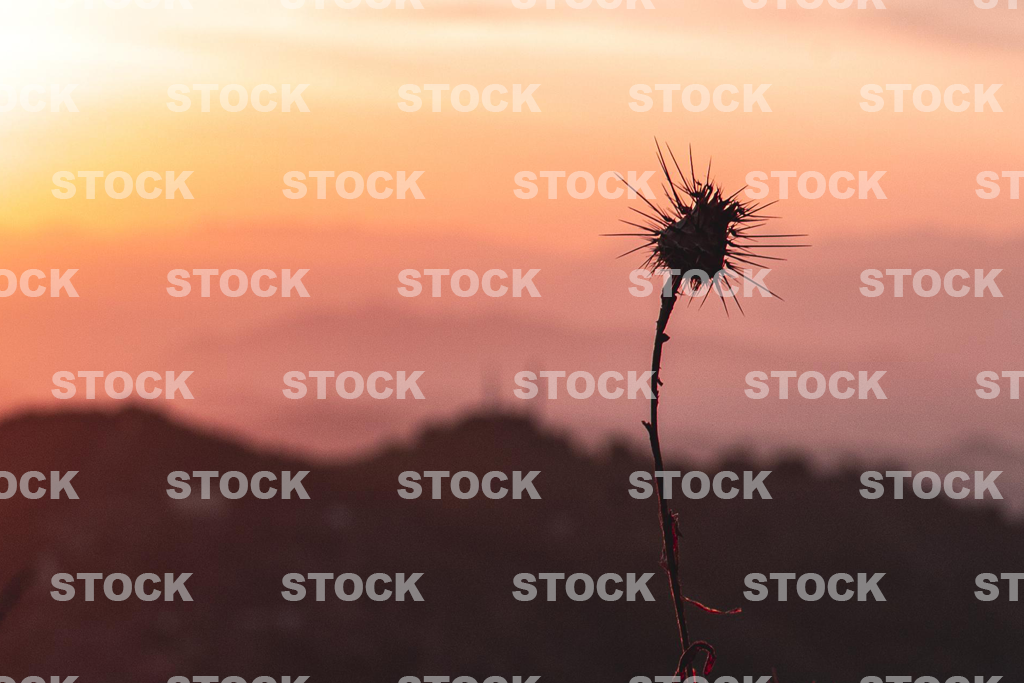
Look for watermarks or notices. Look closely at the picture for any words or symbols you can see. A watermark is most often a see-through logo or name placed over the image. If it shows something like “© John Doe Photography” or has a business logo, that’s a major clue: the copyright is owned by John Doe or that company.
Some images clearly show copyright marks, like © 2023 Jane Smith, built right into the image. If you see this, it means you must get permission or a proper license before using it. Removing a watermark removal software for anything other than personal use is illegal and unethical, so it’s better to skip that image or contact the owner to request usage rights.
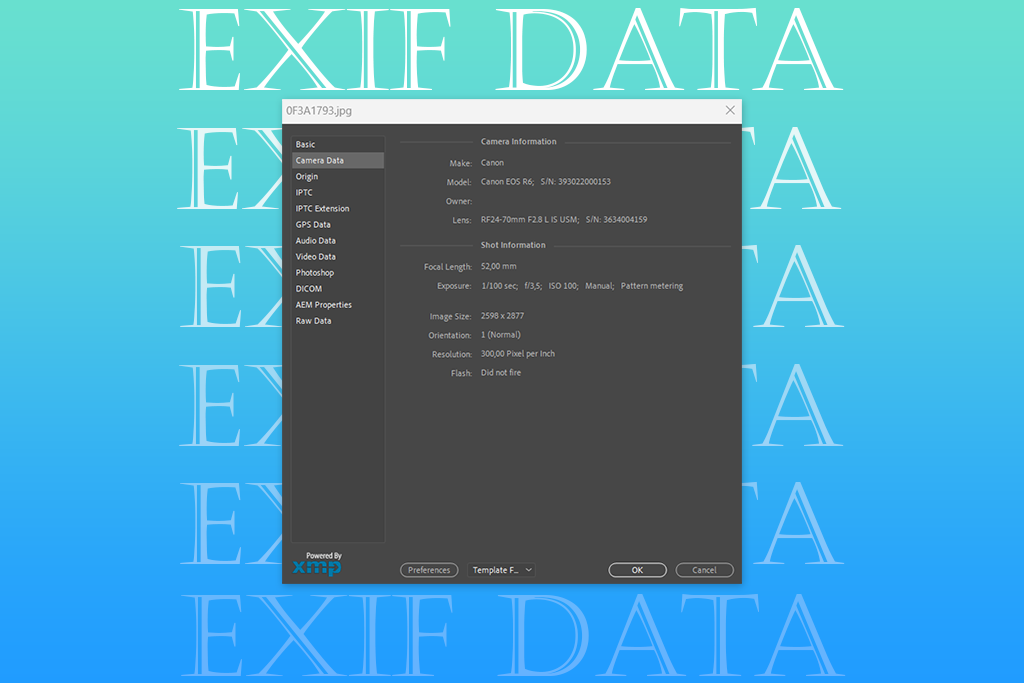
Check EXIF metadata. Most digital photos include hidden information known as EXIF (Exchangeable Image File Format). This data can show details like the camera used, the date the photo was taken, and sometimes the photographer’s name or copyright information.
I check this information using tools like Jeffrey’s Image Metadata Viewer or Photoshop’s File Info. Sometimes the data shows the creator’s name or the license. Keep in mind that EXIF data can be removed or changed, so missing details don’t mean the image is free to use. Still, it’s a helpful first step; if a name or license appears, you know who to connect with.
Reverse image search (content-based). This is one of the most effective ways to check an image. You upload the image file or paste its link and search for similar images online. If you see the same image on a photographer’s website or a stock photo site, it helps you identify who owns it.

I usually begin by using Google Image Search. By clicking the camera icon, you can upload an image or paste its link. Google then shows where that image appears online, which helps track down the original source. For example, if the image shows up on sites like Shutterstock or Getty, it’s clear that the image is copyrighted and owned by those platforms.
Look for credits or context. Sometimes the site where the image is posted includes a caption or credit near the picture. If you see a photographer’s name or a photo agency mentioned, it helps point you to the source. I usually check the area around the image for these details. Google’s image search can also show the image in news articles or blog posts that list a source, which gives more clues about ownership.
Check copyright registries. In the U.S., creators can officially register their work with the Copyright Office. Registration isn’t required because copyright exists automatically, but it can serve as useful proof of ownership.
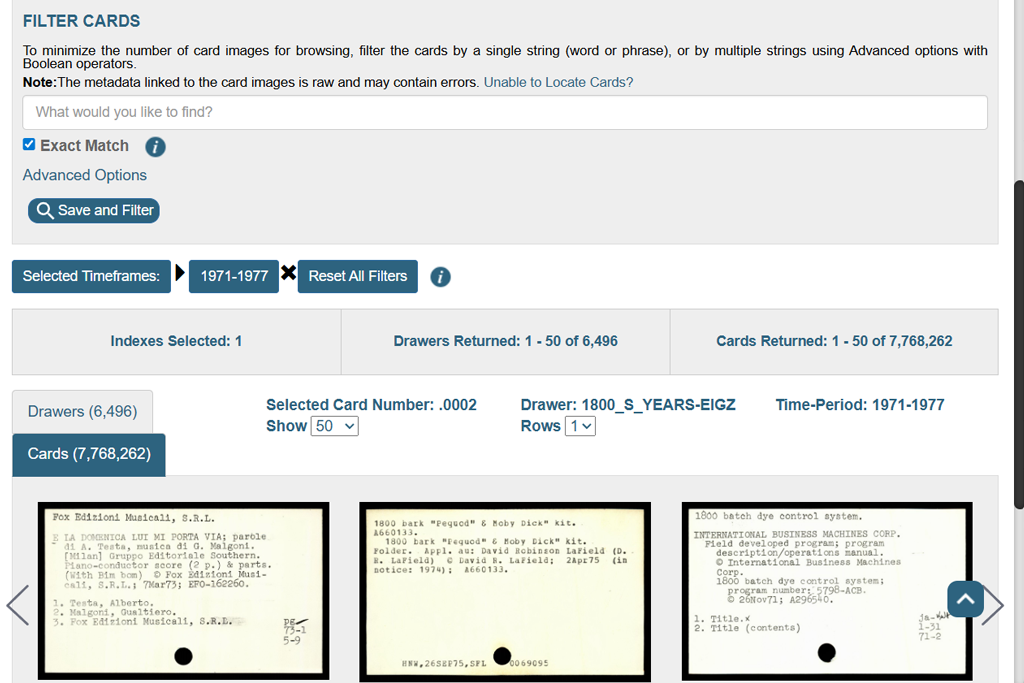
The U.S. Copyright Public Catalog lets you search by title or author. If the photo was officially registered, like in a stock photo library, you might be able to find the owner’s name in a special database. There are databases for different places, like one for Europe. I still check other things too, because most online photos aren’t registered, but it’s a good extra step to be sure.
If you still aren’t sure whether an image is safe to use, it’s best not to use it. I’ve had problems before from assuming an old photo without clear credit was free, when it wasn’t. Instead, look for licensed alternative or ask the owner for permission. When you’re unsure, don’t use the image.
Quick checklist (do this first):
Red flags (stop and investigate):
Short, practical reminders:
Why this matters to me: I once changed an image in a post after getting a legal warning. Replacing the picture and saving proof of the license costs much less than the possible fine. That small step helped us avoid legal problems and taught my team to always check image rights as part of our publishing process.
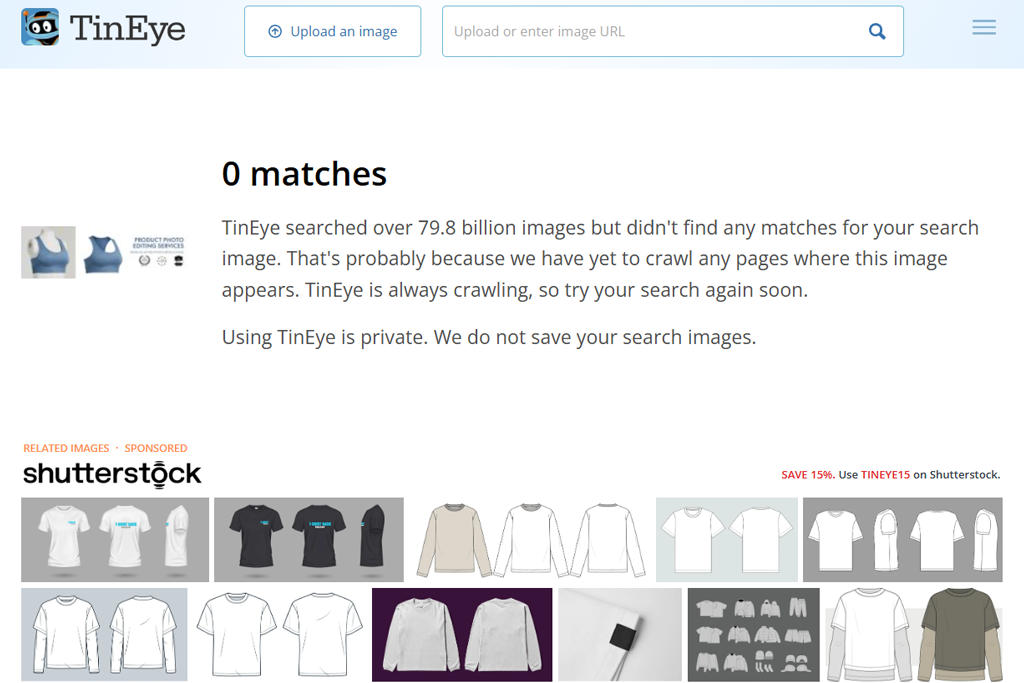
TinEye is the old reverse image search app. You can either upload a picture or share its web link, and it will find that exact image or very similar ones online. It searches through many billions of images and is free to use for its basic features.
Why I use it: TinEye is very good at locating exact matches and images that have been changed a little, like by cropping, resizing, or editing the colors. It respects your privacy, and it shows you the first date it found the picture online, which is a very helpful piece of information.

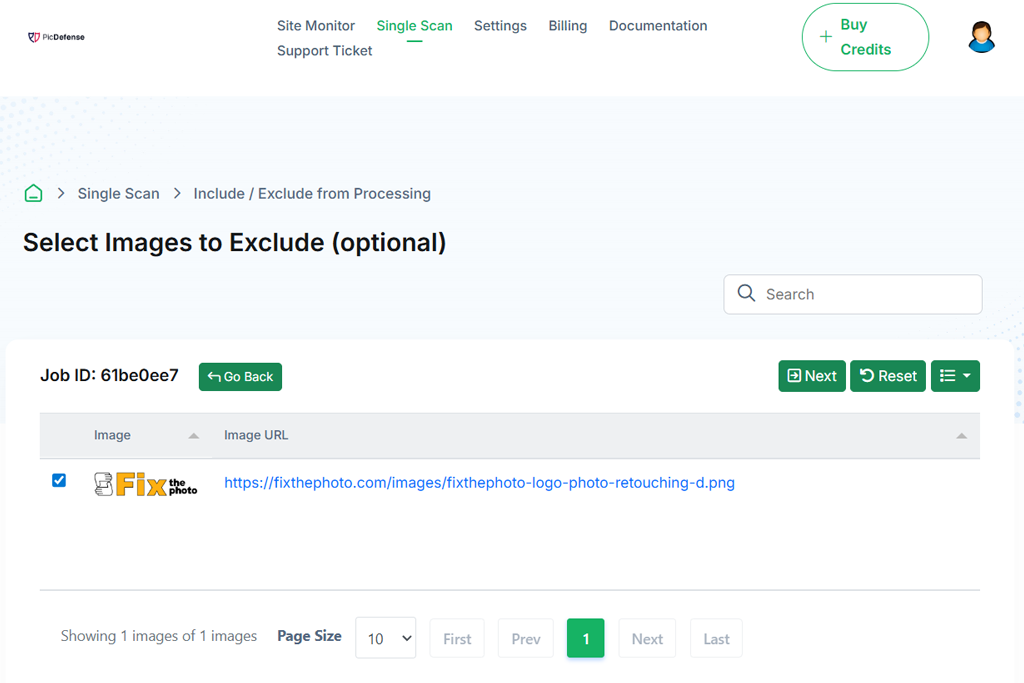
PicDefense is a business-focused platform that uses AI to check image rights. It crawls full websites to detect copyrighted pictures and assigns a risk level to each one. The system analyzes photo metadata, recognizes faces and logos, and tracks where images link back to.
This image usage checker goes beyond basic image searching and works as a full compliance solution with ongoing monitoring and detailed reports.
Why I use it: PicDefense is a professional service that checks entire websites and rates the risk for each image. If you run many pages or work with client sites, it automatically watches your images and alerts you about possible copyright problems.
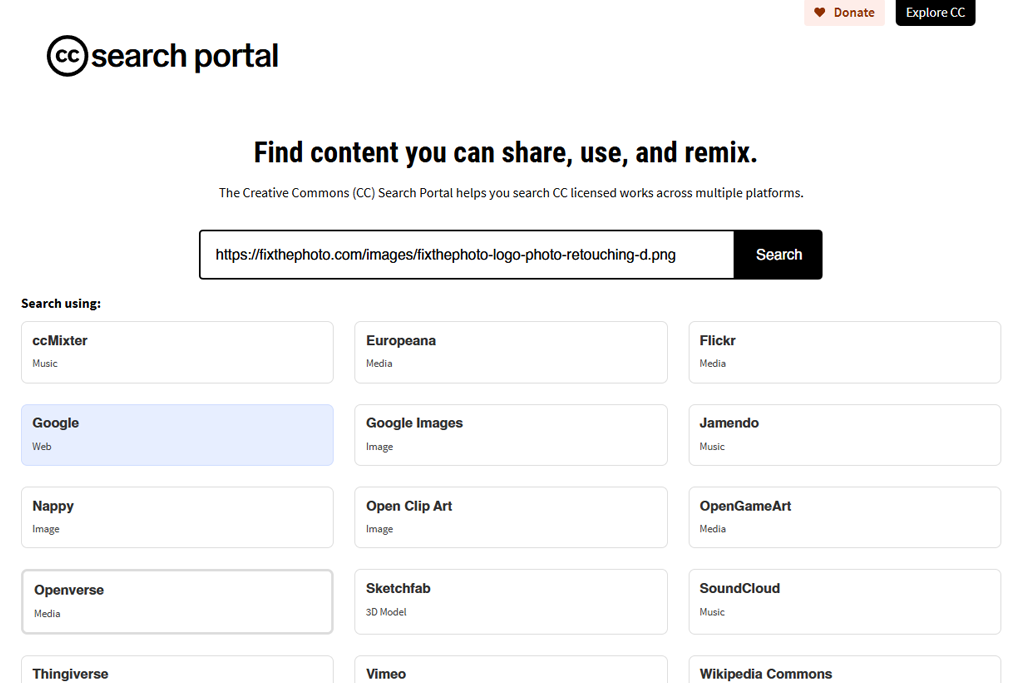
The Creative Commons (CC) Search portal is not a dedicated copyright detection tool. Instead, it helps you find images that are already allowed to be used for free.
It collects Creative Commons images from sites like Flickr, Wikimedia, Unsplash, and more. You can filter results to allow commercial use or changes. It does not check whether a random image is copyrighted, but it helps you find images that are safe to use.
Why I use it: When I need a free and legal image quickly, CC Search gives me images with clear licenses, so I don’t have to guess. It’s an easy way to avoid using images with unknown rights.
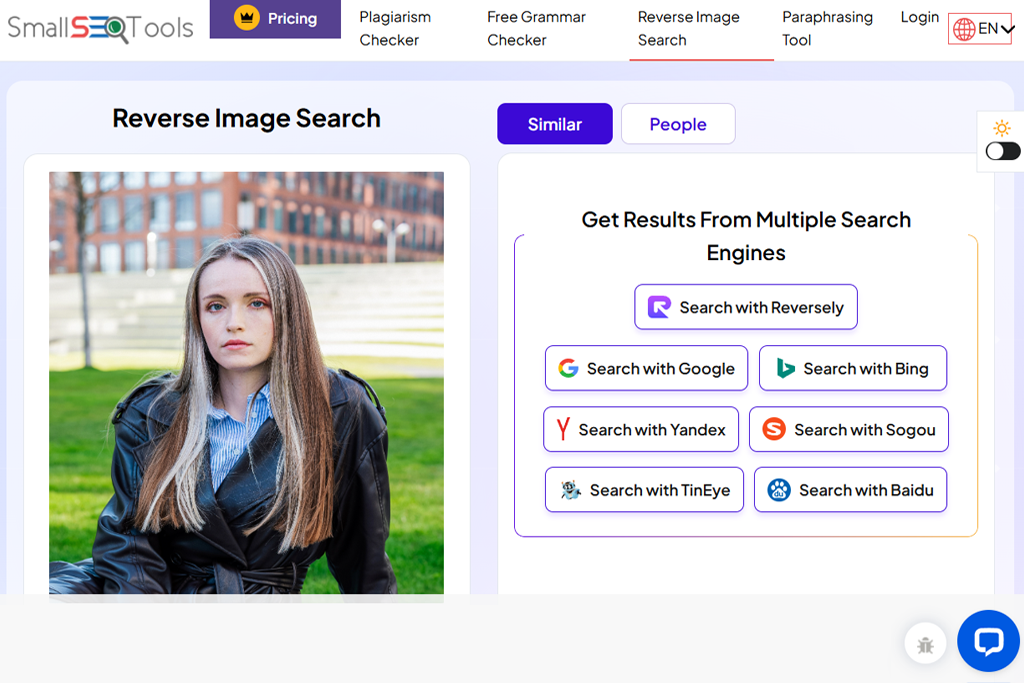
SmallSEOTools is a free collection of online tools. Its Reverse Image Search tool allows you to upload a picture or paste a link, and it then searches Google, Bing, and Yandex all at the same time. In simple terms, it’s a copyright infringement checker that collects and shows you results from the search engines in one spot.
Why I use it: When I need a fast check across several search engines at the same time, SmallSEOTools runs Google, Bing, and Yandex together. It’s a good choice for quick, occasional searches.
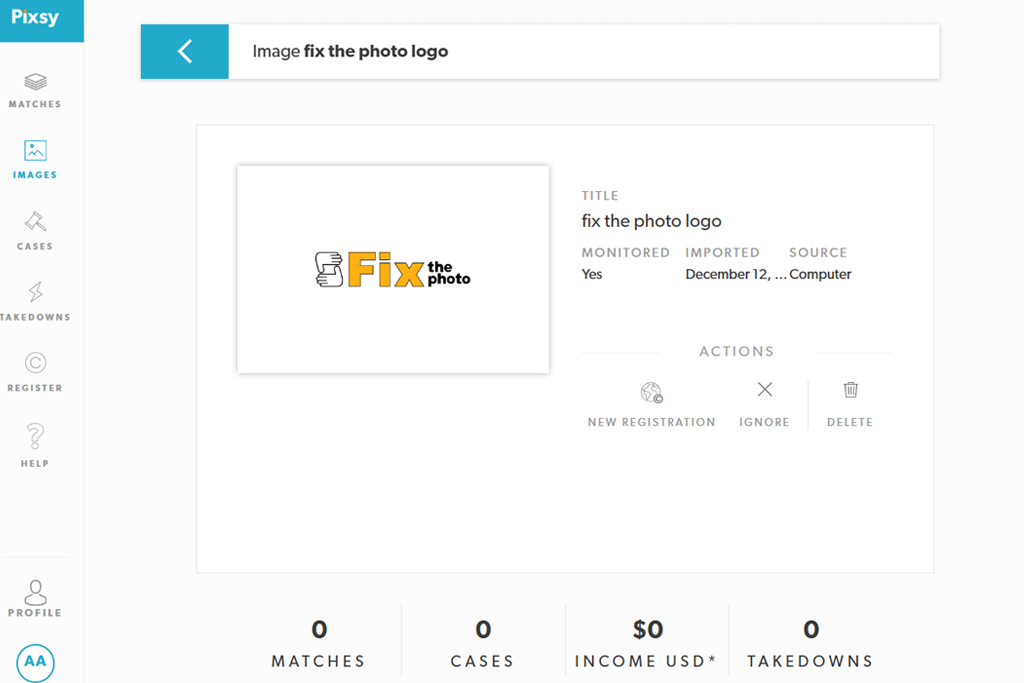
Pixsy is an image protection checker made for photographers and agencies. You upload your images or connect accounts like Instagram or Dropbox, and Pixsy scans the internet for copies. If it finds images used without permission, it can help remove them or assist with claiming payment. It works as both an automated search tool and a legal support service.
Why I use it: Pixsy is for creators who want automatic image monitoring and the ability to take legal steps if needed. I use it to keep my own portfolio protected.
If I need to make sure my wedding photos aren’t being used without permission online, Pixsy is the perfect tool. For a basic question like, “Is this stock photo copyrighted?”, Pixsy cannot check random photos you don’t own. If you use Pixsy to monitor your own images, it is a very strong and useful tool.
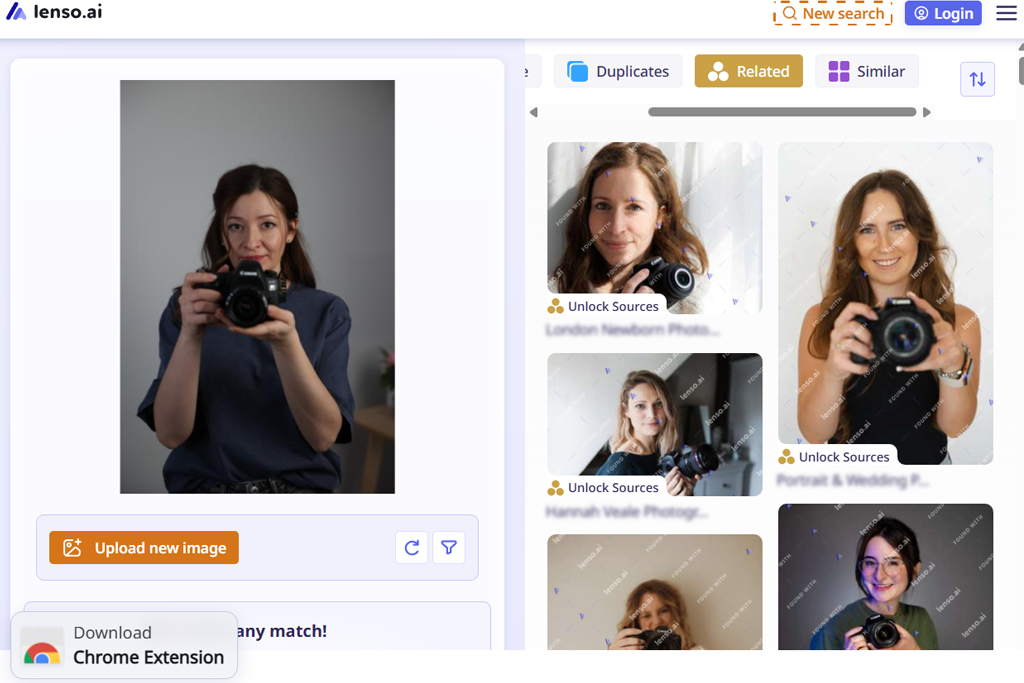
Lenso.ai is a smart image copyright checker and stock photo finder powered by AI. It has a modern approach, allowing you to search using a picture. You can look for matches in different categories: exact copies, people, specific locations, related images, and pictures that are just similar.
A key feature is the face recognition search, which can find where your photo, or someone else’s, shows up online. Lenso also has a dedicated “Copyright Search” mode, which is designed to identify exact copies or locate the original source of an image.
Why I use it: Lenso’s filters and face search help you find where a person or image appears online. It is also good at finding the original high-quality source.
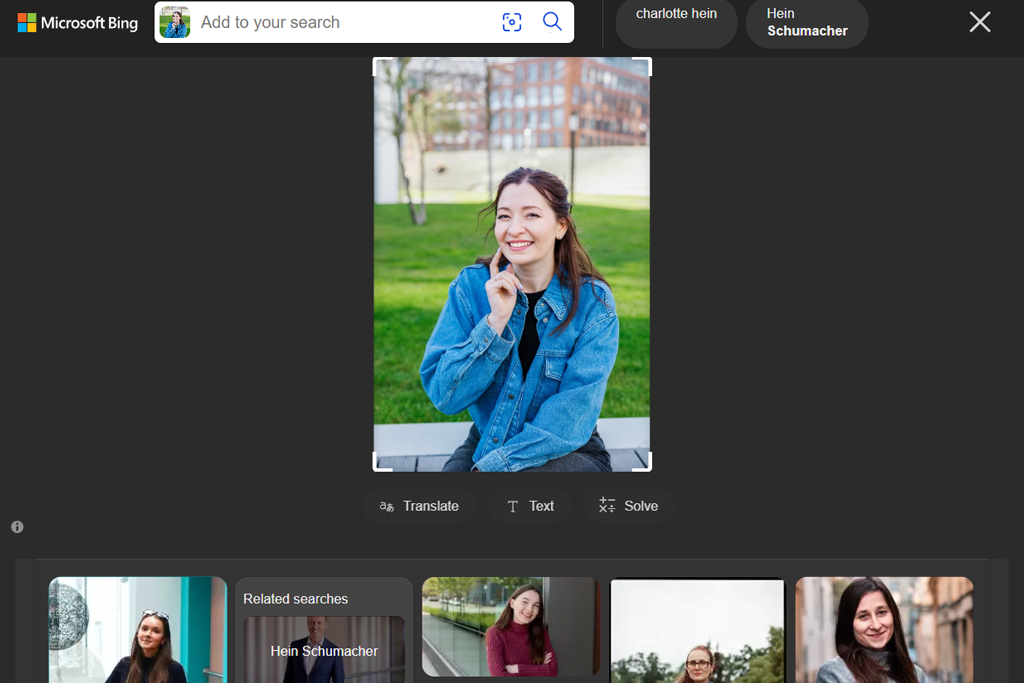
Microsoft’s Bing Visual Search allows you to use a picture to search the web. Unlike Google, Bing smoothly incorporates its AI tools, letting you either drag a photo into the search bar or use the Windows Snipping Tool to search with a screenshot.
It offers many functions, including finding similar images, shopping for products in a picture, identifying objects like plants or landmarks, and extracting text from the image.
Why I use it: Bing is quick to respond, works directly with Windows, and often finds results that Google does not show. Its ability to identify objects and read text from images gives you more helpful background information, especially when you need to verify where a photo came from.
“Always assume an image is copyrighted unless you can clearly prove it’s not. This habit has helped us avoid more than one unpleasant email.”

“Create one folder for each article and store the image, a screenshot of the license, and any permission emails inside it. We call this folder our ‘proof packet.’”

“If you’re not sure about the rights, take the picture yourself. It’s often quicker than dealing with forms and emails just to use a header image.”

“When we use CC BY images, we always add the full, correct credit in the caption - never partial attribution.”

“For big websites, automatic checks work better than doing everything by hand. We use Pixsy and PicDefense to keep track of images.”

Sometimes you find a great photo only to learn it’s copyrighted and not free to use. What can you do instead? Here are some safe options:
Stock photo websites. There are many stock photo libraries, both free and paid. Popular free options include Unsplash (great for nature and lifestyle photos), Pixabay, and Pexels. Pixsy’s blog notes that Unsplash and Pixabay offer millions of images that can be used for commercial projects. If you have a budget, paid platforms like Shutterstock or free Adobe Stock are also worth considering.
Creative Commons/Flickr. For specific images, try Creative Commons sources like CC Search or Flickr’s CC filter. Just remember to give credit if needed.
Take your own photos. As a photographer, I see this as the safest choice. Using your own photos avoids risk, and even simple smartphone shots can work if they suit your topic.
Modify with caution. If an image is close to what you need, think about creating your own version. For example, photograph a similar scene that you fully own the rights to.
In every situation, the goal is simple: only use images that clearly allow permission. This lets you focus on your content instead of stressing about copyright problems later.
I mentioned this earlier, but let’s be clear. Using a copyrighted image without permission can cause serious issues:
Legal action & fines. If you’re a blogger or business owner, the copyright owner can take legal action against you. In the U.S., this can mean statutory fines ranging from $750 to $30,000 per image, and up to $150,000 if the violation is found to be intentional.
In one case, a small blogger had to pay more than $10,000 for using a single photo. Even if you think “I’m too small to be noticed,” keep in mind that agencies and image owners use automated search tools - much like the ones we use - to track down copyright violations.
Cease-and-desist letters. If you’re found using an image without permission, you’ll usually get a takedown notice asking you to remove it and often to pay a license fee or penalty. Pixsy’s enforcement team sends many of these notices, and if the issue isn’t settled, it can move on to a lawsuit.
Loss of reputation. Being exposed for using stolen images can hurt your reputation. As noted by the legal blog borderlesscounsel.com, beyond fines, copyright violations damage trust and credibility. Readers and clients are more likely to support creators who act ethically.
SEO penalties. Even if it’s not a direct legal issue, using images without permission can still harm your website. Some companies report violations to search engines, which can lead to penalties or your images being removed from search results.
Copyright law can be very strict - this is not an exaggeration. Here are a few real examples from our team’s experience:
“In one case, we made a slideshow for a client using images from a free site, but later learned those images needed attribution. We then received a demand letter. We removed the images and paid a small backdated license fee - the mistake cost us money and damaged the client’s trust.”

“Early in my freelance career, I used a stock photo in my portfolio that I believed was free. Later, a collection agency discovered it, and we settled for several thousand dollars. That experience taught me to keep clear records for every image license.”

“On a community website we ran, automated systems flagged a copyrighted image uploaded by a user. After that, we strengthened upload rules, added moderation checks, and now require contributors to confirm they own the rights.”

I work with photos every day - taking pictures, editing and retouching them, handling licenses, and preparing images for clients. Because of this, I worked together with my colleagues at FixThePhoto to carry out a complete, hands-on review of the most popular image copyright checkers available today.
I tested a lot of different tools - websites, browser add-ons, phone apps, and professional desktop software. I had one clear goal: to find image copyright checkers that actually work in a real project, not just in their ads or perfect-looking demos.
I began with a large list of tools that were actively updated, had positive reviews, or offered special features like reverse image search, checking file data, digital fingerprinting, or copyright monitoring. My team and I then narrowed it down by testing them thoroughly on real work projects.
Here is the exact testing method we followed:
Reverse search accuracy. For each tool, I uploaded:
I checked how accurately each image copyright checker could find exact copies, close matches, cropped versions, Pinterest reposts, images with added text, and even screenshots. Any tool that failed to catch clear reposts was immediately ranked lower.
Metadata & EXIF data analysis.
Because I work with RAW files and publish client content every day, I know many copyright issues begin when metadata is missing. So, I tested how carefully each tool checks:
Apps that skipped metadata or checked only part of it were given lower scores.
AI image fingerprinting. We also tested tools that say they can detect AI-generated images or stolen AI content. Many of them struggled, especially with images made using Midjourney or Photoshop Generative Fill. Only a few tools were able to correctly spot AI markers or find reposted versions.
Speed & stability. I tested upload speed with JPG, PNG, TIFF, and files larger than 40 MB. Some web platforms failed when scanning 20+ images at once or when uploading RAW files. Several desktop programs handled this smoothly, especially those built for professional photographers.
Browser extension performance. Because many creators need fast checks while browsing, I tested each extension in Chrome, Firefox, Edge, and on mobile. Extensions that slowed page loading or gave uneven results across platforms were dropped.
Security & data storage. Because image rights often involve sensitive client work, I reviewed each tool’s privacy policy for:
Any picture copyright checker with unclear, vague, or questionable copyright safety policies loses major points.
Pricing fairness: I compared free and paid plans based on:
I’m fine with paying for quality software, but any tool that hid even basic scans behind high-priced plans didn’t make the final list.
After completing the full testing process, the final recommendations were clear. Only image usage checkers that were reliable, accurate, transparent, and genuinely helpful in real photography work entered the top list.


![9 Best AI News Generators [{{%year}} FixThePhoto Choice]](/placeholder-450x300.svg)


