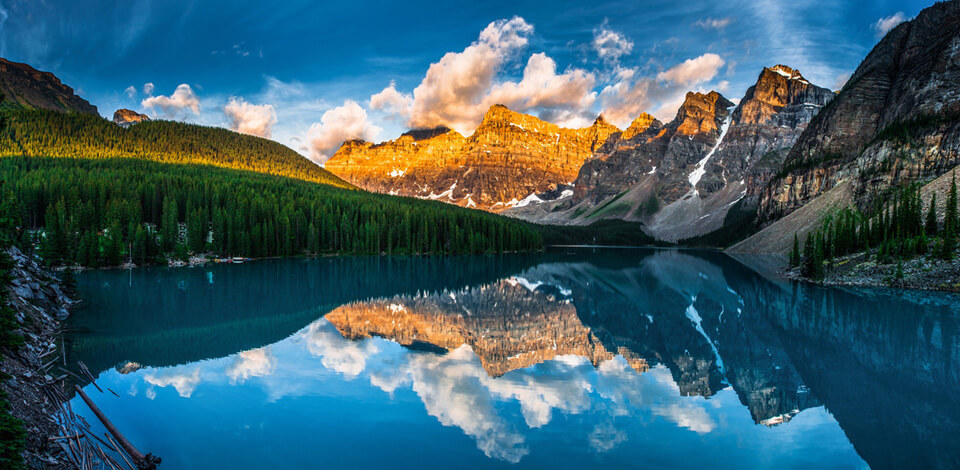
Beautiful photography is represented by works that have optimal lighting, camera settings, complementing colors, and are beautifully composed. You can find such photos in magazines, Pinterest, blogs, and photography exhibitions. If you’re a beginner, achieving such results might seem incredibly hard or even impossible.
From picking an appropriate subject to choosing a tasteful composition and getting the lighting right, there are a lot of aspects to think about before you take a photo. Follow these tips and you’ll unleash your creativity like never before, and achieve fantastic results.
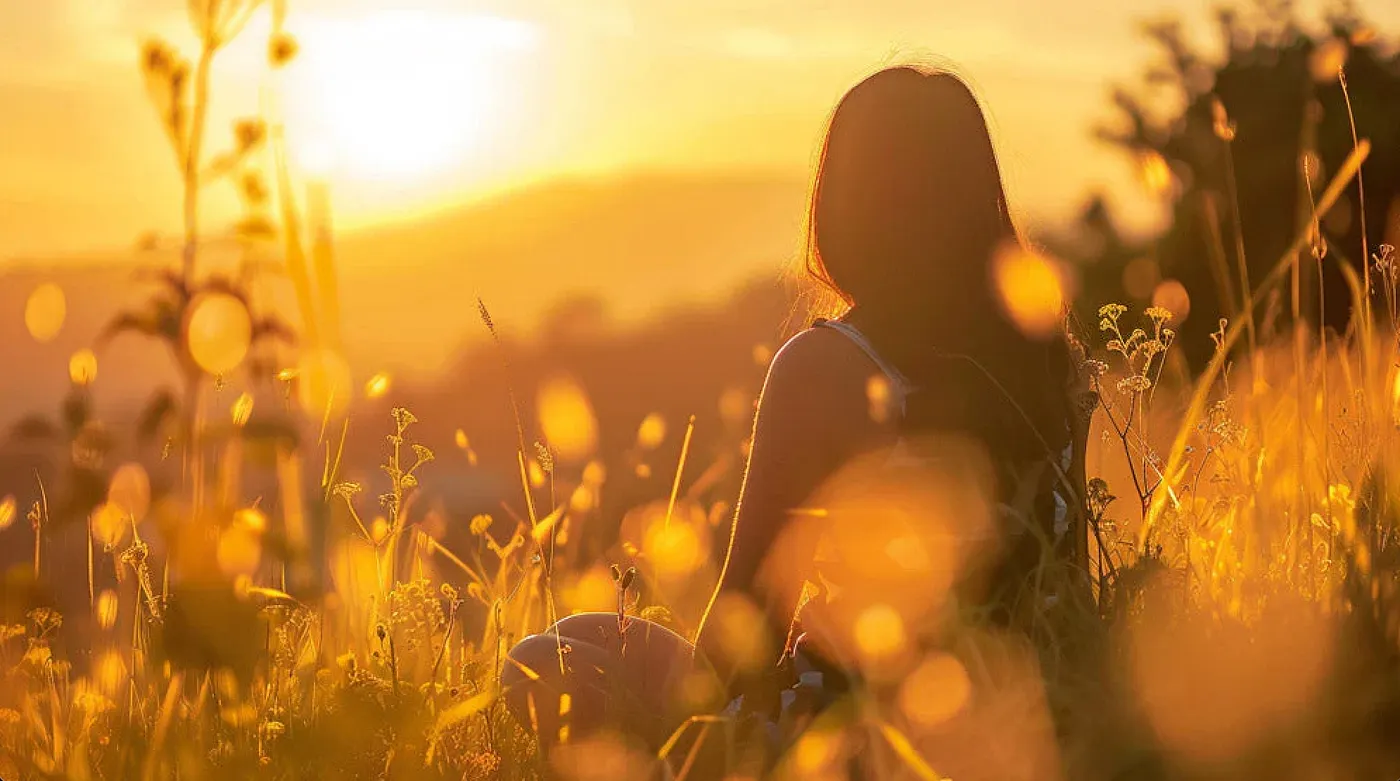
Properly utilizing the available light sources is essential for creating beautiful photography as they affect the shape, texture, colors, and shadows in your shots. You can’t go wrong with the golden hour, which is the period right after sunrise and just before sunset. It’s widely believed to be the best time of day to take pictures. The golden hour allows you to play with long shadows and the increasingly diffused lighting is usually more flattering to the subject.

Given the diffused nature of the lighting in golden hour photography, the risk of you blowing out the highlights or losing shadow detail is much lower, which is a common problem when shooting in broad daylight. The web is full of handy calculators that allow you to determine when you can catch the golden hour in your area, with the most reliable options being Photo Ephemeris, PhotoPills, and GoldenHour.One.
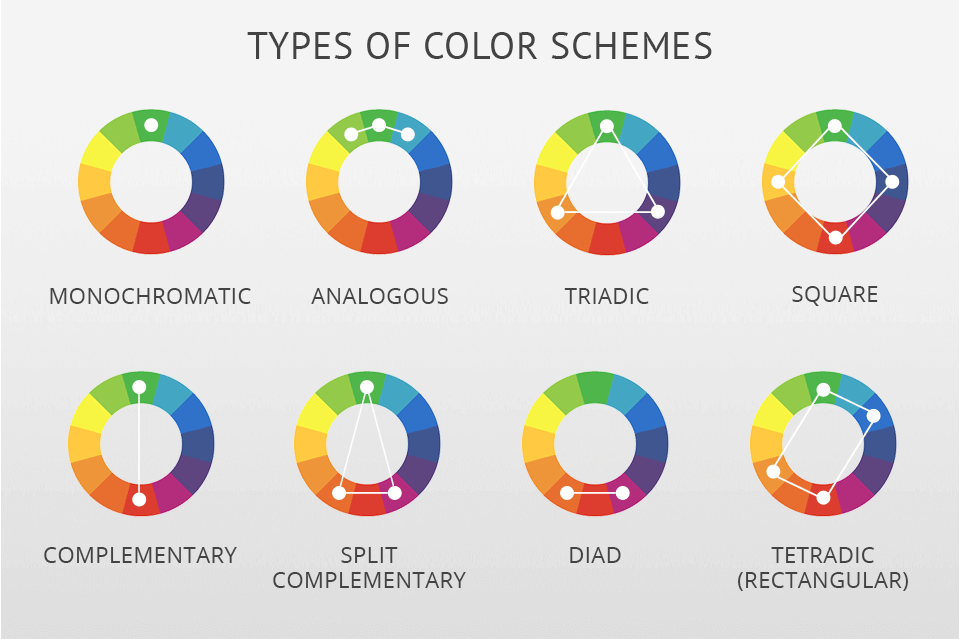
Color is an integral part of beautiful photography and it can play an important role in establishing a balanced composition or setting the mood. One of the most efficient ways to utilize color is to rely on the color wheel. It’s a handy tool that allows you to quickly evaluate various color combinations and see how well they match.
Employ the Adobe Color tool to simplify this process.
For, instance, complementary colors photography has a bunch of popular color schemes that have proven to work and were used for thousands of photoshoots around the world. The simplest way to create such a scheme is to take two tones from the opposite sides of the color wheel.
This way you can create a popping, high-contrast color palette. Monochromic photos offer another method for evoking emotion through color. For example, blue tones make people think of the sky and sea, adding a sense of serenity to any picture that features them prominently.
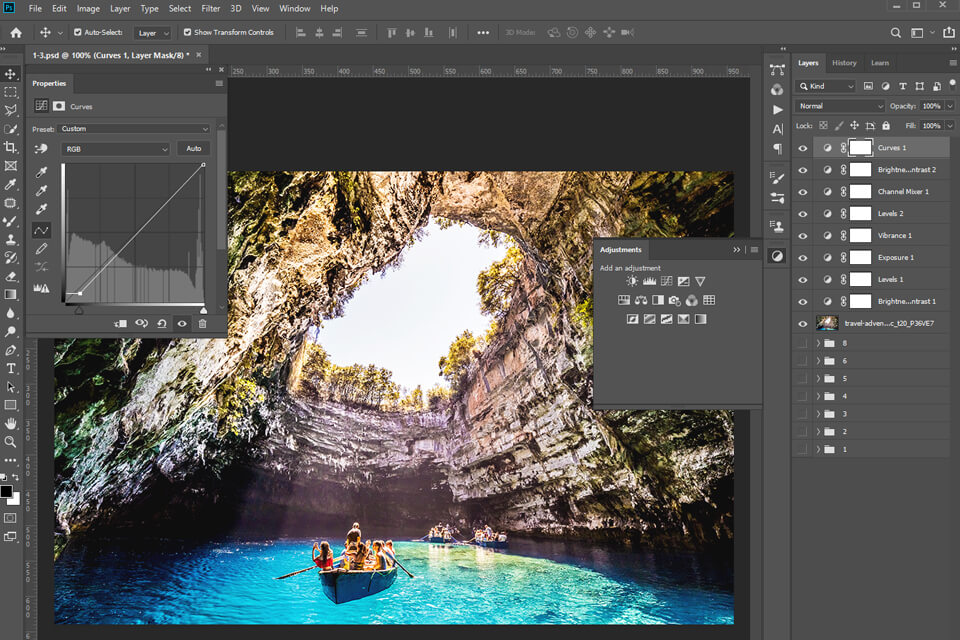
You can employ basic software for handling straightforward editing jobs like cropping, exposure adjustments, white balance tweaks, etc. However, if your goal is to produce truly beautiful photography, you’ll have to rely exclusively on professional photo editing software for PC.
The best options that are commonly used by professionals are Photoshop and Lightroom since both solutions provide advanced functionality that isn’t available in any other software. Lightroom allows you to manage all color improvement tasks you need while also providing top-tier image management features. Meanwhile, Photoshop allows you to retouch your photos, change their background or sky, and perform all possible manipulations.
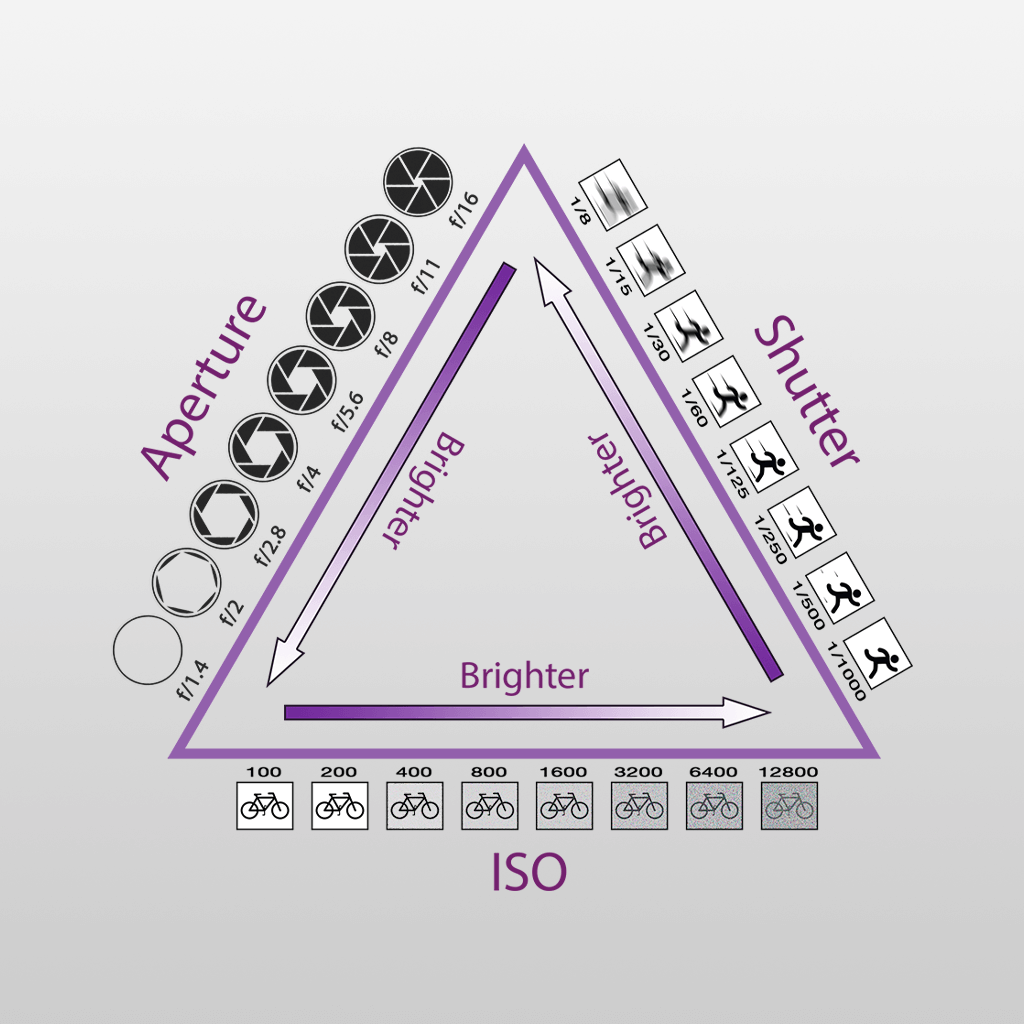
Using the camera’s auto mode is another mistake you have to avoid making if you plan to take pretty photographs. If you want to ensure your work looks as beautiful as possible, you have to learn and perfect the exposure triangle in photography: Aperture, Shutter Speed and ISO.
According to this principle, all 3 components must be perfectly balanced for you to take a perfectly exposed picture. Whenever you alter one of the settings, you should also tweak at least one more parameter to achieve the desired result. If you're just a beginner, you can start by employing such tools as Omni Calculator or Endoflow to figure out how to use these elements properly.
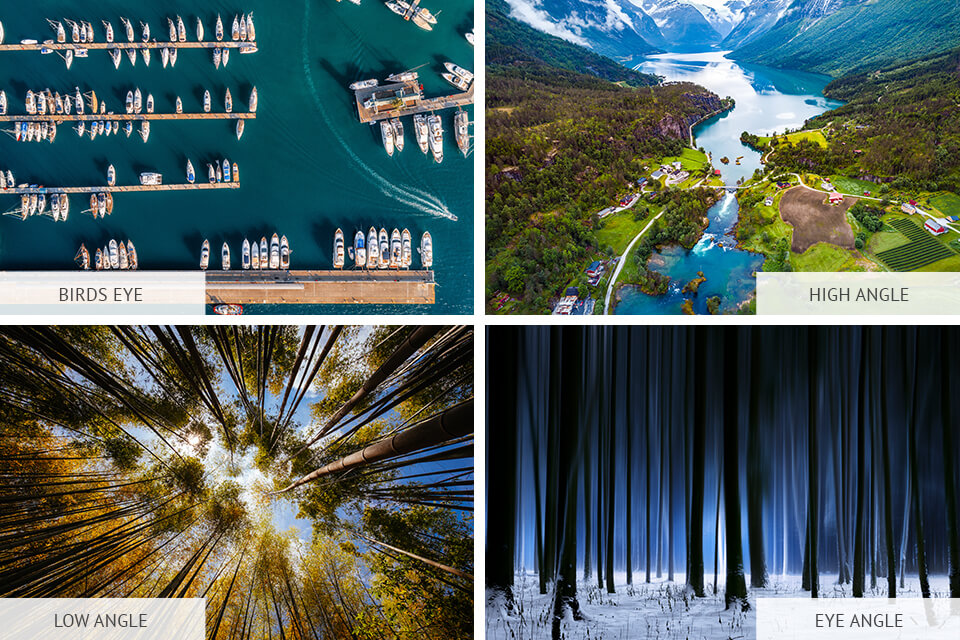
Perspective has a huge effect on the composition of any shot. You can experiment with this aspect in two ways: by trying out different angles or distances. Consider changing the vantage point of your camera – rather than shooting at eye level, lower yourself to the ground or prop up the camera higher.
By taking a low-angle shot of the horizon, you’ll be able to boost the immensity of the subject and feature a bigger part of the sky. Birds eye view photography hugely increases the amount of land or flooring in the shot while showcasing the subject from above. However, remember that having a person look small can leave the impression of insignificance while close-up shots do the opposite and add an aura of power around the subject.

When you see a beautiful photograph, you can be almost certain it went through multiple editing stages but JPEG photos aren’t particularly suited for that task. Meanwhile, RAW is an image format similar to JPG but unlike the latter, it includes all data captured by the camera’s sensor without being compressed.
By taking photos in RAW, you’ll be able to enjoy higher quality results while having nearly unlimited editing freedom. For example, RAW images allow you to easily fix exposure and color temperature issues as well as adjust white balance or contrast. You can also experiment with any other effects without damaging the quality of the photo.

An overabundance of detail can make the shot look overly busy and distract the viewer from the main subject. The lower the f-stop value, the more you’ll be able to blur out the background, eventually creating bokeh photography. If you want to take pictures with beautiful bokeh, you'll need a lens that supports low f-stops. For maximum effect, it's recommended to go as low as 1.2 or 1.4, which is possible with a lens like Canon EF 50mm f/1.4.
Higher focal lengths, regardless if you’re using a zoom or a prime lens, can help further strengthen the bokeh effect. If you want to take up bokeh photography seriously, it’s recommended to get a lens with a focal length of 70mm or higher, like Canon EF 70-200mm f/2.8L.
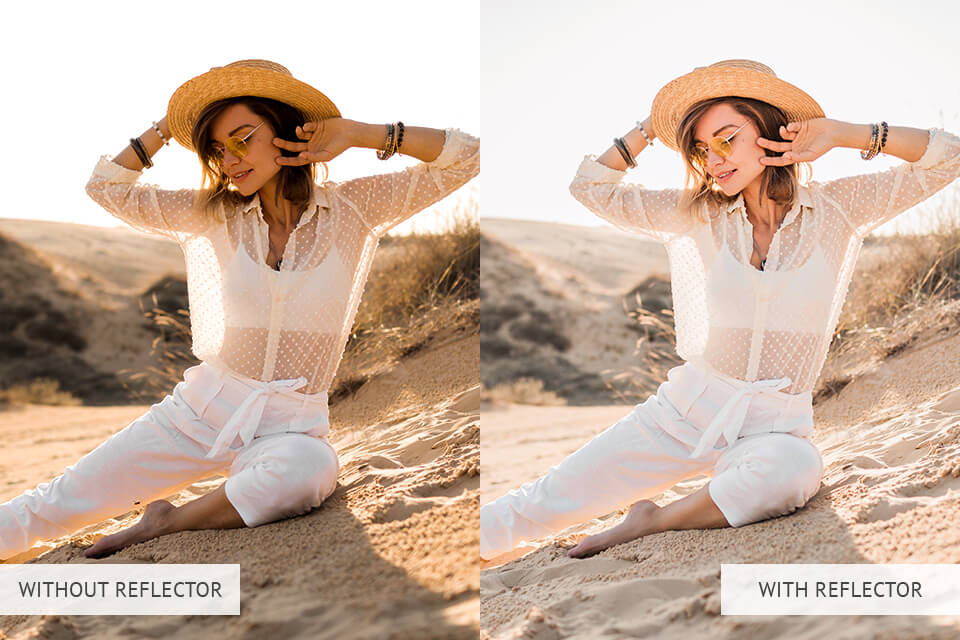
One of the cheaper gear pieces that you can use for getting beautiful lighting is a reflector board. By getting a model like the Neewer 5-in-1 light reflector, you’ll gain the ability to manipulate the lighting in your photos as you see fit. Such versatile light reflectors are supplied with reversible covers that are made of various reflective materials.
For example, you can use a silver cover to reflect bright light, white surfaces for creating softer light, and black covers for reducing the amount of light in the shot. There’s also the option of making a DIY photography reflector out of foil. If the contrast in a portrait or still life picture is too high, employ a reflector to fill the shadows around the subject. You can change the intensity of the fill light by moving the reflector closer or further from the subject.
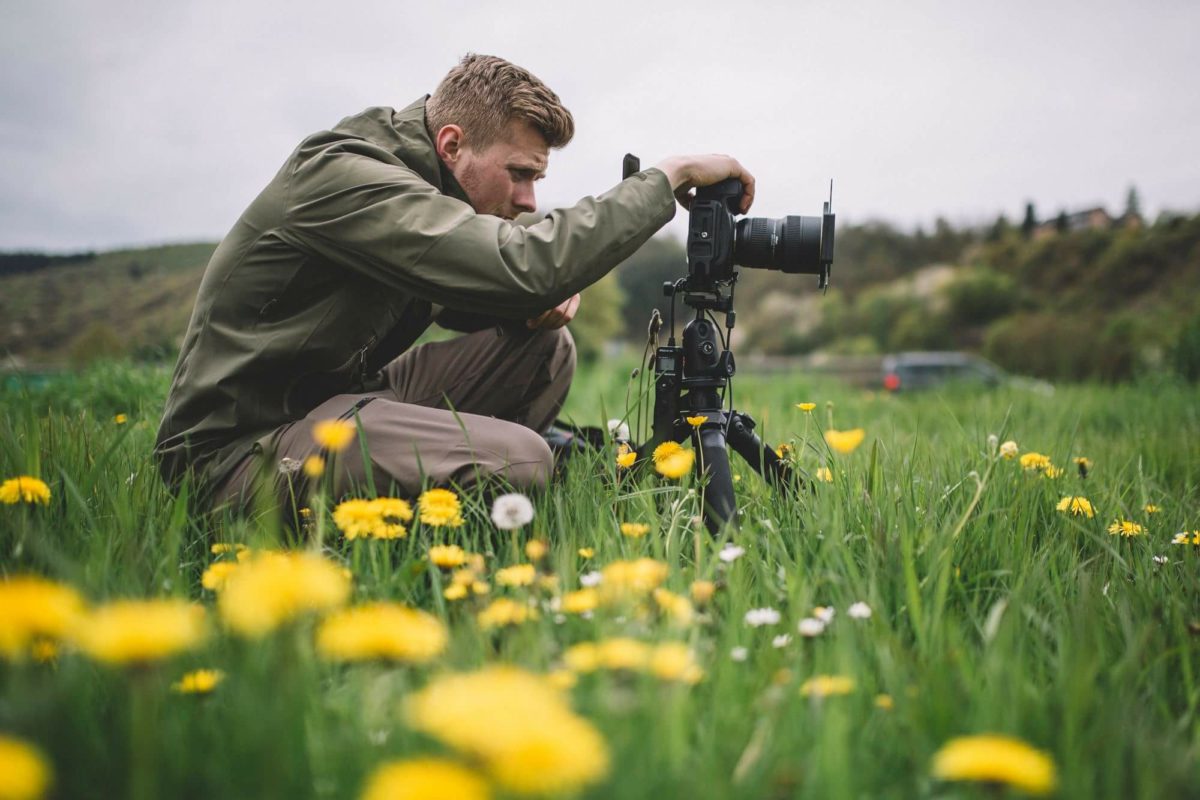
If you want to make your photography pretty, you have to deal with camera shake. While nearly all modern cameras come with image stabilization systems, those aren’t perfect if you are forced to work in low-light conditions. Ordinarily, such photos end up looking blurry because of the unwanted motion caused by the photographer who couldn’t hold the camera still while the sensor was receiving the necessary light.
You can solve this issue by purchasing a tripod made by good tripod brands which will give you more control and freedom over the photoshoot. With its help, your photos will not only always look clear, and beautiful but you also won't have to align their horizon lines in post. A tripod like the Manfrotto Befree is a perfect compact option.
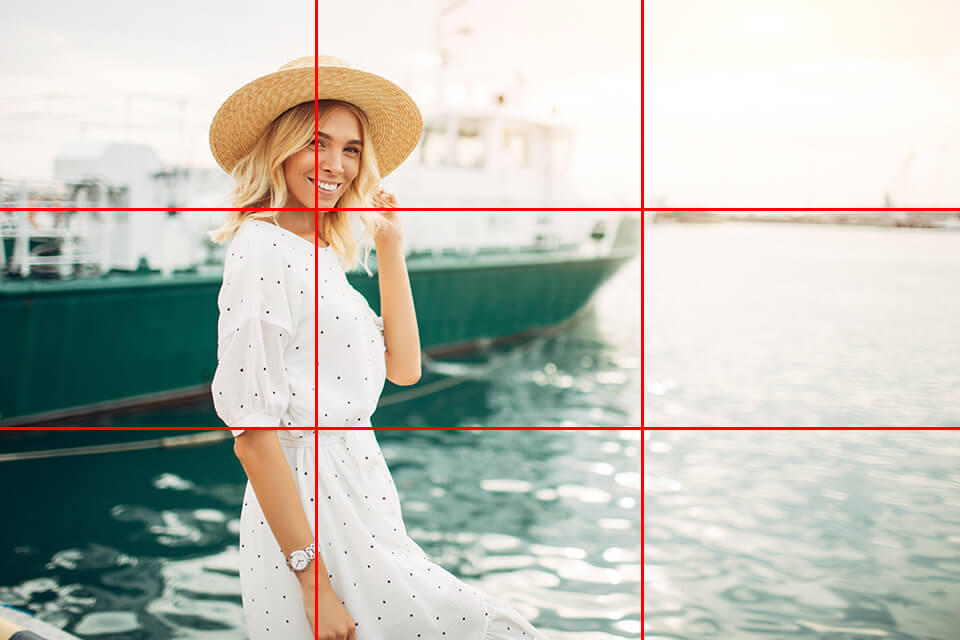
Rather than focusing on the center of the scene, you can make the composition more original by adhering to the rule of thirds in photography. This rule deals with breaking the shot down into 9 equal parts by drawing 2 horizontal and vertical lines.
This popular approach states that by placing points of interest in the intersections of said lines, you’ll be able to take a better balanced and captivating photo that will be more beautiful to the viewer.
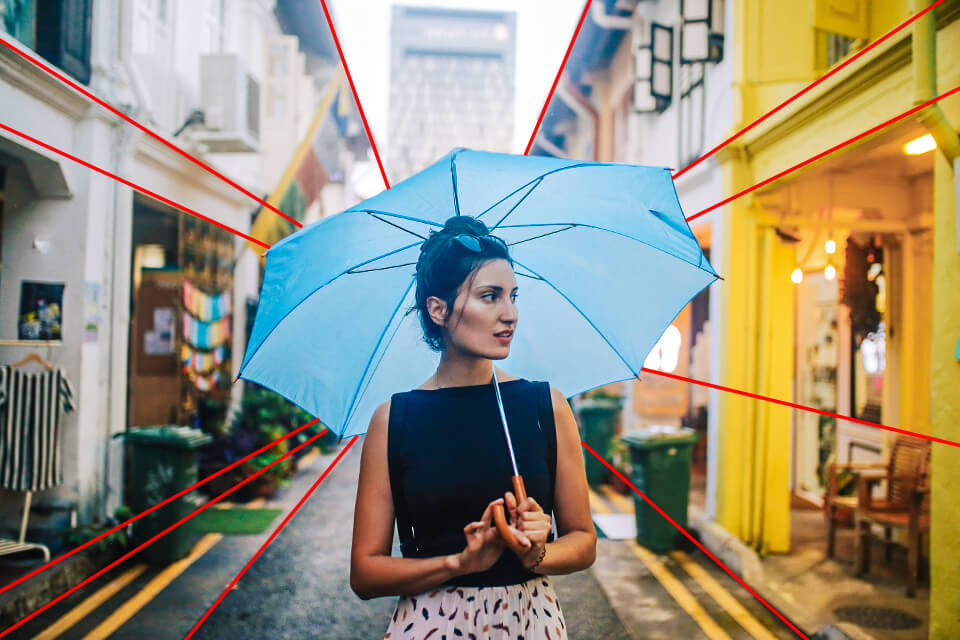
Leading lines photography relies on utilizing the line shapes in a scene to drive the viewer’s attention to the focal point. Potential leading lines include everything from roads and fences to symmetrical flooring and walls.
The key here is to properly use the lines to navigate the viewer’s eye through all points of interest along the way and ensure it ends up being focused on the beautiful subject. Mastering such a composition technique is difficult but very rewarding.
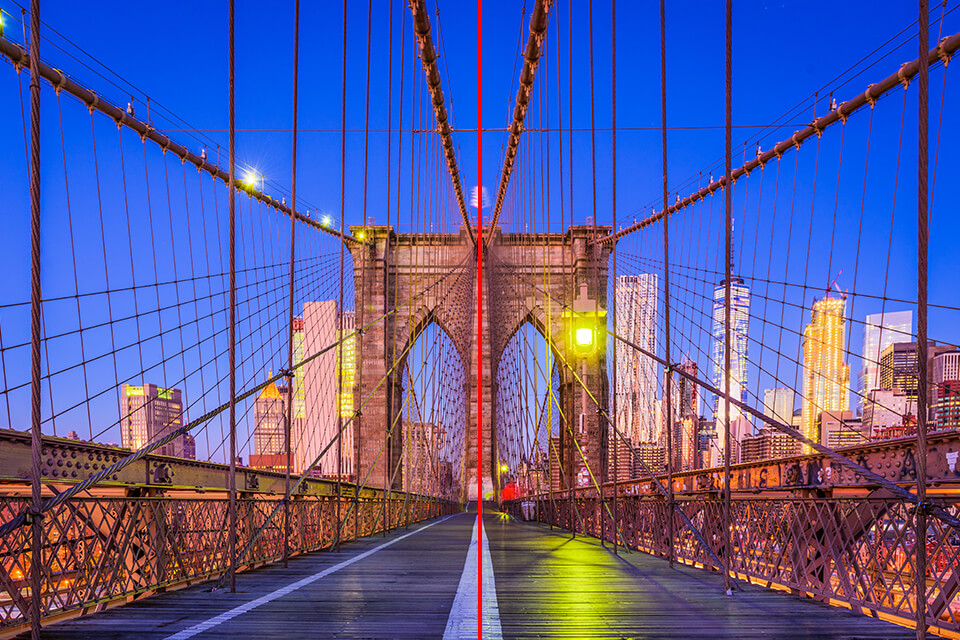
Featuring symmetrical objects in your shots is one of the most useful photography composition tips you can take advantage of to create beautiful shots. An object or scene can be considered symmetrical if two of its halves offer identical visual weight. Popular examples are arches and doorways, long straight roads, flowers, water reflections, etc.
Photographers recognize 4 symmetry categories: horizontal, vertical, reflective, and radial balance. A photo that features any kind of symmetry will always stand out since humans are naturally attracted to symmetrical, harmonious visuals.

Patterns consist of repetitive elements that you can see in either natural or human-made objects and structures. The human brain is inclined to look for repetition in photography since we find it to be extremely aesthetically pleasing. You can find beautiful patterns in colors, shapes, lines, structures, and other objects.

A pattern can be either naturally created or human-designed. For example, nature can provide patterns in the form of honeycombs, trees, flowers, clouds, etc. Meanwhile, architecture photography can include some of the most mesmerizing geometrical patterns you can ever imagine.
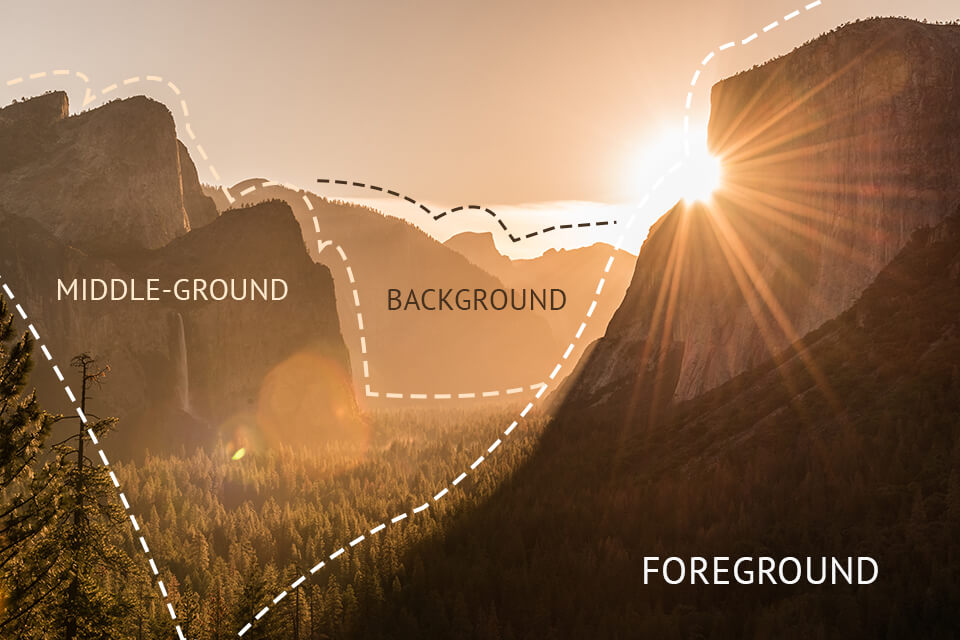
Figuring out the best methods for conveying depth is another key part of learning how to create beautiful photography. If you neglect this aspect, your photographs, especially landscape ones, can come out looking flat and artificial.
The optimal way of conveying depth is adding key objects or points of interest at different distances from the camera: foreground, middle-ground, and background. As a result, the viewer will naturally perceive the depth of the scene, as they go from the foreground to the point of interest in the far distance.
For instance, when taking a beautiful landscape photo, you can establish three separate zones – plants in the foreground, the valley or trees in the middle ground, and the mountains or horizon line in the background. If you compose the shot properly, the viewer’s attention will be gradually shifted from the plants to the mountains while achieving the desired sense of depth.
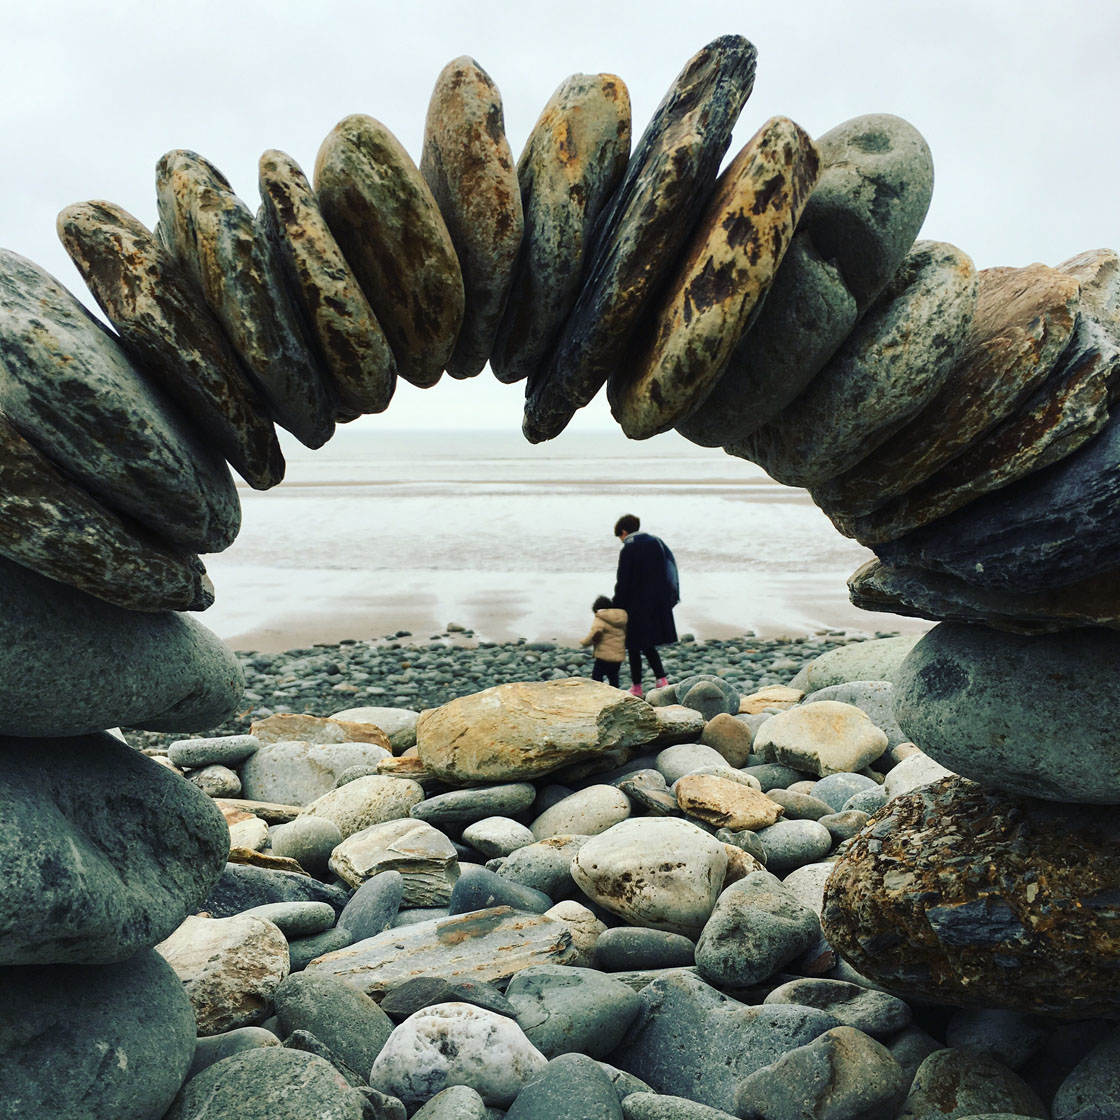
Framing is a handy technique that you can use for creating wonderful photography. You can take advantage of it by finding an object that can serve as a frame for your shot and then taking a photo of the subject inside. Popular examples of framing in photography in nature are trees, leaves, flower archways, and so on.

As for manmade framing options, you can consider using doorways, windows, curtains, fences, bridges, alleyways, streetlights, etc. You can also employ non-physical elements like light and shadows for beautiful shots. You can place the frame either in the center of the shot around the subject or close to the edges.
Do you want to quickly and easily edit your landscape photos? Then take advantage of this preset collection that was created by our professionals. You can use them to improve colors regardless of the weather conditions or time of the day during which your photo was taken. With the help of these tools, you’ll be able to achieve beautiful photography results in a matter of seconds.