When doing cloud photography, a photographer should pay attention to shapes and lighting to capture images with rich colors and detailed textures. You need to select the right exposure and other settings to capture the sky in all its beauty. However, it might be challenging to balance the exposure of the sky and the foreground.

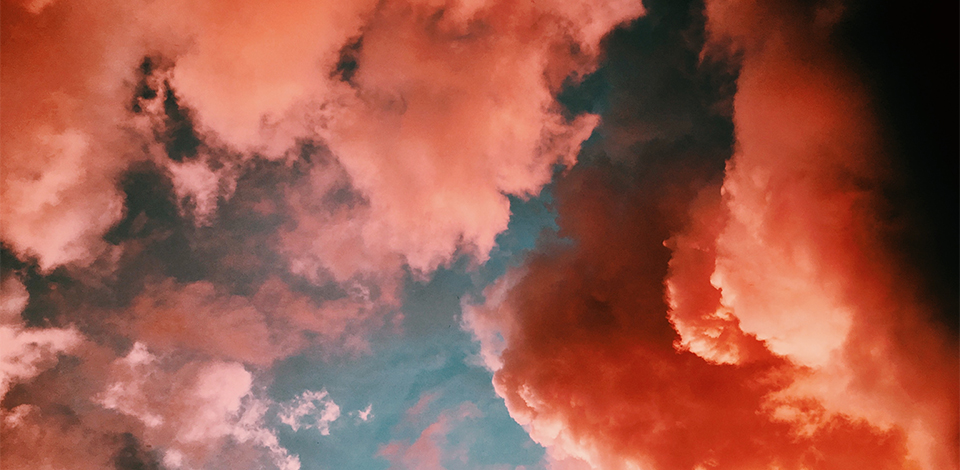
You can capture clouds of different types. Each of them allows you to take a photo with a specific atmosphere. If you want to take pics with rich colors, pay attention to Cumulus clouds. Usually, you can notice them when the weather is great.
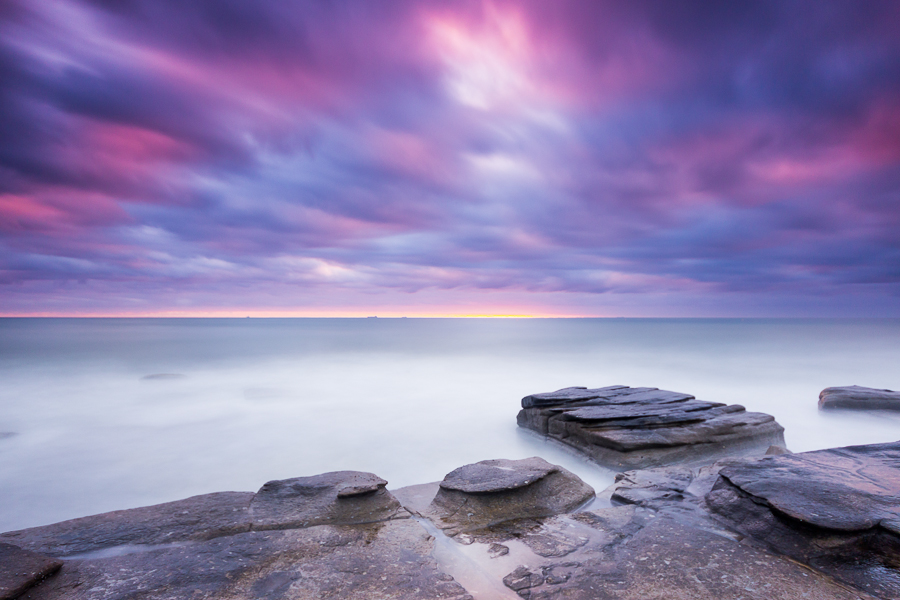
To give a dramatic feel to your photos, capture Stratus clouds on the days when the sky is overcast. You can also take photos of Cumulonimbus and Altostratus to show an approaching storm.

After taking many pictures of clouds, I noticed that the best of them were taken on stormy days, at sunrise or sunset.
Pro tip: Before shooting, pay attention to the weather forecast. I use a weather station to learn about the indoor and outdoor temperature, humidity, wind speed/direction, barometric pressure, and possible rainfalls.
If there is a weather radar nearby, you may use the data it provides as well. This way, you can get real-time results. Using the radar map, you can see the location and direction of clouds. Most such services have an in-built scale that allows you to see whether the weather conditions are severe. There will be green spots in the areas where rain is expected. Purple areas indicate that there might be a storm.

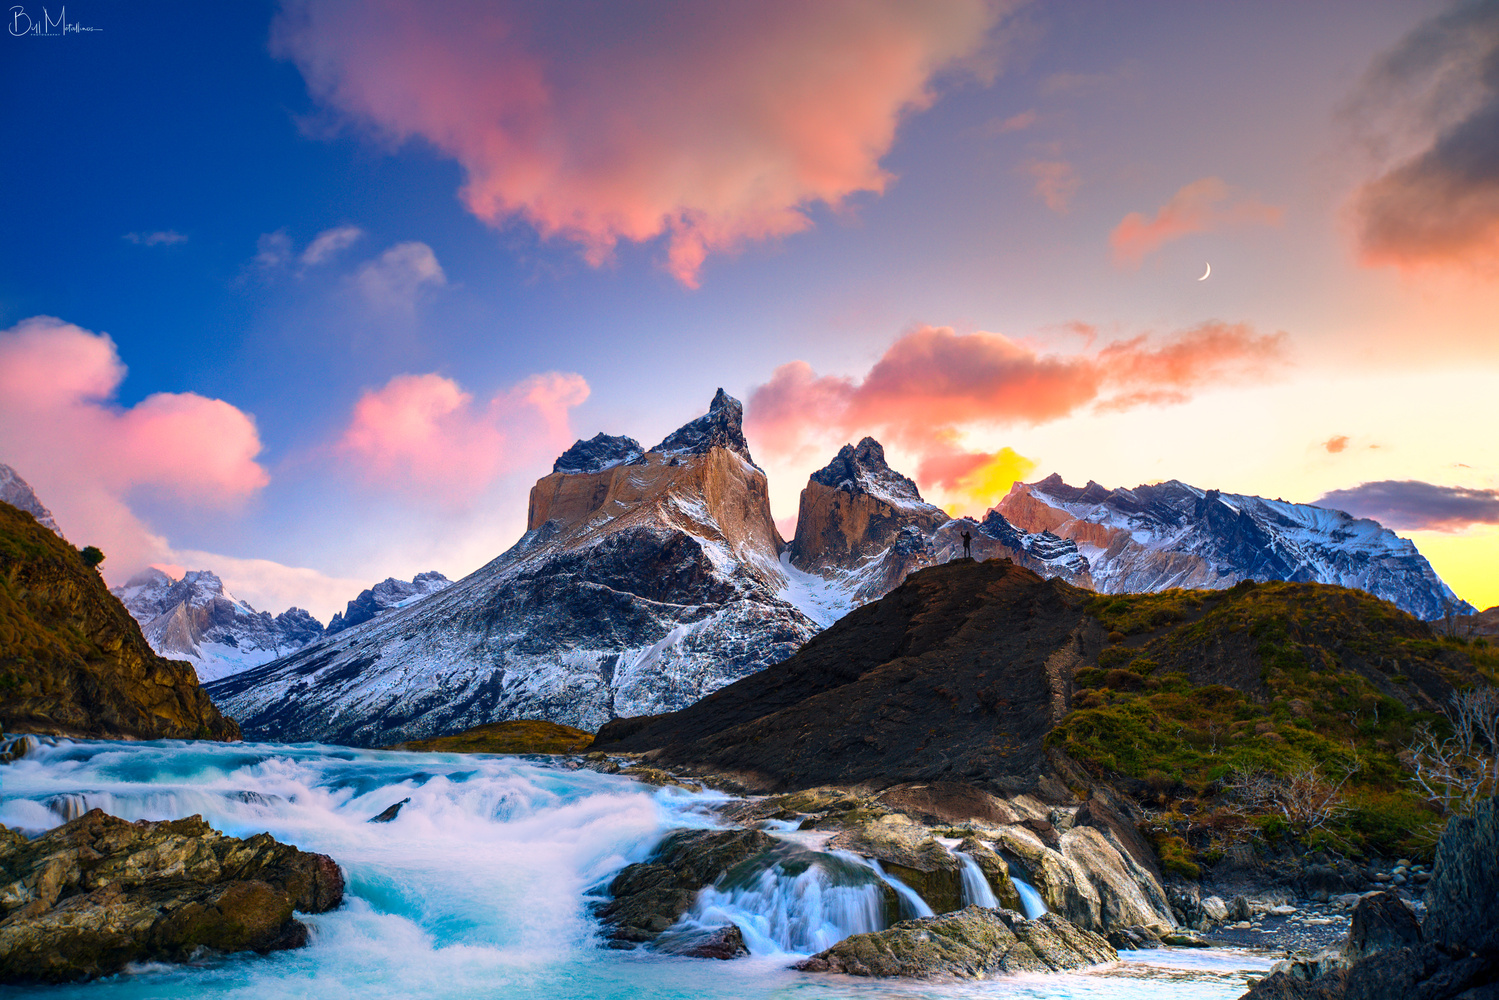
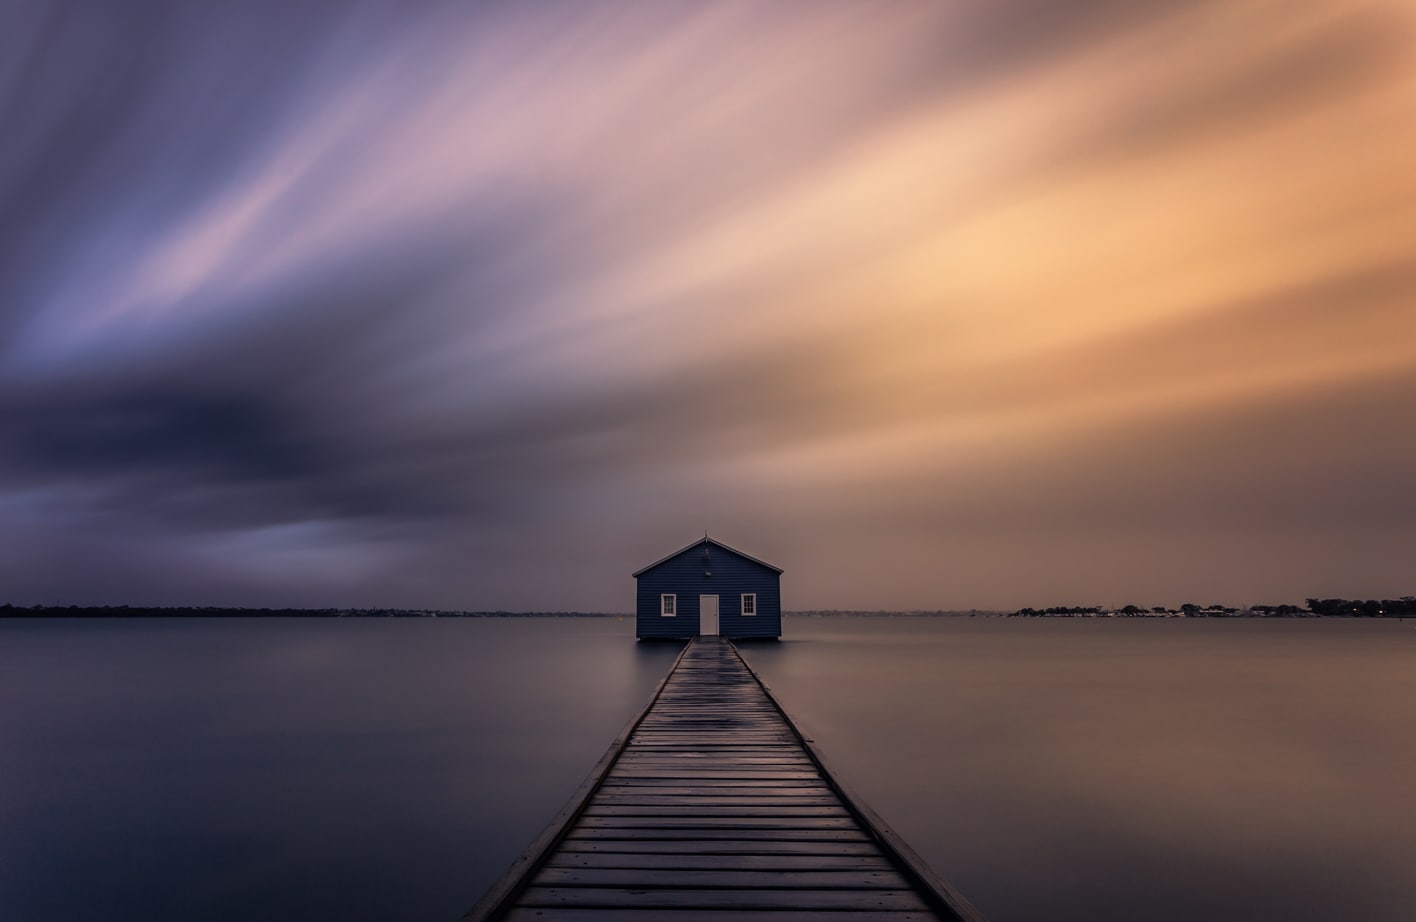
In some cases, you might shoot magnificent clouds before or after a storm. But if you want to capture mesmerizing colors and give your photos a voluminous feel, try shooting them during the golden hour. The hour before sunset or after sunrise is perfect for a cloud photoshoot as it allows you to take pictures with beautiful orange tones and soft light.
During this time, the sun is low on the horizon. The shape of the clouds is emphasized by shadows and golden highlights. Thanks to it, your pictures will look more attention-grabbing.
You need to use the main rules of composition to take great photos of clouds or capture beautiful landscape photos with the sky in the background. For instance, you need to use the rule of thirds and pay attention to the leading lines, symmetry and various elements that may help you create a well-balanced composition and impact the way viewers perceive your photo.

To capture picturesque clouds, you can focus on them and ensure that they take up to 2/3 of the frame. If you want to use clouds to complement your main object or make it stand out, they shouldn’t take up more than 1/3 of the frame.
Whenever it’s possible, make sure to fit the entire cloud in the frame without cutting any part off. It’s especially important for the cases when clouds look patchy. By experimenting with different angles, you can capture clouds in all their beauty. Clouds should not be too close to the edge of the frame.

Before snapping a pic, you need to think about the position of the sun and the way your subject is lit. Photographers who need to capture the sky often try to include sun rays in the frame. If you are wondering how to photograph clouds, try taking a photo of the sky opposite the sun.
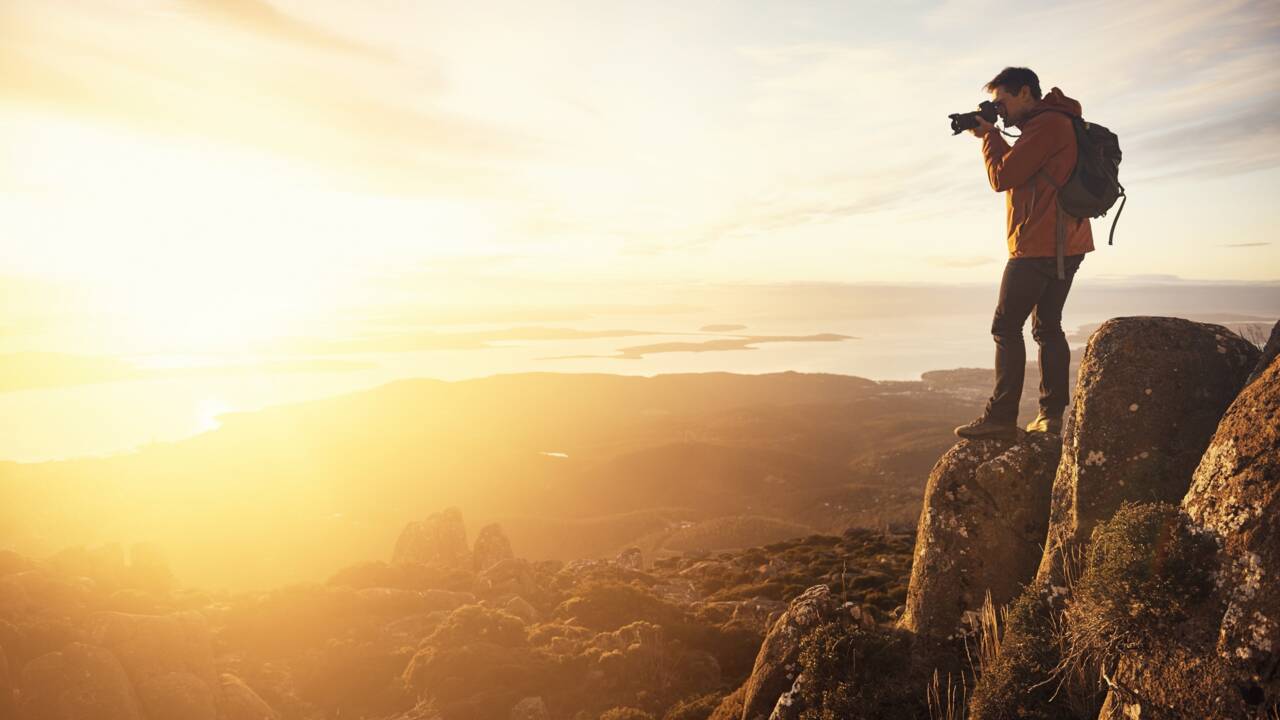
To take eye-catching photos, I use a simple rule of thumb, which allows me to fit the sky and the main subject in the frame. I take the best photos when the sun is 90 to 180 degrees from the camera lens. This technique involves shooting the sky opposite the sun. To take photos in this way, I just stand with my back to the sun. It allows me to capture rich and perfectly saturated colors while ensuring that the main subject is well-lit. This way, it’s easier for me to achieve the right exposure as well.
When choosing a lens, think about whether you want to take landscape photos or capture pictures in other genres. If you opt for a long-range zoom, such as the AF-S DX NIKKOR 18–300mm f/3.5-5.6G ED VR or the AF-S NIKKOR 24-120mm f/4G ED VR, it will allow you to take photos in different genres. You can also use a wide-angle zoom lens, such as the AF-S NIKKOR 16-35mm f/4G ED VR or the AF-S NIKKOR 24-70mm f/2.8G ED. For some tasks, it might be better to use a medium-range tele-zoom lens like the AF-S NIKKOR 70-200mm f/2.8G ED VR II.
Using a wide-angle lens, it will be easier for you to take great photos of the skies. If you use a longer lens, your photo might look blurry at the same aperture. A wide-angle lens can capture more details and add some depth to your photos thus making them more realistic.
Besides, a wide-angle lens can fit more objects in the frame. It allows you to capture more sky as well. I prefer using a 24mm and 15mm fisheye lens.

If you don’t have a lot of experience, you can shoot clouds at auto settings. However, by using these simple tips, you can improve your skills and give your pictures of clouds a dramatic feel.
Start by setting ISO to 100-800. If there is plenty of light, ISO 100 will suffice. In the evening or on a cloudy day, raise ISO up to 800. When shooting at higher ISO settings, you might get a grainy picture.
Set aperture to f/11-f/16. It will allow you to use deep focus and achieve better clarity.
Then, experiment with shutter speed and select an option that suits your needs best. You can also shoot in Aperture Priority mode. In this case, the camera will select the shutter speed automatically.

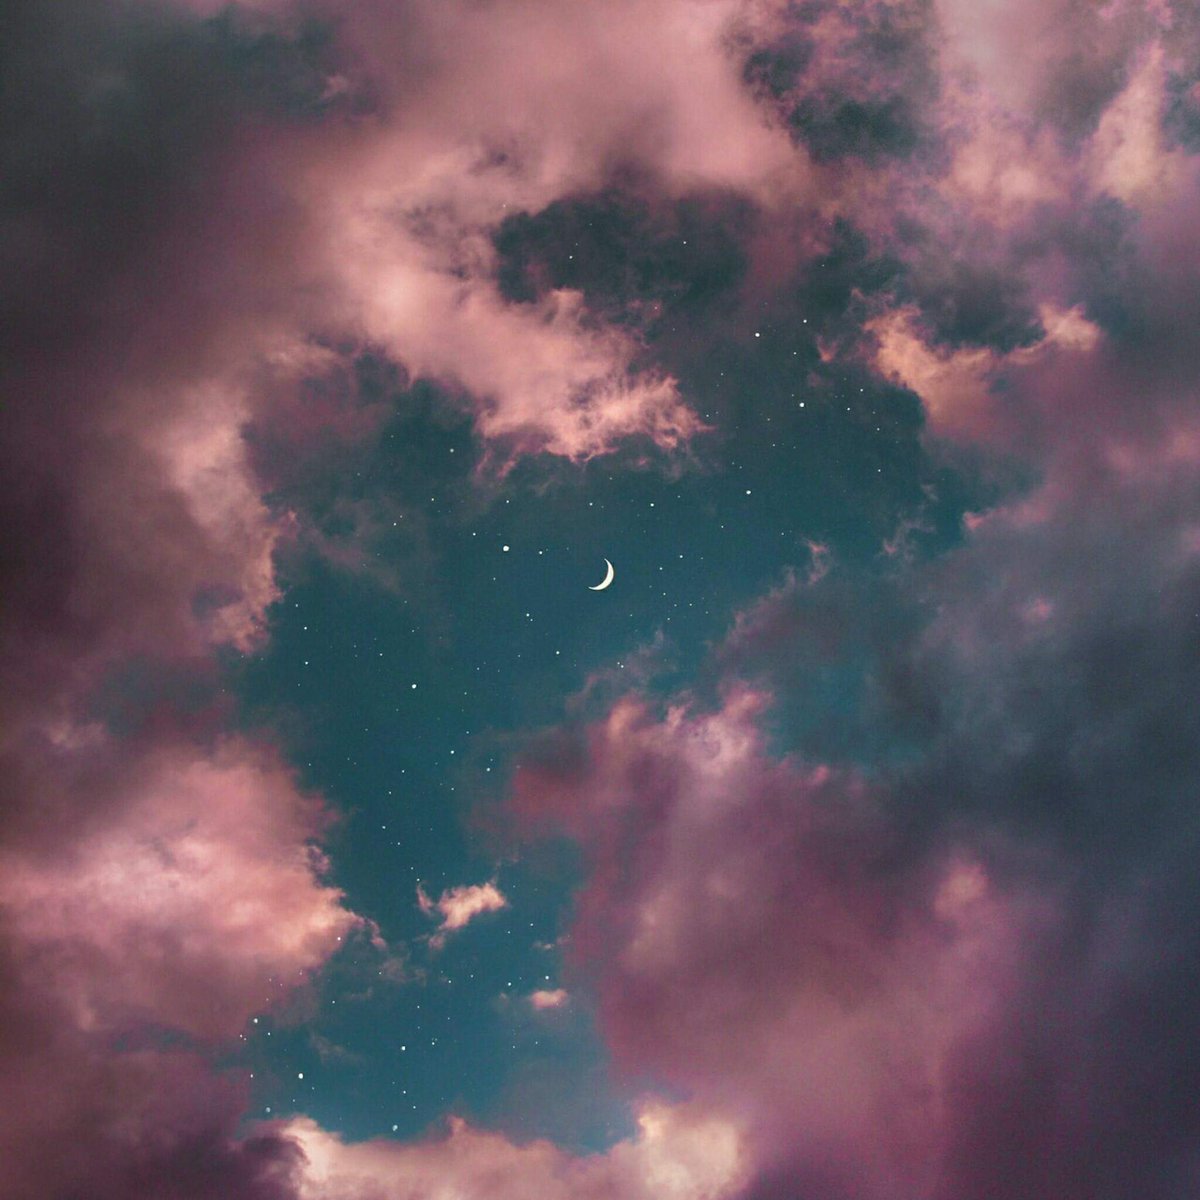
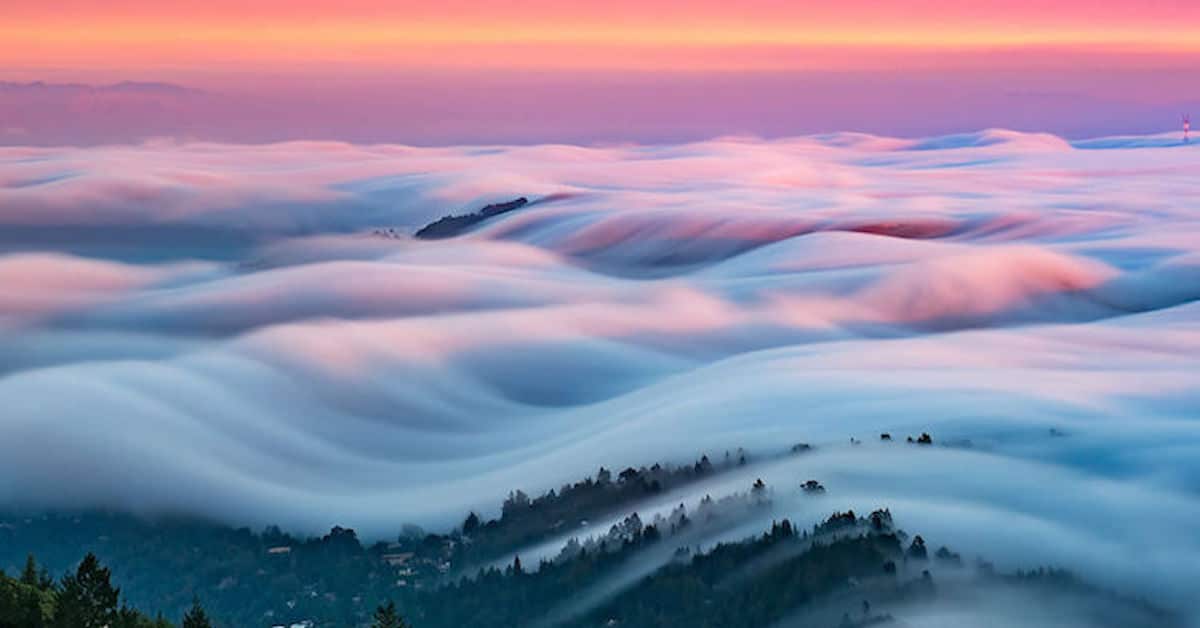
You may need to learn how to use long exposure photography techniques to take photos of clouds at night. If you use a regular shutter speed, you won’t be able to achieve the right level of exposure and your photos may look dark. You need to keep the shutter open for a long time. It will allow more light to get to the sensor. The downside of this is that moving objects may appear blurry. However, when you take photos of clouds, it might create an unusual effect.
If you shoot at long exposure, clouds will get a fuzzy look. To take pictures of clouds in the sky in this mode, you need to adjust the settings manually. Set the aperture to f/11-f/16 depending on the lighting.
When shooting photos at night, use f/11. If there is enough light, then it’s better to use f/16. after selecting the right aperture, you may need to set the shutter speed to 30 seconds. Then, take a test photo. If you don’t like the exposure, adjust the settings until you get it right.
To take photos at 30-second and longer exposure, try using Bulb mode. It will enable you to keep the shutter open as long as you hold the button.
Pro tip: When taking photos at long exposures, make sure to use a reliable tripod and a remote trigger to achieve perfect image stabilization. Thanks to the tripod, you can avoid camera shake. The remote trigger will help you take clear photos without noticeable blur.
If you want to focus a viewer’s attention on the clouds, it’s better to take photos at short exposure. You may need to experiment with the shutter speed. Your choice will depend on how well-lit the scene is. Take a photo and then zoom in to check whether the clouds look sufficiently blurred.

To achieve the right exposure, you may also bracket your photos. For instance, you may take a three-bracket photo one stop apart, which will save you a lot of time when you start to edit your pictures. This option is suitable even for those who use a graduated neutral density filter.
If you want to become a professional photographer, make sure to buy a polarizing filter. With its help, you can separate the clouds and make the sky darker and more dramatic.

You just need to attach it in front of the camera lens and rotate it while previewing the result in the viewfinder. If you find the right angle, it will allow you to separate clouds from the sky and prevent excessive light from overexposing your photo.

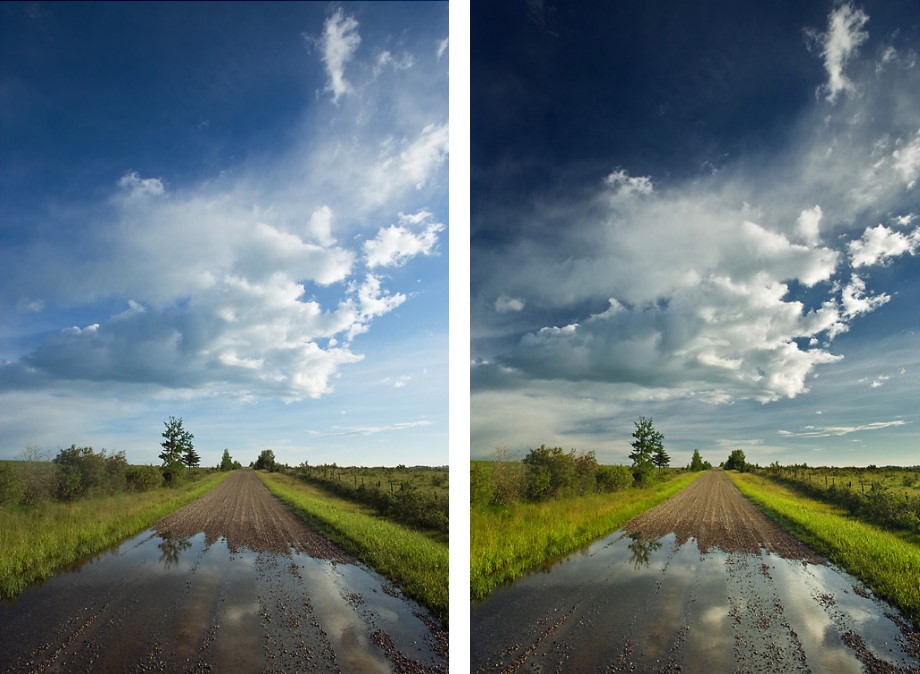
When taking photos, you might notice that the sky is a bit brighter than objects in the foreground. The difference in contrast can be up to 5 stops, which makes it quite noticeable. For instance, if you adjust the exposure for the mountains, the sky might become overexposed.
This is why I usually set the exposure for the sky to make the outline of the objects in the foreground more noticeable. Experienced photographers also often use a Graduated Neutral Density Filter for a cloud photoshoot. With it, you can make the selected areas darker, which makes it perfect for editing the sky. At the same time, the exposure in other parts of your photo will stay the same.
ND filters have ND numbers that show how much f-stop reduction you can achieve. If you opt for ND2, you will get 1 f-stop reduction, while ND4 allows you to reduce the f-stop by 2. With ND8, you can reduce it by 3.
F-stop reduction refers to the number of stops that the filter removes from the original exposure. If you take photos at the 1/4000 shutter speed, you can use an ND2 filter to lower it down to 1/3200.
By using various ND filters, you can achieve a range of effects that will give your cloud photos a creative feel. For instance, you may make clouds blurry by using ND16. This filter won’t allow a lot of light to fall on the camera sensor. For a less noticeable effect, you can use ND2 or ND4 filters with smaller f-reduction.

When working in Photoshop, you can add realistic clouds to your photos or give them a dramatic feel to fully transform the atmosphere in the frame. Your choice depends on the effect that you want to achieve. Since clouds don’t have a fixed shape, you can edit their outlines without making them look unnatural.
Use these tips to improve different types of clouds in Photoshop:
Regardless of the type of clouds that you want to add, try using extreme colors. In most photos, you will see white clouds with blue sky in the background. However, you may use other colors as well. You can enhance the sky manually or use ready-made overlays. Thanks to these tools, your pictures of clouds will look more dynamic.
Besides, professional photographers recommend adding some motion to your cloud photos. For instance, you may use the radial blur effect to make it look as if clouds were moving. Since clouds don’t have a fixed shape, you may use the liquefy tool to create any shape you want.
You can use photos of clouds to enhance your portrait, family, landscape and other pictures. To do it, you need to select a photo of the sky and merge it with a new photo in Photoshop. You can also contact professional retouchers who will help you add a bright sky to your photos, replace the background, remove unwanted objects and add special effects.
If you are wondering how to replace the sky in Photoshop, follow these tips:
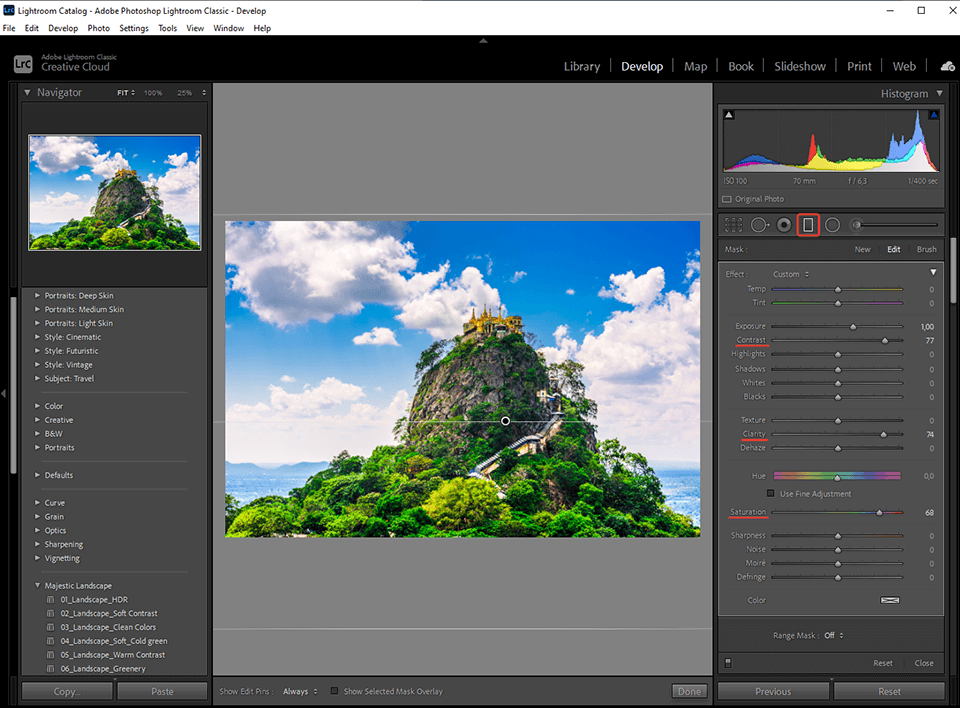
You can use a variety of options to emphasize clouds in your photos. I will share a couple of handy tips that will help you give a dramatic feel to your images and tweak colors in Lightroom. It took me a few minutes to perform basic adjustments and edit my pictures in Lightroom. I tweaked colors and adjusted the contrast to create a more realistic effect.
The only thing I needed to do was to apply a graduated filter in Lightroom and then select the clouds to adjust contrast, clarity and saturation. The Clarity allows you to emphasize the clouds in the sky and give them a voluminous feel.
To achieve a better result when doing cloud photography, I use the Clarity tool to edit the overall photo. It allowed me to emphasize specific areas. However, you should be careful when adjusting the Clarity. If you overdo it, this tool might create halos around buildings and other objects in the frame. To avoid it, you may use the Adjustment brush and use masking tools to add clouds to the sky.
I often use the radial tool in Adobe Lightroom when I need to fix the saturation or tweak colors in selected areas of the sky. This way, I can edit the sky without affecting the model.

When I want to add a dramatic feel to my photos, I make a model slightly underexposed. It allows me to capture the sky in all its beauty and further enhance it during post-processing.

To achieve this effect, I spot meter on the model and set the exposure to around ⅓ stop. If you decide to make your image even more underexposed, it will add some noise to it. As the result, you may get photos with unnatural skin tones. Make sure to take photos in RAW. It will make it easier for you to bring back the highlights of the sky when editing your picture. As the result, you will get a high-quality picture with a beautiful sky.

If you want to take a photo of a backlit sky, you can emphasize a magical atmosphere using silhouettes. To implement this idea, a photographer should spot meter on the sky.

It will allow you to achieve the right exposure and capture the outline of your model. This way, it will be easier for you to capture the texture of the sky and the silhouette of your subject.

You can add the bright glare of the sunny sky to your pictures or create an effect of the overcast sky using this free collection of overlays. They come in JPG format and are compatible with Adobe Creative Cloud software, including Photoshop. You can apply these effects to photos in RAW and JPG formats to make them more mesmerizing.


