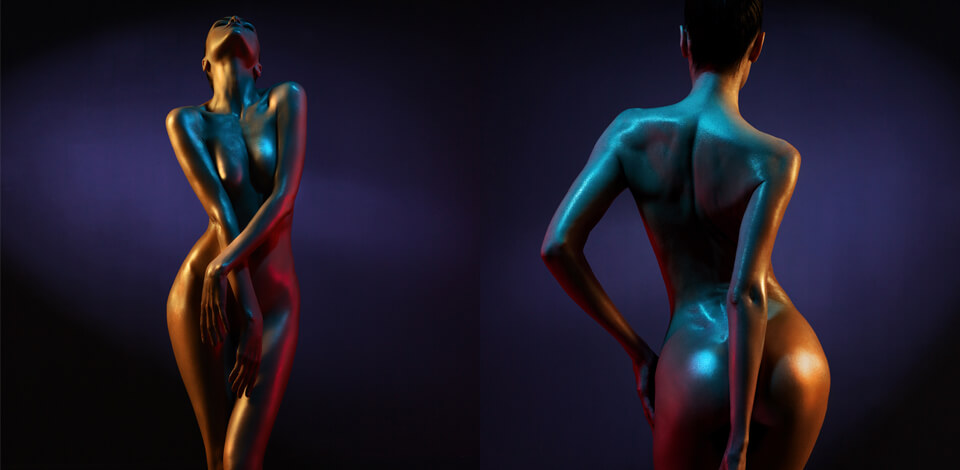
To make strides in body photography, you don’t necessarily need to invest in expensive equipment. Your success in this genre depends on how well you can capture a human body to show its genuine beauty. Of course, the process requires a keen eye for detail and knowledge of photography basics. I’ve done my best to collect the most important body photo shooting tips, using which you can organize a great photo session and achieve fantastic results.

Novice photographers share the same bogus idea that it is obligatory to photograph a subject in its entirety. However, this isn’t the case and you can crop a subject without running a risk of spoiling images.
While deciding how to crop a subject, you need to stick to a simple rule – never cut the joints when photographing a person. Otherwise, you’ll end up with a creepy shot.
There are also some clear recommendations on how to crop photos properly:
To cut it short, never crop in such areas as knees, ankles, waist, elbows, and knuckles in general. If you are afraid of making a cropping mistake while taking photos, you can always crop an image in Photoshop on the processing stage.
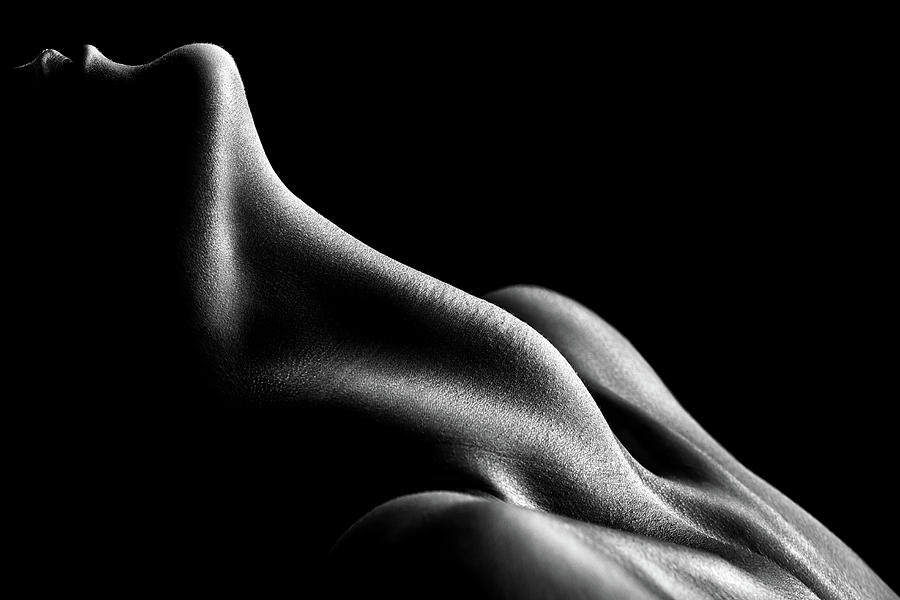
Body parts photography is a great field for experiments. You can start out by taking close-up images, which mainly involves focusing on a specific area of a human body. Thus, you will subdue possible distractions and will highlight interesting textures, patterns, colors, etc. For such a photo session, you need a macro lens.

The most suitable lenses in the macro category are Canon EF 100mm f/2.8 L Macro IS USM lens, Sigma 105mm f/2.8 EK DG OS HSM Macro Lens, and Nikon AF-S VR Micro-NIKKOR 105mm f/2.8G IF-ED Lens.

Indoor photo sessions have undeniable advantages – total control over lighting and a comfortable environment for a model to feel at ease. However, moving in the open air can be rewarding.
The first thing you can derive benefit from is natural lighting, which has a ripple effect on the quality of your pictures. Taking photos during the golden hour (the period right after sunrise or before sunset), you will have a very soft and warm light that will beautifully accentuate the model’s skin.
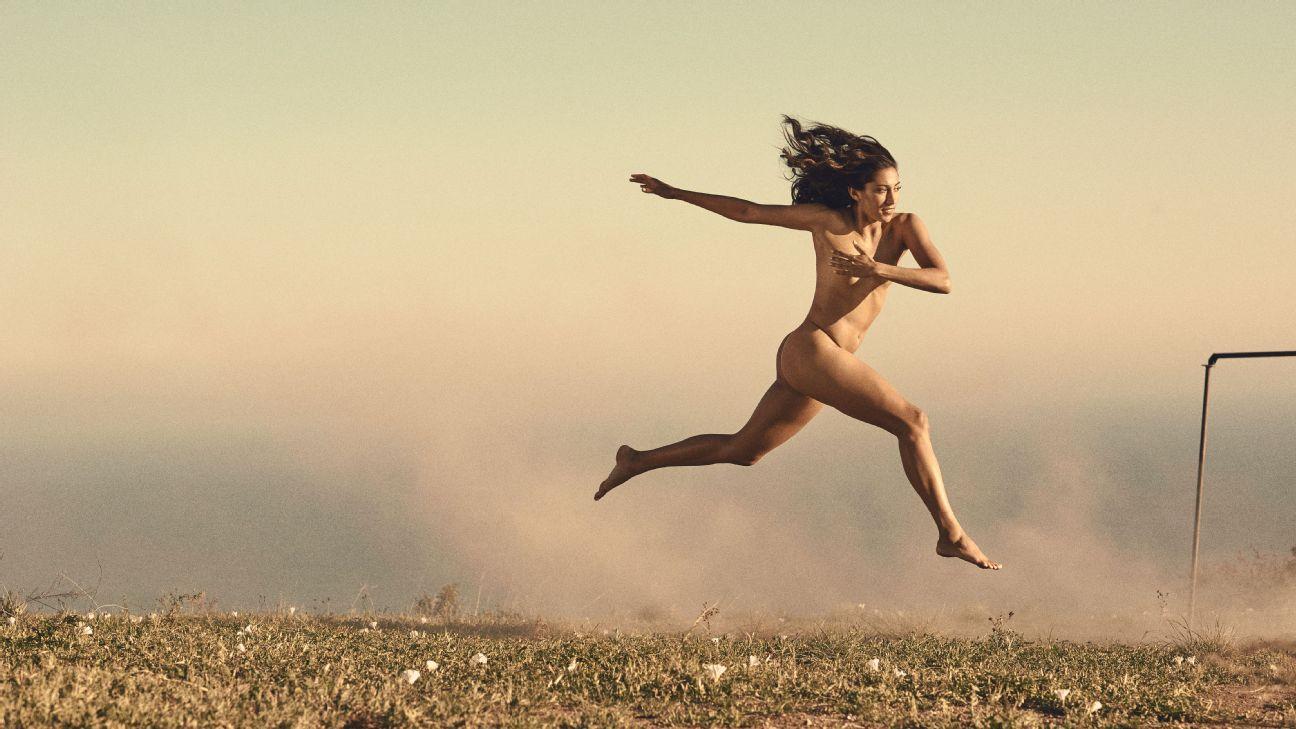
Pro tip: Body photograph art involves constant experimenting with techniques. For example, you can locate a light source behind your model for interesting results. When the light is fully blocked and the background is exposed, you will get a silhouette. In such a way, you can highlight body curves. If you want to display some details, you need to use a lens flare.
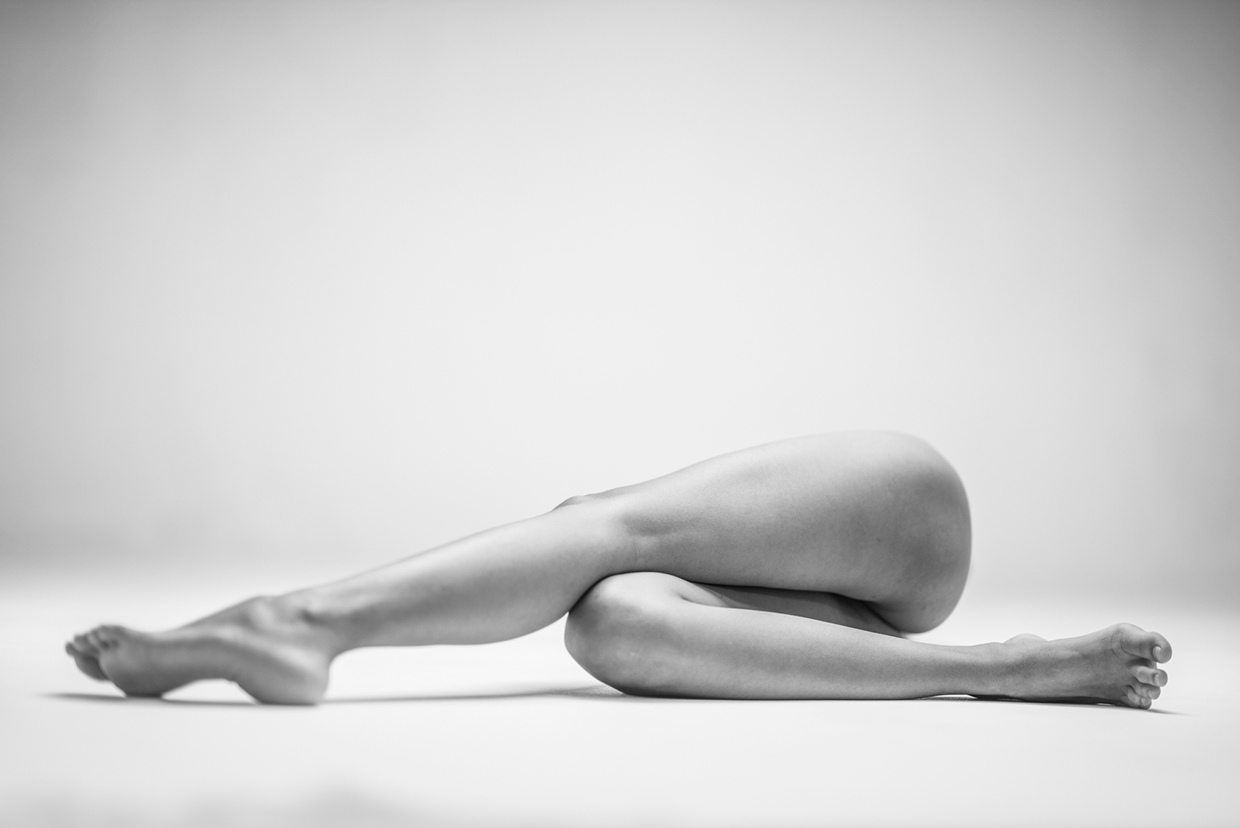
Images of a human body can evoke a whole spectrum of feelings and emotions. If you want to make the audience curious, you should be more inventive with perspectives. It is recommended to start shooting from high above and gradually move down.
Using an offbeat perspective is also advantageous if you want to give 3D touches to a 2D subject. While sticking to a bird’s eye view, you can add some tension, while also spurring curiosity. A ground-up perspective amplifies scale, making a viewer feel tinier in an environment.
It is always nice to have several lenses at your fingertips, as they create varied entry points for a viewer. For instance, a telephoto lens brings the fore- and background closer to each other, while a fisheye or ultra-wide-angle lens warps perspective in the center of a frame. Thus, a central subject seems larger.

The high-key shooting technique presupposes that most of the frame is overexposed and very bright, while only some small pieces retain dark and mid-tones. In such a way, the skin loses texture and the bodies look like they were painted.
The main principle of high-key photography is to light the background and a subject almost evenly. Next, you need to choose such camera settings that an image becomes overexposed. Keep in mind that you can intensify the effect during photo processing. The main factor here is how many details of a body you want to preserve.
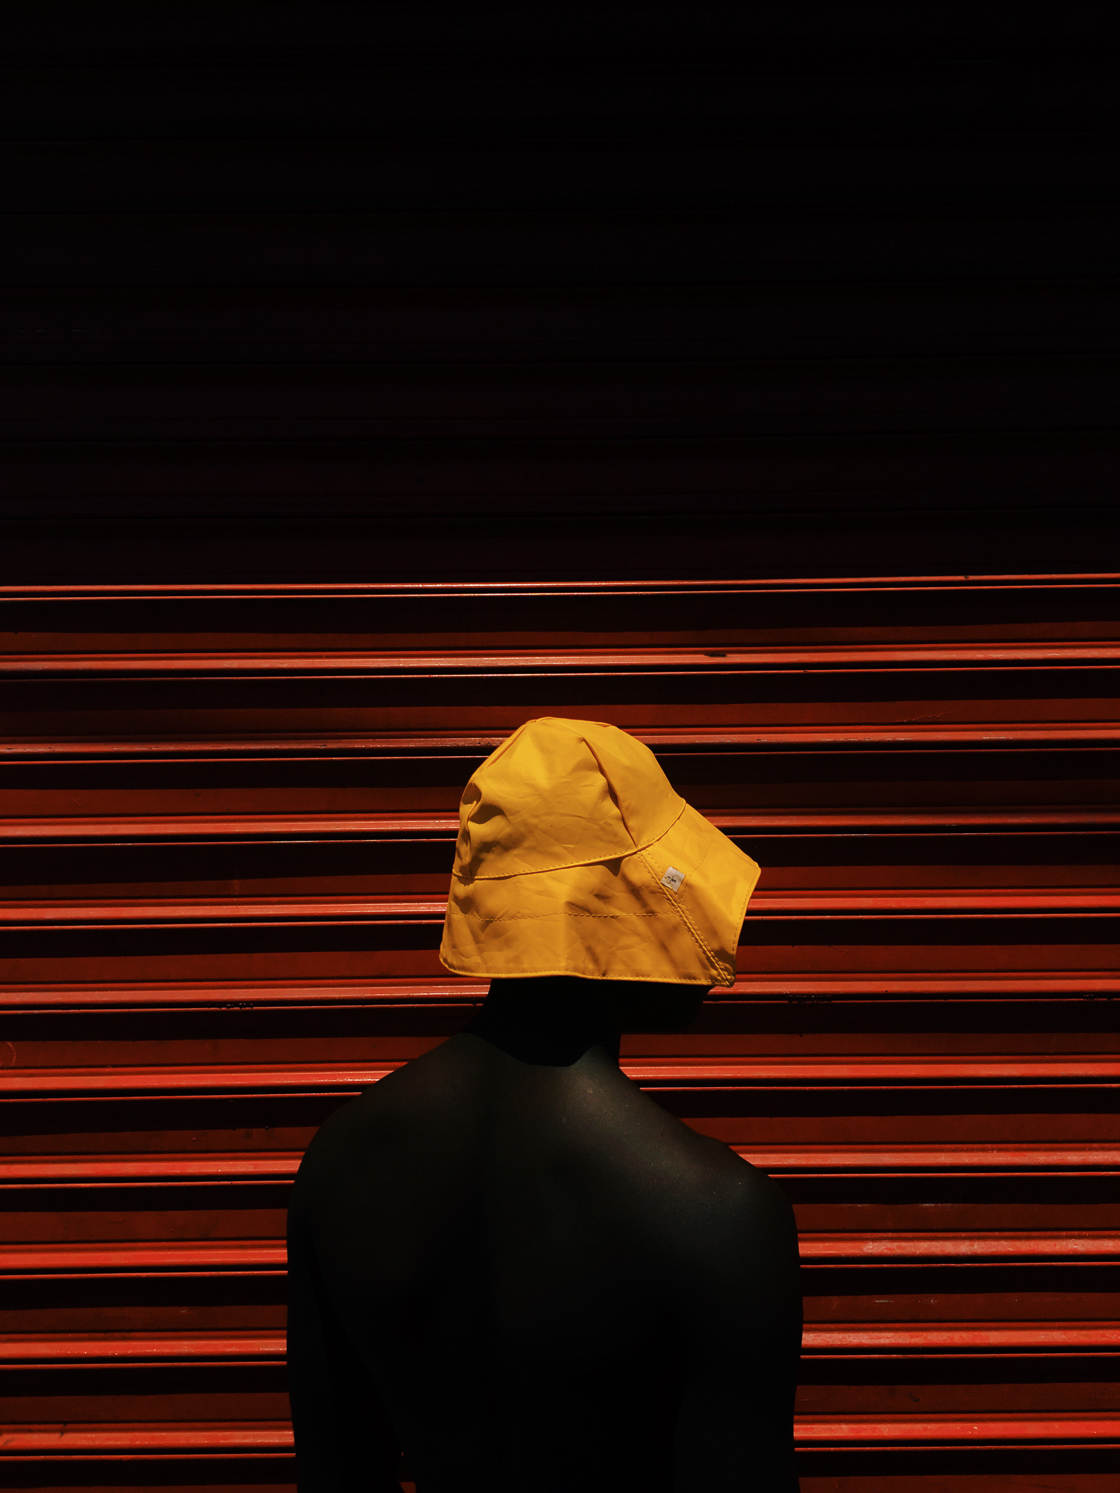
Creating color contrasts in body photos is a simple task. Actually, you need to use a color wheel and choose complementary colors, which are the two located diagonally. Alternatively, you can use opposite color palettes, e.g., warm and cold tones.
If you know little about color theory, you should use Adobe Color. Head to the website and start making color combos you like. Or, you can go to the Trends and Libraries to grasp the main idea of how to mix colors.
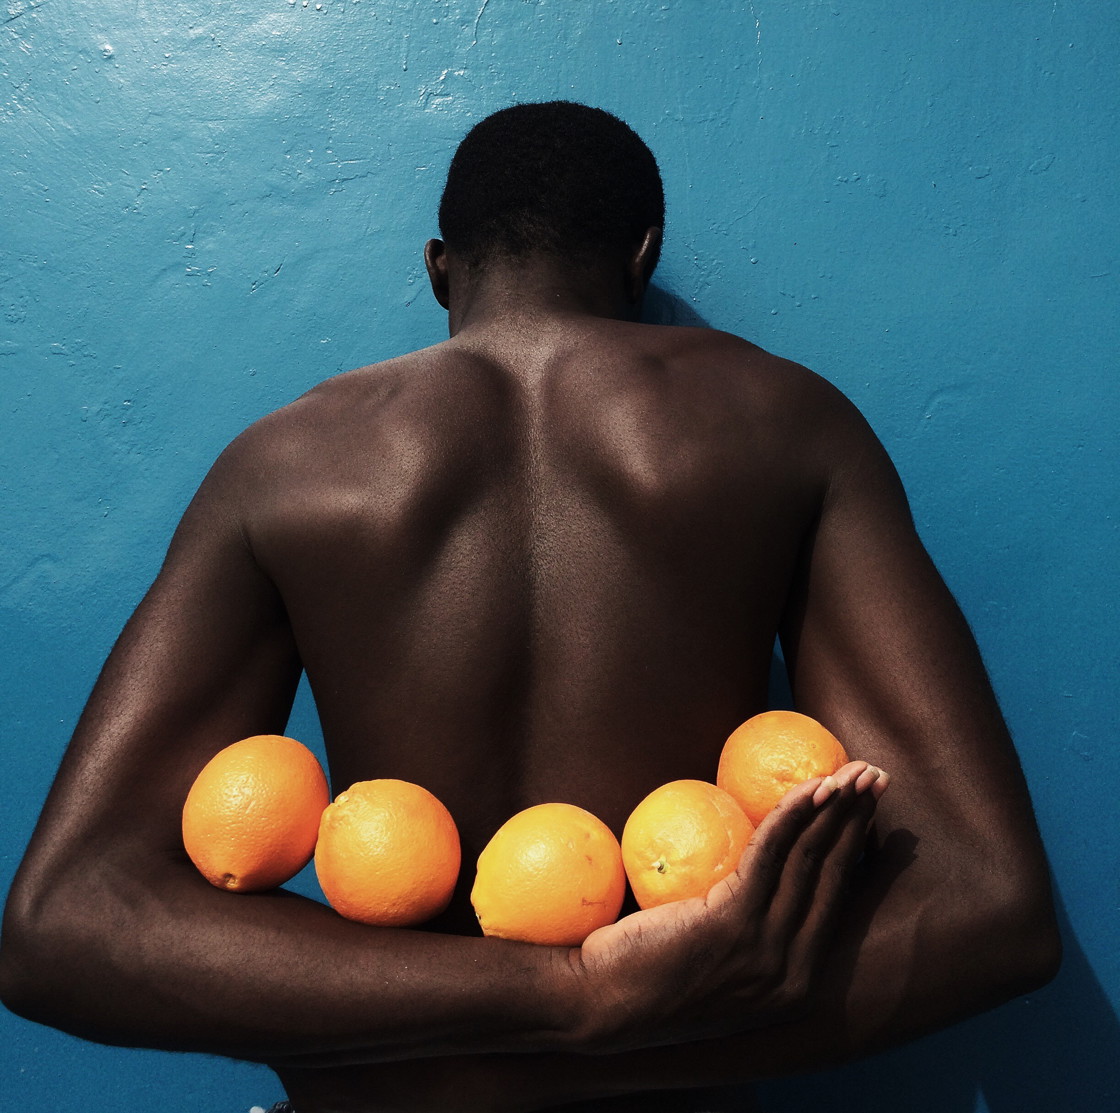
You can also create contrast in pictures by manipulating highlights and shadows. In other words, some areas of a photo will be very bright, while others will have dark tones. This method works best for B&W body photography. There is no need to stick to color or tonal contrast, as you can combine them in one photo. Thus, you will get a unique combination that will perfectly reveal the idea you’re trying to express.

Experts recommend choosing different shades of one color when you are deciding what colors will make up the palette of your photos. In fact, monochromatic pictures are easy on eyes, as they contain next-to-nothing distractions.
The most vivid sample of monochromatic photography is a B&W image. In fact, black and white photography is favored for its timeless feel. However, you can experiment with other shades as well. By eliminating colorful attire, ambient lighting, and lowering the color temperature, you can get rid of distractions.

Keep in mind that black-n-white photos have a greater sense of depth. By rendering a picture in greyscale, you can make subtle tonalities of light more pronounced.

To capture shadows, you need to use hard lighting. This is especially important if you want to accentuate body shape instead of scattering attention on details.
In female body photography, it is necessary to show the shape of a body in an aesthetical way by manipulating lighting. You can bring a light source closer to a subject or ask a person to change a position, and see how such relocations affect shadows and dimensions. A collarbone and a neck are the most interesting elements of a figure to study.
Pro tip: You should be creative while using shadows, as they can add visual interest and even emotions to your body images. For intake, you can attach a piece of lace, some slatted blinds, or any other object in front of your light source. Such a lighting technique is called a “gobo”. There will appear whimsical patterns that will surely make your images more intriguing.
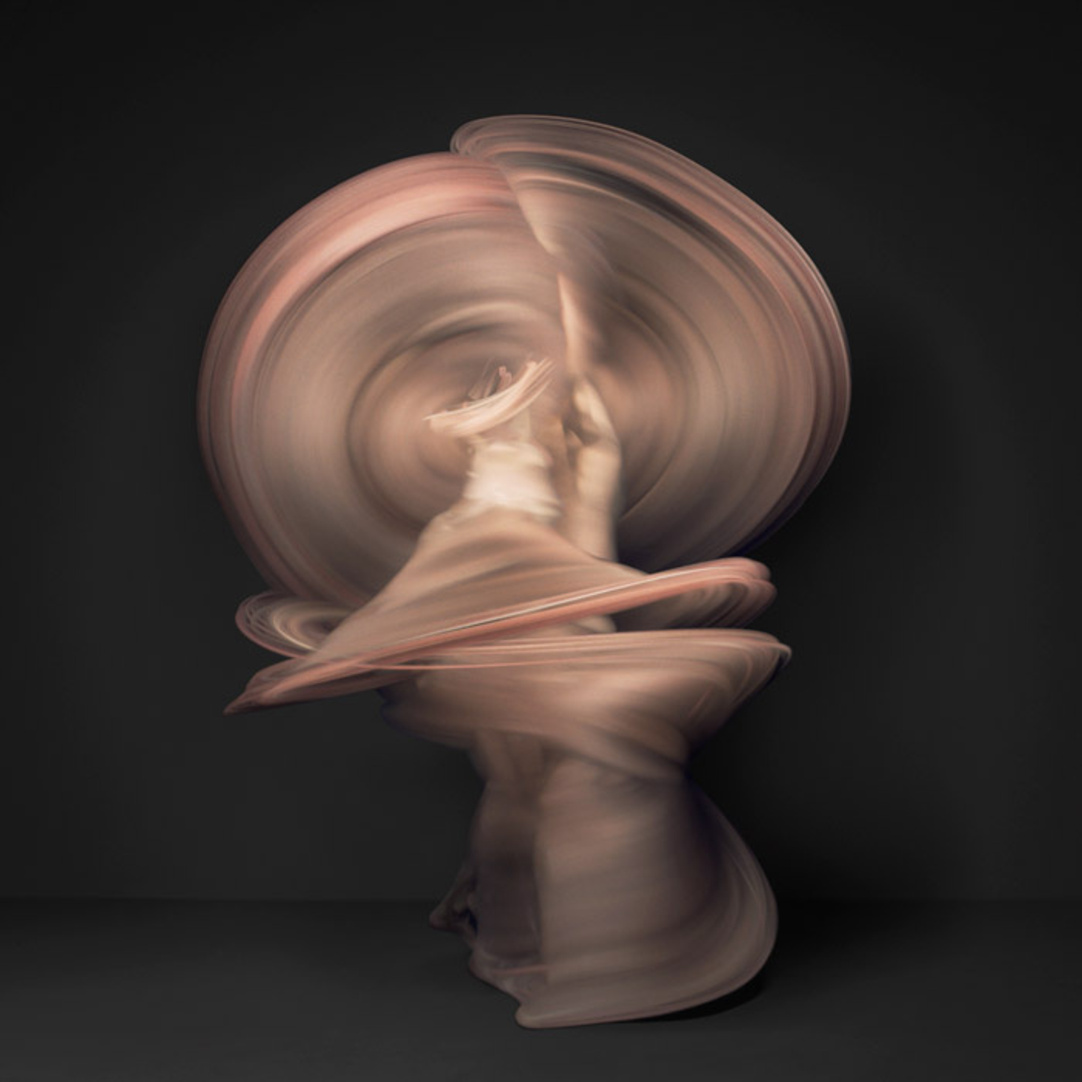
Photographers, engaged in different genres, like incorporating motion blur into a frame, and those interested in body abstract photography are no exception. This actually involves capturing movement in a still picture. You can either activate a manual mode and be in full charge of the process or turn on a shutter speed priority mode to delegate some responsibilities to your camera.
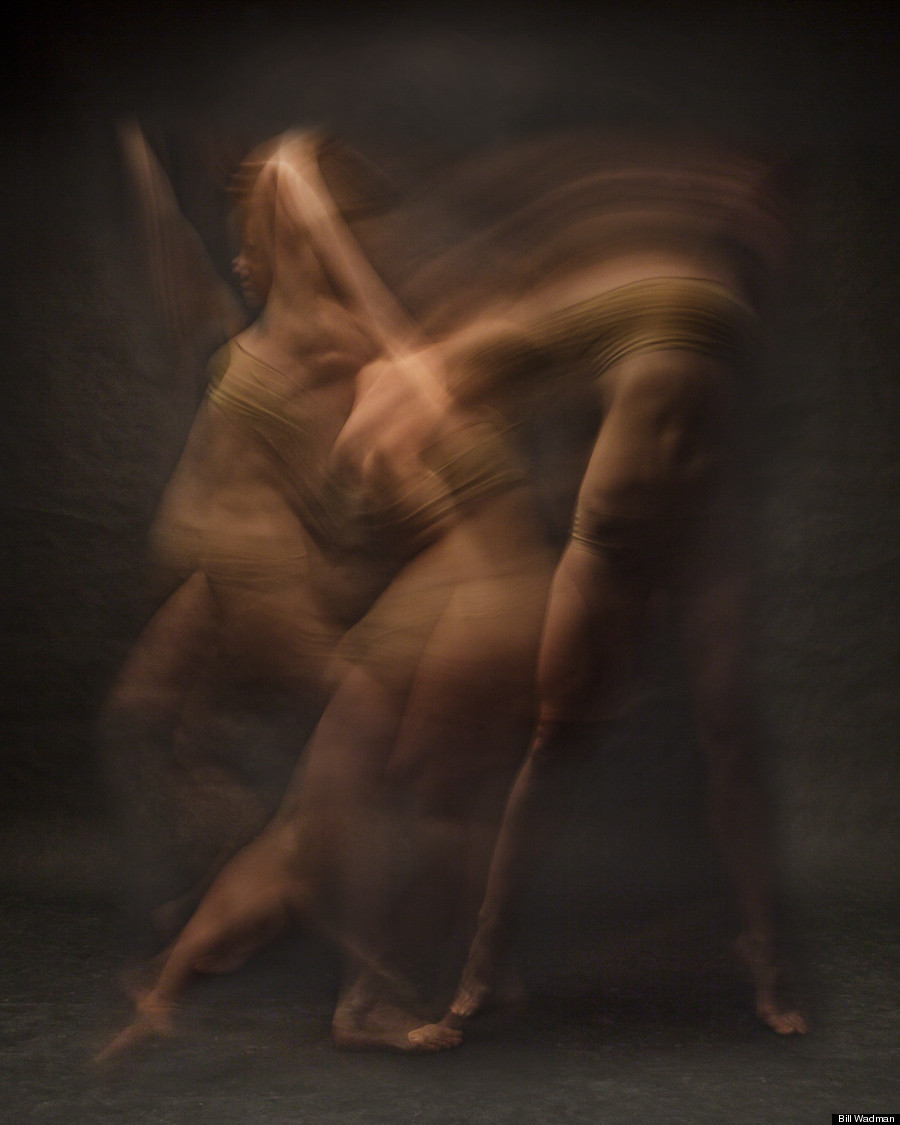
Then, use slower shutter speeds and ask a model to move while you are exposing a shot. There will appear a trail that adds a motion element to your picture. You can also capture motion blur by tracking a person. Thus, the background will be nicely blurred. Or, you can use a zoom lens to create trails radiating from the center of a photo.

Though underwater body photography is a challenging genre that requires meticulous preparation, the results will fully justify your efforts. The main thing here is to prepare special gear. I recommend using such cameras: OLYMPUS Tough TG-6, Ricoh WG-70, and GoPro MAX.
Besides, you have to purchase a waterproof case for additional protection, macro and wide-angle waterproof lenses. Some underwater photographers skimp on proper camera dome ports and flat ports. That’s the wrong thing to do as you will receive murky images or even damage your camera.
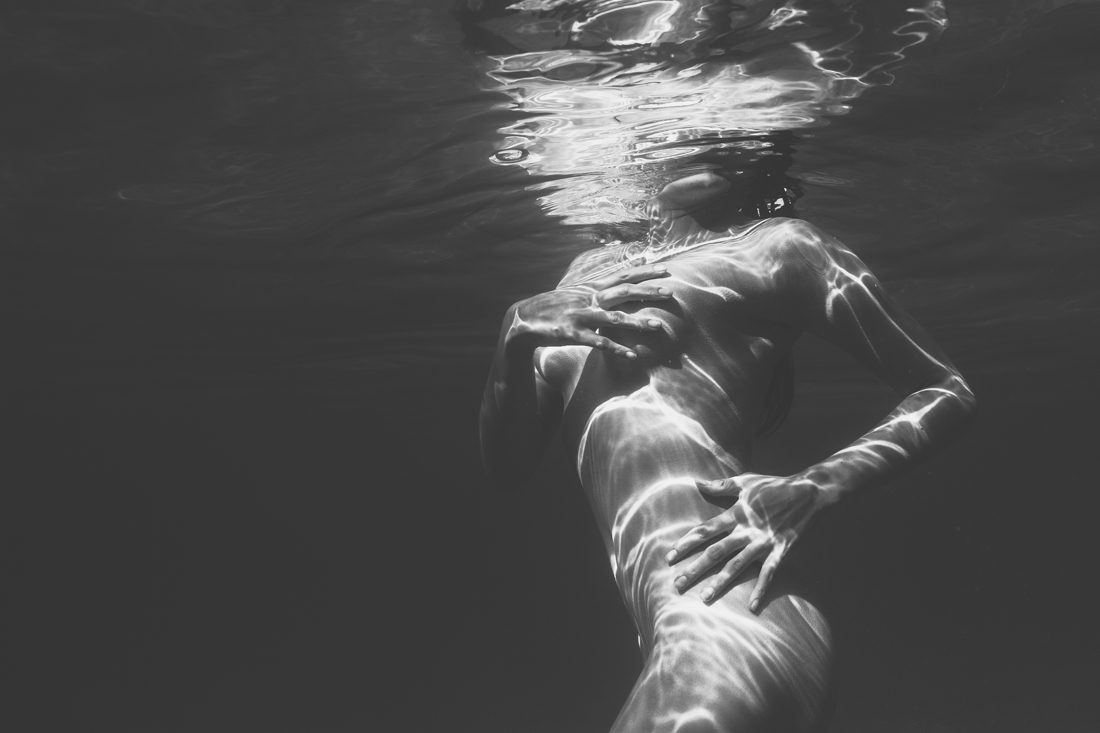
You may also need the focus light. This is a purpose-built piece of equipment for lighting a subject and a whole scene underwater so that a photographer can better build a frame and focus.

In addition to standard body pictures editing, you can perform more complicated manipulations in Photoshop. Try moving poses for a dynamic shot and shift B&W and color outfits to show different colors accents and textures. fire or smoke effects, combine multiple images, change the background, or add objects to a photo. The flowing fabrics can evoke a sense of freedom, elegance, or drama in your compositions. Additionally, you can use a free app to enlarge body parts if you have a unique idea to bring to life.

If you don’t want to master all the features of Photoshop on your own, contact professional retouchers. They will enhance a photo so that it looks spectacular and realistic.
Those determined to become confident users of Ps, should pay attention to tutorials and photo editing workshops. They are available on such platforms as Udemy, Domestika, and Skillshare.

If you are away from your computer and want to enhance body photos on the go, you should install a mobile editor on your tablet or phone. The most popular options tools are:
FixThePhoto App. There is a whole team of skilled retouchers behind this app. You just need to upload your shots and they will reshape a body, enlarge some parts, and perform other tweaks based on your needs.
YouCam Perfect. There bragging point of this application is a variety of beautifying tools. Using them, you can reshape nose, lips, and other body parts, as well as totally overhaul your figure with the help of the Body Tuning instrument. What’s more, you can “try on” various clothes to understand what fits you best of all.
Perfect Me Face & Body Editor App. The application comes with body retouch options to adjust main parameters, body reshape features to make a person slimmer, and a section with fun elements to decorate a body with tattoos and piercings.
Beauty Plus. This is a very user-friendly app with all the needed tools for quick body reshaping, height adjustment, and even basic photo processing.

Body photography art imposes no restrictions on posing. So, you just need to create a comfortable environment for a model and encourage him/her to behave naturally.
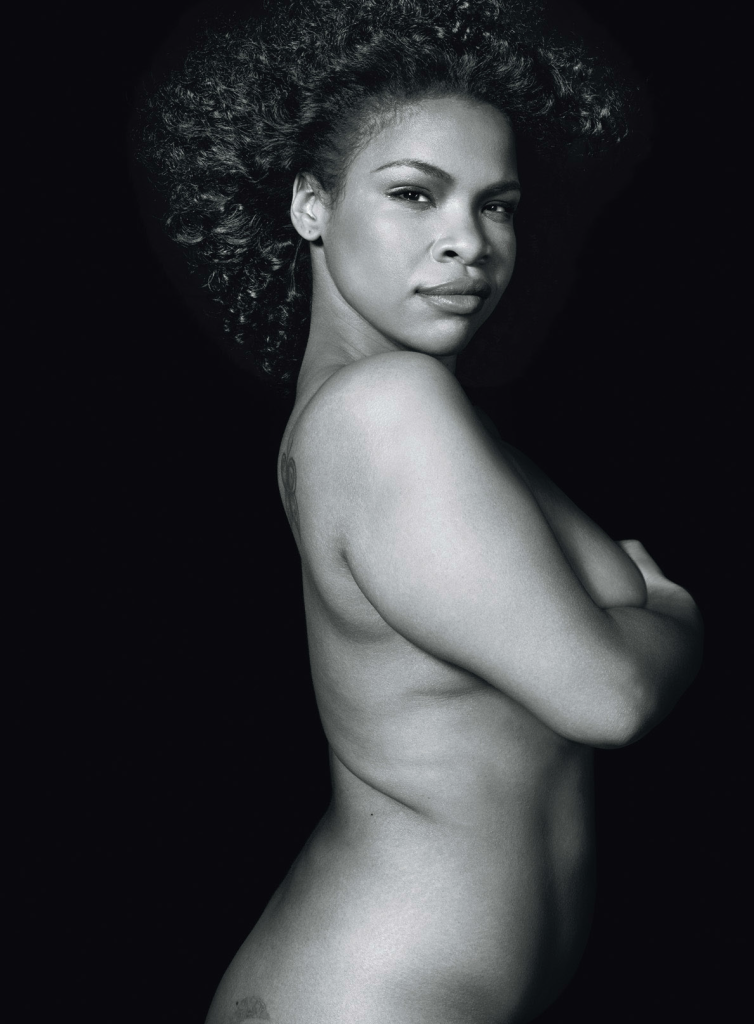
Keep in mind that adding a sensory detail to a photo can give it an enticing vibe. For example, a lady can embrace herself, thus gently touching her shoulders and giving viewers a feeling of tenderness.

Displaying the inner power inherent in every woman is possible by asking her to put her hands on hips. This is a widely known power pose suitable for all body types. If you want to show men power, ask the model to try something like that pose on the photo.

Experimenting with poses is a proper thing to do if you are involved in female body photography. You can accentuate and celebrate all physique types by focusing on curves. For instance, holding arms across the chest is great for highlighting an hourglass figure. Such a pose also presents a woman as strong and sensitive at the same time.

Body painting is a very interesting experience. By documenting this process, you will combine 2 art forms. However, you need to prepare face and body paint beforehand. Besides, you should find a skilled body paint artist for enjoyable collaboration.
To get inspired before a photo session and come up with interesting concepts, you can look through Johannes Stoetter’s works. He made a frog by posing five painted models on top of a leaf background.
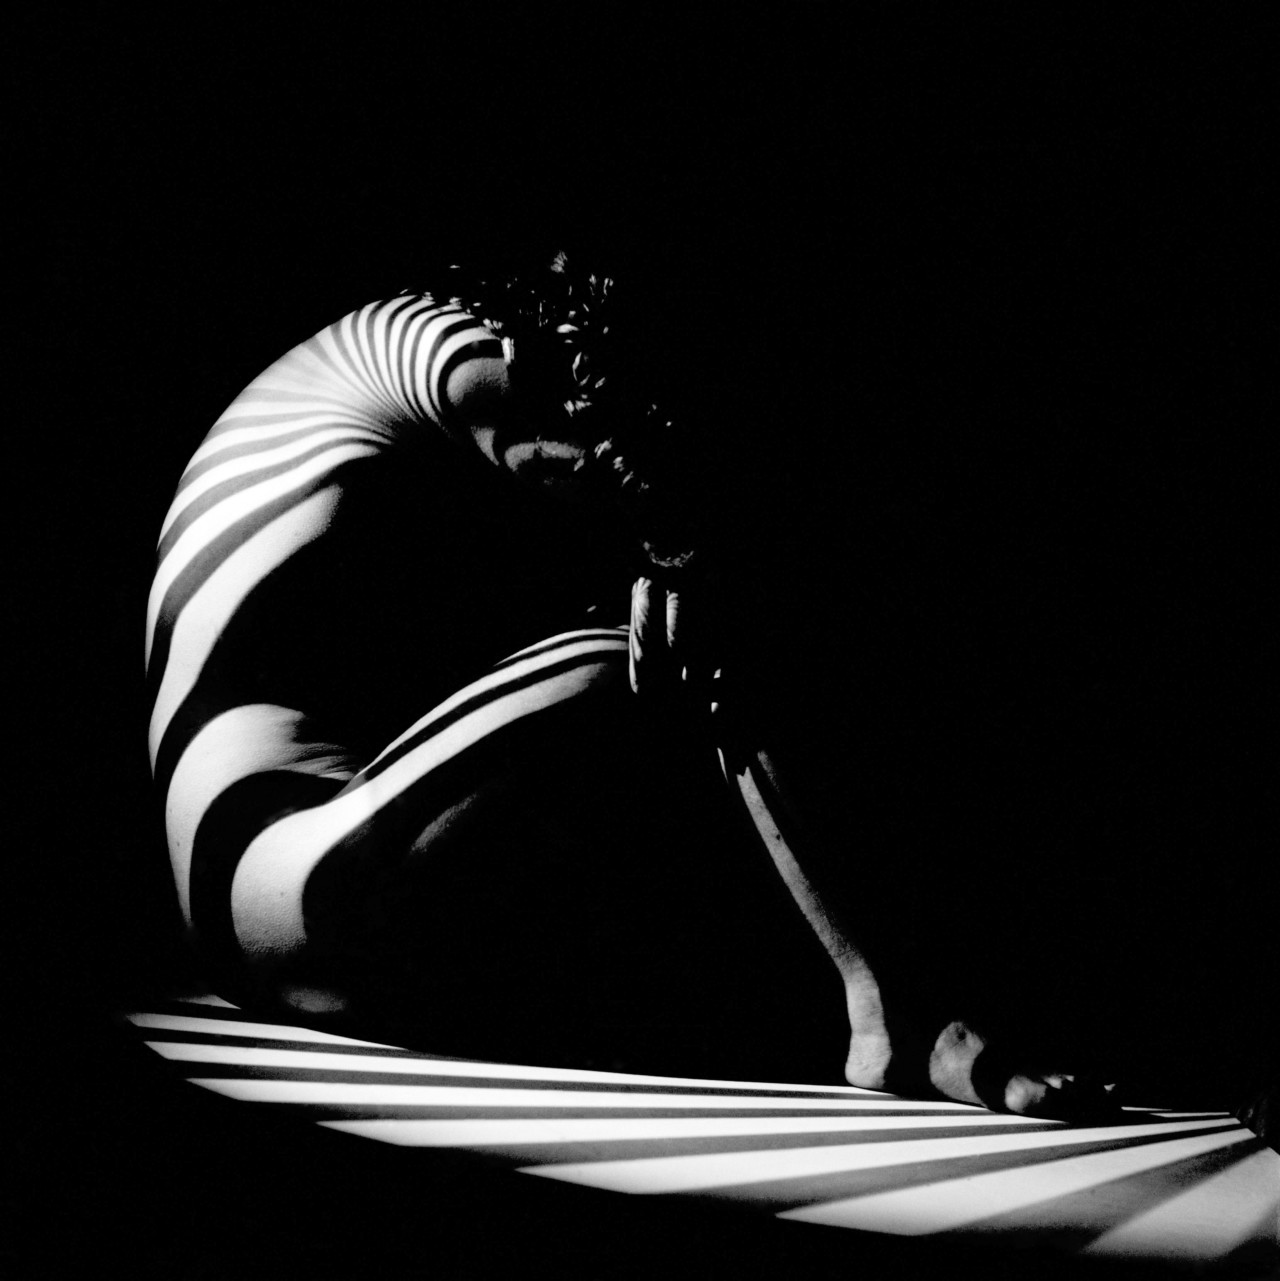
A side-view perspective is especially favored by models who don’t want to show their midsection. Besides, it is suitable for any body shape.
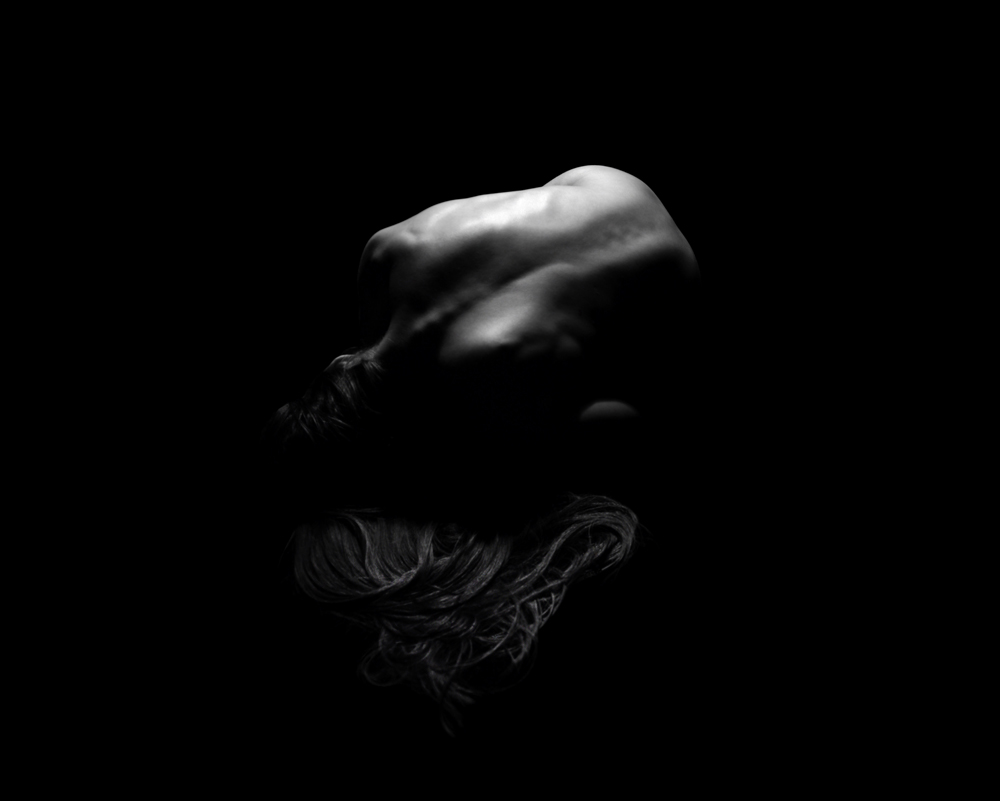
You can photograph a woman from such an angle while she’s sitting, lying down, or kneeling. Originating from boudoir photography, it is actively used by body photography enthusiasts.

You have probably seen dozens of images featuring a torso or shoulders. Though these body parts are easy to work with, I highly recommend turning attention to other areas such as feet, arms, legs, etc. They offer limitless possibilities for experimenting with lighting and shadows, and even expressing pent-up emotions if you feel like a photographic storyteller.

Color gels are special filters that photographers apply to a light source (flash or strobe). They are suitable for creating a particular atmosphere in a frame.

Sometimes putting a color gel to one light source is enough, but you may go further and apply it to all sources. Besides, you can use gels of varied colors for more stunning results.

Body abstract photography can cause a lasting impression if you use original props.
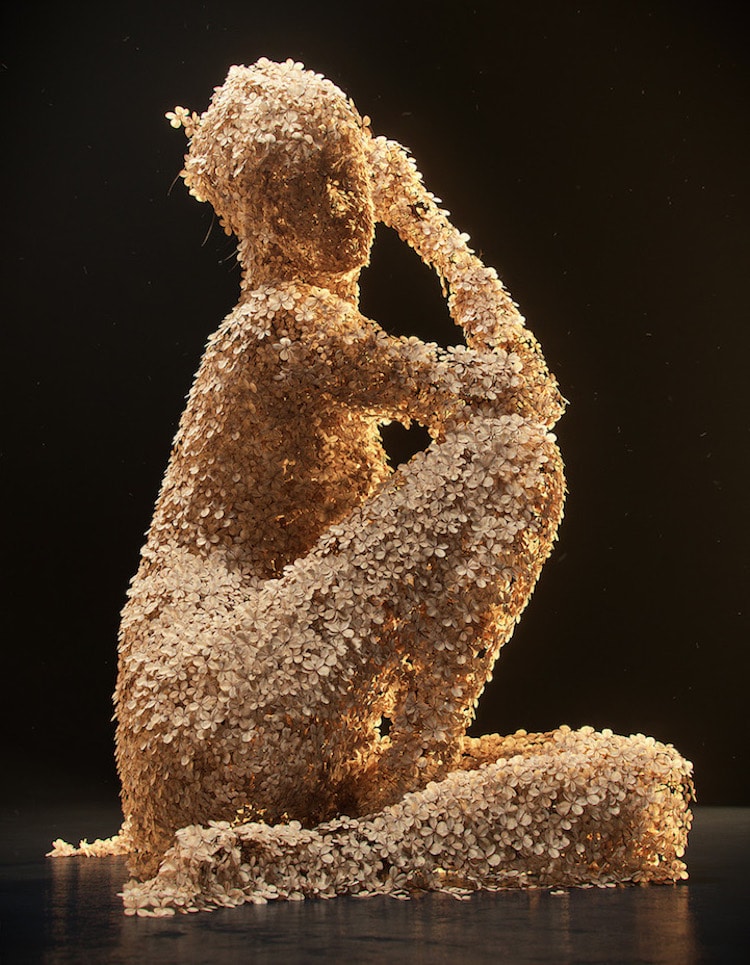
For example, you can embellish a model’s mode with dried flowers, accessories, add balloons, mirrors, etc.

If your model has a penchant for decorating her/his body with tattoos, why not make them the centerpiece of images. For such shooting, you need to choose simple backgrounds and beautiful lighting.
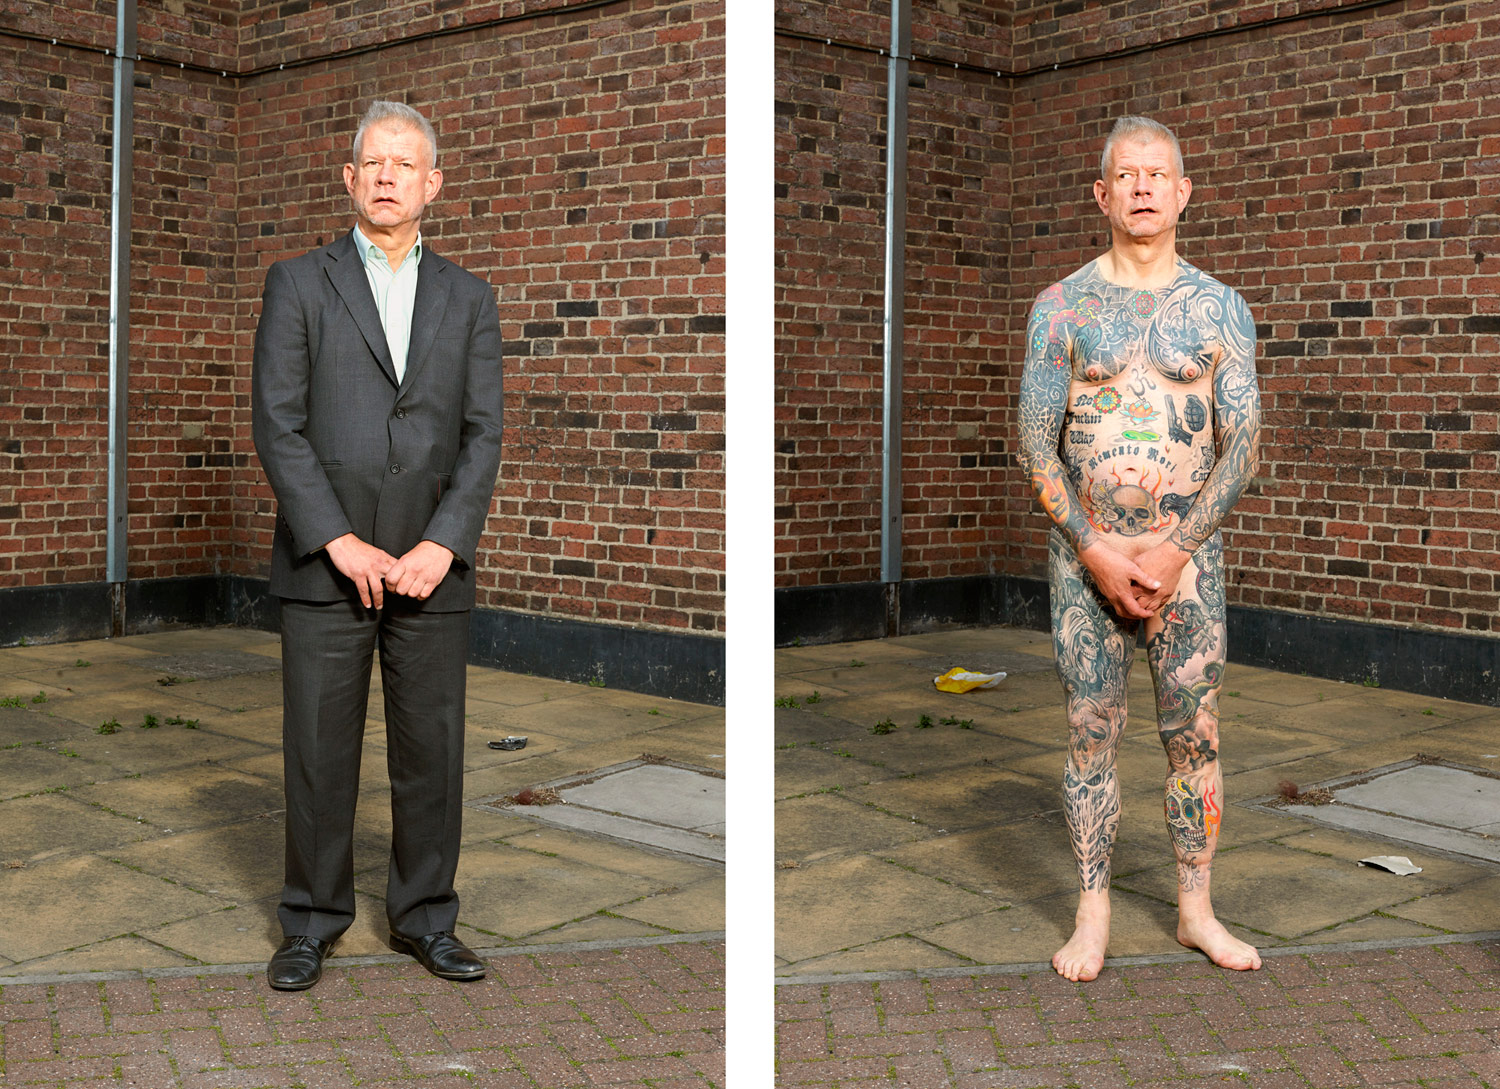
You can get a plain black backdrop and ask a model to pose near a window so that sunlight will illuminate her skin. You can also use a camera’s flash to better accentuate specific tattoos.
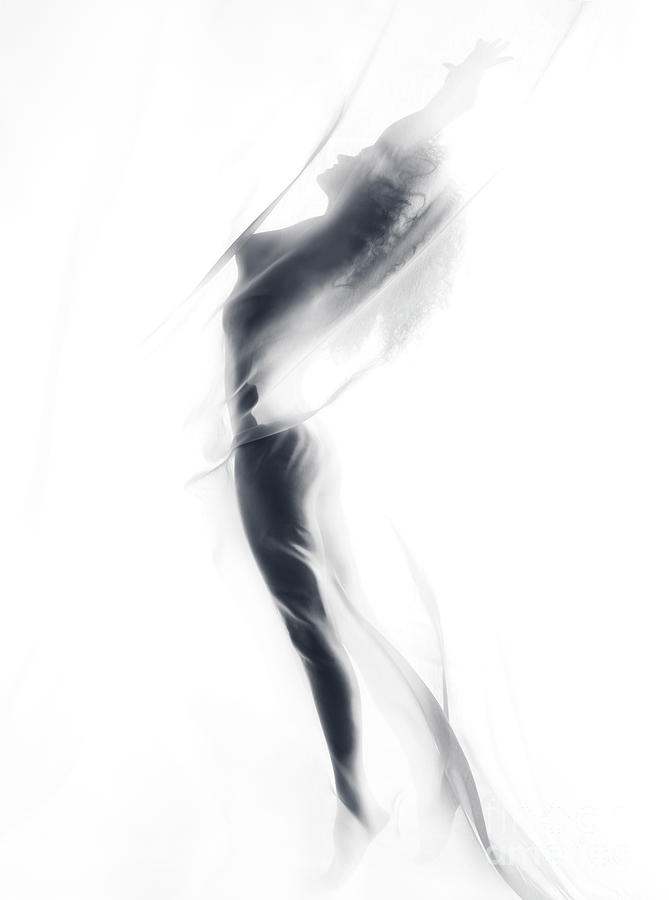
Instead of standard clothes, you can use sheer stretch fabric to make shapes more defined.

Try moving poses for a dynamic shot and shift B&W and color outfits to show different colors accents and textures.

Devote some time to really seeing a model’s body and finding a unique element. This can be her graceful posture, a small birthmark, thin fingers, etc.

Defining such a feature, use abstract photography techniques to show it in a captivating manner.
You can quickly adjust basic photo parameters, remove body imperfections and make teeth white with the help of ready-made actions. They are compatible with Photoshop CS 4-6 and Photoshop CC, and can be used for enhancing RAW and JPEG pictures. Both Windows and Mac users can take advantage of such tools.