Nail photography basics are essential to learn, whether you are a professional who wants to capture the beauty of a client’s nails or a fashion-monger who is eager to share a photo of a fresh manicure on Instagram. These easy tricks can help you get impressive pictures that will grab viewers’ attention.


When capturing pictures indoors, make sure to use professional light sources, as the light emitted by a regular lamp is uneven and deteriorates the quality of pictures. Very bright white or unbalanced yellow light makes a photo look unattractive. Ordinary light will magnify even minor defects, no matter how hard you try to hide them.

So when snapping pictures of nails indoors, you should use special photography equipment, like light boxes or ring lights for photography. They emit even, diffused and more flattering light, which allows you to capture professional pictures. The Neewer Ring Light Kit is a worthy choice to consider.
Pro Tip
Never snap images with flash. Even if you are shooting matte manicures, the bright orange light will make your hands look unflattering.
If you do not have enough money for purchasing additional lighting equipment, try to conduct your nail photoshoot on a sunny day. The most appropriate times of the day for snapping such pictures are early morning or late afternoon when the light is soft and not very bright.
A model should sit next to a large window or a glass door. The diffused light enters a room and creates perfect lighting for capturing your nail shots. At noon, the sunlight is especially bright, so you will get overexposed pictures. Keep in mind that exposure to direct sunlight is quite harsh for your skin as it highlights its imperfections.
Pro Tip
Position hands so that there won’t be any shadows on your nails.
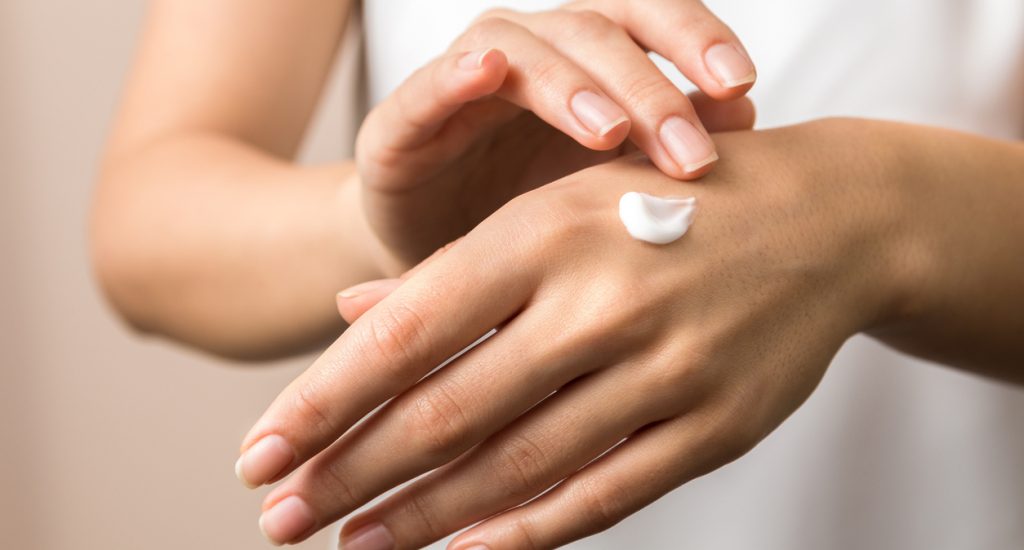
Before starting your photoshoot, make certain your nails and hands have a neat and nice look. To soften the skin and cuticles, use moisturizer and cuticle cream. Such cosmetic procedures can eliminate most imperfections and save your time when processing images.
Clean any dust or dirt from nails with a clean cloth and apply some oil. Make sure not to overdo it, as a greasy covering can minimize the effect of the stunning topcoat you’ve used. Besides, too much cuticle oil causes plenty of shine.

Colorful and textured backgrounds are not suitable for capturing nail art. They will distract viewers’ attention from the manicure. To avoid cluttered pictures, choose monochromatic photo backdrop boards with neutral, soft colors and remove all the unnecessary objects.

It would be also a great idea to use complementary colors and muted shades of a manicure. Since nails are a fairly compact object for shooting, check out these product photography backdrops.

Buy some cheap photography props that suit the design of your nails. In such a way you will create a thematic story of your nail art inducing the viewers’ to pay attention to your pictures.
The most appropriate props for nail art photography are a bottle of perfume, a magazine or a book, a nail polish that was applied, etc.

In fact, you can choose any lifestyle or beauty object. Do not be afraid of combining props of different colors and sizes. Make certain that these accessories do not distract viewers’ attention from nails.

Use a large aperture to capture images with blurred background and foreground to focus on nails. In this case, we recommend purchasing prime lenses, like the Canon EF 50mm f/1.8 STM.
Pay attention to the fact that very large apertures (like f/1.2) are not suitable for snapping an entire hand. Depending on the topic of your photo session, select an aperture that captures each necessary detail without blending into the backdrop. Our advice is to set the aperture to about f/4.
When doing nail photography, experiment with different shooting ranges. You can take close-up and long shots. Close-ups are great for showcasing every detail of your nail design, whereas with long shots you can create a special atmosphere, present your personal style. A close-up image keeps the hand in focus. A long shot rather shows the hand in the surroundings.
To get stunning pictures of nails, you need to edit them. If you want to enhance your pictures using original filters, try the Lightroom app. This tool allows correcting the exposure, color intensity, tone, saturation, and clarity of your pictures manually.
Turn your attention to Facetune. This tool is great for smoothing your skin, improving texture, making the fine lines almost invisible. By using an airbrush feature, you can add a luminous glow to the skin.
SnapSeed is one of the best free photo editing apps. This photo editor is fitted with an extensive toolkit for adjusting contrast, brightness, highlights, shadows, etc.

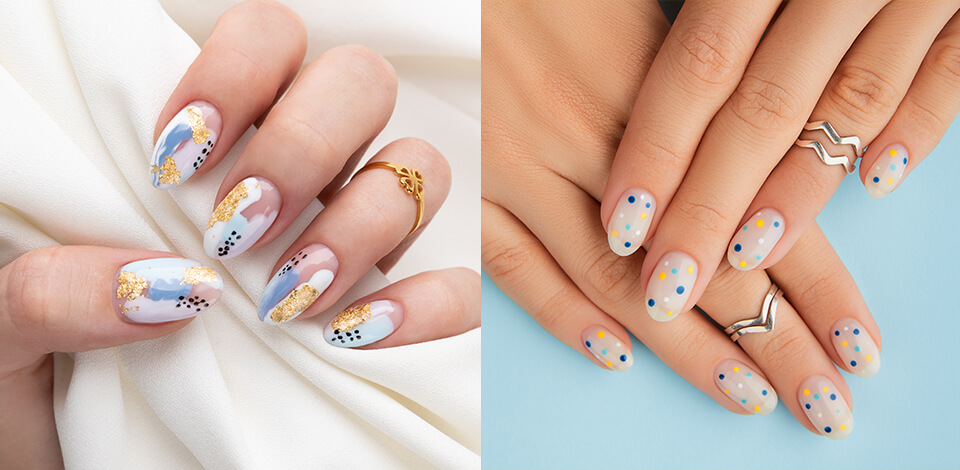
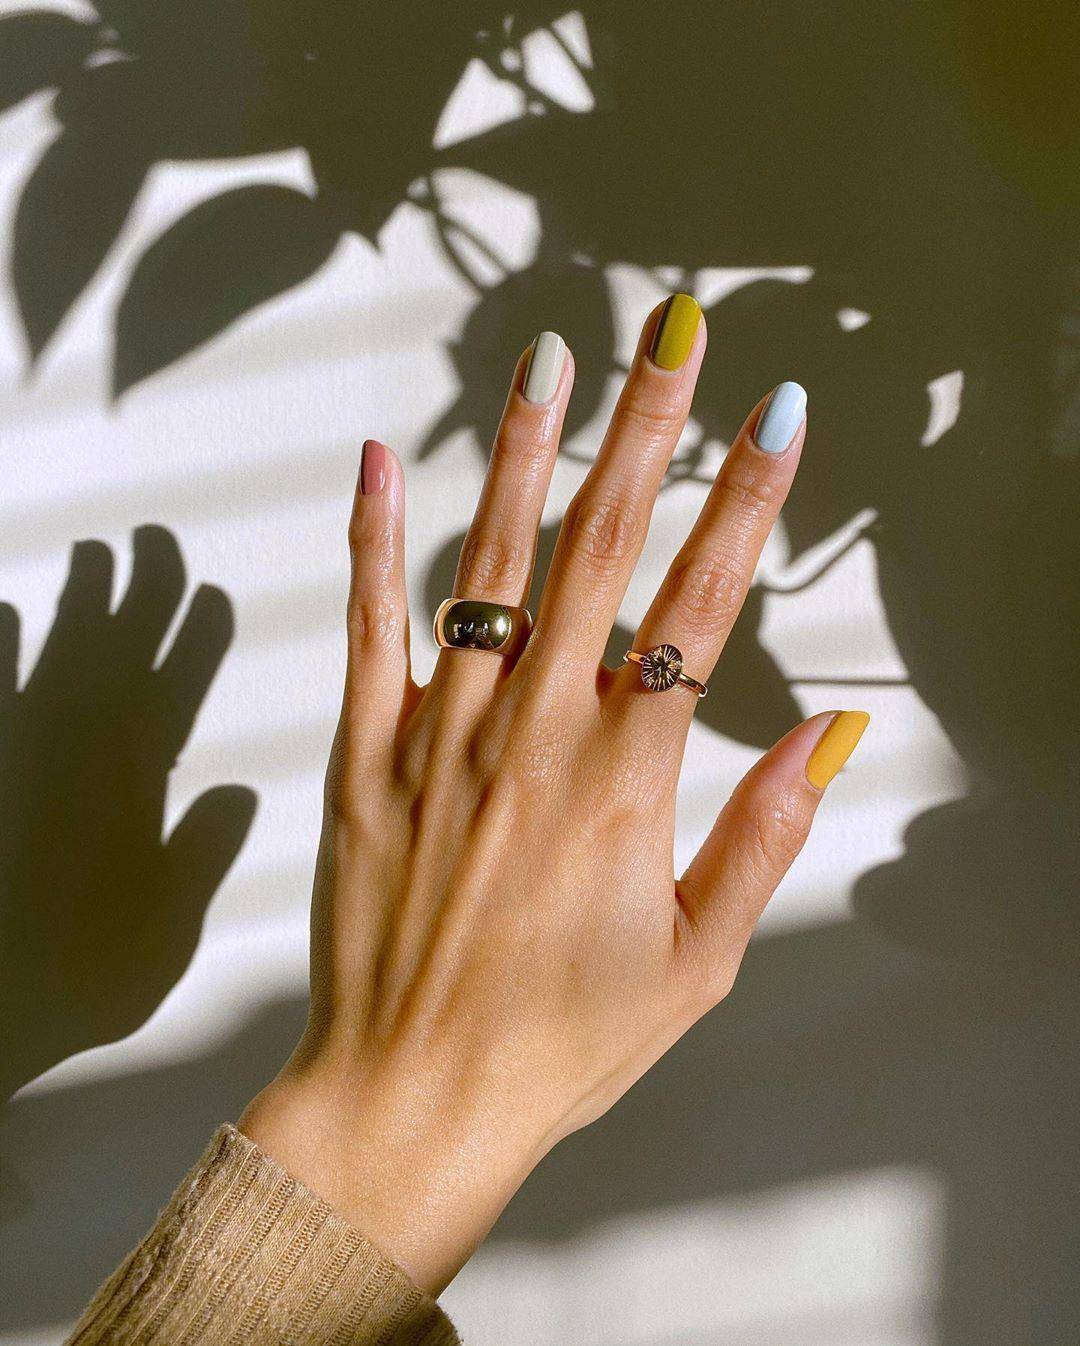
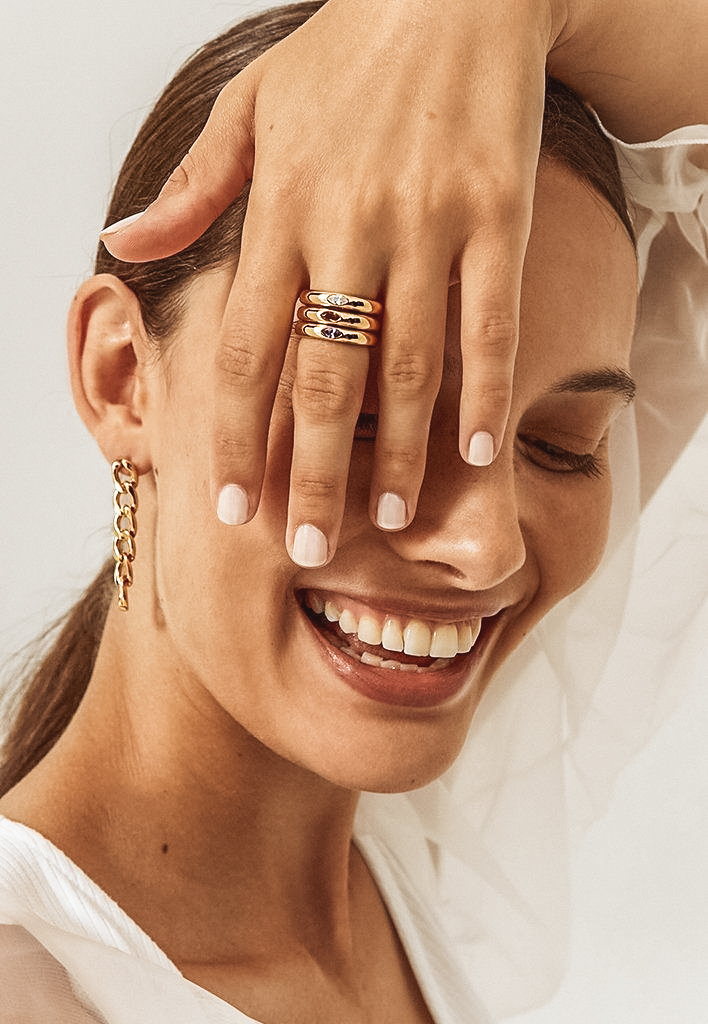
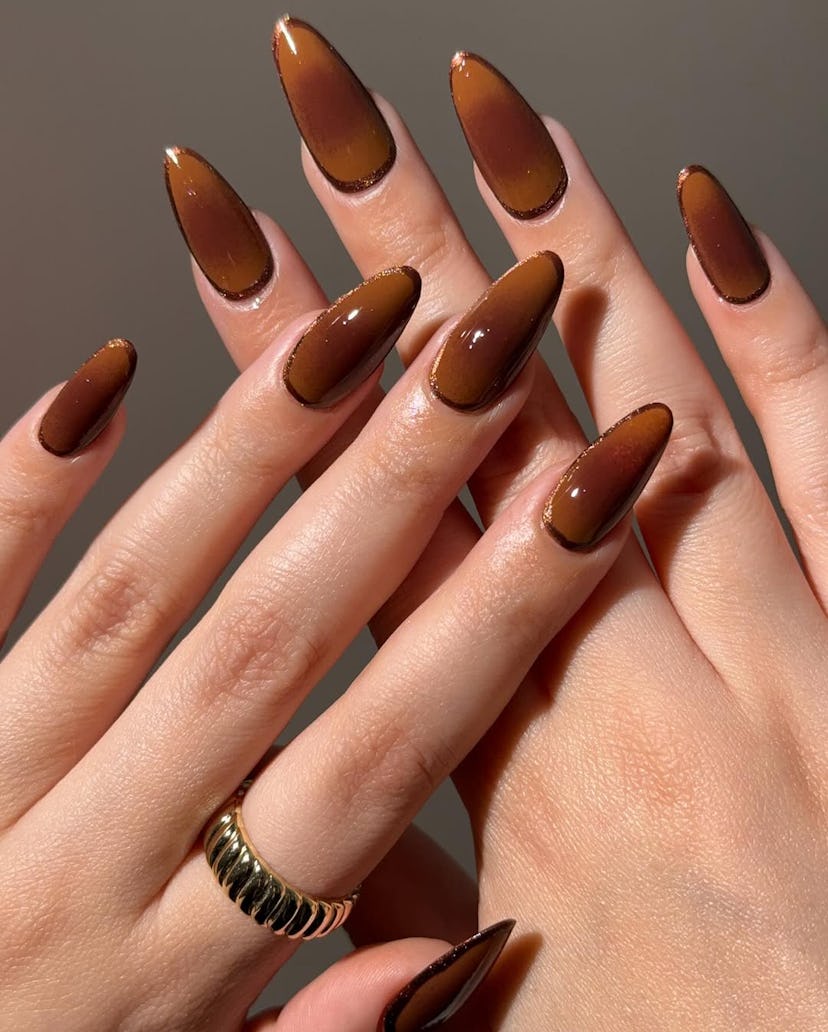
When doing classic nail photography, use accessories during your photoshoot. Put the rings on one of the fingers to match the color of the manicure. A classic diamond or gold ring can make your image more captivating and eye-catching. However, diamond photography is quite complicated, because reflections can spoil your shots.

Another great idea is to put originally designed rings on the hands. These can be knuckle-finger rings, jewelry resembling a flower or animal, etc. Besides, you can put different rings on several fingers. Make sure that all these accessories do not distract viewers’ attention from the nail art. Choose small rings and include no more than three to five accessories.

You can implement some feet picture ideas and use a piece of fabric to add texture. The folds of cloth capture the light at various angles and add some charm to pictures.

Different types of fabric can convey a specific feel. For example, silk adds more lightness and elegance, while wool helps create a cozier atmosphere. You can use the clothes that you are currently wearing as an accessory.

Another great idea for snapping pictures of nails is to pose with beverages. The art of drink photography has its tricks and peculiarities, so you need to learn how to shoot drinks first. Typically, photographers use a cup of coffee, a cocktail, or a glass of wine.

You can choose a drink, the color of which is identical to the color scheme of your nails.
Make sure the manicure matches the drink you’ve chosen. For example, for a photo with a bright design, a summer cocktail is an optimal choice; for a manicure with beige flowers, use a glass of warm coffee purchased in Starbucks; for dark nails, select some stronger drinks in beautiful glasses.

Use a complementary prop to display the original design. If a manicure features some patterns or objects, use them during a photo session to get more creative and exquisite shots.

For instance, to demonstrate a beautiful design of a flower pattern, a model can hold a flower that looks like the one depicted on her nails. If the manicure is made in rainbow colors, position the hand against the rainbow.

Another interesting hand posing tip involves using a purse or wallet that complements them. By doing so, you can make your image more engaging. A plain purse, wallet, or clutch can help showcase nails in the best light.

A model can sit in a relaxed manner resting her head on a hand. She could also put her hand on her shoulder. Ask the model to cross her arms to add some action to your nail photography.
Of course, taking pictures of a single hand is relatively easy. However, if nails on both hands have different designs, it is necessary to capture the entire picture showcasing their beauty.

Pull your fingers inward, towards the palm, to demonstrate one hand. Imagine that you are trying to dry your nails and imitate this movement with your hand. Make certain your fingers aren’t clenched into a claw.
To conduct a nail photoshoot, put one hand onto the other to make them both clearly visible. Interlace the fingers to achieve a neat and more flattering look. This pose is especially advisable for showing off designs that are focused on tips.

Another option is to put one hand on top of the other keeping the fingers pressed together to make the nails face different directions. In this case, the light will be reflected from them differently as well.
Pro Tip
Lift your hands above the surface to achieve a more appealing look. A little tension in the top of your hand is also recommended. Keep in mind that the pose should be relaxed.
If you want to significantly speed up the processing of your nail photos, while maintaining high quality, our professionals have prepared a set of tools for you to improve your snaps. This set is suitable for pictures of nails captured under both natural and artificial light. In a matter of seconds, you will get eye-catching images that you can share on social networks.


