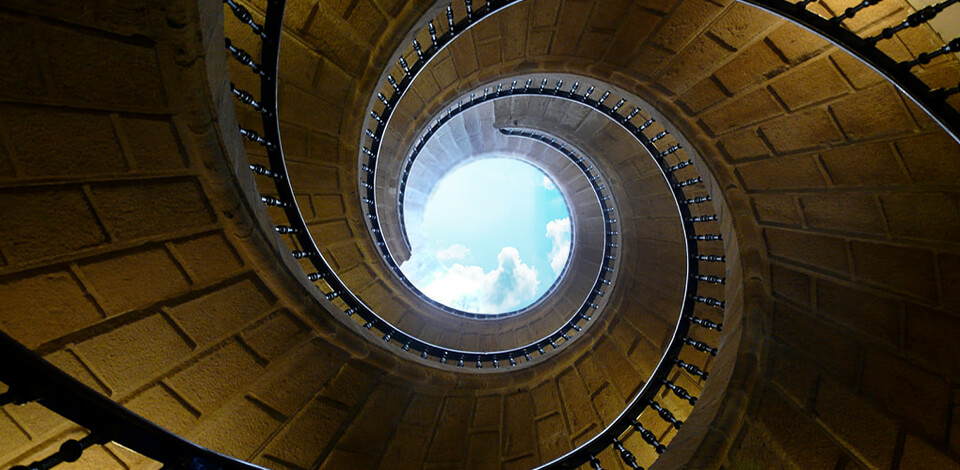
Radial composition (or radial balance) is affecting balance and impact in a shot. Below, I will go over different aspects of radial balance in photography.
Whenever photographers strive to take captivating pictures, they often employ various compositional tricks. Apart from widespread techniques, there are also extraordinary ones, like radial balance. Its main objective is to balance the shot by means of asymmetry or symmetry. In this article, you will find out how to take advantage of radial balance in photography.
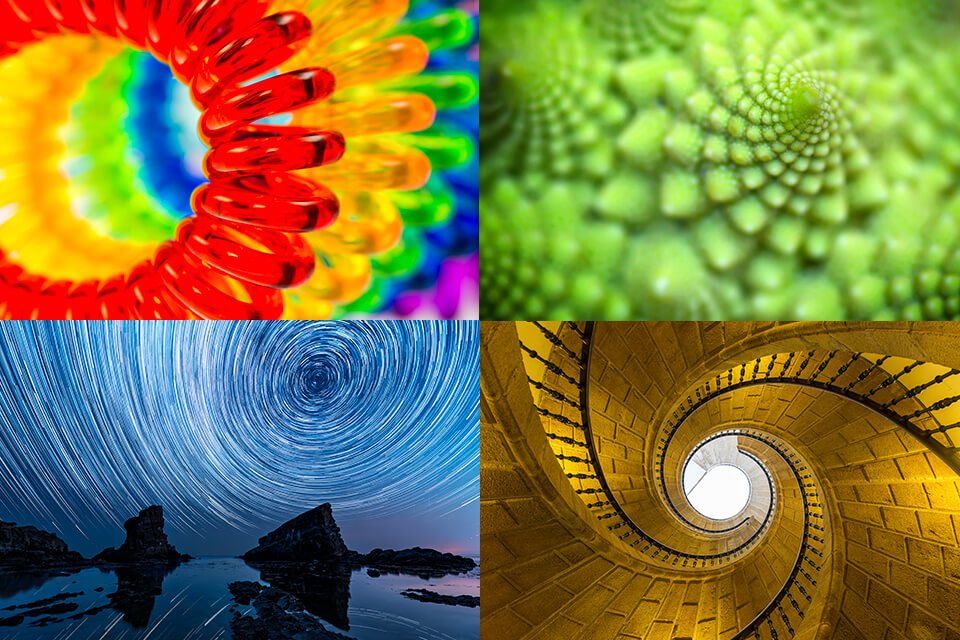
A radial balance is a type of balance that considers lines that surround and deviate into the center. This happens either genuinely or artificially through special manipulations. By the way, radial balance is a photography trend of this year.
There is a great number of natural radial photography examples, for instance, an aerial picture of a circular staircase or a curl of the animal’s tail captured on camera.

It is possible to turn any object into a radial balance with the help of picture post-processing software like Adobe Photoshop. Besides, a radial balance is found in abstract, imaginary ideas. This may be a kaleidoscope that deals with color balance.

Mandalas consider color balance, as well as the shape, flow and form. Snowflakes have zero color balance, but they are perfect in terms of texture and form.
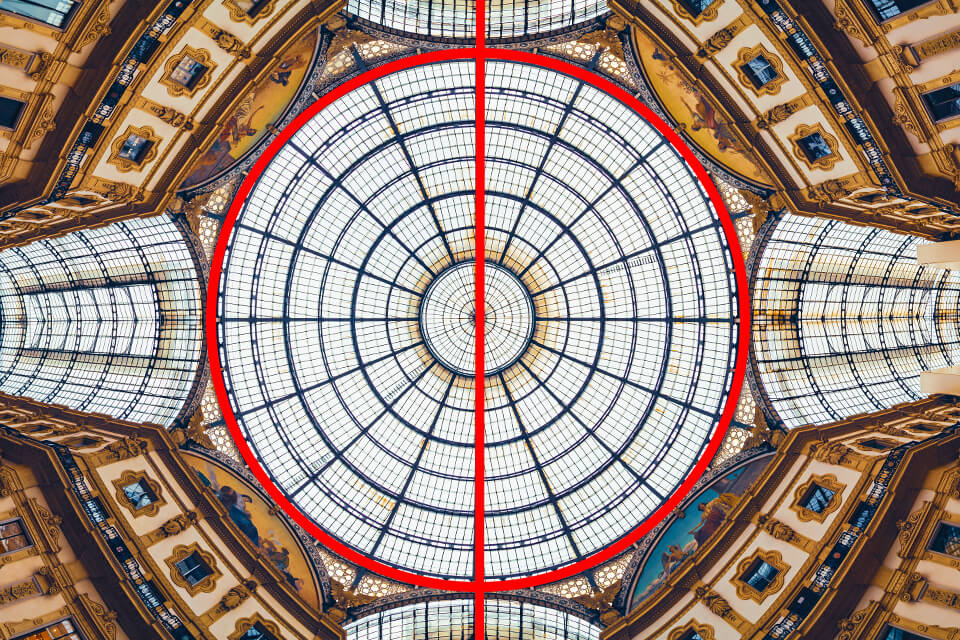
Symmetrical balance (or formal balance) is the commonly accepted method of taking pictures. When photographing, we tend to locate the main subject in the center of the scene. At photography courses, experts teach novice photographers to shoot slightly off-center in most cases. Nevertheless, if you take a look at the picture above, you will notice that symmetrical balance makes the main subject more prominent and appealing.
Two sides of shots with formal balance feature equivalent weight, and both sides can even parallel each other. Occasionally, the subjects may be encircled with negative space to attract more attention and to be perceived as more meaningful. Photographers may locate the subjects in the center on purpose – in order to achieve ideal symmetry if divided vertically or horizontally in half.
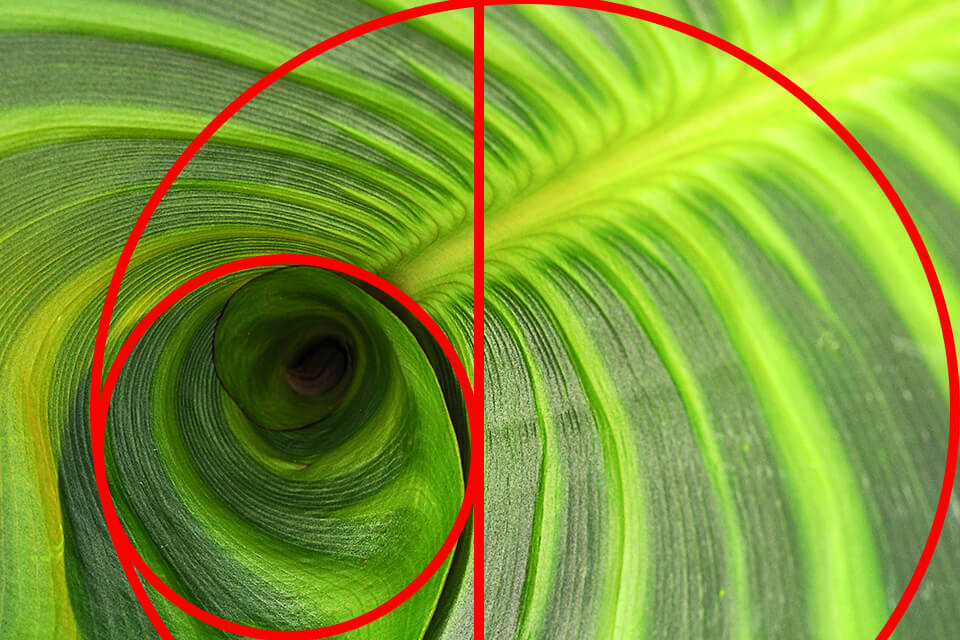
Asymmetrical balance (informal balance) is a compositional trick frequently taught at photography tutorials and courses. It involves locating the subject off-center deliberately, which is a difficult task and requires effort to master.
The rule of thirds employs asymmetry to the photographer’s benefit. According to the definition of this compositional trick, the greatest placement for a picture’s focal point is one-third in from both edges of the frame and one-third down from the top or up from the lowest side. If you have difficulties visualizing it, think of a tic-tac-toe board put onto the picture.
In the case of an asymmetrical balance, the ideal location for the focal point is where any two lines cross paths. To add asymmetry for remarkable radial balance photography, you may also place another less significant subject (along with the primary one) that looks different overall, has a different size or color.

Try utilizing colors in order to achieve asymmetrical balance. Obviously, a shot that is overflown with such vivid colors as pink or orange, will appear too eye-catching. To avoid this, you should balance out a smaller region of vivid shades with a bigger region of more restrained colors, or the other way around.
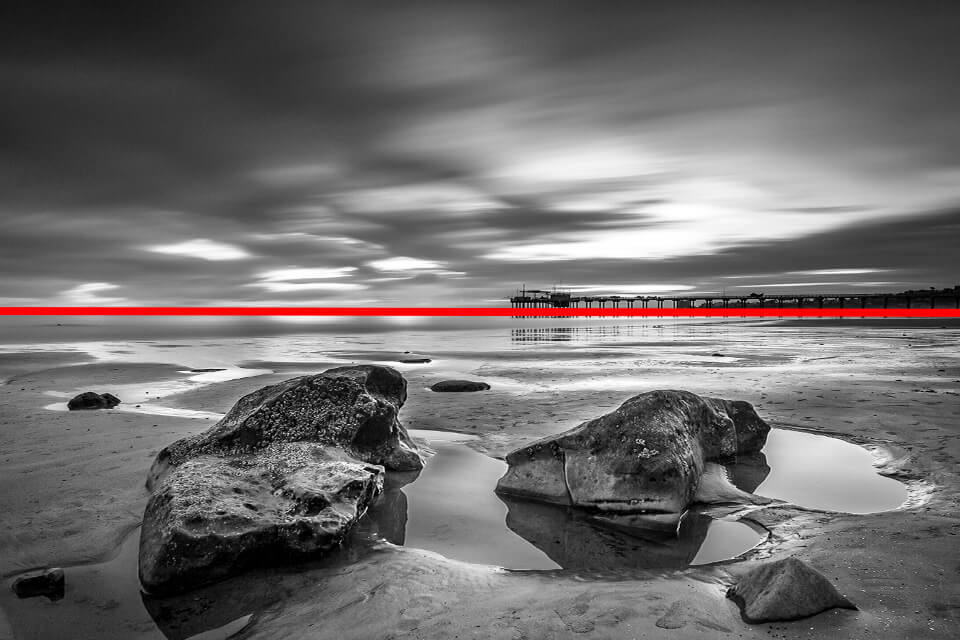
The greatest example of tonal balance is a black and white or monochrome shot where the difference between tones is immediately noticeable. Here the tonal balance is reflected in the light and dark parts of the shot contrasting each other.

Conceptual balance is a more theoretical subtype of asymmetrical balance. It occurs when two subjects coordinate and differ not just in shape, form and size. Essentially, you can achieve conceptual balance if the textures or implications behind the subjects contrast each other. It will be a real challenge to take a conceptually balanced shot – simply a tilt of the frame isn’t enough.
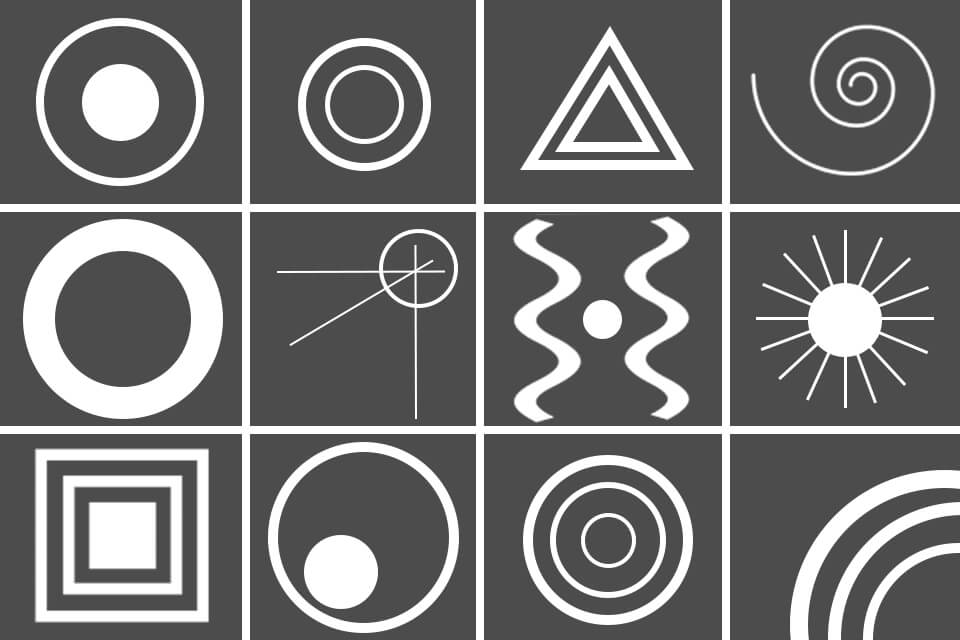
When it is our first time seeing a picture, we instantly lay our eyes on balance without even realizing it. Therefore, if your goal is to catch the eye even of the most unconcerned viewer, an intense radial balance within the shot is a must. This attracts attention even if the person spots the picture from far away and contributes to a singular visual experience.
At the first glance, the viewer understands what is happening in the shot since the radial balance directs them to the primary subject. This is how the viewer feels the significance of the frame.
Besides, by means of a powerful balance, you will have better composition. For instance, to make emphasis on a particular object in the scene, place it along the balance or at the end of it. This will also come in handy whenever you try to figure out where to stand before the shooting begins.
Being visually charged, radial compositions have always occupied a prominent place in visual art and culture. If you take a look at ancient petroglyphs on rocks, they reflect labyrinths and spirals along with lines radiating outwards from a point in the center.
Mandala, a sacred symbol, has played a significant role in a great number of beliefs and religions. The Sun god Helios from Greek mythology was wearing a crown of radiant lines, which were considered the beaming sun rays.
Speaking of the Renaissance period, artists employed radial composition to put focus on the essential personas in the scene. In Assumption of the Virgin by Titian, subjects seem to be radiating away from the primary subject (Mary) while radiant light encircles her upper parts. In Raphael’s School of Athens, well-known philosophers are highlighted by the radial qualities of the architecture around.

Now that you understand what is a radial balance in photography, let’s explore the possibilities of capturing it in real life.
Thankfully, there is a vast array of objects that can offer the desired radial balance. For instance, this may be a kaleidoscope, nature phenomena and even food.
Below, you will see an example of radial balance in architecture. If the staircase wasn’t centralized, it could look distasteful, you could be bothered by it and wouldn’t even want to descend. On the contrary, a radially balanced composition appears stable and puts you into your comfort zone. The situation is the same in photography. An overall coherent balance seems familiar and delightful to the majority of viewers.
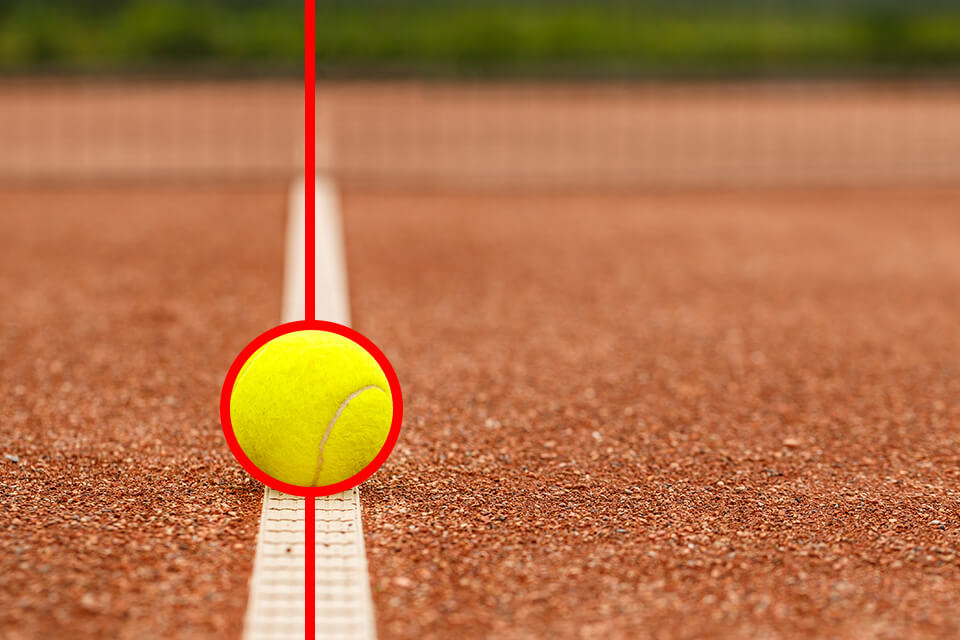
Before you start taking radial balance photography, try picturing what you are going to look for. Although you may deem wheels and flowers suitable, there are other, more interesting compositional elements.
An extraordinary example is a broken window. Don’t be so quick to write it off – if photographed from the proper angle, a broken window may turn into a masterpiece. One more example is a tree stump with circular rings captured from the upper view. Generally, radial balance is a technique that is often used by top-notch landscape photographers.

Here is the list of objects that will certainly help you add radial effect to the shots:

Radial elements are supposed to widen from or be centered around a particular point within the scene. You have plenty of objects to experiment with – from flowers, eyes, fireworks to snail shells, tree rings and doorways, etc.
Smooth radial elements bring harmony into the composition while sharper, irregular lines boost the energy and dynamics of the shot.
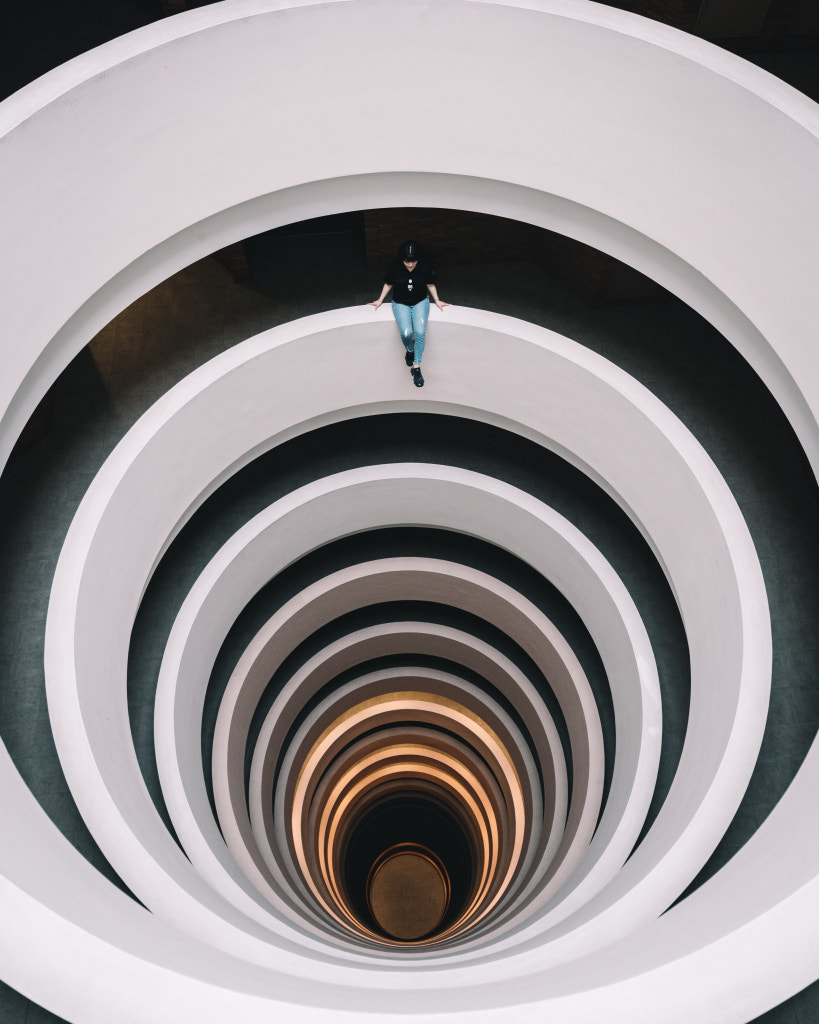
Radial objects surround us everywhere we go, and it won’t be an issue to find them, even if you are shooting only in a particular genre. Radial balance shots are often achieved by means of moving the camera or abstractions.
Radial composition is one of the most efficient ways to concentrate on a certain subject. In fact, it is a no-brainer to capture a portrait with a model located within a window or door frame, or align the halo of sun rays with an aircraft. But the radial elements shouldn’t be added just for decoration or extra appeal. They should be appropriate and make your shot profound, giving it true meaning.

When taking radial balance photography, seek captivating lighting. The contrast of darker tones with lighter ones, prolonged shadows and dynamic flashes of light create outstanding foregrounds. At night, taillights may contribute to a stunning balance. This is one of the most widespread techniques described in the shadow photography guide.

The artificial creation of radial balance in photography is an option as well. Examine this picture, and you will spot straight edges or lines that don’t encircle the path. The color is responsible for creating a powerful balance effect.
Such examples are very common in nature: in the coloring of animals or in pictures of landscapes. Try macro photography or shoot using drones in order to take the shot as beautifully as possible. Don’t forget to use the Crop tool, which will help you highlight only the primary subject in the frame.
Or take advantage of the professional services. They will turn a picture into a qualitative and eye-grabbing one, as well as help achieve the ideal radial balance effect.
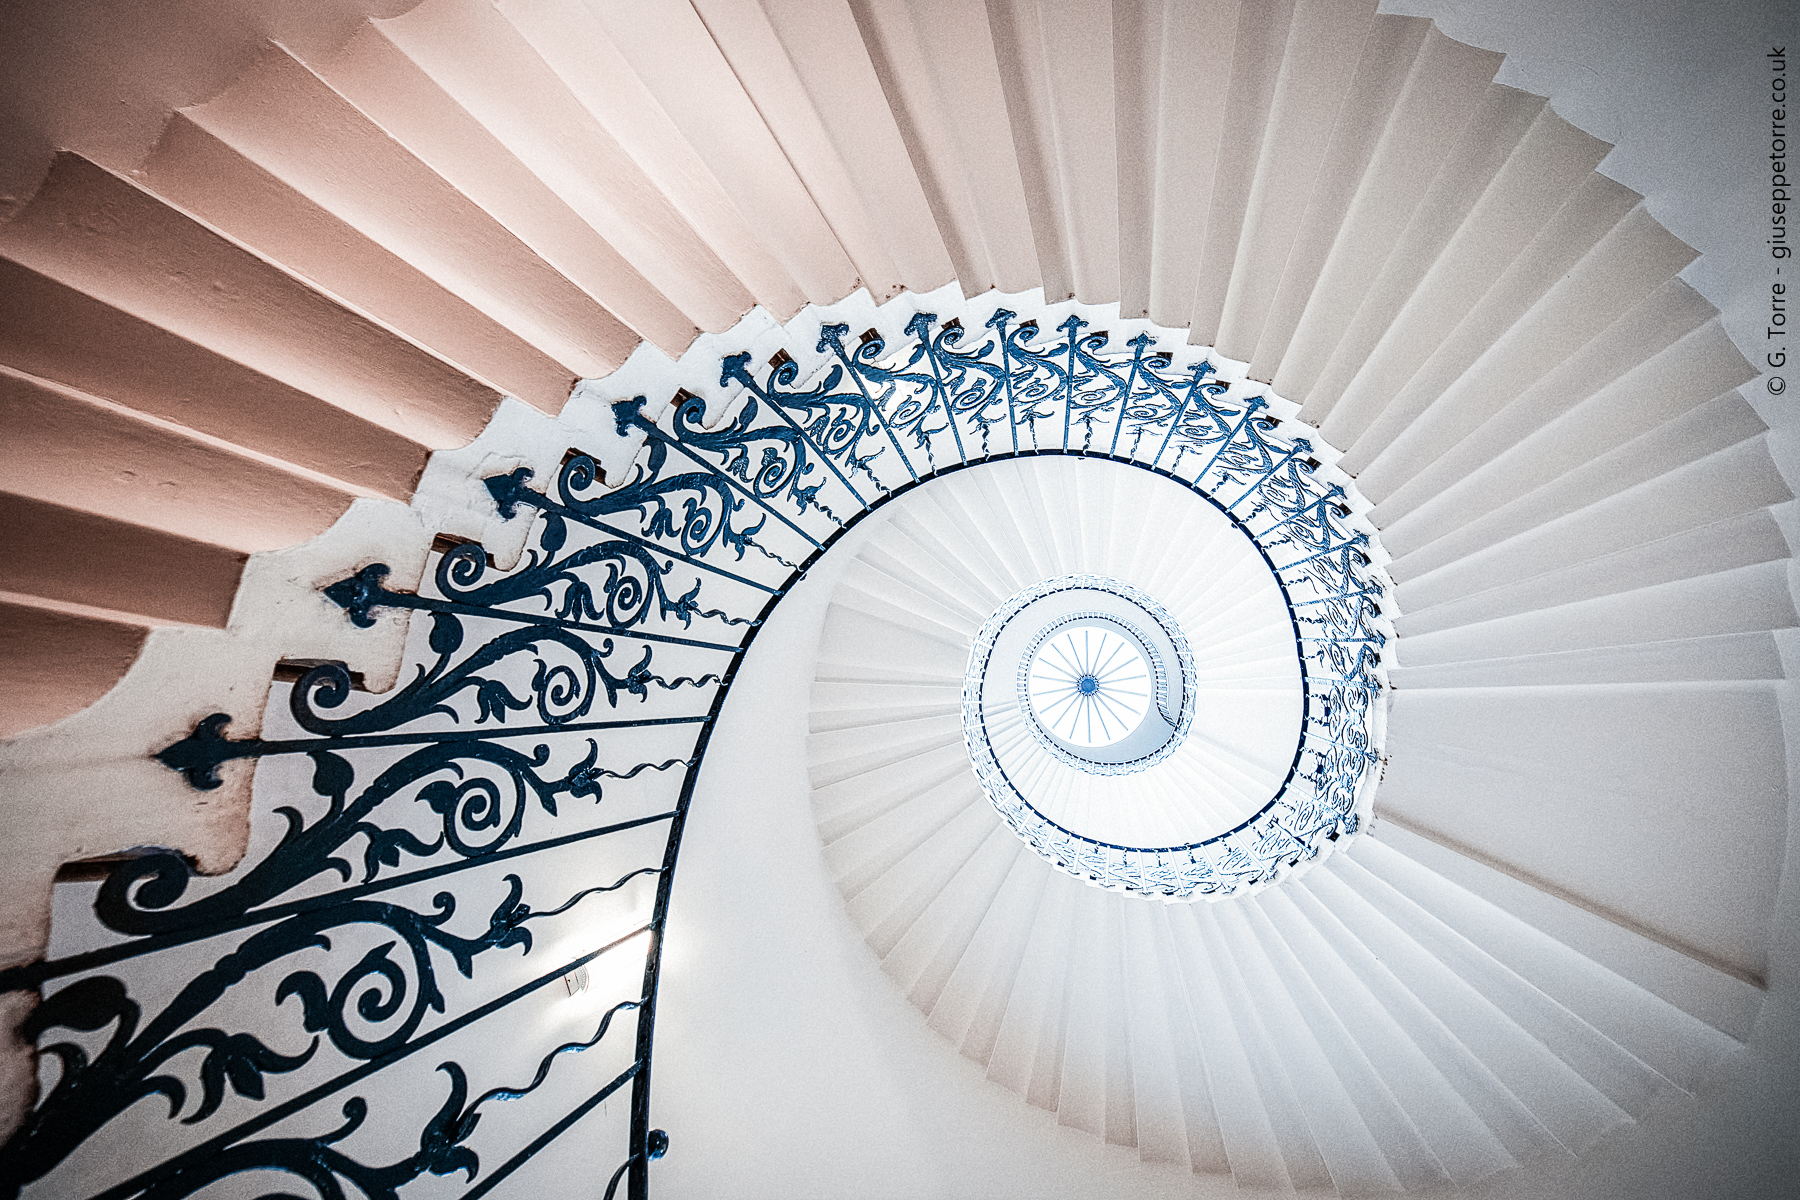
Capturing a spiral staircase is a traditional way of adding radial balance to the scene. A viewer is immediately attracted by the point at which lines cross paths and the staircase starts. Whenever the balance begins in the foreground and finishes in the background, it created dimension, extra visual depth and appeal.

Speaking of the required equipment, a wide-angle lens will come in handy. It deforms the view in a natural way and shifts the focus to the middle of the shot – the place that indicates the center of the subject.
I really enjoy radial balance shots that depict stars in the night sky captured using incredibly long exposure. These are referred to as star trails that appear with the rotation of the Earth. Although the process may last for more than an hour, the results are worth it, and the ideal radial balance is guaranteed.

Play around with various perspectives, like aerial photography or shots taken from underneath. Such uncommon perspectives make the radial balance in photography more intense and impactful.
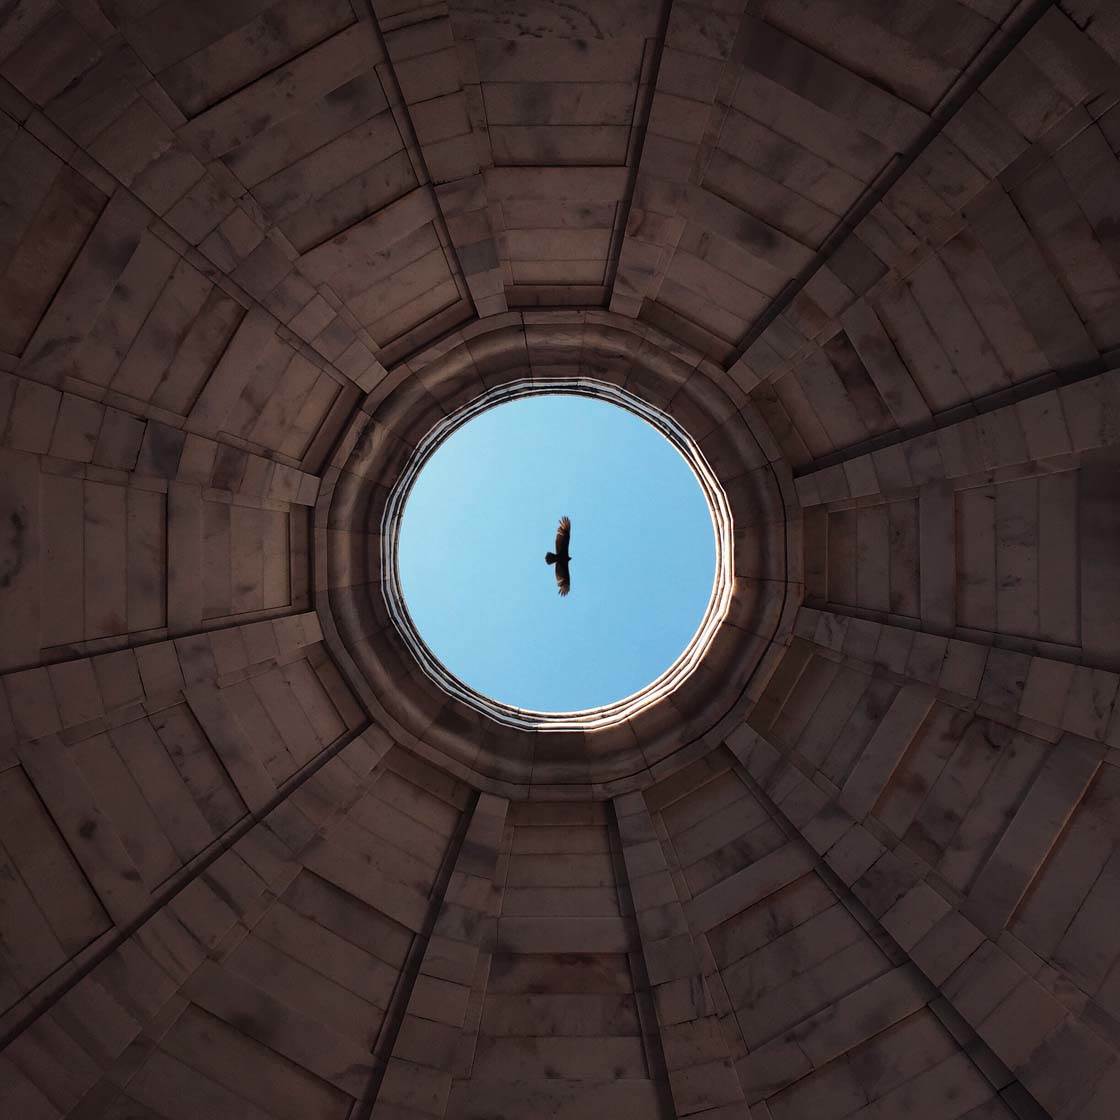
If you need to concentrate on a certain object or person in the frame, the radial composition may help you. One of the options is to shoot through a circular window that will “encircle” the subject. To achieve a similar effect, employ a halo of sun rays, but make sure to do that appropriately.
Get a collection of free filters to improve travel, nature and landscape shots within just a couple of clicks. They are quite user-friendly and compatible with the majority of Lightroom versions, even LR Mobile.
Besides, they are suitable for the cross-platform Adobe Camera Raw. Before you begin applying filters in the mobile version, remember to synchronize them with the PC version first.