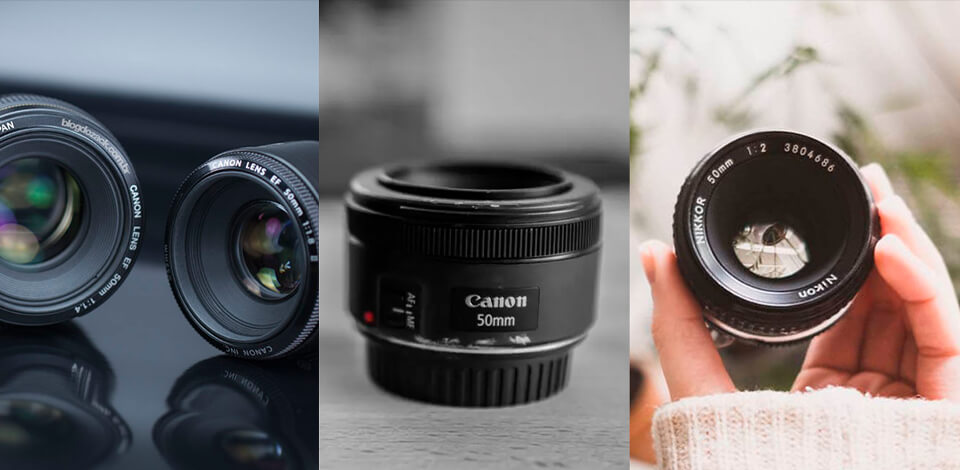
Beginner photographers on the lookout for a universal lens often opt for a 50mm lens, but few really understand what results it can bring. If you are also pondering on how to use 50mm lens, this article will surely come in handy.
I have prepared the most helpful tips on how to use such a lens to get fully detailed portraits, properly focused landscape shots, and correctly exposed nighttime images.
Have you read reviews of professionals and decided to buy a 50mm lens? Don’t you see any significant improvement in the quality of your images? Maybe you set your camera incorrectly, so your 50mm lens is of minor help. If yes, I highly recommend reading these tips.
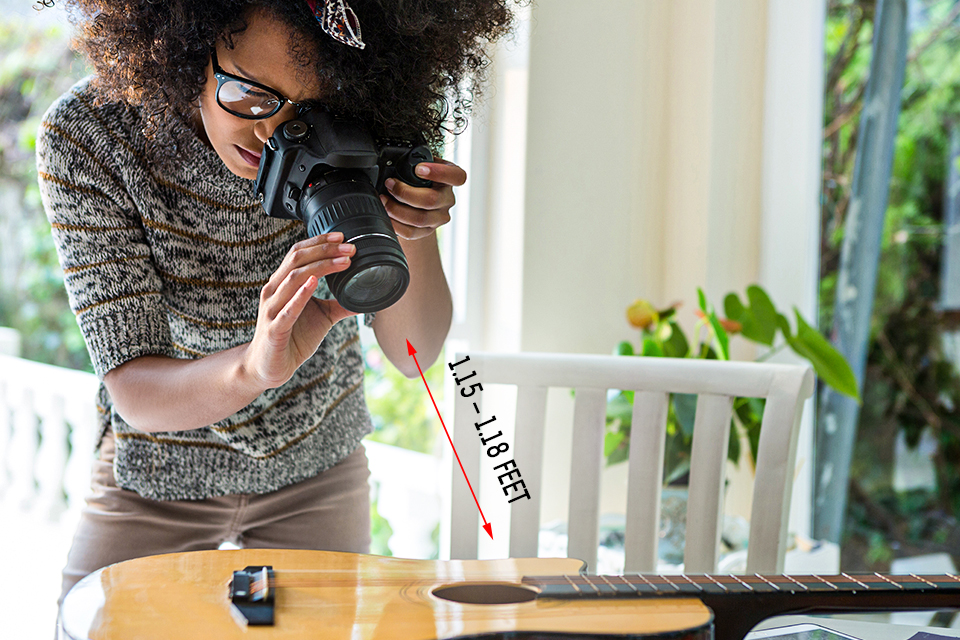
All lenses have a fixed minimum focusing distance and it is important to stick to it. If you exceed this value, your 50mm lens can’t focus properly and an object becomes blurred (manual focus doesn’t help in this case).
The minimum focal length of your lens is marked next to the focal length display, on the front ring, or around the mount.
The best 50mm lenses have such focal lengths:
You can simulate the macro effect with the reverse lens technique using a reverse ring.
The time interval when a shutter remains open, known as shutter speed, directly affects the quality of 50mm photos under different lighting conditions. When using a 50mm lens, it is important to know how to adjust the shutter speed.
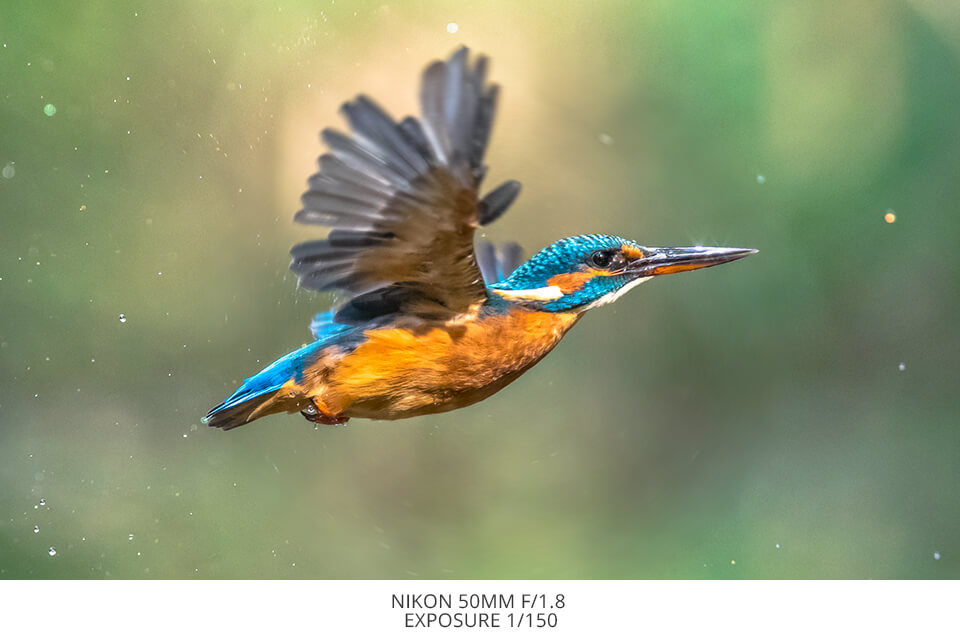
Use a faster shutter speed, e.g., 1/125 or 1/250 to photograph fast-moving objects such as cars or birds. If you want to get blurry motion in your photo, choose a slower speed, such as 1/60. (However, in this case, you risk making your image underexposed.)
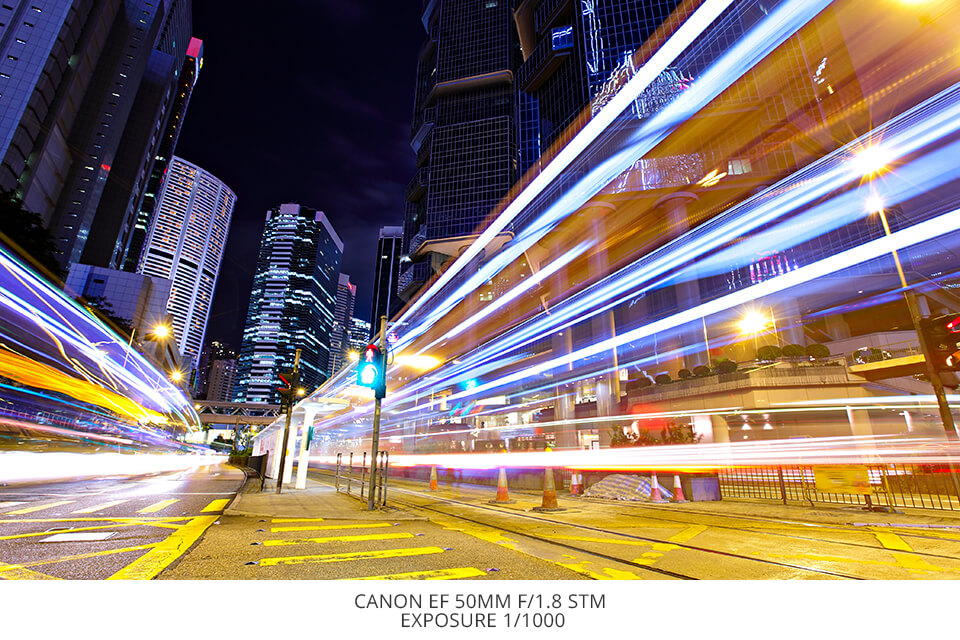
If you shoot in dark or poorly-lit space, choose a shutter speed of 1/250 or faster. Besides, you need to stabilize your camera while photographing at slow shutter speeds, so I highly recommend investing in the best tripod brand model.
Aperture affects the exposure (or brightness) and focus of your photo. The larger the aperture, the heavier the background blur and the brighter the exposure. The smaller the aperture, the slighter the blur, and the darker the exposure.
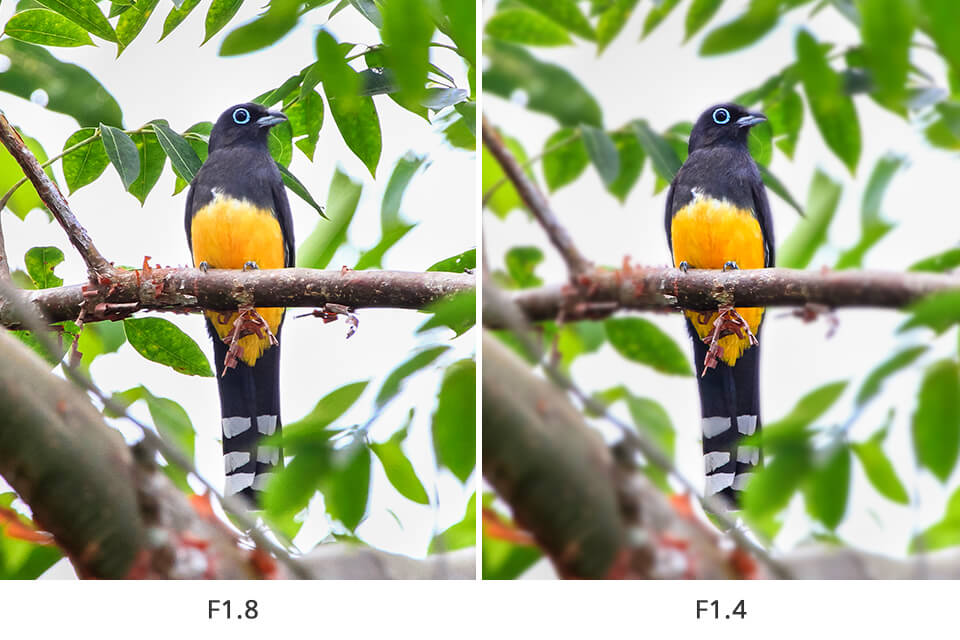
To adjust the aperture, find the “f” value in the “stops” section of your camera's menu. Remember, the lower the number, the larger the aperture.
If you use a 50mm lens and want to take landscape, architecture, or group shots, then choose an aperture of f4 or f5.6. Thus, you can take the whole picture in focus without blurring background objects.
If you work in low light conditions or want to take portrait/close-up images (for example, still-life shots), set the aperture to f1.4, f1.8, or f2.8.
Important! Autofocus may not work properly at large apertures, so use manual focus.
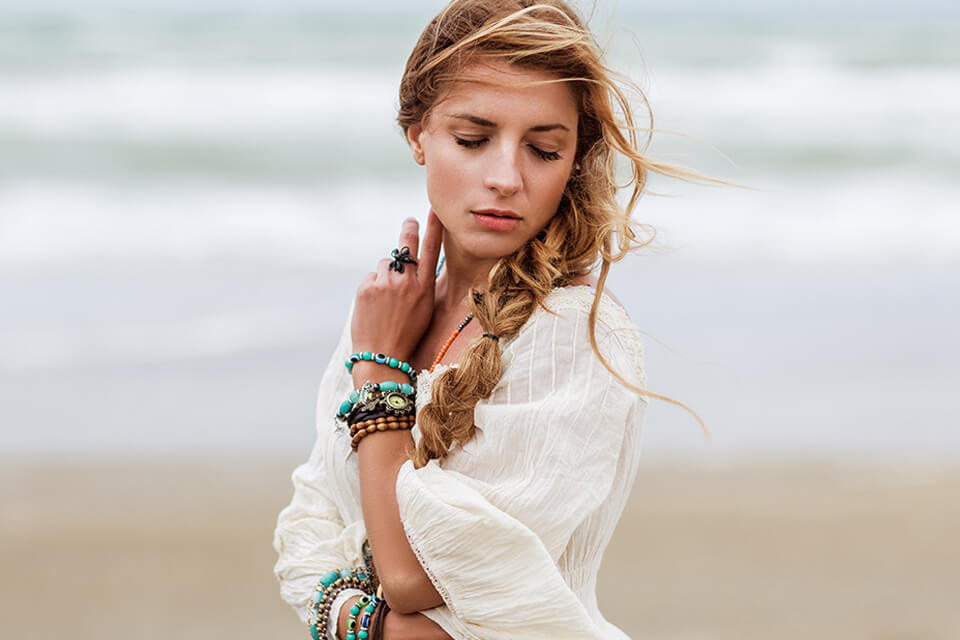
Remember that a 50mm lens only allows shooting at a 46-47-degree angle, which makes photographing in confined spaces (for example, during a photo session at home) a challenge.
By choosing an open area, for example, by the ocean or endless meadows, you can emphasize the beauty of a model, without distracting attention by the background. That’s why one of the most efficient portrait photography tips is to shoot in the open area.
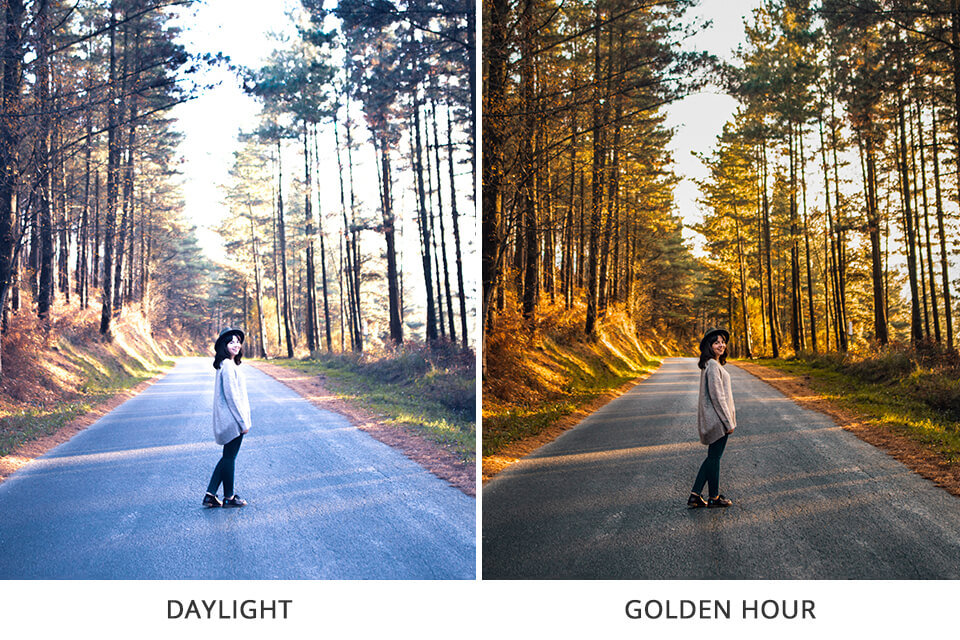
Most newbie photographers trying to understand how to use a 50mm lens for portraits often think that this lens delivers the best results in abundant light. However, it is not. When you take photos at midday, the light is harsh and creates overly intense shadows.
More experienced shooters follow the rules of golden hour photography. This is usually several hours after sunrise and before sunset. Choose the most convenient time for you.

Attaching special diffusion filters or neutral density filters to your 50mm lens, you can lower the exposure of your shot without changing the exposure settings. Therefore, you can use slower shutter speeds and wider apertures without overexposing an image.
Be attentive while using such filters. For example, if you set aperture and shutter speed to f/3.5 and 1/50 accordingly, but with ISO adjusted to 100, your image is still three stops overexposed. To solve this problem, you can use a 3-stage Tiffen 82VND filter. It guarantees proper exposure.
You can also use 5 main filters for landscape photography if you want to master this genre. Thus, you’ll get photos with vibrant colors, smooth water surface, and nice details.
When working with low aperture (portrait/macro photography), you should make sure your camera is properly focused instead of letting it select focal points automatically. Take the following steps to change the focusing mode:
Thus, you can accurately focus your camera, which results in clearer images.
If you know the sweet aperture point of your camera, you can get the maximum depth of field in the frame. For most 50mm lenses with a max aperture of f/1.4 that is between f/2.8 and f/4.
It is believed that the sweet spot of an aperture is usually 2-3 stops from the maximum aperture, but professional photographers recommend checking your lens by taking several pictures with different settings and uploading them to an editor where you can compare the depth of field.
Once you understand how to use 50mm lens, you need to constantly practice to understand how such a piece of optics behaves in different shooting conditions. Thus, you can develop a "muscle memory" to go with a gut when it comes to analyzing the scene and visualizing your compositions without having to look through a viewfinder all the time.
It is also a great idea to choose a free online photography course to learn from experts, who will share their personal secrets of using a 50mm lens in different photography genres.
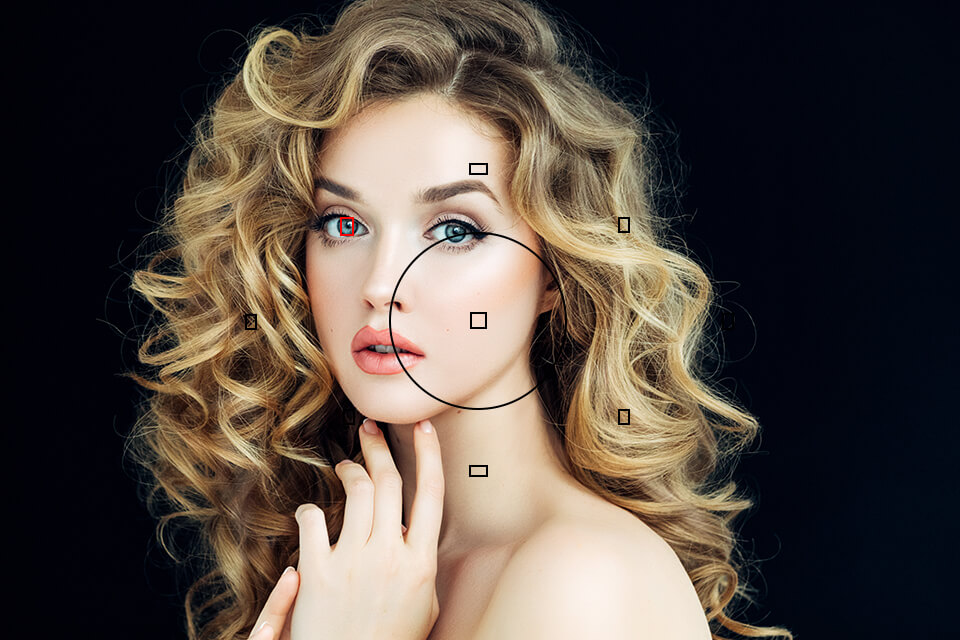
Even the best portrait photographers take images that require further editing. That’s why they all use photo editing software for PC and Mac.
If you are new to the industry and are just learning the capabilities of 50mm lens, you can turn to the experts for professional color correction, acne removal, and other edits, so that your portfolio looks top-notch.


