Best Filters for Landscape Photography Guide in 2026

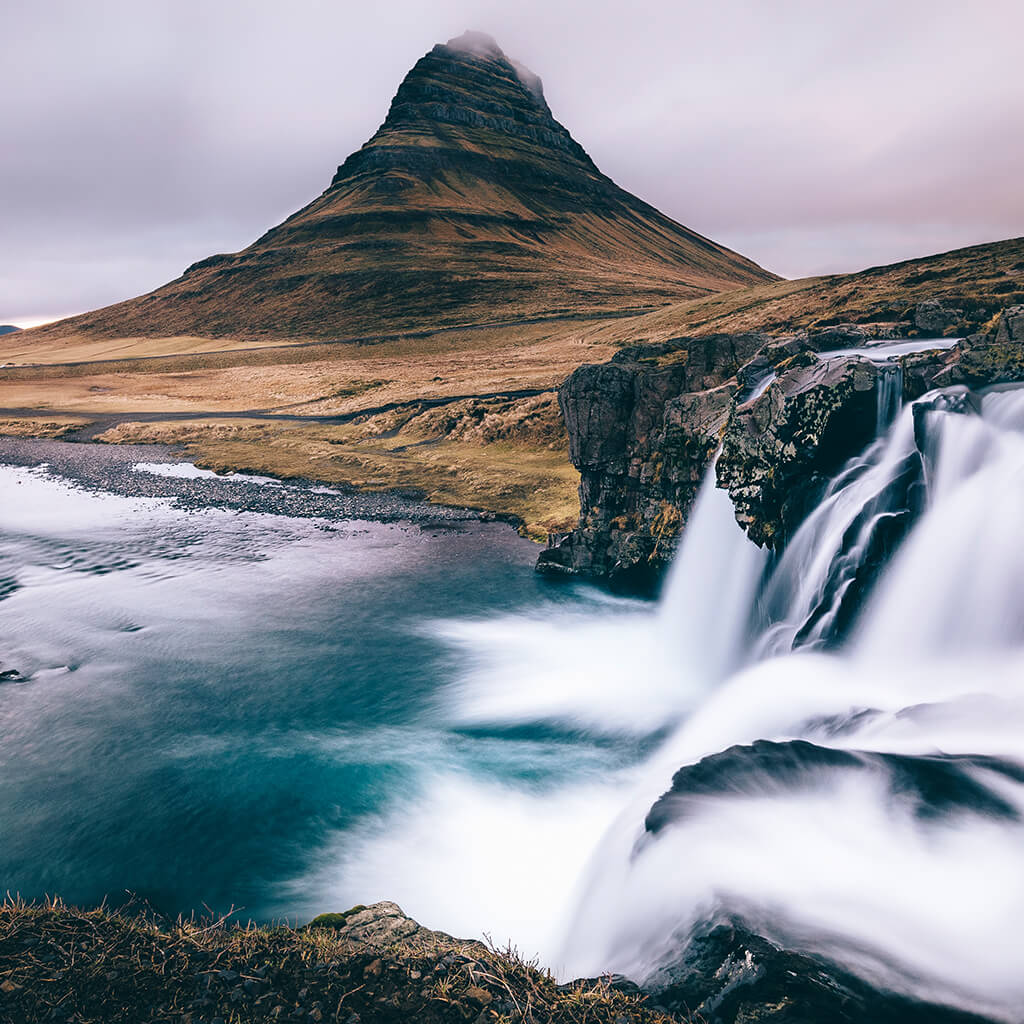
Don’t know about filters for landscape photography, what they are designed for, and why professionals use them? Read more about all available landscape filters, see what effect you’ll get, and save several tips to enhance your photos with the help of landscape filters.
5 Main Filters for Landscape Photography
Are you interested in shooting at high shutter speed and regulating the aperture without any problems? Or your aim is to get a balanced exposure in a bright sky without image post-production? Or maybe you would like to eliminate excessive polarized light, intensifying the color saturation of the shot?
Then you need one of the following filters for landscape photography. I’ve tested most of them and am ready to share my experience.
- PolarPro 82mm Variable ND Filter
- H&Y GND Filter 100 x 150mm
- 77mm X2 CPL Filter
- Zeikos ZE-FLK67 UV Filter
- Baader Premium Eyepiece IR Filter
ND Filter - Milk Effects on Water
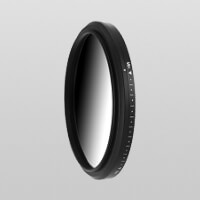 The neutral density filter is necessary for reducing the amount of light which reaches the matrix.
In intense sunlight, the ND filter lets photographers freely adjust the aperture and shutter speed. ND filters for landscape photography are perfectly suitable for people shooting waterfalls.
You may use them for photographing rivers in woods when the camera is located on a tripod and the shutter speed is very low.
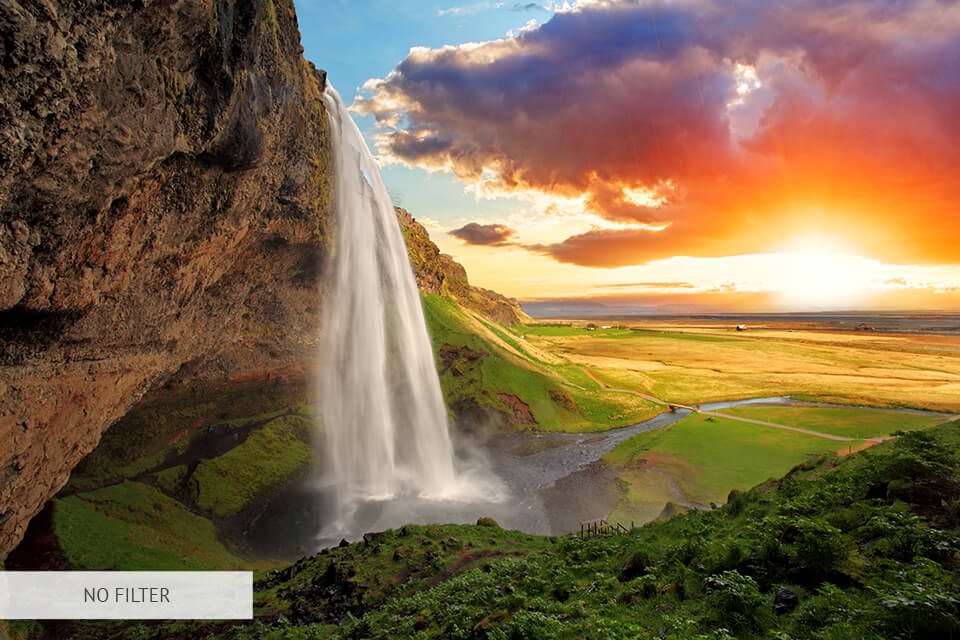
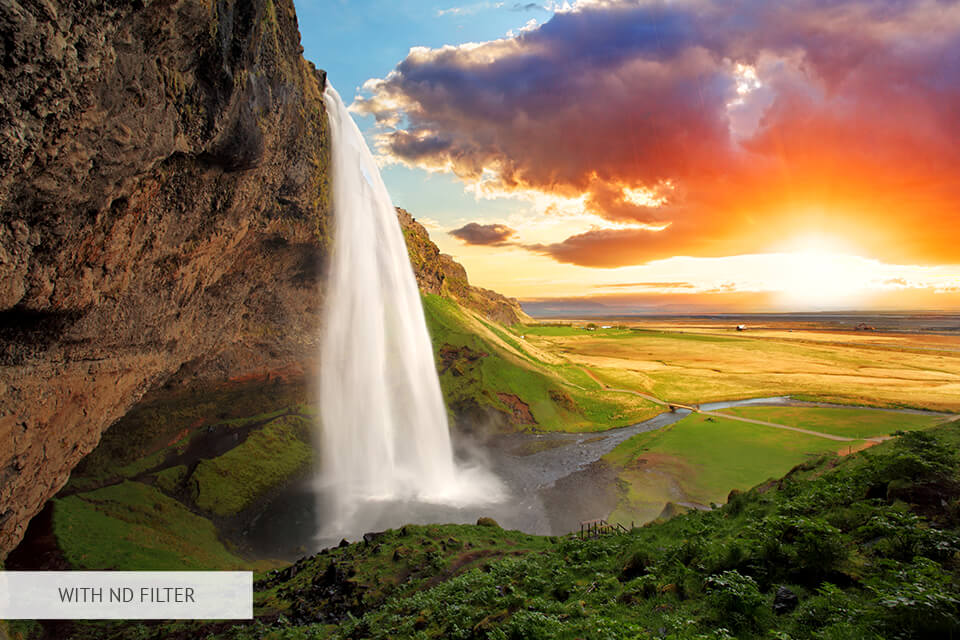
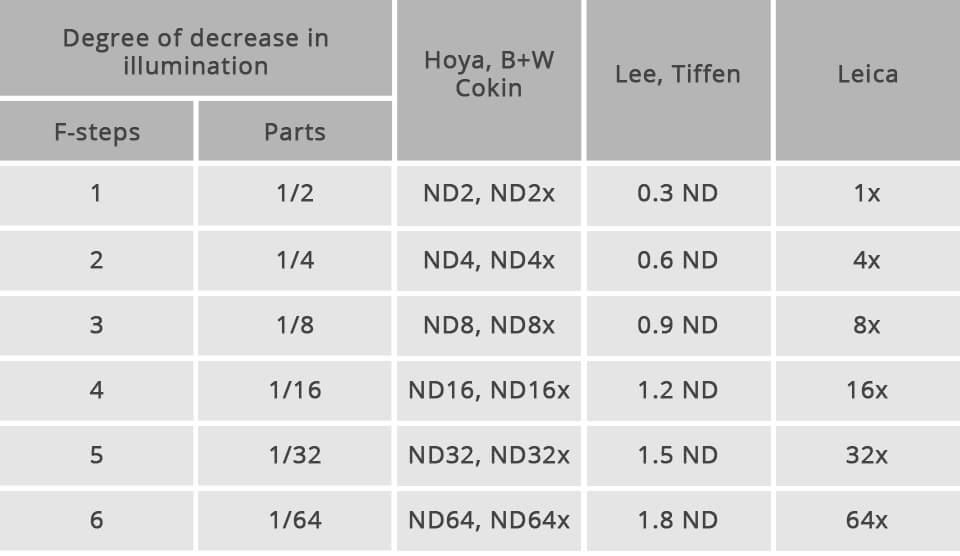
It is not so easy to figure out how various ND filters reduce the amount of light as plenty of manufacturers don’t use one and the same formats of designations. To simplify the navigation through values, I have picked the most popular brands:
The round polarizer is quite user-friendly. Firstly, you have to fasten it to the front of the lens and turn it clockwise or counterclockwise to get a different amount of polarization. The rotation of the polarizer enables the particular types of light waves to pass through, not letting other ranges in.
It means that you may just rotate the polarizing filter and observe the sky color changing from light blue to dark blue or intensify/minimize reflections.
- Choose one of these cameras for landscape photography if you’re looking for something new.
GND Filter – Bright & Clear Colors
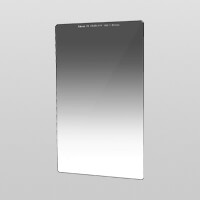 Graduated neutral gray filter. Rectangular plates made of glass or resin featuring two different parts: a completely transparent and a dark one. The latter is an ND filter resembling the previously described one.
 The graduated ND filter enables a smooth darkening from top to bottom, from dark to transparent.
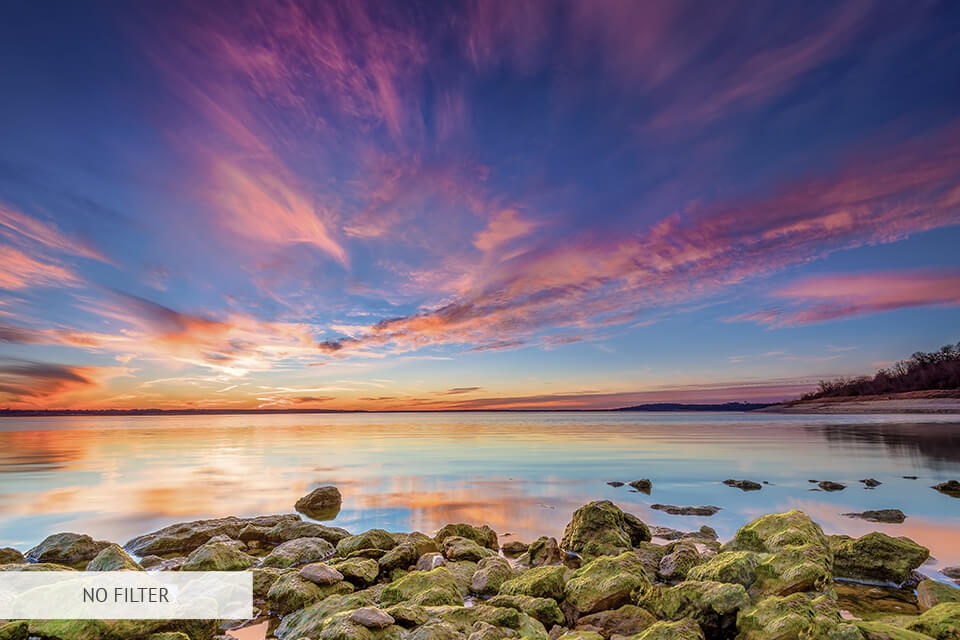
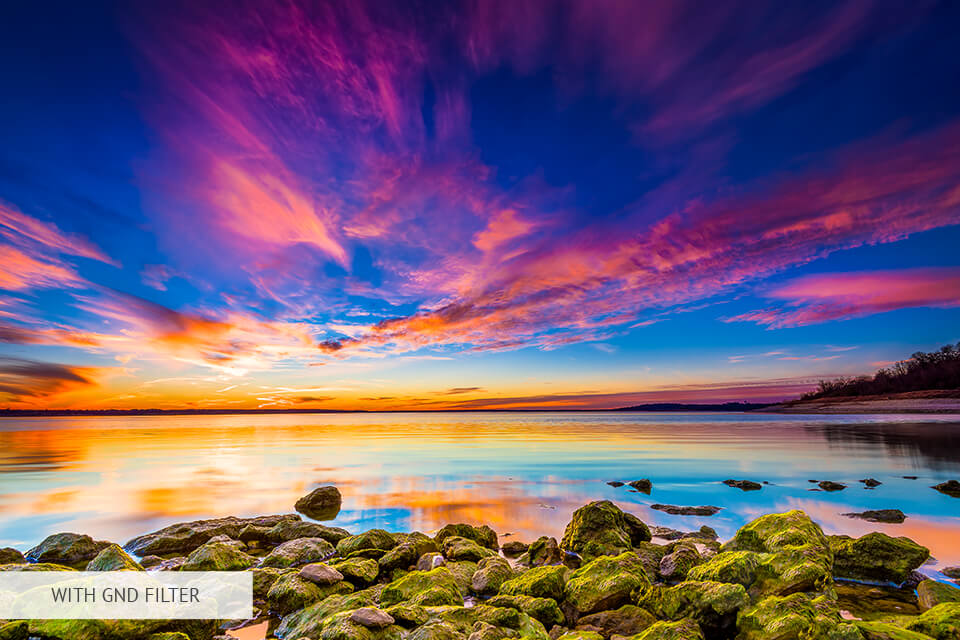
Dark glass at the top and transparent one at the bottom is practically identical to the effect sunglasses provide. By placing the dark part of the glass above the sky, which is brighter than the landscape below, and aligning the transition with the horizon, you may get a balanced exposure.
The transition part on the filter between light (transparent) and dark (ND) indicates the type of GND filter you are working with.
There are four types of such filters available on the market: Hard Edge, Soft Edge, Reverse and Blender. However, only two kinds of these graduated filters for landscape photography are used:
Hard Edge is distinguished by a visible border between the transparent and ND areas. It is more fitting for the situations when the separation between bright and dark parts of the scene is clearly defined, for instance, the sea horizon.
Soft Edge facilitates a soft transition. Photographers mainly use it in cases when the transition between light and dark parts isn’t as clear. A great variant for landscape shots taken in the highlands.
CPL Filter – Smoothed Water Effects
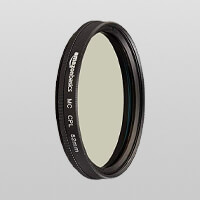 A circular polarizing filter is one of the most important lens filters for landscape photography.
The filter is aimed at cutting off excessive polarized light, intensifying the color saturation of the shot, suppressing unwanted reflections.
The most evident examples of such reflected light are flare and reflections on the surface of water and glass. A polarizing filter lets you filter out direct reflections of sunlight at particular angles. The filtration angle is controlled by rotating its front element, while the intensity of the effect – by the position of the camera relative to the sun. Pairing a circular polarizing filter with, for example, Nikon FX NIKKOR 16-35mm f/4G, the best Nikon landscape lens, can further enhance the overall picture quality. This lens is specifically designed to capture the beauty and details of vast landscapes, and when combined with a polarizing filter, it can produce stunning results.
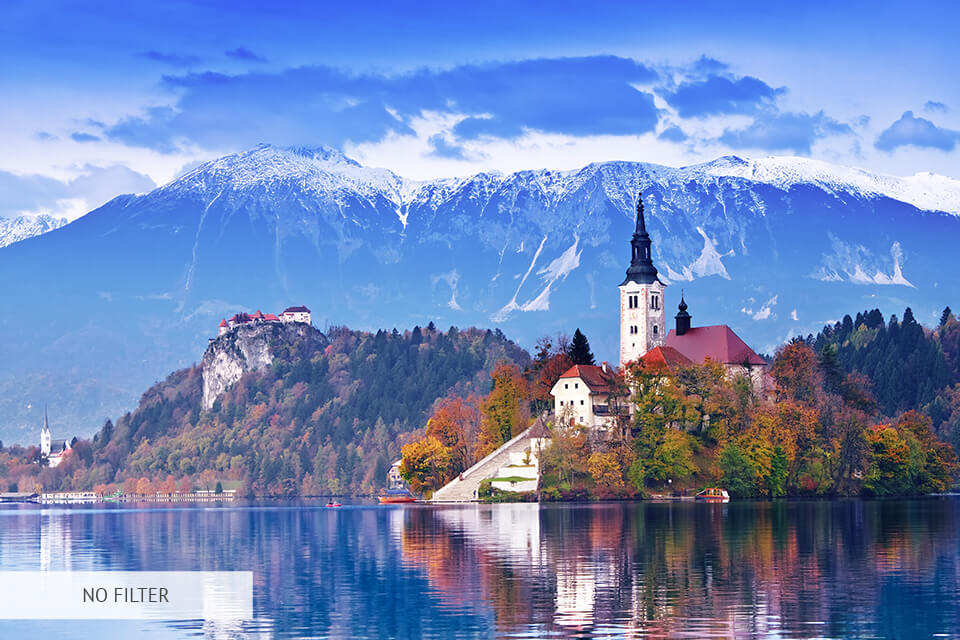
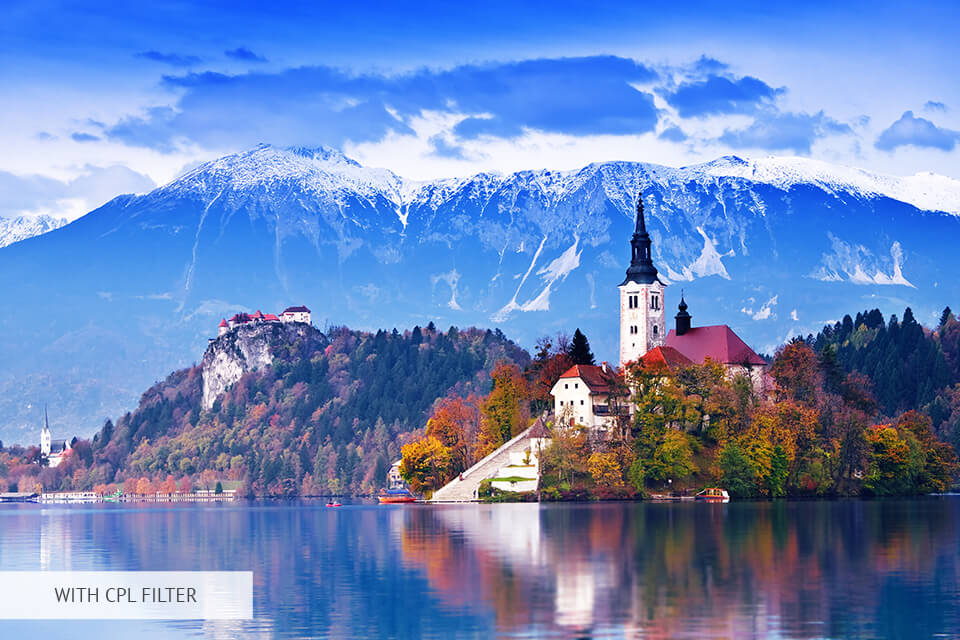
Thus, polarizing landscape filters suppress flare and reflections, letting you naturally increase the color saturation in the picture. This effect is most evident in the sky – it becomes more saturated, and the clouds are more visible.
A circular polarizer eliminates flare, water reflections, and lets you see, for instance, underwater rocks or darken the sky.
UV Filter – For Protection
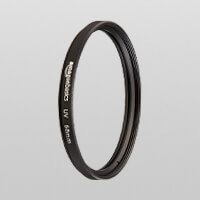 UV filters’ main function is to protect the front part of the lens. However, the heavier-coated UV-2A, 2B, 2C, 2E filters also assist in minimizing the ambient ultraviolet light that permeates the midday atmosphere.
 It reduces image detailization, particularly during warm months.
Besides, you can use them to maintain optimal image sharpness and soften the cold sharpness of summer afternoon light.
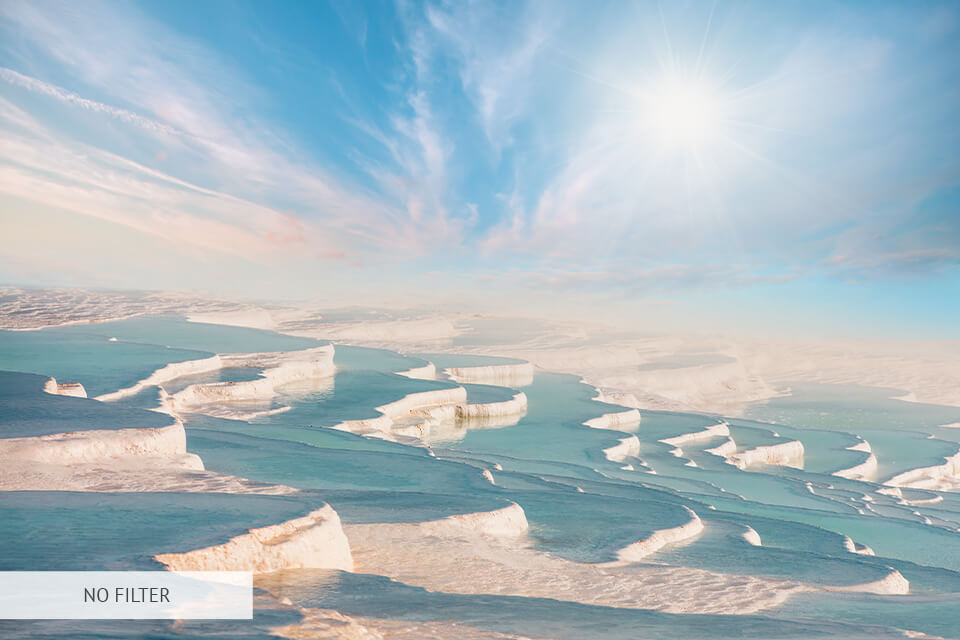
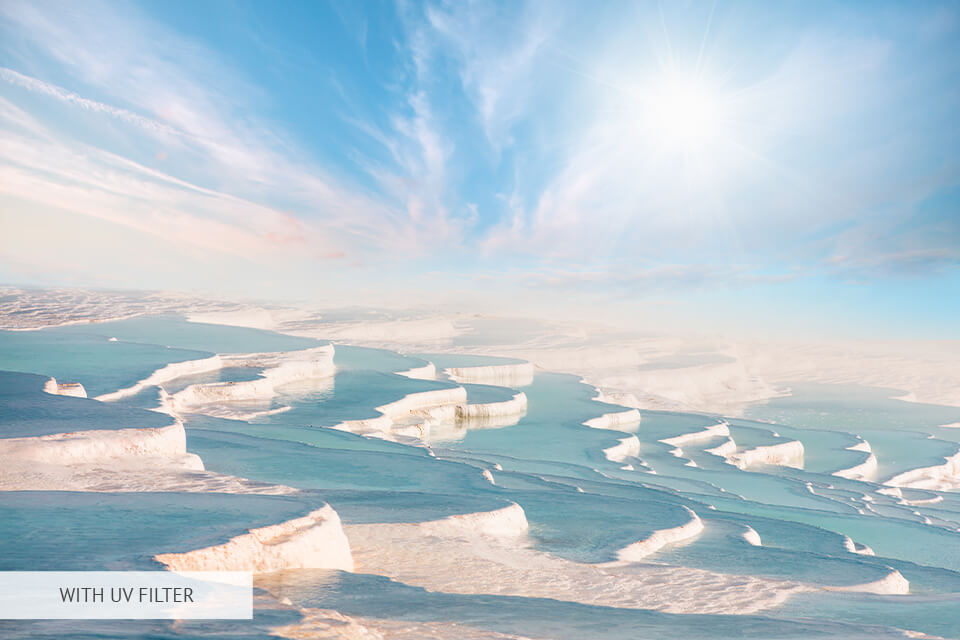
Before purchasing transparent filters for landscape photography, you should make sure that you have chosen a model with high-quality glass and a special multi-resistant coating (MRC). Never fasten a low-quality filter to a high-end lens. This will not only degrade the image quality but also add unpleasant reflections, ghosts and flare to your shots.
IR Filter – Saturated Colors
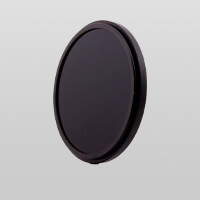 IR filters are meant for infrared shooting. They excel at blocking practically all visible light, letting only infrared radiation reach the film or image sensor.
IR landscape photography filters can be quite unique since they are capable of making the sky black, foliage – white and alter other colors in many interesting ways.
Results depend on the amount of infrared radiation these colors and shades emit.
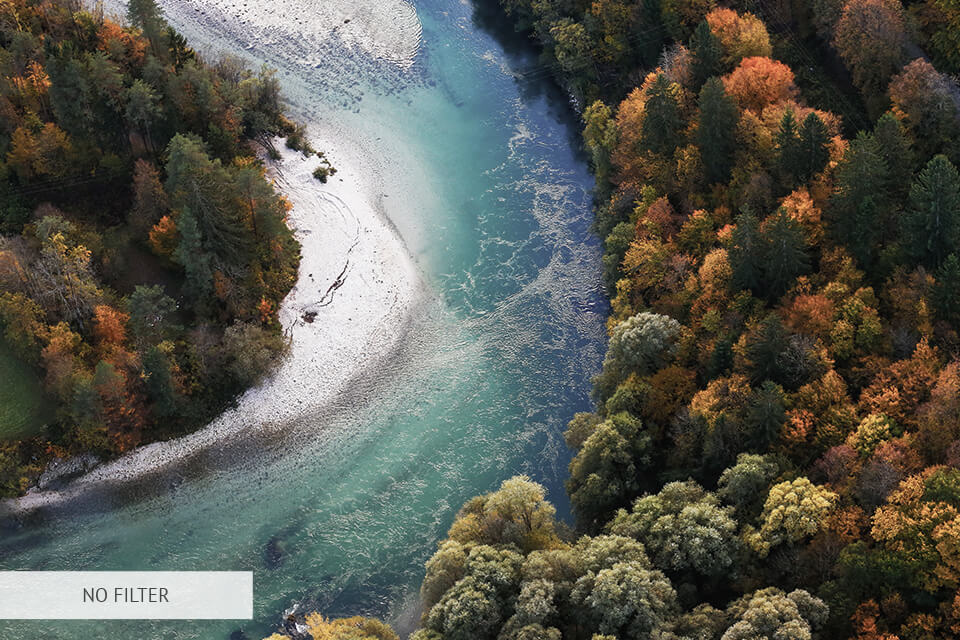
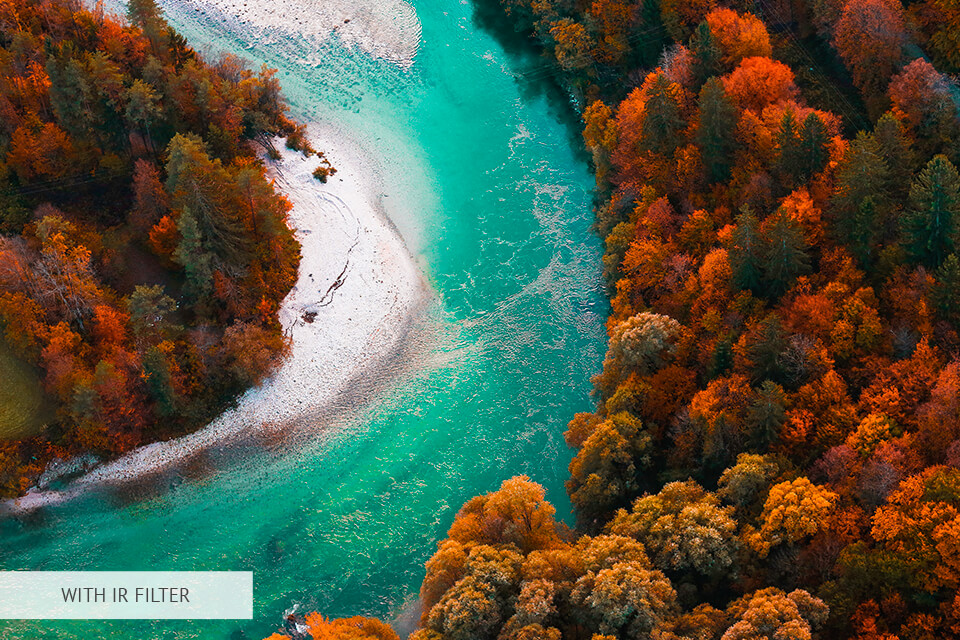
I advise shooting with this filter in the middle of the day when the sun is shining brightly in the sky and the light is intense, sharp. As a result, you will be able to photograph landscapes all day long and not restrict yourself to the golden hours.
Filters for Landscape: Formats
Nowadays, landscape filters come in two main formats – standard and magnetic.
Talking about standard filters – I mean already familiar to us threaded (round) ones, which are screwed in, or square (rectangular) ones, which require a special accessory.
Threaded round landscape photography filters are less inclined to leaking light while keeping daytime long exposures. Besides, they are more lightweight. In turn, the square ones are versatile, because they are suitable for practically any lens (with round filters, you will need to pick the size).
Magnetic filters appeared on the market not so long ago. The Breakthrough Company can be rightfully called their discoverers. The developers have come up with an interesting scheme to lower the price of filters – an additional transitional magnetic ring, which is fastened to the filter and screwed into the lens. Now you don’t need to repeatedly screw the filter into the lens, bringing it to the magnetic adapter (connector) is enough. What is more, magnetic filters for landscape photography feature a nano-coating that resists water and other elements rather than smears them.
Screw-On vs Slot-In Landscape Filters
Before you start spending money, you need to figure out whether screw-on or slot-in filters are right for you, as each type has its benefits and drawbacks.
Screw-On Filters
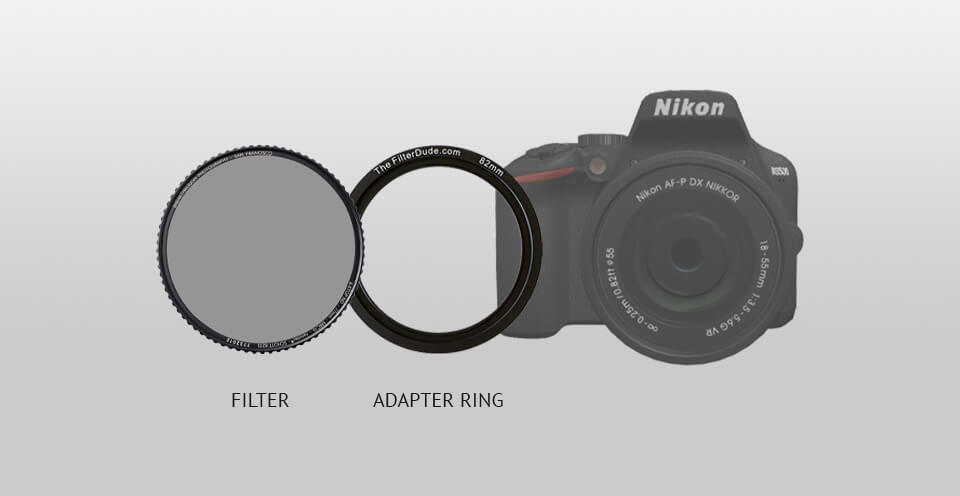
Screw-on filters are more popular and widespread type of ND filters for landscape photography among both beginners and more advanced users. Among the main benefits, I can name:
Durability: screw-on filters are typically fabricated of glass and metal. They will serve you for quite a long period of time and are protected from scratching. They may stay on the lens when it is taken off the camera for storing purposes.
Don’t require additional accessories: since the screw-on filters are screwed to the lens, special brackets aren’t required. The bracket is an extra must-have accessory for slot-in filters.
Slot-In Filters
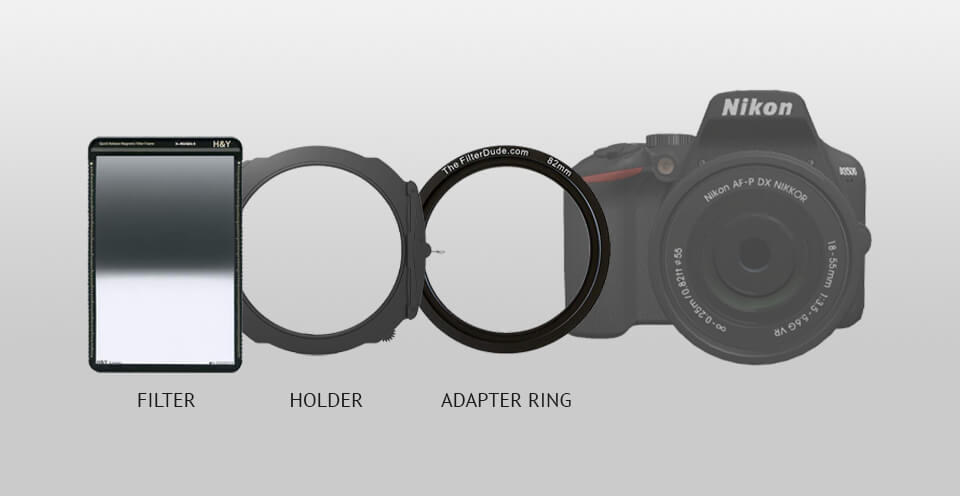
Slot-in filters are more complicated to use and are mostly popular only among experienced landscape shooters. However, in some aspects, they have an advantage over screw-on ones:
Versatile: slot-in filters are fastened to the outside of the lens and are compatible with lenses of various sizes. So you can purchase one filter for most lenses, except for telephoto lenses and other specific models.
Easy to combine: the majority of mounts feature slots for three filters, so effects can be combined. If you don’t have the right ND filters for landscape photography, you may combine filters that create the necessary density.
Cheap price: if you have a holder, slot-in filters are typically cheaper than similar screw-on filters.
What Landscape Filters Brand Is the Best?
Almost every company produces both cheap and expensive landscape filters, respectively of low and high quality. I do not recommend choosing cheap ones as this will significantly reduce the quality of landscape images.
You can find lots of brands on the market. However, all filters brands for landscape photography can be divided into these categories:
- Pro/Enthusiast: Breakthrough, Ray Master, Kase, Lee, Nisi, Leica, B+W
- Amateur: Kenko, Tiffen, Cokin, Hoya
Lens filters for landscape photography are made of glass, plastic, resin, polyester, and polycarbonate. Glass filters are generally of the highest quality, but are very expensive and tend to break easily, especially if they are of a square or rectangular type.
Plastic and resin filters are cheaper than glass filters and do not break easily. They are the best choice for graduated neutral density filters.
Polyester filters are much than glass or resin and are of very high quality. However, they are prone to scratches and therefore not very practical in the field. Polycarbonate filters are very durable, scratch-resistant and are a good alternative to plastic/resin filters. To achieve the best results, I recommend using glass and resin landscape photography filters.
Filter Combination
These days I often notice interesting effects in photos with improved colors and a significant difference in brightness between the earth and the sky. This effect is achieved thanks to a combination of filters, screwing one on top of the other. Combining a polarizing filter with graduated one, you will get the same effect as I described above.
However, you must remember that improperly combined filters can cause side effects. For example, you get less light, lower image quality, vignetting, stripes, and unwanted color tones.
If you are a beginner and do not want to get these defects, use the combinations already tested by time. For example, you can combine:
- Several ND filters to increase the exposure time
- CPL and GND filter to get rid of reflections in the water when balancing exposure on scene
- A couple of GND filters for better exposure balance in the scene
In fact, there are many other combinations if you use high-quality filters.
What Accessories Should I Use?
Since you are a landscape photographer, you must take into account possible problems and be ready for all situations. Your bag should have the following accessories to use with your filters for landscape photography:
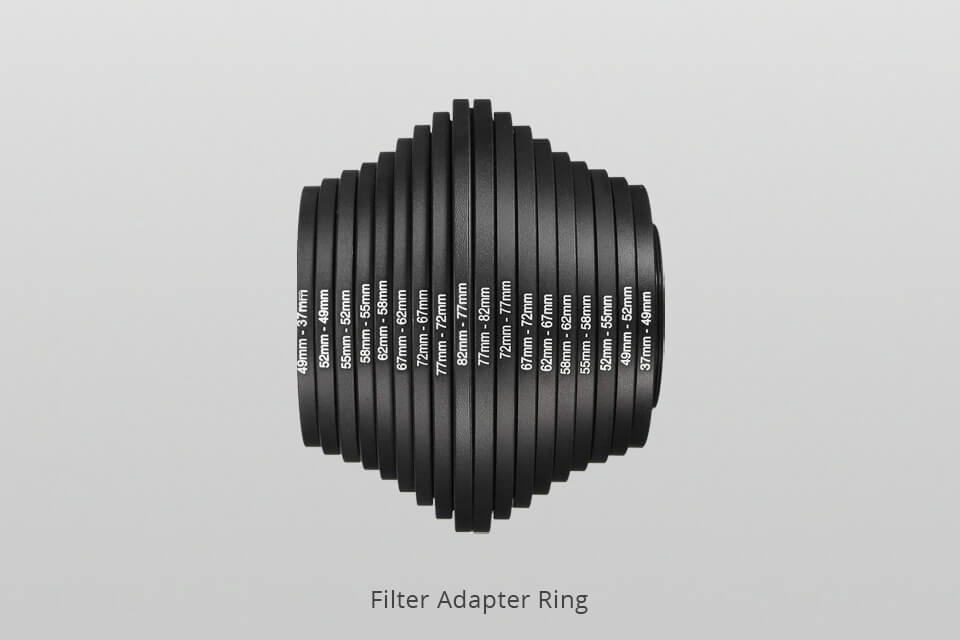
Filter adapter ring: it converts the thread size of your lens to the thread size of any other accessories.
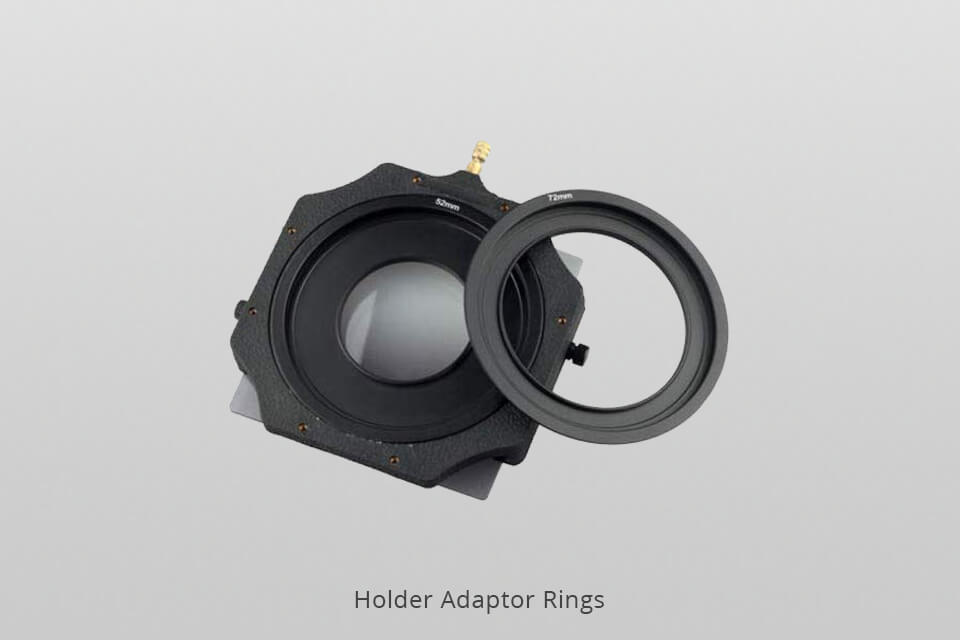
Holder adapter rings: allows you to mount a holder for a rectangular (GND) filter.
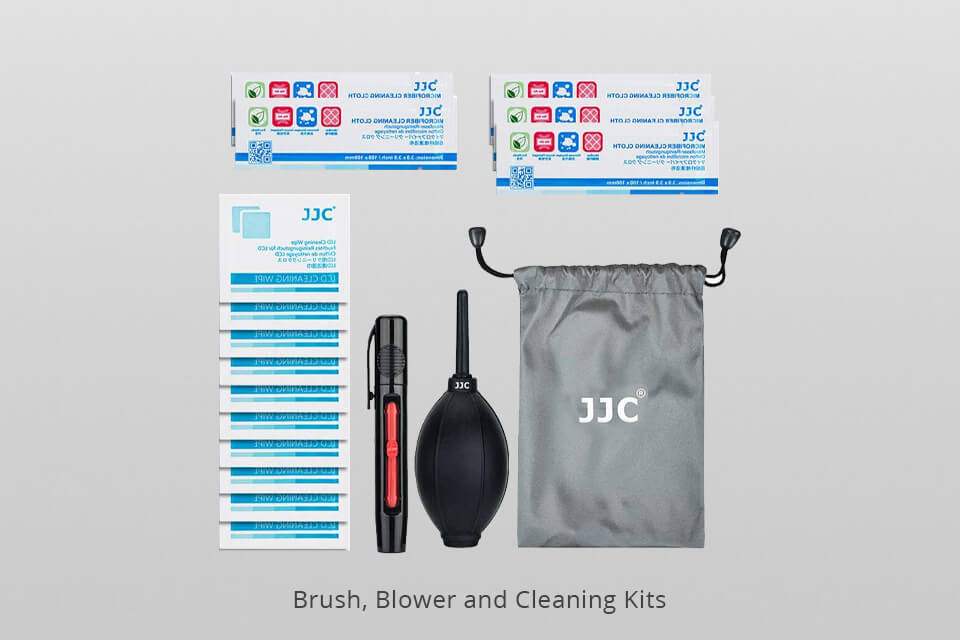
Brush, blower and cleaning kits: since you work in the field, dirt or dust in the filter is a common thing for you. A regular set of brushes and cleaning agents can handle this.
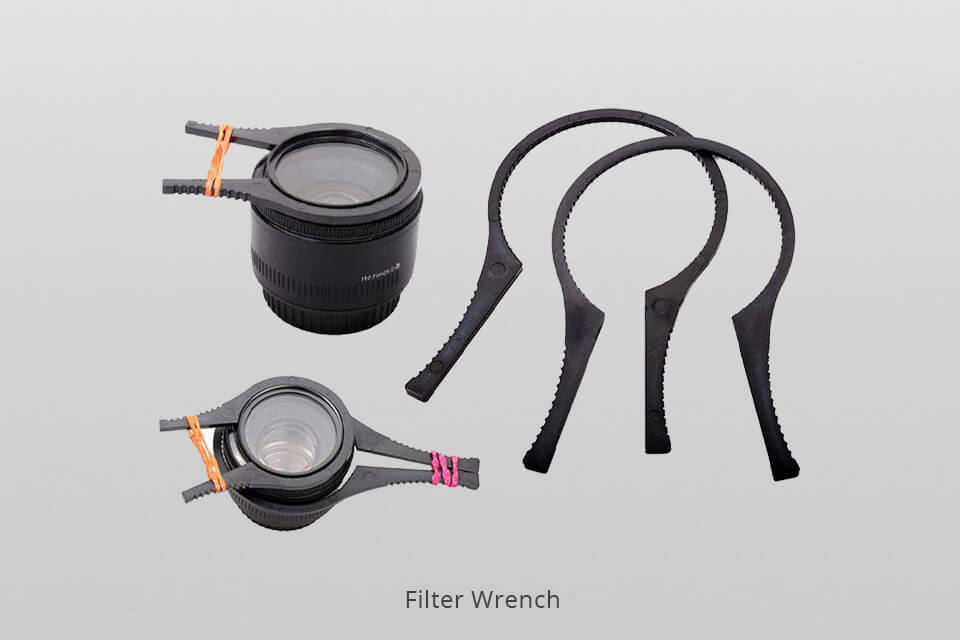
Filter wrench: If you rarely look after the filter, a large amount of debris accumulates in the thread and it stops functioning. As a result, the filter stuck in your lens. To fix this kind of problem, use a special filter wrench. It allows you to detach your best filters for landscape photography safely and effortlessly.
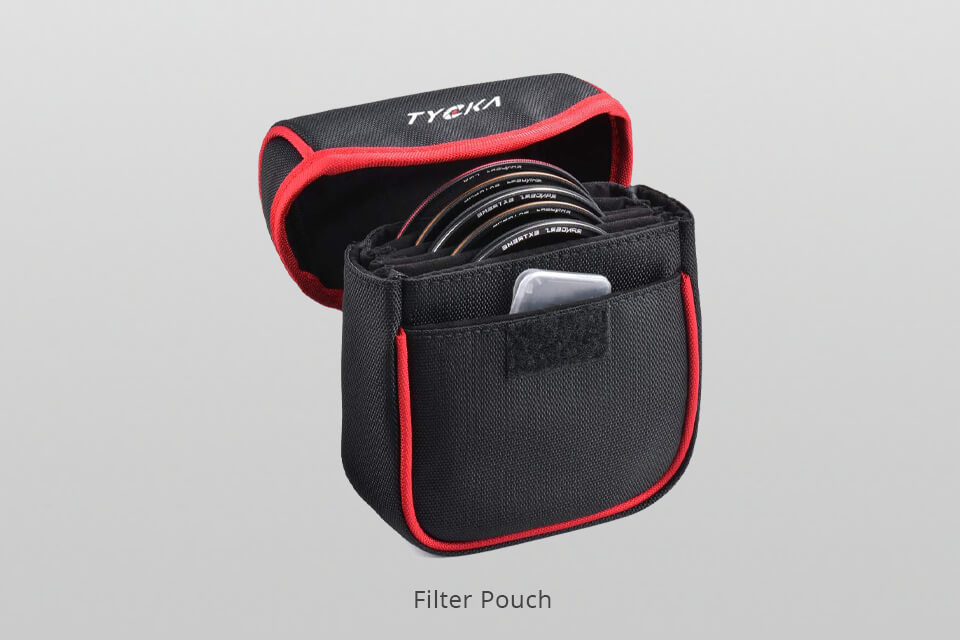
Filter pouch: It not only saves time but also significantly extends the life of your filters for landscape photography. You should be careful with your filters if you carry them without a cover. It is not as difficult to scratch the glass as it seems.
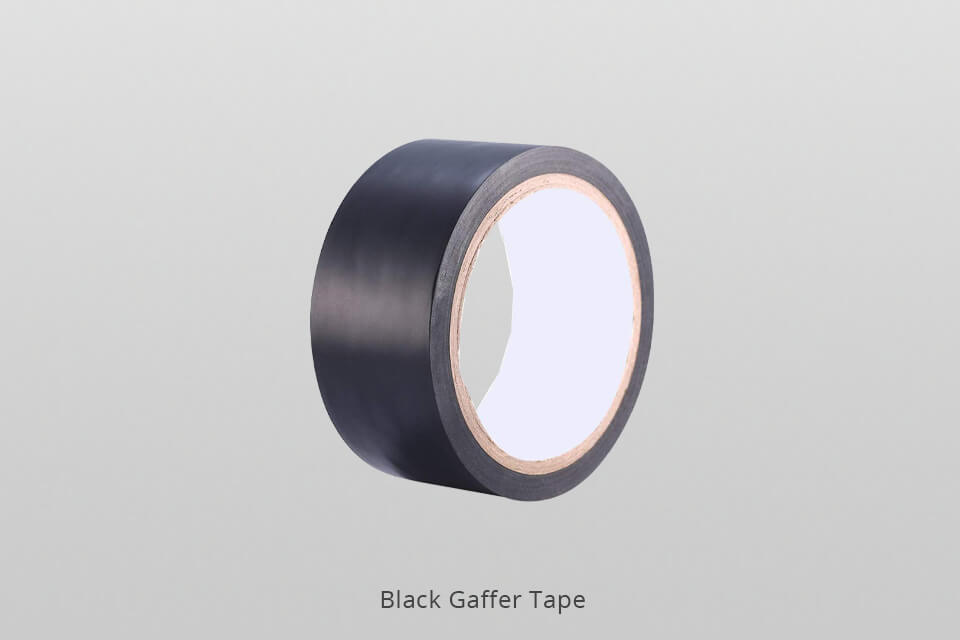
Black gaffer tape: You can use it to seal the lens and ND filter. This way, light does not leak when you use daytime long exposures. Besides, your equipment won’t be damaged with the glue.
Landscape Filters vs Software
How well can digital filters replace real ND filters for landscape photography? Everything depends on the type of filter, image, removed highlights or black color, your photo editing skills and your attitude towards landscape photography.
Both methods are good, but the physical filter wins in several aspects, which makes it a little better so far:
Landscape Filters - PROS:
Saving time: image post-processing is always necessary. But when you use physical landscape filters, it is minimal. That means you have more free time.
It’s easier to handle complex scenes: If you need to balance exposure when photographing a landscape, you better use an ND Grad. Although you can achieve the desired effects with the help of photo post-processing, it is not easy. Uneven shapes such as trees or mountains can complicate the task. If you want to darken the sky without affecting other parts of the picture, you may encounter a halo/line around the correctly exposed objects.
You see the effect in real-time, not at home: having fixed the best ND filter for landscape photography to the lens, you will immediately see the effect. You can correct it without leaving the spot. In the case of photo editing in Adobe Photoshop, you will need to take more pictures to be sure that at least one of them has the desired effect.
No need to work with layers: Layers in Adobe Photoshop are an integral tool. You cannot achieve a realistic effect without it. But you must remember that this is also a complex tool and for a beginner, it will take about 5-6 hours to work everything out.
Softwares - PROS:
It is cheaper: A subscription to Adobe Photoshop costs $9.99/month. While good lens filters for landscape photography cost $100 for each item, I'm not talking about additional necessary equipment/accessories.
You can change the image without taking another picture: Even with professional filters for landscape photography, some defects are immediately invisible when viewing a preview on the small LCD screen of your camera. Adobe Photoshop will cope with the issue without any problems. For example, if the sky is too bright, you can create a mask and darken it. You can also use the Dodge & Burn tools in certain areas of the picture to improve it.
- Download Photoshop Free to enhance your landscape images without filters.
Image quality is better. If photo quality is a very important indicator for you, remember that even the best neutral density filter for landscape photography has a less efficient glass than your lens. It means the quality will be slightly inferior. Note: this is evident only on budget cameras.
What Landscape Filter to Buy?
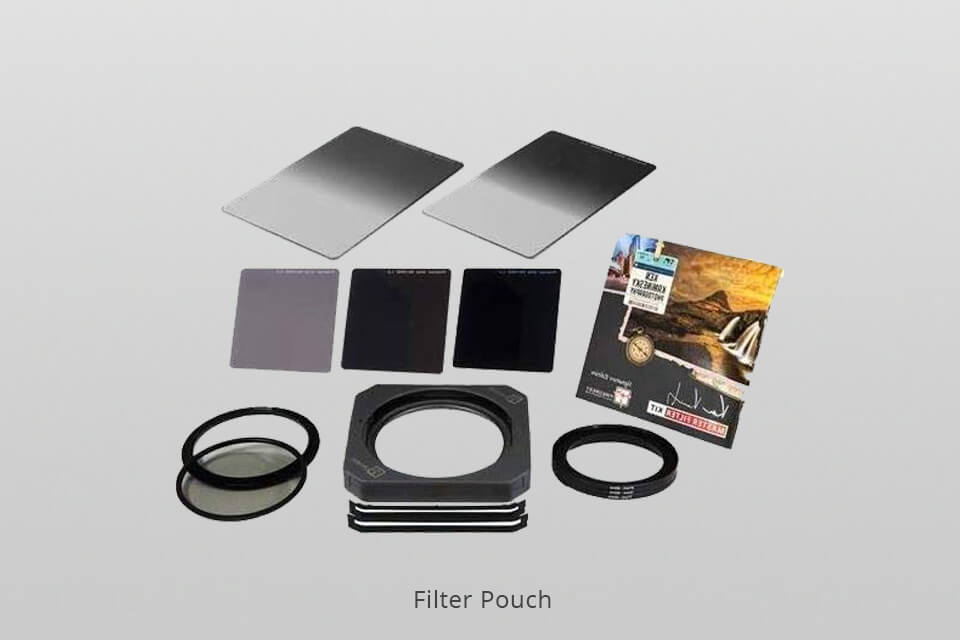
If you are a photographer with a camera, check out this kit. It contains a complete set of landscape filters, as well as those for travel, art, long exposure, and architectural photography. The set includes: Firecrest ND 3.0, ND 1.8, ND 0.9, FirecrestSoftEdge ND Grad 0.6, ND Grad 0.9 rotating adapter ring 82-82 mm, 67-82 mm, 72-82 mm, 77-82 Firesrest polarizer, 82 mm Ultraslim, polarizer KenKaminesky.
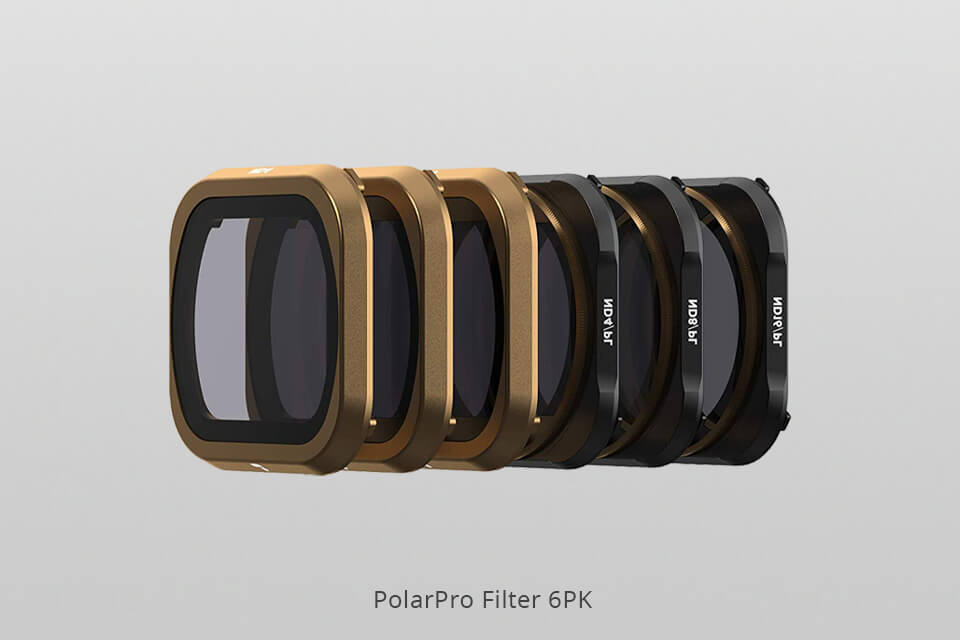
This set includes 6 professional filters. Three of them are neutral colors (ND4, ND8, ND16) and the other three are neutral-polarizing (ND4 / PS, ND8 / PL, ND16 / PL).
Each filter is made of eight-layered glass in an aluminum frame, using Air Frame Polar Pro technology. It has small weight and does not overload the suspension of the drone. A case is also included.
- Read more about the best drones for photography.
8 Tips on Using Landscape Filters
Before finishing, I will summarize some of the tips for using landscape filters. If you are a beginner photographer, this will be especially helpful for you.
1. When exposing with the shutter speed for longer than a second, cover the viewfinder with a shutter, cloth, or hand. This way, you can avoid the slightest penetration of light through the slits on the matrix. (This is recommended only for shutter speeds of more than 15 seconds).
2. Place the filter in the slot closest to the camera, especially the neutral density filter landscape photography. Ignoring this advice, you may have flares.
3. Do not use more than 2 filters at a time. This can lead to various glares and unwanted vignetting.
4. When shooting in a uniformly lit area (which is a rare case), and in scenes without movement, it is possible not to use filters. The dramatic sky and gradient, in this case, can be easily imitated in Adobe Lightroom.
5. To photograph water, use shutter speeds of 1/10-1 seconds. Thus, its texture will be preserved and it will not turn “into milk”. You must remember that exposure depends on the speed of the water.
6. Don’t use landscape photography filters on the open apertures. In this position, the sharpness towards the edge of the frame traditionally falls and the filters decrease it a bit. Together, the defect gets even worse.
7. Filters are almost useless in rainy weather since drops easily fall on the glass.
8. Try not to use filters for shooting in backlight (when the sun is in the frame) as the filter will give extra flares, especially if it is a little dirty.
FAQ
- • What is the purpose of using filters in landscape photography?
Filters serve multiple purposes. They can enhance color saturation, control exposure, reduce glare and reflections, and create artistic effects, among other things. They are valuable tools for achieving desired results and elevating the overall quality of landscape images.
- • Can filters be stacked together for combined effects?
Yes, filters can be stacked together to achieve combined effects. However, it's important to use caution as stacking too many filters can potentially introduce unwanted vignetting, image degradation, or loss of image quality. It's advisable to test the combination of filters before shooting and choose the necessary filters judiciously based on the desired outcome.
- • How do I clean and maintain my filters?
Proper maintenance is important to keep filters in optimal condition. Use a microfiber cloth or lens cleaning solution to gently remove fingerprints or smudges. Avoid using harsh chemicals or rough materials that could scratch the filter surface. Additionally, store filters in protective cases when not in use to prevent dust or damage. Regularly inspect filters for any signs of wear or scratches that may affect image quality.
- • Can filters affect image sharpness?
The quality of filters can vary, and some lower-quality filters may introduce slight image degradation or affect sharpness. It's advisable to invest in high-quality filters made with optical-grade materials to minimize any negative impact on image sharpness. Additionally, using filters correctly, ensuring proper alignment and cleanliness, can help maintain image sharpness and overall image quality.


