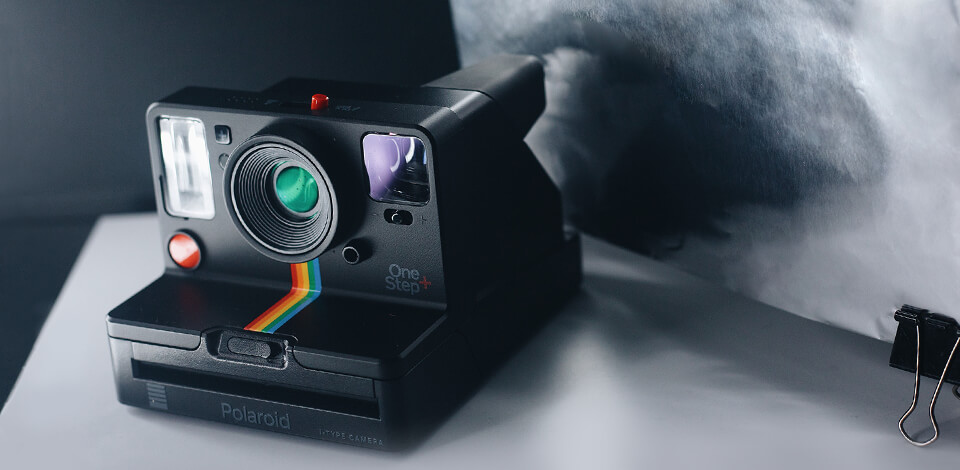
A reflector is an indispensable tool for taking product and portrait shots. When shooting outdoors in bright sunlight, a reflector will help spring the light back to the face. When shooting in the studio, it can be put on the opposite side of the “key” light to brighten up shadows, which will preserve the three-dimensional look of subjects.
In case you forgot to take a reflector with you or can’t invest in one right now, find out how to create a DIY photography reflector in the shortest time.
In this tutorial, I will implement one of the most popular DIY photography lighting ideas and share step-by-step instructions on creating an aluminum foil reflector board from the items you are bound to have at hand so you don’t need to buy anything extra.
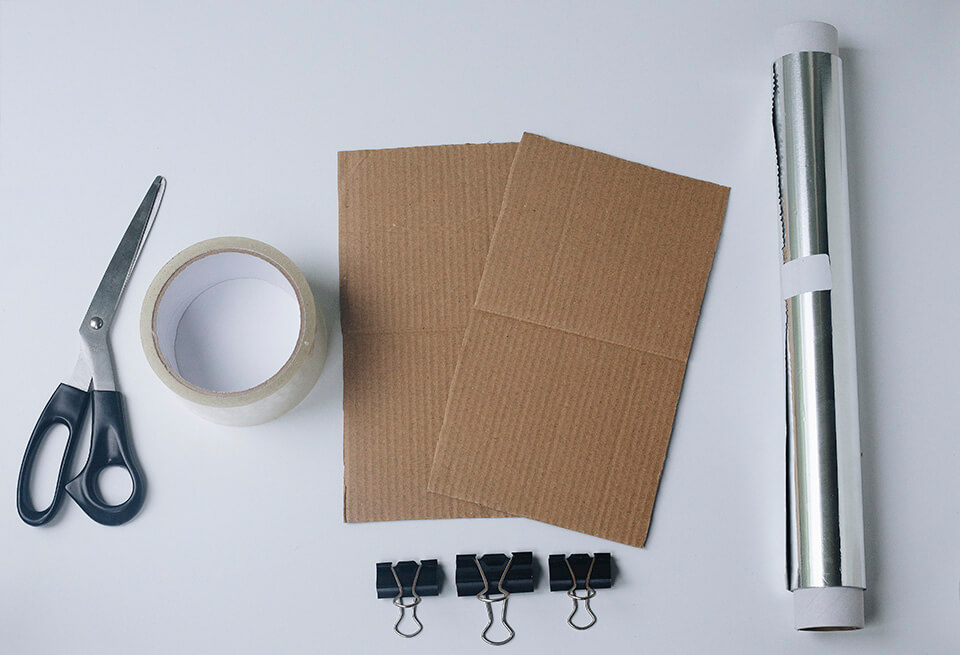
Firstly, make sure that you have all the required materials at the ready, such as:
In case you own a white foam board, its reflective surface may serve as an excellent reflector. But for better effect, you will still need aluminum foil. Another nice option is to use a cardboard box since you can fold it up and tuck it away.
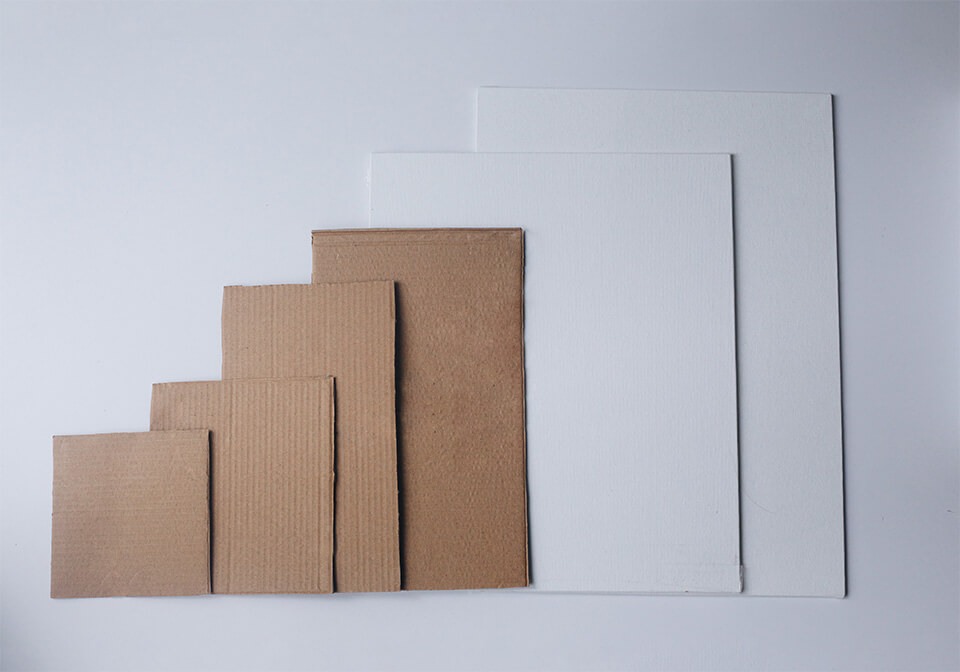
Overall, DIY reflectors aren’t very difficult to make. Take the board and adjust it according to the preferred shape and size. The best-case scenario is to have a piece of cardboard of the size identical to the subject/object (a larger size may do as well). For instance, if you are taking a head-and-shoulders portrait, a 3ft (1m) piece of cardboard will be perfect.
When making a DIY reflector for portrait photography, stick to a larger piece of board. Product photography doesn’t call for a big board, so use a smaller piece. In order to improve shadows in some places, I suggest that you make a number of small boards.
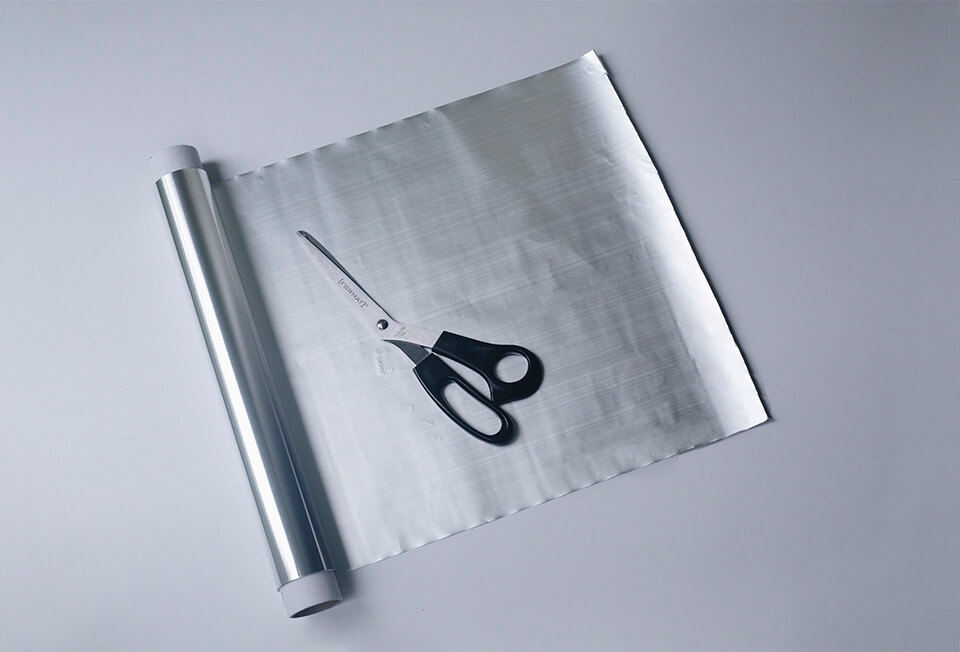
Now cut a large piece of aluminum foil or silver gift wrapping paper while leaving some extra space. By the way, you may put spray paint on the foil to modify the color and properties of the reflected light.
Mind that the surfaces of the aluminum foil tend to differ – some may be more reflective, so here the choice is yours.
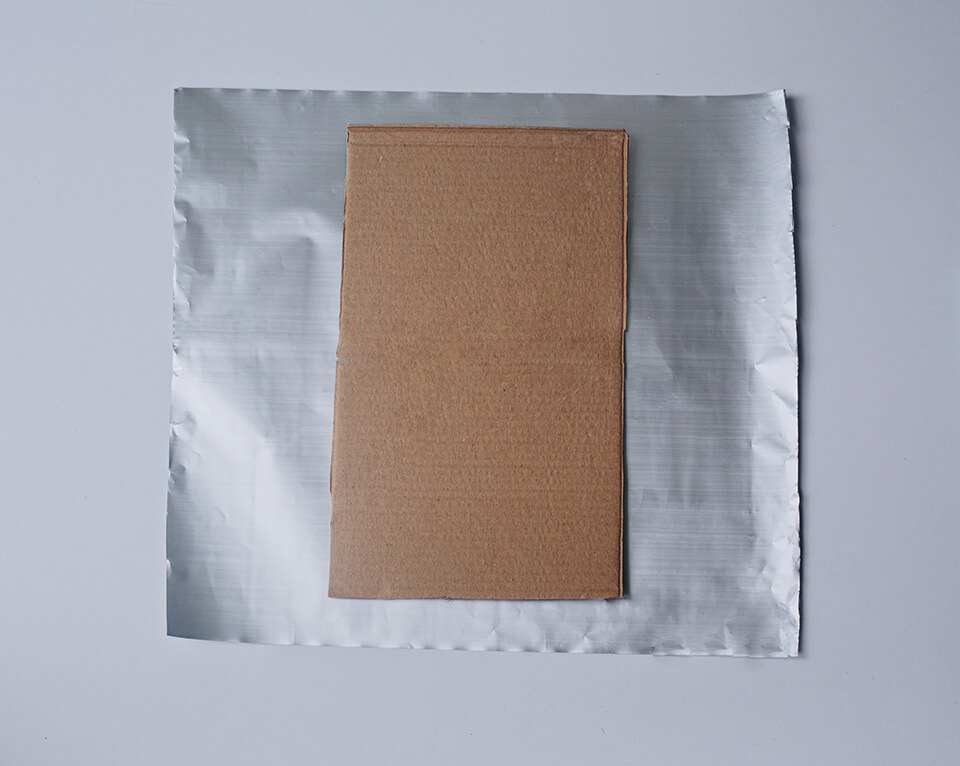
Place the foil over the edge of the cardboard and tape. If there is a double-stick tape around, use it to attach the aluminum foil to the board. In case you own a standard tape, fold the aluminum to the back of the board and fasten it using the tape. Don’t forget about attaching all the sides. Also, cut away extra foil or wrapper on the sides if there is some left.

While taping the foil, be careful not to wrinkle the front side. Otherwise, certain areas of your photography reflector DIY will be brighter than the rest. But if your goal is to achieve a gentler and less directive light, you may freely wrinkle the entire surface of the aluminum foil before you attach it to the board.
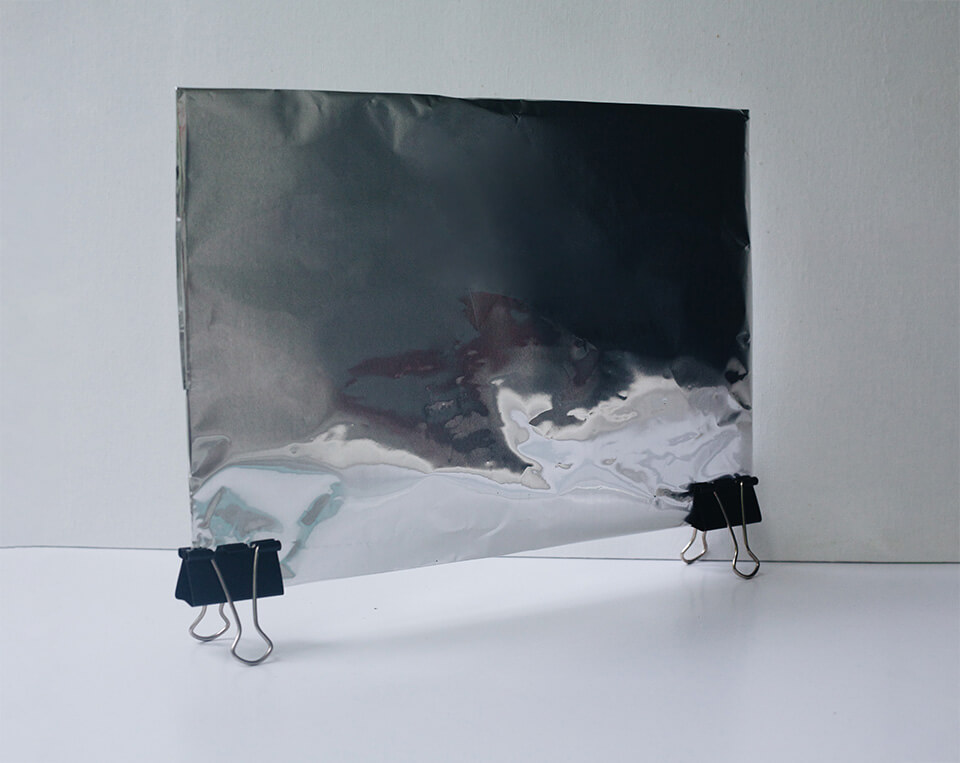
That’s it! Your DIY photography reflector is ready to be used while shooting in order to imitate the studio photography setting. To put the reflector in the standing position, take advantage of the clamp or binder clips.
The reflector will come in handy whenever you need to fill shadows while shooting inside, deal with unwanted lighting conditions outside, as well as make the models’ eyes shine.
Although it is hard to imagine a professional studio lighting kit without a reflector, in fact, reflectors surround you everywhere at home. I have collected all the possible reflectors that you may come across at your place and start using them immediately – no financial investments required!
If your ceilings or walls are of a white color, they will serve as nice reflectors. For instance, when you are taking flash photography indoors and the ceiling is white and low, it will work to your benefit as a reflector. However, don’t forget about the walls surrounding you.
In case you are photographing more than two people at once, and there is a white wall straight on your back, I recommend turning the flash 180 degrees towards the back. Use the power of the flash to the fullest – this will result in a large reflector softening the light in a group shot.
Instead of a homemade reflector for photography, try using a white sheet. It works equally well with natural light and a flash. Put the subject closer to the window and place the sheet on the opposite side. This way, you will achieve gentler light and reduce the contrast between shadow and light.
Mirrors excel at reflecting light or redirecting sun rays. Mind that white sheets and walls are not only diffusing and reflecting light. They are also scattering light out. If you are photographing small subjects, opt for small mirrors. Since mirrors only reflect light, they are able to create small areas of direct light on subjects.
A large mirror will be a no less excellent reflector, which, by the way, helps a lot when taking jewelry photography. It is reflecting light while sort of duplicating the image of the object. With a large mirror, you are bound to implement some of the fascinating photography composition techniques.
If someone is wearing a white shirt at the shoot, this person will operate as a great reflector. Just make sure to place them at the proper angle and position. In case the model is the one wearing a white shirt, this will solve the problem of filling in shadows under the chin.
Don’t have any spare time to make a DIY photography reflector? Then one more excellent alternative would be a white piece of paper or cardboard. If you are willing to put some effort into adjusting several sheets of paper around the subject, the results will surely impress you.
Wondering how to make your product shots more professional-looking as if they were taken in a top-class studio? The answer is simple – apply these gorgeous ready-made presets that will solve any issues with color correction and lighting in a single click.