The Liquify tool allows you to distort pixels of an image without losing quality. With this tool, you can remove double chin, add hair in Photoshop, and apply artistic effects. Check out this article to learn how to use the Liquify tool in Photoshop in 3 methods.
To distort an image in this photo editing software on PC and Mac, take the following steps:
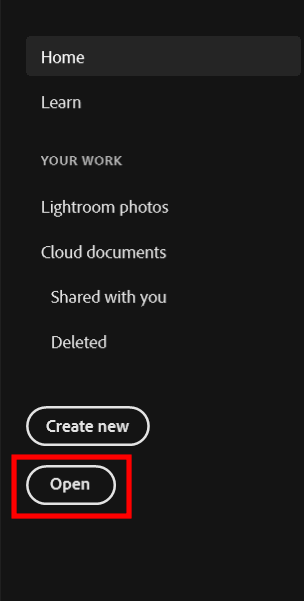
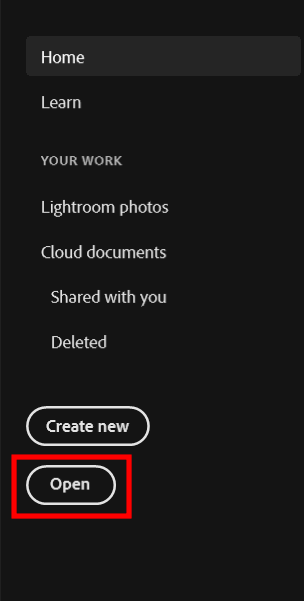
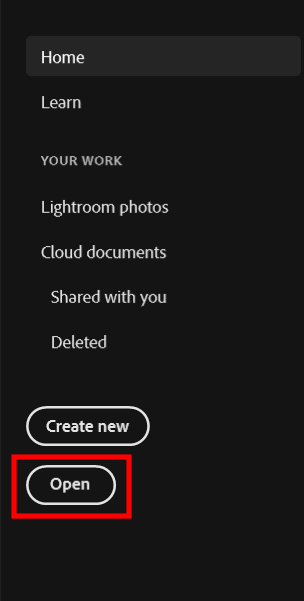
Open the image you aim to work with. You can either select the whole layer or a specific area for distorting.
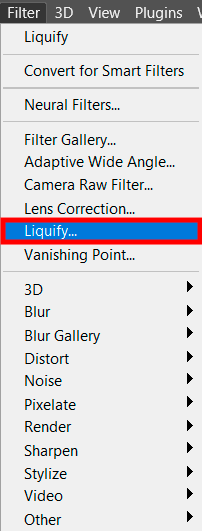
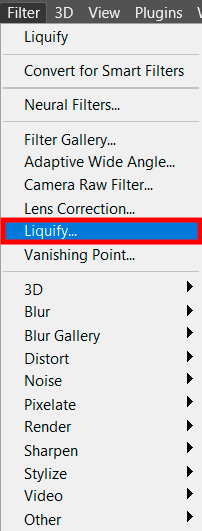
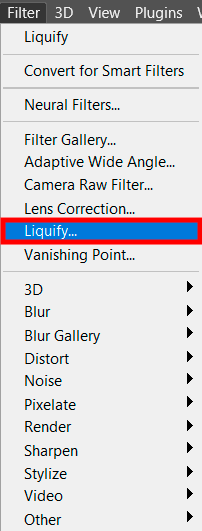
Click “Filter” and select the Liquify tool from the list. You’ll see a dialog box. If you want to get more options for the Liquify tool, try Advanced Mode.
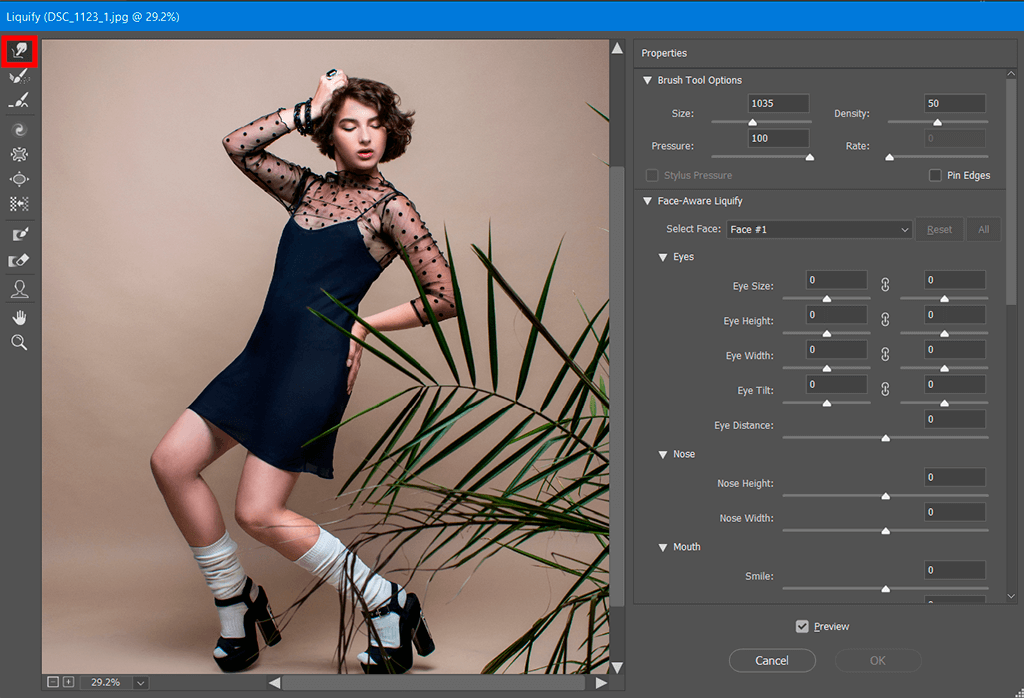
You’ll find several tools in the Liquify filter dialog box:
To push pixels of a picture forward, use the “Forward Warp” option.
To reverse distortions added to a photo, you can use the “Reconstruct” tool.
A great instrument for adjusting pictures is “Twirl Clockwise”. It helps you rotate the pixels clockwise.
If you want to move pixels toward the center of the brush area, the “Pucker” tool comes in handy.
Besides, the Liquify filter dialog box includes the “Bloat” tool to move pixels away from the brush area.
The last option you should check out is “Push Left”. The tool is capable of moving pixels to the left or right based on your preferences. To move pixels leftwards, drag the tool up. If you want to move pixels rightwards, drag the tool down. While doing so, you need to press “Option” for Mac (“Alt” for PCs) to achieve the desired result.
Since the Liquify tool Photoshop is available in different formats, you just need to select any option listed above to create the desired distortion and zoom in on the editable area. You can press Command+ to zoom in on the image, Command- for the opposite effect.
You can also press Command + 1 to set the scale of an image back to 100%. Besides, you can hold down on the Spacebar key to click and drag the picture around as needed.
Photoshop is very popular among users, so there are lots of Photoshop portrait tutorials for beginners and professionals. You can check them out to learn how to adjust brush parameters based on your needs. You should run the Liquify dialog box to set the brush size for manipulations. Here you can also adjust the brush width.
Besides, you can configure the brush density in the same window. By adjusting this parameter, you can follow the brush feathers at the edge of the image. You can also control the brush pressure. This parameter focuses on the speed the brush performs editing while you drag it on the picture.
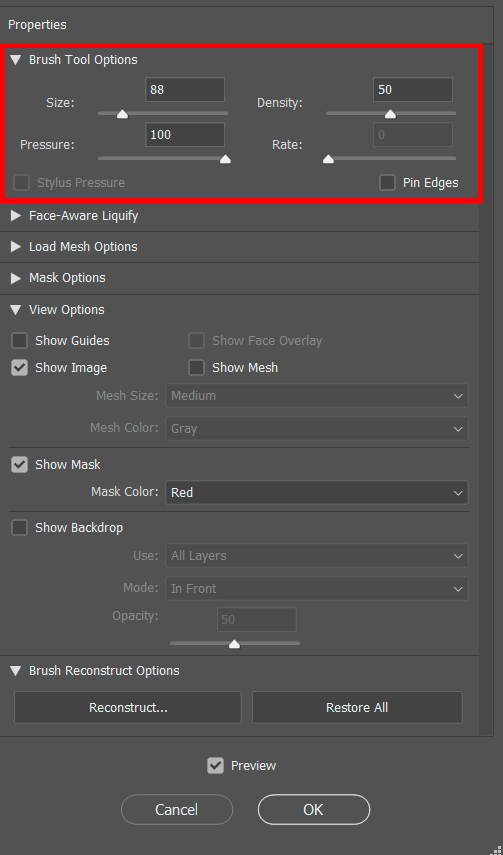
You can also alter the brush rate to adjust the brush speed when you keep a tool stationary in the image.
Last but not least, you can adjust the stylus pressure for your wedding portraitss and other shots. The option is available only for tablets with a stylus.
Move the brush across the image in the desired direction. Press “OK” to close the dialog box and apply the distortion.
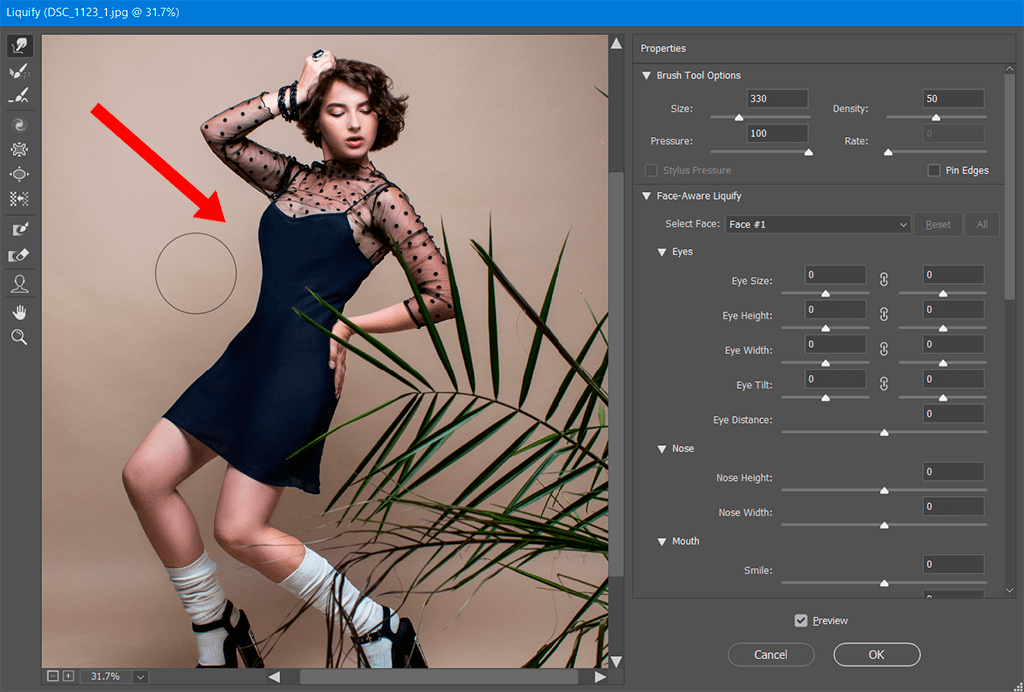
To reverse distortions made to the image, press “Option” for Mac (“Alt” for PCs) and select “Reset”. The tool will clear all the changes, bringing the picture to its original state.
If you need professional editing, contact our company and we will improve your images, no matter whether you are engaged in family photography or wedding photography. Our team knows how important it is to create a unique photography style. Thus, we try to deliver fast but professional services. Our experts will correct colors and remove unnecessary details from your pictures. If you want, let’s say, to remove stray hairs in Photoshop, we will do that for you.
If you want to leave certain areas of the picture intact, you can use a “Freeze Mask” or “Thaw Mask”. This method will suit those involved in fashion photography. Follow these steps:
Choose the image you will edit.
Click "Filter" and choose "Liquify".
Select the «Freeze Mask» tool. It allows photoshopping portraits without going overboard.
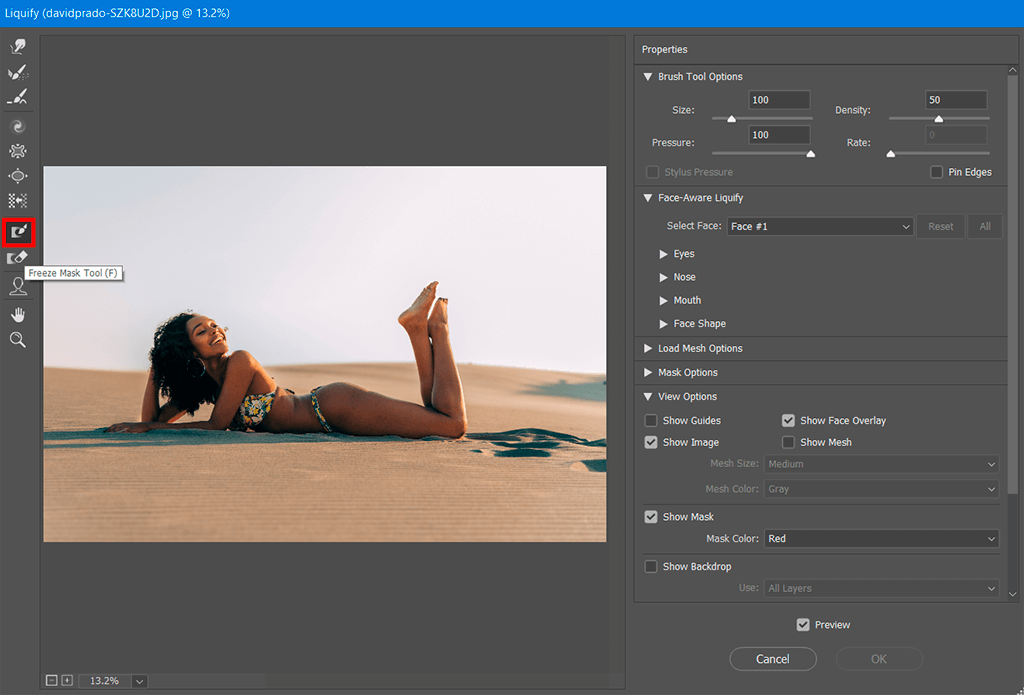
To protect a certain area from editing, drag the tool over it. Then press and hold down “Shift + Click”. The key combination will create a straight line between both click points.
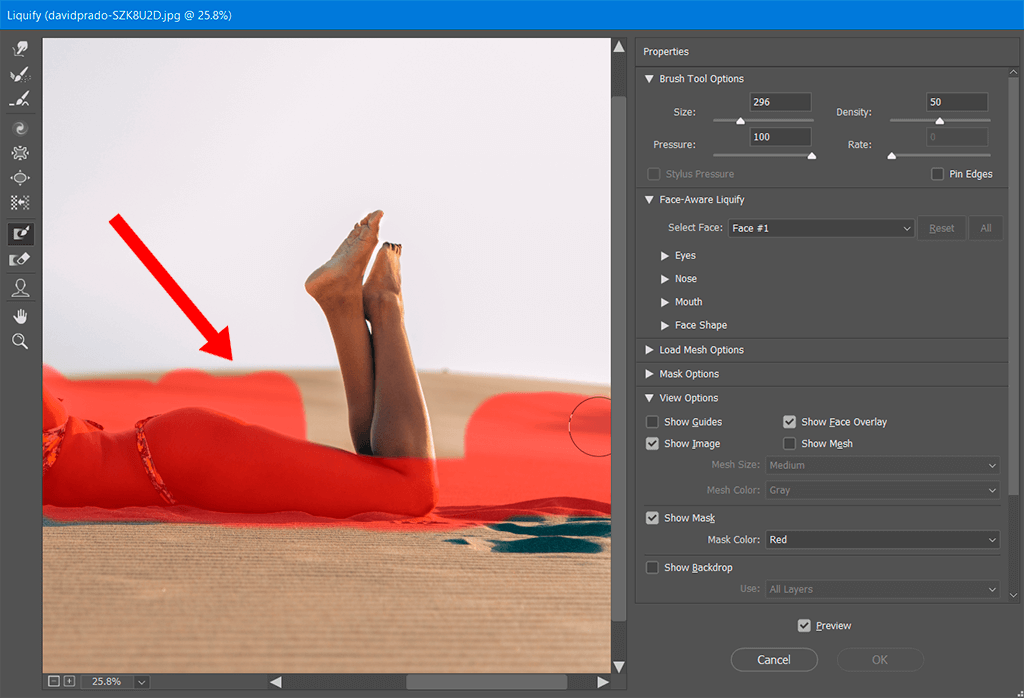
With the «Thaw Mask» tool, you can Invert Frozen Areas, Show or Hide Frozen Areas, and Change the Color of Frozen Areas.
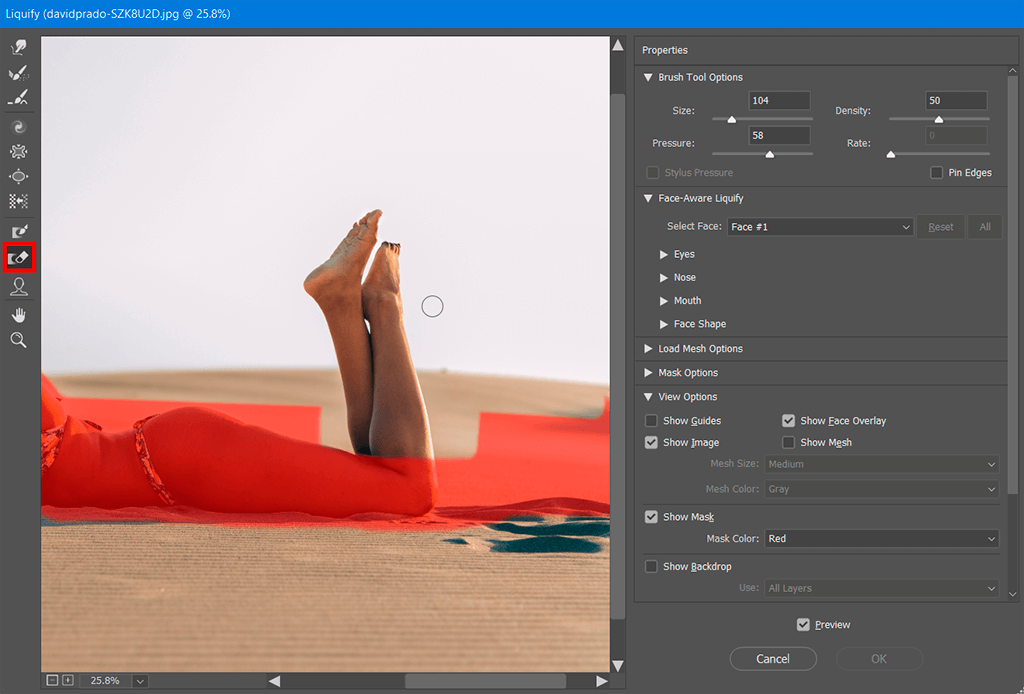
Drag the “Thaw Mask” tool over the frozen area.
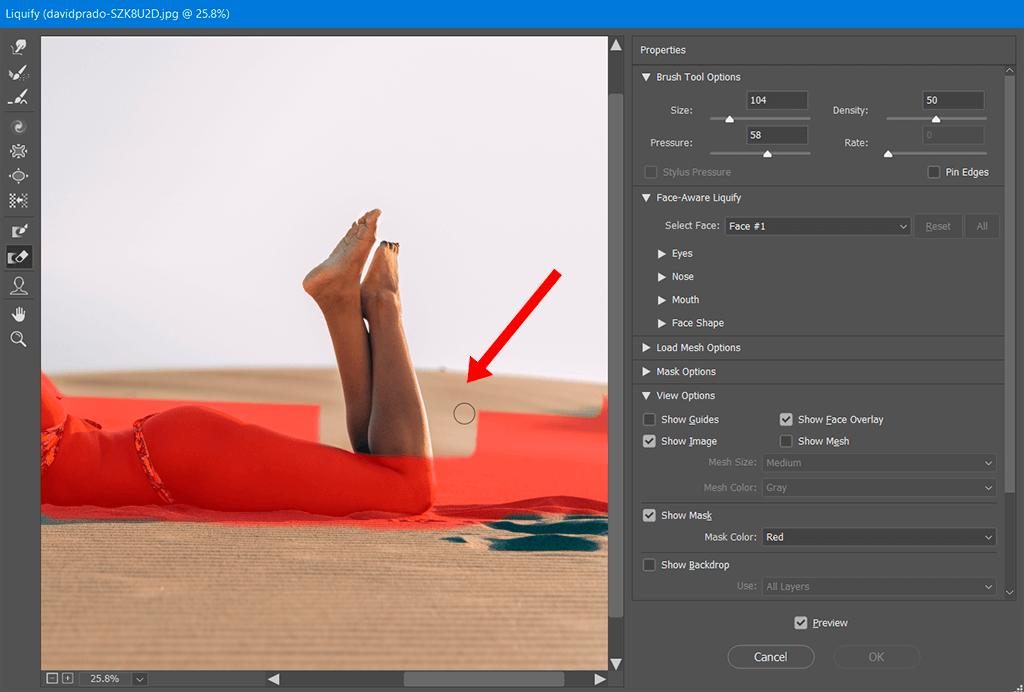
Use the "Forward Warp Tool" to distort the editable area without affecting the frozen one. The tool can move pixels forward when dragging. Select “Shift + Click” to thaw in a straight line that is between both click points. To reset all frozen areas, you can click the “None” button in the “Mask Options” panel.
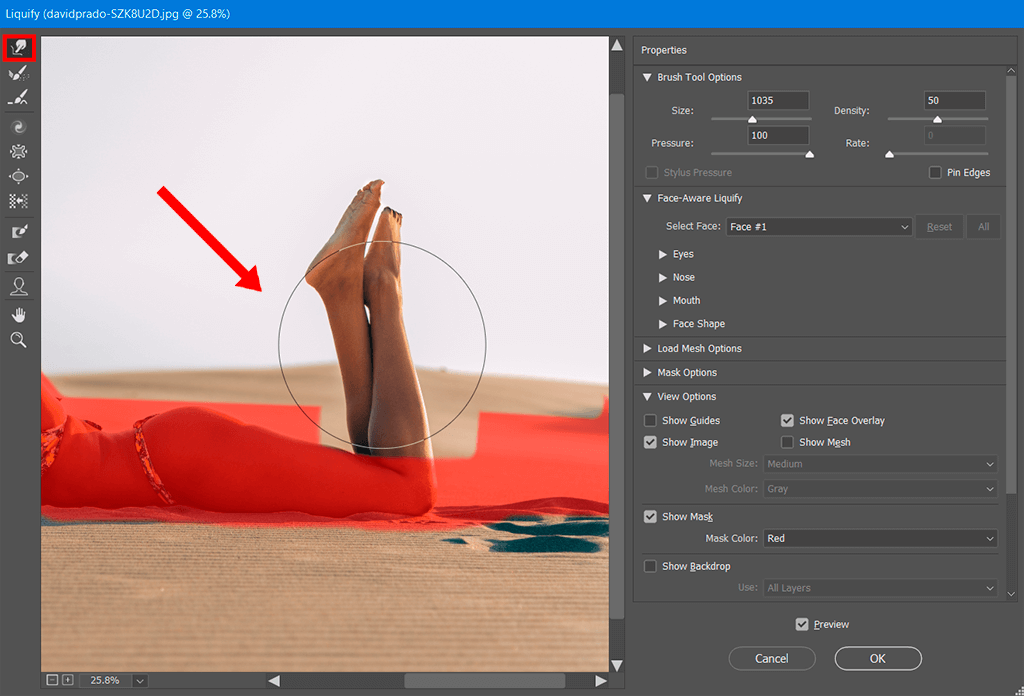
This method is capable of identifying facial features such as eyes, noses, mouths, etc. Since facial features are small, it’s difficult to adjust them with other tools. In Photoshop tutorials on YouTube you can learn different ways to adjust facial features with on-screen handles.
You need to open self-portrait photography or portrait photography in Photoshop.
Press “Filter” and select “Liquify”.
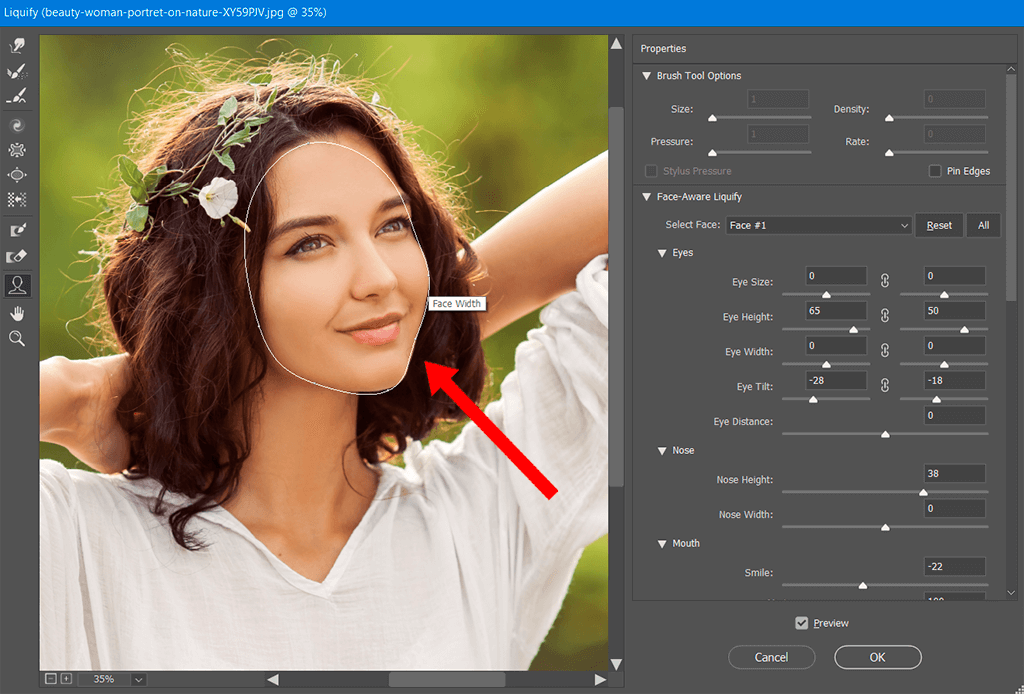
You can either choose the “Face” tool from the dialog box or press “A” on your keyboard. The instrument identifies faces in the picture automatically. Alternatively, you can use the “Select Face” menu from the “Face-Aware Liquify” area of the “Properties” panel to identify the faces in a portrait. Click on the needed face to select it.

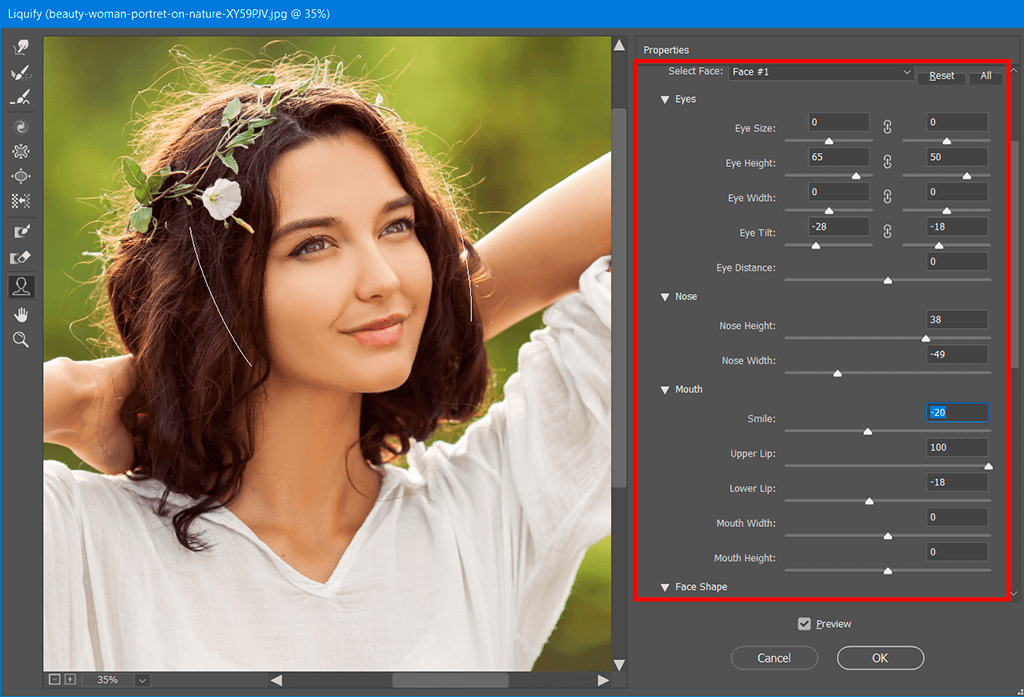
You can start adjusting one face by hovering the mouse over it. You’ll see on-screen controls that allow performing different manipulations. To make changes, you need to customize sliders in the “Face-Aware Liquify” area. You’ll find sliders affecting different face parts.
To change individual facial features, you should move to the right side of the panel. Choose the desired value, by dragging sliders.
After you make all the adjustments to the face, you can apply the same actions to edit other models if any. Once you’re satisfied with the result, press “OK” to save changes.

If you want to make your portraits more creative and professional, Ps tools will come in handy. Learn how to install Photoshop actions and apply them to your shots. Professional retouchers created these actions for streamlined processing.