When you have only one opportunity to take a photo, you might fail to take a perfect shot without any defects. In this case, it might be useful to learn how to use Patch tool in Photoshop. This option can be used for removing distracting details, aligning your image, or cloning some areas.
In most cases, photographers use the Patch tool to remove unwanted or distracting details or objects from an image. With it, you can quickly delete unnecessary elements to improve your composition and remove defects caused by specks of dust on the lens.
Open your photo in Photoshop. It’s better to use images in RAW format. You can either duplicate the background layer or add an empty layer on the top of your image to avoid affecting the source image. This way, it will be easier for you to experiment with various edits.
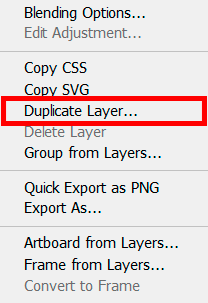
Duplicate a source image by right-clicking on its name on the right and selecting Duplicate Layer. You can also drag it to the “+” icon below. After doing this, you should have two similar layers.
Select the Patch tool (or press the J key) on the toolbar on the left. If you don’t see it and are wondering where is the Patch tool in Photoshop, click and hold Spot Healing Brush. Then, you need to drag your image and add it to the part that you are going to edit. After doing it, select Source in the Options bar in the top part of the canvas.
Avoid selecting the areas or elements that you don’t want to delete. Your selected area will be replaced by the part of the image that you have dragged.
When you need to edit images with a simple background, the Patch tool will be a perfect option. However, if some areas are difficult to select or you need to delete objects that are close to the edge of an image, this tool might fail to cope with this task in its regular mode.
This is when you need to use Patch in the Content-Aware mode. It will use the adjacent content to blend the added patch with the surrounding area. Below, I will list the steps that you need to take to clone and move an object.
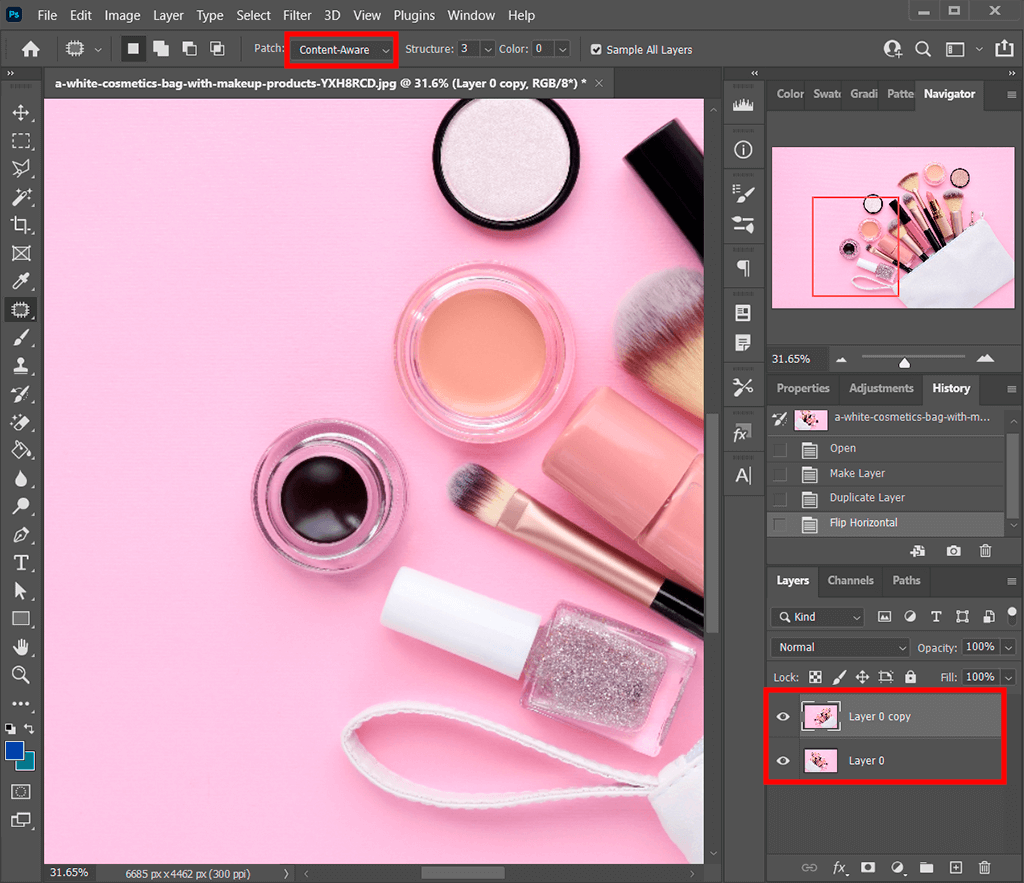
First, you need to take the same steps you took when working in a regular mode. Keep in mind that when you turn on the Sample All Layers option, it will create a selection in the current layer using the information from all the layers. This is why you need to select a target layer in the Layers panel.
Learn more about advanced selection techniques and find out how to use Magic Wand tool in Photoshop by reading this tutorial.

Go to the Options bar and select the Content-Aware patch. In the Structure field, select a value from 1 to 7 to indicate to what extent a patch should match the existing image. In the Color field, select a value from 0 to 10 to indicate to which extent Photoshop should perform algorithmic blending of colors.
This time, instead of creating a selection around an element that you want to replace, you need to select the area and copy an object to it. Click in the center of the empty space and drag it to the target area that you want to copy.
After taking these steps, you should already know how to use Patch tool when editing your images. Keep in mind that you work with different layers. Unless you want to create patterns, two identical elements will look unnatural in the frame.
To create patterns using other methods, you can also learn how to make a pattern in Photoshop by reading this helpful tutorial. If you don’t have a lot of time, you can outsource this task to our professional photography service. Our experts will ensure that your images will look natural.
Make sure to contact our experts if you need to order photo manipulation services. They will help you replace an unwanted object or delete it from your photo and fill out the empty space with adjacent pixels. If it’s necessary, they can add several objects, copy elements from other photos or third-party services. These professionals can also remove a passerby or perform the head replacement.

The Patch tool is similar to Healing Brush since it analyzes the texture, lighting, and shadows in the selected pixels and makes them match the source area. However, instead of a stroke, it uses selections of different shapes.
For instance, when editing a hairdo, you might notice that each curl has a unique shape. This is why you may use the Patch tool several times to sample curls and use free hair Photoshop brushes for creating curls of different shapes. Make sure to use the ready-made brushes created by Photoshop professionals to speed up your workflow.
With the help of this tool, you can select any part of an image that you want to hide and then sample a part of the image that you will use as a patch. It relies on the same advanced algorithm as the Healing brush to calculate the parameters of the overlay but uses selections instead of strokes. After creating a selection, you can drag this area to the part of an image that you want to hide or use it as a sample. Instead of adding a patch with uneven edges, Photoshop makes it blurry to create a seamless patch. The selected area will be blended with a source image so that nobody could notice that it was edited.
One of the key disadvantages of this option is that it might be difficult to undo your edits. If you create a selection in the wrong part of the image, a patch might appear in the area that wasn’t selected. To fix this issue, try making a selection closer to the center of the area that you want to edit. Avoid selecting the areas that have a significantly different texture or color.
The main advantage of the Patch tool is that it produces a different result every time you use it. The result depends on the selection. This tool allows you to select the best possible option for creating a patch. Besides, you can use the preview feature before confirming the result.


