If you prefer Adobe video editing software for Windows and Mac, namely Premiere Pro, you should definitely learn how to add transitions in Premiere Pro to video sequences to make a finished clip smooth and exciting.
Before you actually get to editing, you need to ensure you’re using the latest version of the software. Or, you can install Adobe Premiere for free from the official site.

By default, when you place one clip next to the other in the Timeline panel, you will receive a cut. Thus, the last frame of one video is followed by the first frame of the next video. Transitions appear on a cut line between shots. Keep in mind, that adding transitions in Premiere Pro is possible at the end or the beginning of a video.
Before applying a transition, you need to resize a video. The more you trim, the more frames you get for a transition.
Following this Adobe Premiere Pro tutorial, you can fulfill the task in a quick and intuitive manner. First, head to the Effects panel and choose a transition effect you like. You can enter keywords in the Search box to locate an effect as quickly as possible.
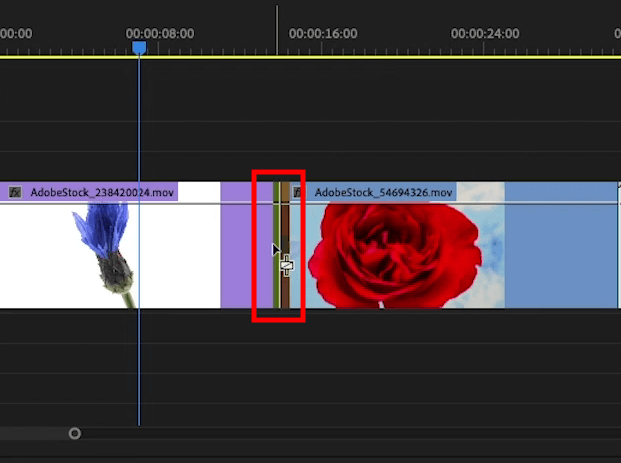
Think about where you want to insert a transition – in the beginning, at the end, or between 2 clips. After that, drag and drop a chosen transition effect there.
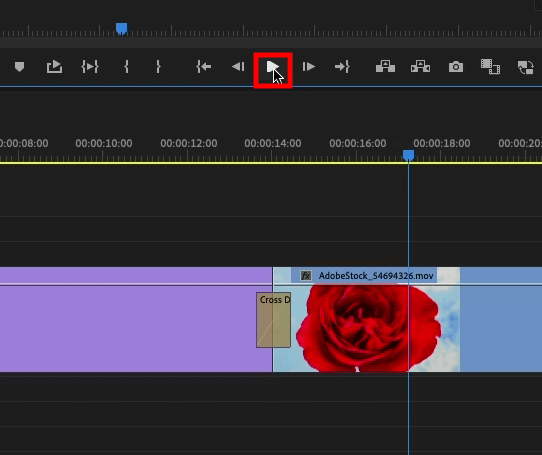
To see how this effect will look in your video, click the Play button.
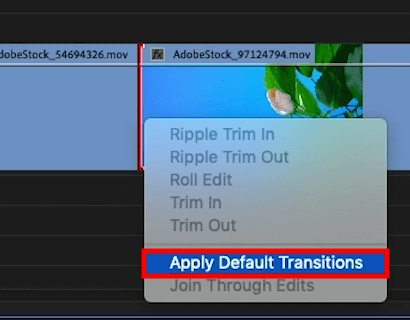
Right-click the end of a clip in a sequence or a selected piece and choose the Apply Default Transitions feature.

If you want, you can add transition in Premiere Pro to several clips. For this, it is recommended to use Premiere Pro keyboard shortcuts.
Click Command+D (macOS) or Control+D (Windows) to apply a default transition effect. If you want to add a default audio effect, you need to press Shift+Command+D (macOS) or Shift+Control+D (Windows). In case of batch default video transition effect usage, you need to press Shift+D (macOS) or Shift+D (Windows). With these shortcuts, you can add audio and video transitions to your videos in a matter of seconds.

No, you need to right-click a transition effect and choose Set Selected As Default Transition. To do this, go to the Effects panel in Adobe Premiere Pro.
Now you know how to make transitions in Premiere Pro. However, you may also need to remove them. For this, it is necessary to select an effect in a sequence, and press Delete (macOS) or Backspace (Win).
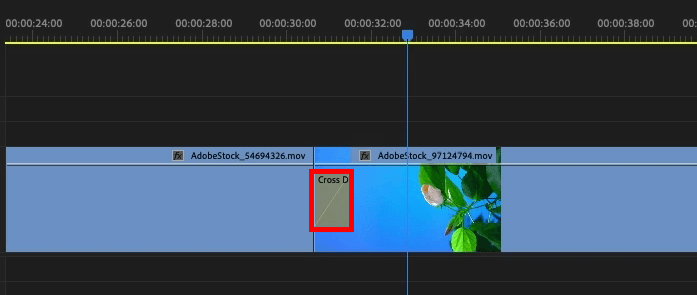
Some users get too carried away with transitions and viewers are distracted from the objects captured. Not to end up with such a result, you should opt for a regular cut or choose a cross dissolve. Following this simple Adobe Premiere Pro advice, you can get videos with smooth transitions that improve content comprehension.


