To export and render videos in After Effects, you should use the Render Queue panel. In fact, by placing a composition into this panel, you automatically receive a render item.
You can add as many items to a render queue as you want. Get Adobe After Effects for free and the software will perform batch editing without users partaking in the process.
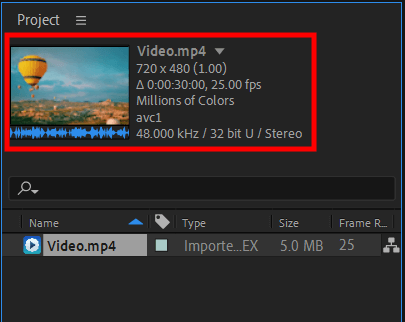
Open Adobe After Effects and choose the composition that will serve as a source for making a movie in the Project panel.
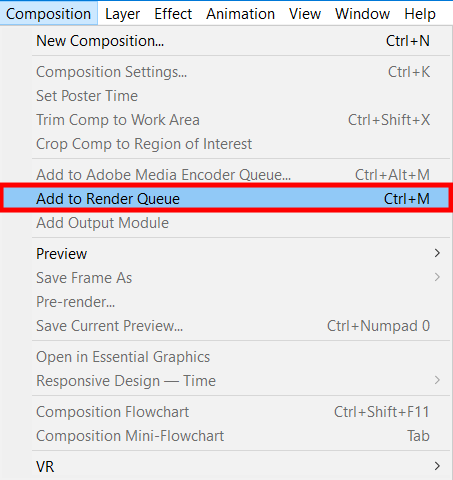
Now you need to add the composition to the render queue. You can do it either by choosing Composition > Add To Render Queue or simply dragging and dropping it to the Render Queue panel.

It is necessary to indicate a name for the output file. While in the Render Queue panel, you need to select the triangle next to Output To and type in the name there. Besides, you should choose a location.
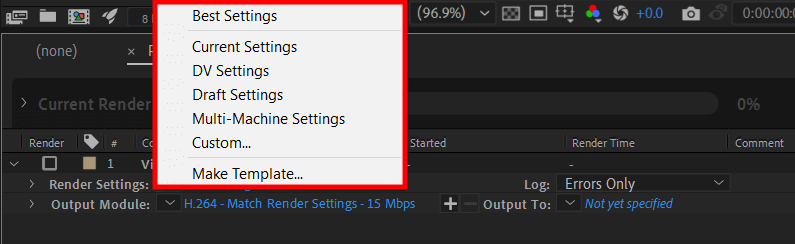
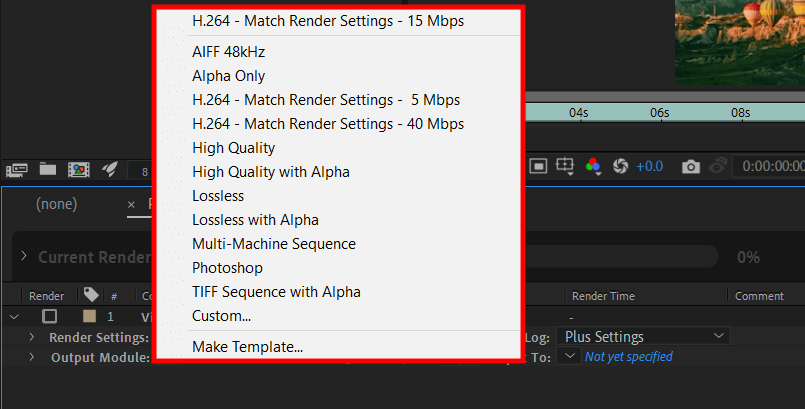
While working in this compositing software, you can experiment with render setting templates. Selecting a suitable one is possible by clicking the triangle to the right of Render Settings. Alternatively, you can tweak the settings by selecting the underlined text near the Render Settings.
When you export in After Effects, you can customize a render settings template or use any offered variant without making any adjustments:
Best Settings: Works perfectly for rendering to final output.
Draft Settings: Is suitable for reviewing or testing motion.
DV Settings: Resembles the Best Settings, but with Field Rendering turned on, set to Lower Field First.
Multi-Machine Settings: Similar to Best Settings, but with Skip Existing Files selected to enable multi-machine rendering.
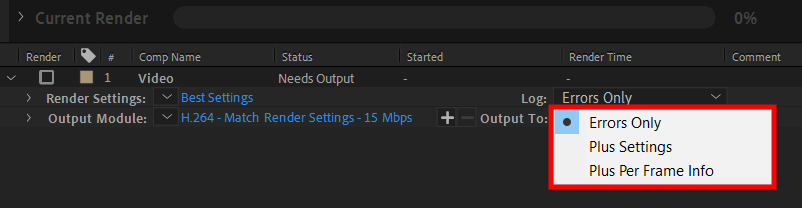
Head to the Log menu to select a log type. When a log file has been written, you will see the path to it under the Render Settings heading and Log menu.
If you want to use an output module setting template without making any adjustments, you just need to click the triangle to the right of the Output Module. In case you are interested in customizing it, you need to select the underlined text to the right of the Output Module.
To define an output video format for your file, you need to use an output module setting. Sometimes, when selecting an export format, you may see a dialog box with more detailed settings. If you want to apply new settings as opposed to upgraded or imported preferences, the output module default should be set to High Quality.
After setting an output name and location, as well as selecting render settings and output module, you will see that the entry in the Render column is automatically checked. The status is changed to Queued, which means that your render item has been placed into the render queue.

Get back to the Render Queue panel and click the Render button.
When you learn how to render and how to export video After Effects, keep in mind that you may need to wait from several minutes to several hours. The processing time depends on many factors, including the frame size of the composition, its quality, complexity, and compression method. When the rendering is over, your file will be displayed in the Render Queue panel.
In the status column, you will see “Done”. It is impossible to rerender a processed item, but you can duplicate it to make a new piece and add it to a new render queue with different settings.
If you don’t like the quality of your video or you need a promotional clip in the shortest time possible, address experts from FixThePhoto. They will turn your RAW footage into attention-grabbing videos by adding After Effects effects, experimenting with the background, and more.
If you are seriously into post production, you may speed up your workflow with these free tools. With them, you can give your footage a professional finish in a matter of minutes.
Some LUTs are suitable for making colors brighter, others help remove inky shadows or highlight the foreground space. All files are in .cube format, so they work smoothly in After Effects CC and other popular video editing software.
No matter whether you are going to edit high-res clips, action movies, or standard video presentations, you should use Base Settings and Lossless preset in Adobe After Effects. They are suitable for the majority of situations, offering a proper balance of video quality and file size. Of course, you can make some customizations to settings, but if you are just learning how to export on After Effects, you may get confused and end up with a video of average quality.
Talking about rendering in this video editing software for Windows, we actually imply a complete process of editing footage and transforming it into a single file. Encoding and exporting are more specific tasks. Encoding stans for compressing video into a particular file type, while exporting refers to turning a file into content that can be recognized and displayed by different devices.
Yes. There is a Pause button for pausing rendering and a Continue button for resuming it. Keep in mind that it is impossible to change settings when rendering is paused. If you want to stop rendering with the purpose of starting the same render again, you need to choose Alt-click + Stop on Windows or Option-click + Stop on Mac. The item in the render queue will be stopped and marked as “User Stopped”. A new item marked as Queued will be added to the Render Queue panel. It will have the same output file name and duration as the original render item.


