If you want to take appetizing dessert photos, you need to use specific props and the right equipment, experiment with shooting techniques, and set up gear correctly. We’ve prepared simple recommendations to help both beginners and advanced photographers take interesting dessert shots.
Using the tips below, you can take mouth-watering dessert photos to “convey the taste” of cakes and make people want to eat them. These ideas will be useful for both novice and experienced photographers searching for inspiration to start a food photography blog.
Not to spend time editing all your images, you can use professional services. Professionals will adjust shadows, tones, white balance, and other settings. Besides, they can merge photos, fix sharpness and contrast issues to get rid of blurriness.

Choose the background in accordance with the main object. If a cake has decorations, keep the background as simple as possible. However, if a dessert is minimalistic, you can opt for a brighter background.
If a dessert has more pastel tones, you need to choose props and background of the same color to create a unified look. Thus, pink donuts will look great against a blurry pink background.

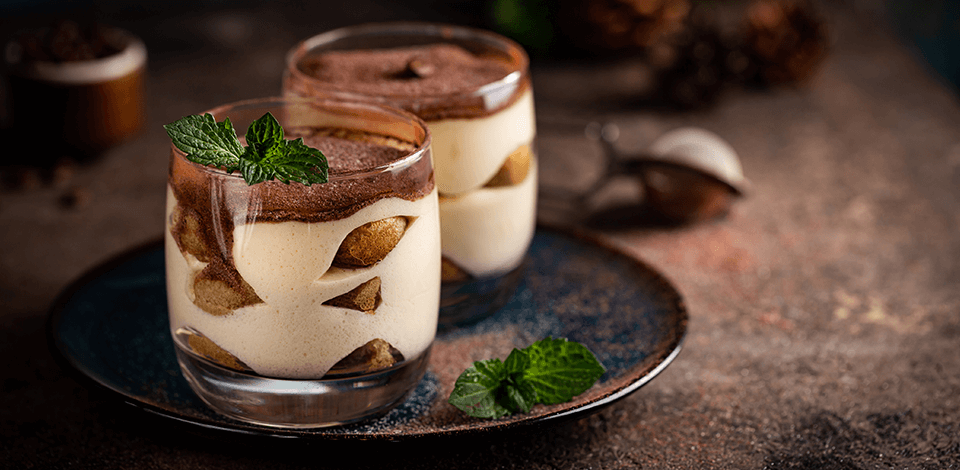
To attract viewers to a dessert photo, it is important to focus on the main object while keeping the background less expressive. Most photographers opt for black or dark brown colors. This approach is specifically popular among dark food photography enthusiasts.

You shouldn't use light dishes or props not to distract the audience from a cake. A black background screen works great for photographing chocolate cakes and cookies.

Choose the most advantageous angle to show the best elements of a dessert. When shooting at a 90-degree angle, you can accentuate the shape. It also works great if you want to fit multiple objects into the frame.

Dessert photography isn’t a simple genre and it requires a special approach. Desserts often contain creams that can go bad if mishandled. Some sweets, like ice cream, can be problematic to photograph because it melts quickly.
Choose the props and background that coincide with the story you want to tell. If you are shooting a birthday cake, candles or a sparkler may work for you. Use frozen food or artificial cookies to make them look fresh.

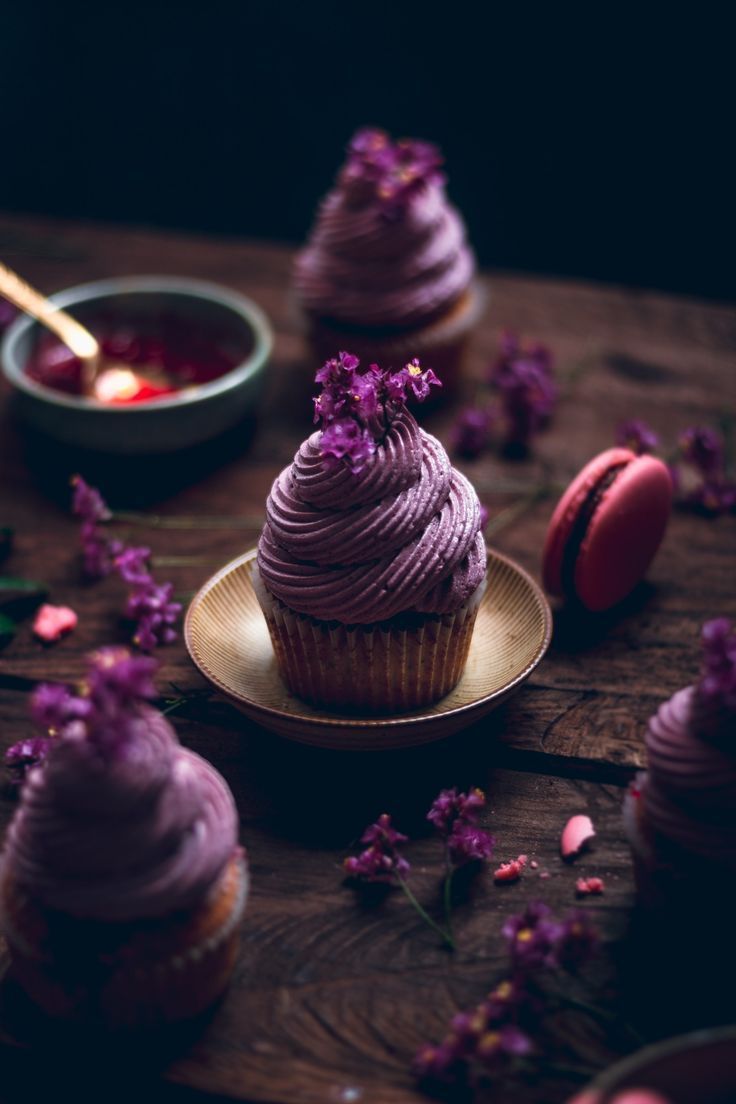
Along with the props, you need to think about the details so that dessert pictures of food evoke emotions and excite the senses. You can add whipped cream to a pie, pour caramel sauce on a cake, or even salt the chocolate cookies.
A bunch of cookies looks great with a glass of milk. A great idea is to shoot a person taking a bite of a pie. This message makes people want to try it. Besides, you can take close-up shots with macro lenses to accentuate the smallest details.

Use food photography props to take natural shots. You can take a straw and gently blow over the edges of an ice cream to soften them.
A mesh strainer or tea strainer can help you sprinkle cocoa or powdered sugar on a cake. With a peeler, you can make chocolate flakes, while tweezers help you place them carefully on a dessert.
Prepare an object similar in size and color to a dessert. It will serve as a substitute while you set the lighting to ensure everything is arranged correctly. Thus, a pack of crumbled red tissue paper can easily replace a raspberry sorbet.
You can also use spoilt desserts such as the cake with inaccurate cut edges, pie with crumbled crust, or melted ice cream. You should prepare more food than you plan to photograph. Thus, you can replace one piece with the more attractive one during breaks.
Professional food photographers use artificial light most of the time. You can use a studio lighting kit since desserts look better in soft light.
Artificial light must look like natural daylight. To get such an effect, you need proper equipment and an understanding of lighting setups. If you are not good at using artificial lighting, use window light instead.

A diffuser or canvas perfectly softens the light. Use diffusion filters of needed sizes such as Tiffen 52BPM14 to diffuse light, create a haze around bright objects, and add a beautiful flare effect. A white piece of cardboard placed on the opposite side of the light source will help you reflect light onto the subject to make it brighter.

You can get lifelike colors in dessert photos if everything is OK with white balance. The more accurately you choose whites and soft colors, the better your image will look. Try photographing a grey card – a gray piece of plastic or paper that you can buy at a camera store.
While figuring out how to use a white balance card, you should set the WB to custom in a camera. First, open the white balance menu and activate the Custom Mode. Then, choose an image of a gray card you have taken. Select “Use WB data from this image for custom WB”, and press OK.
Take a shot of the scene with a gray card. When editing photos in Lightroom, click the white balance eyedropper on the gray image card to get automatic configurations. Then you can sync it with other pics.

ISO is an indicator of your camera’s light sensitivity. The lower the value, the less light sensitivity and the sharper the photo you get. You should use the higher ISO in darker conditions to get higher shutter speeds, but you’ll end up with a grainy photo.
If you have a professional DSLR camera like Pentax K-3 Mark III, shooting at a higher ISO won't cause too much grain in photos. In darker lighting conditions, even with the ISO of 1200, the photo will still look crisp and clear.

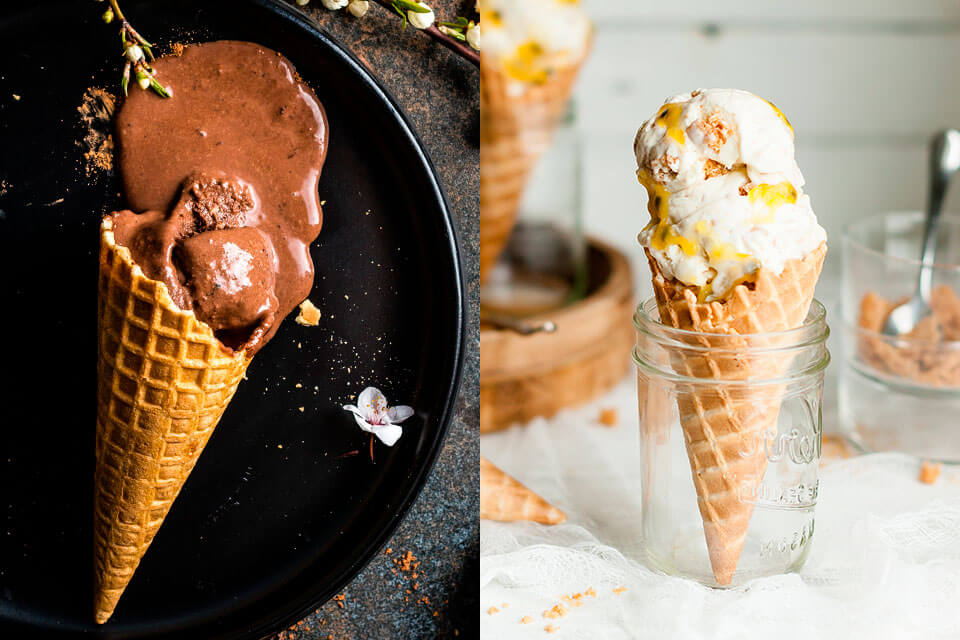
Dessert photos have textures and layers. Taking close-ups is a popular way to make desserts more attractive since you can focus on interesting textures like sprinkles, icing, or chocolate flakes.
You can reduce the depth of field (DOF) by widening your lens aperture (f/1-f/4). A wider aperture means softer parts of the frame – so, your dessert will be the centerpiece of a photo. If you set the aperture higher up to f/8.0, you have to slow down your shutter speed to compensate for the loss of light.
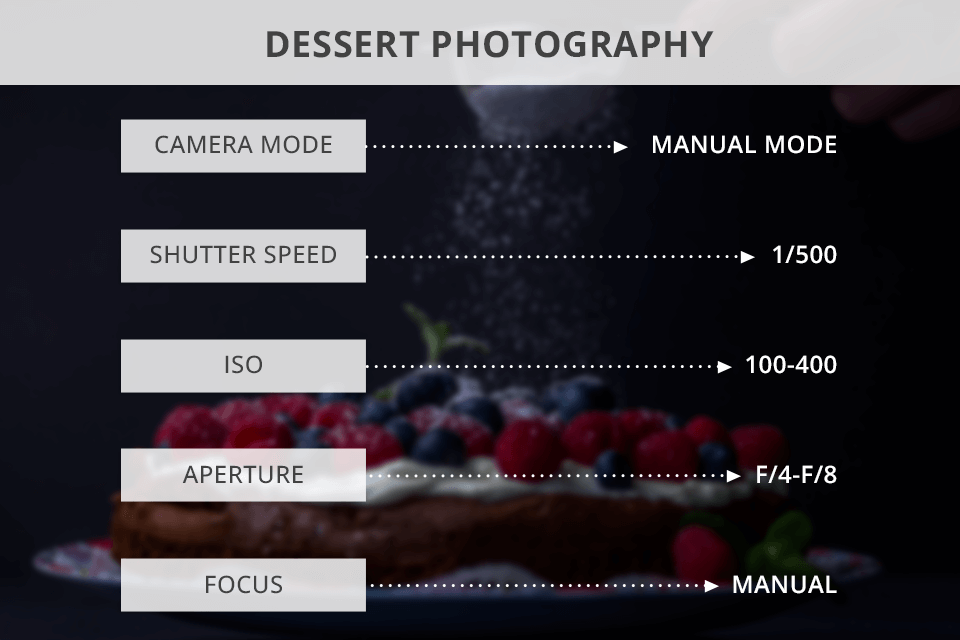
To get a perfect exposure, you need the shutter speed to match the aperture. The larger the denominator of the fraction, the higher the speed (1/500 is faster than 1/30). Use a high shutter speed to freeze the motion.

One of the most useful food photography tricks is to exaggerate the use of color by playing with depth of field and increasing saturation. You can do it both in Photoshop and in Lightroom. Camera flash can also improve color reproduction without causing glare.

If you practice drink photography and are shooting a milkshake with a dessert, it's not enough just to put them side by side on the table. Try dropping a cookie into a glass and capture milk splashes. Alternatively, put a scoop of ice cream in a cocktail, sprinkle it with chocolate chips, and add a straw.

Arrange objects in the frame so that they form diagonal lines in photography. When people look at a photo, their gaze moves from the lower left corner to the upper right corner. You should focus on the nearest object at the bottom so that viewers can easily locate the desired item.

Invite models to make images more interesting. However, you shouldn’t focus on a person. A model here is a secondary object that adds meaning to the scene. It is not necessary to shoot a whole person, you can capture only hands holding a dessert, for example.
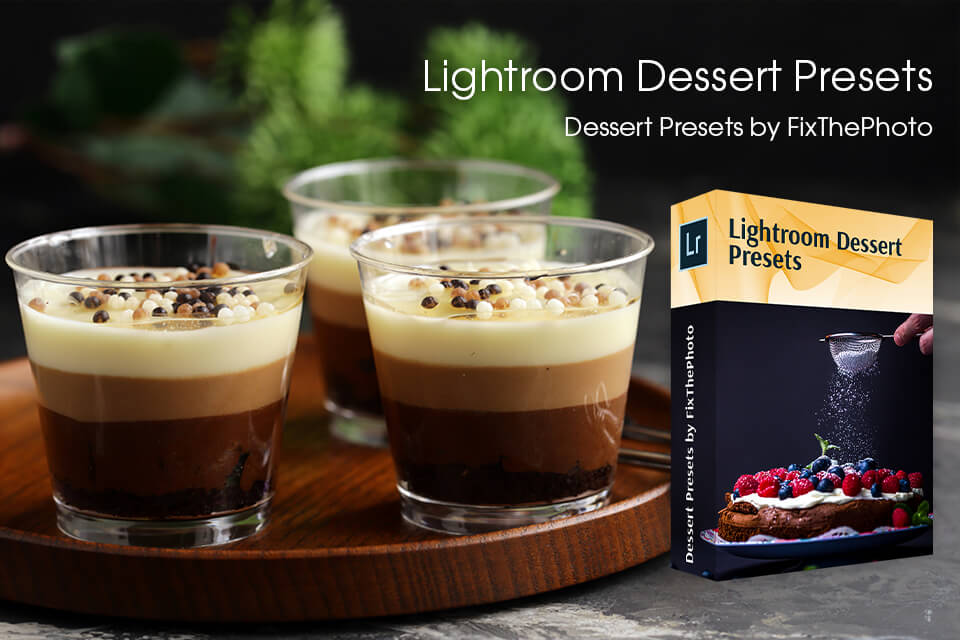
If you want to get high-quality dessert shots, use this collection of presets. You will find multiple great tools for enhancing colors and brightness. You can use the finished photos to spruce up your Instagram feed.


