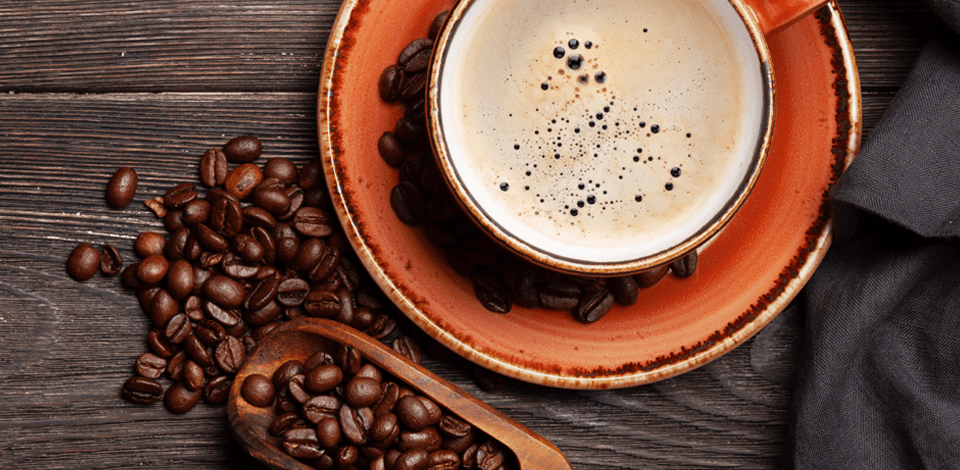
Taking a coffee photo may seem like a no-brainer, but in reality, the quality of your images depends on several factors. No matter whether you photograph coffee for a food blog, a café menu, or a coffee shop, I have prepared useful tips, following which you can achieve amazing results.
Are you a complete beginner determined to find your place in coffee photography? Or you have some experience in this field and are looking for inspiring ideas for your next photo session? Either way, the recommendations listed below will surely come in handy.
If you want to fully concentrate on the shooting process, why not delegate the editing part to professionals? They will correct colors, mimic the style of famous photographers and bloggers, create a specific atmosphere, and more. The best part is that such services are available at a reasonable cost.
First of all, you need to clean all the coffee utensils that will be displayed in images. The list includes cups, brewing devices, as well as the surface where everything will be arranged. Coffee photos with brown stains or coffee leftovers look very repulsive, and this is hardly the effect you want to cause.
Those photographing coffee beans, should opt for fresh, recently roasted beans, as they have a natural oily sheen, which looks very appetizing in images.
Don’t stick to one shooting position if you want to get diversified photos. Start with a standard 45º angle and an overhead look, and proceed with more creative perspectives. If you have macro lenses, you can capture minute details and create a whole series of close-up photos.
Another smart thing to do is to shoot in variety. This means documenting different steps of preparing coffee instead of fully focusing on the final stage. You can begin with the grinding stage and finish with a person sipping a hot drink.

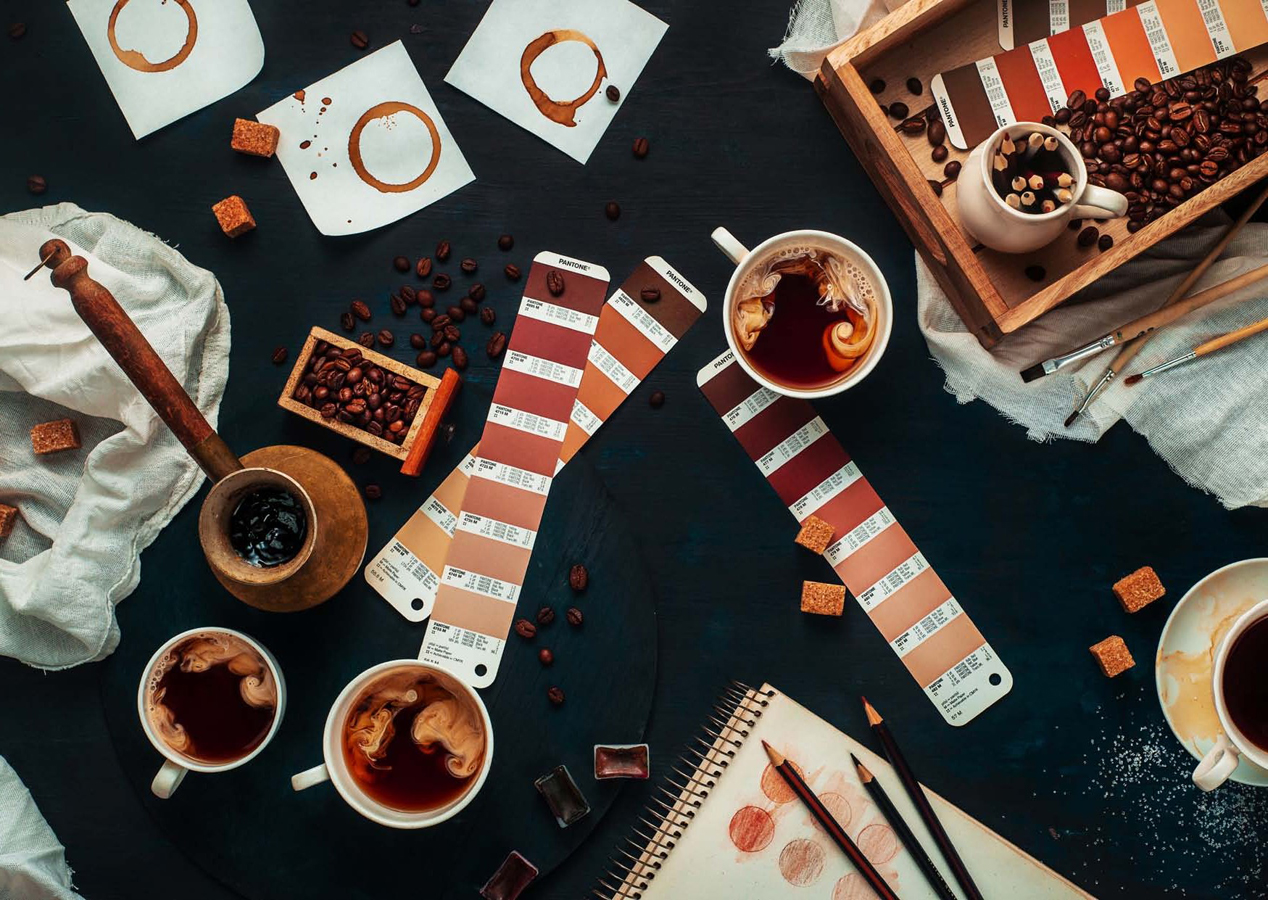
When practicing coffee bean photography, make sure to use different props. If you already have some food photography props, you can use them as a basis for your composition. Create a scene with brewing equipment, scattered beans or sugar cubes, a freshly baked croissant, a small stirring spoon, portafilters, and your favorite coffee mug.
Props are indispensable for creating a specific atmosphere. For example, you can show a festive Christmas mood by photographing a cup of steamy hot chocolate topped with melted marshmallows and placed on the surface or windowsill with colorful garlands. Such a photo is bound to amaze viewers.

While choosing props, be mindful of their quantity, colors, sizes, and other parameters. The main object is coffee, so the rest of the items in the frame should complement it without diverting viewers’ attention.
Not to clutter the composition, locate props on different sides from coffee beans or a cup. To make sure you are doing everything right, just try navigating across the frame. If your eyes don’t get tired, moving from one prop to another – everything is great.

The background you choose also plays an important role. In this case, you need to pay special attention to the color scheme. Experts involved in dark food photography, opt for a darker color palette and combine rustic oranges and earthy browns, deep crimsons and milky beiges in the frame.
However, don’t be afraid to add several contrasting details, especially if you are after lively pictures. Moreover, you can incorporate eye-popping colors to create a specific mood and tell a story. Just remember to choose your color palette before a coffee photoshoot not to make chaos while pairing props.
Try to visualize the final scene you’d like to get and work accordingly. It can be dark and cozy, light and cheerful, or vibrant and bold.

What story do you want to tell with the help of coffee photos? What emotions should they evoke in people looking at them? Actually, there are no strict rules, so you can bring to life any idea you have in mind.
For instance, if you want to show that coffee unites people at meetings or helps them stay productive during working hours, you can photograph a bunch of coffee mugs on a large table in a conference room.

Using such props as papers, laptops, and similar stuff is a great idea, as you’ll end up with realistic images. In case you need to create a cozier atmosphere, you can capture a person relaxing in an armchair with a book and sipping coffee.

Coffee photography involves using different types of lighting. Since the main object isn’t opaque and can be very dark, it may get lots into the background if you shoot in poor lighting. Locating coffee beans against a large window is the most fitting option, as you’ll get warm and even lighting. You can also get enough light in a studio with the help of a softbox or use a DIY softbox. Another way out is to place a light source at the side or combine back and front lighting.

If you put a cup of steaming coffee in front of the light source, you’ll achieve the backlighting effect, which is the best way to show the warmth and comfort of this drink. This method is also suitable for adding a dramatic and mysterious atmosphere to pictures, especially if you have little lighting in the front while all shadows drop into the darkness.
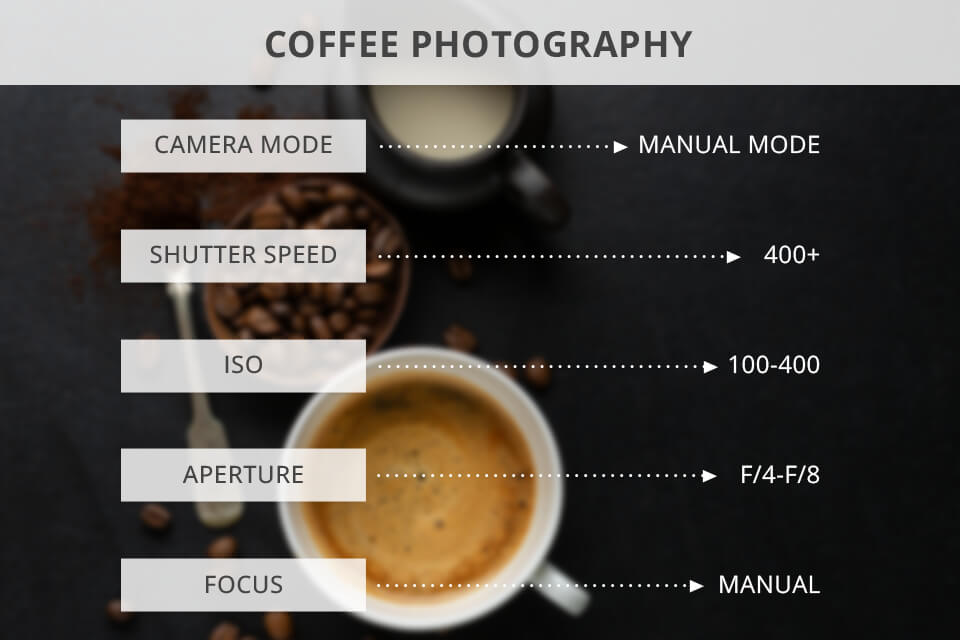
Since coffee cups are typically small, you need to choose a wider field of view (f/4-8) to make them clearly visible against the background. When adding milk to a cup or creating splashes, you need to set the shutter speed higher (400+) to capture all those beautiful swirls. An ISO should be in the range of 100 - 400.
Those involved in coffee photography highly recommend shooting with manual focus on, as an AF chooses the rim of a cup as a focal point instead of coffee itself. Moreover, this way you can experiment with different aspects of the drink, from the foam on top to the condensation on a cup.

You need to be very swift to capture those fantastic swirls of white and brown that appear right after you add milk to a coffee cup. Even if you photograph coffee types with foam on top (latte, cappuccino, and the like) you have approximately 3 minutes before there will appear bubbles in the milk phone, known as “dead coffee”. So, it is a must to work as quickly as possible. To do that, you need to turn on the continuous shooting mode.

Drink photography is about showing a final product. You can also demonstrate to viewers how to cook different drinks, what ingredients are needed, and what equipment they should use. For example, you can photograph a bottle with syrup, coconut milk, or chocolate near a coffee cup, or locate such ingredients as cinnamon, cardamom, and coffee beans on the barista’s table.
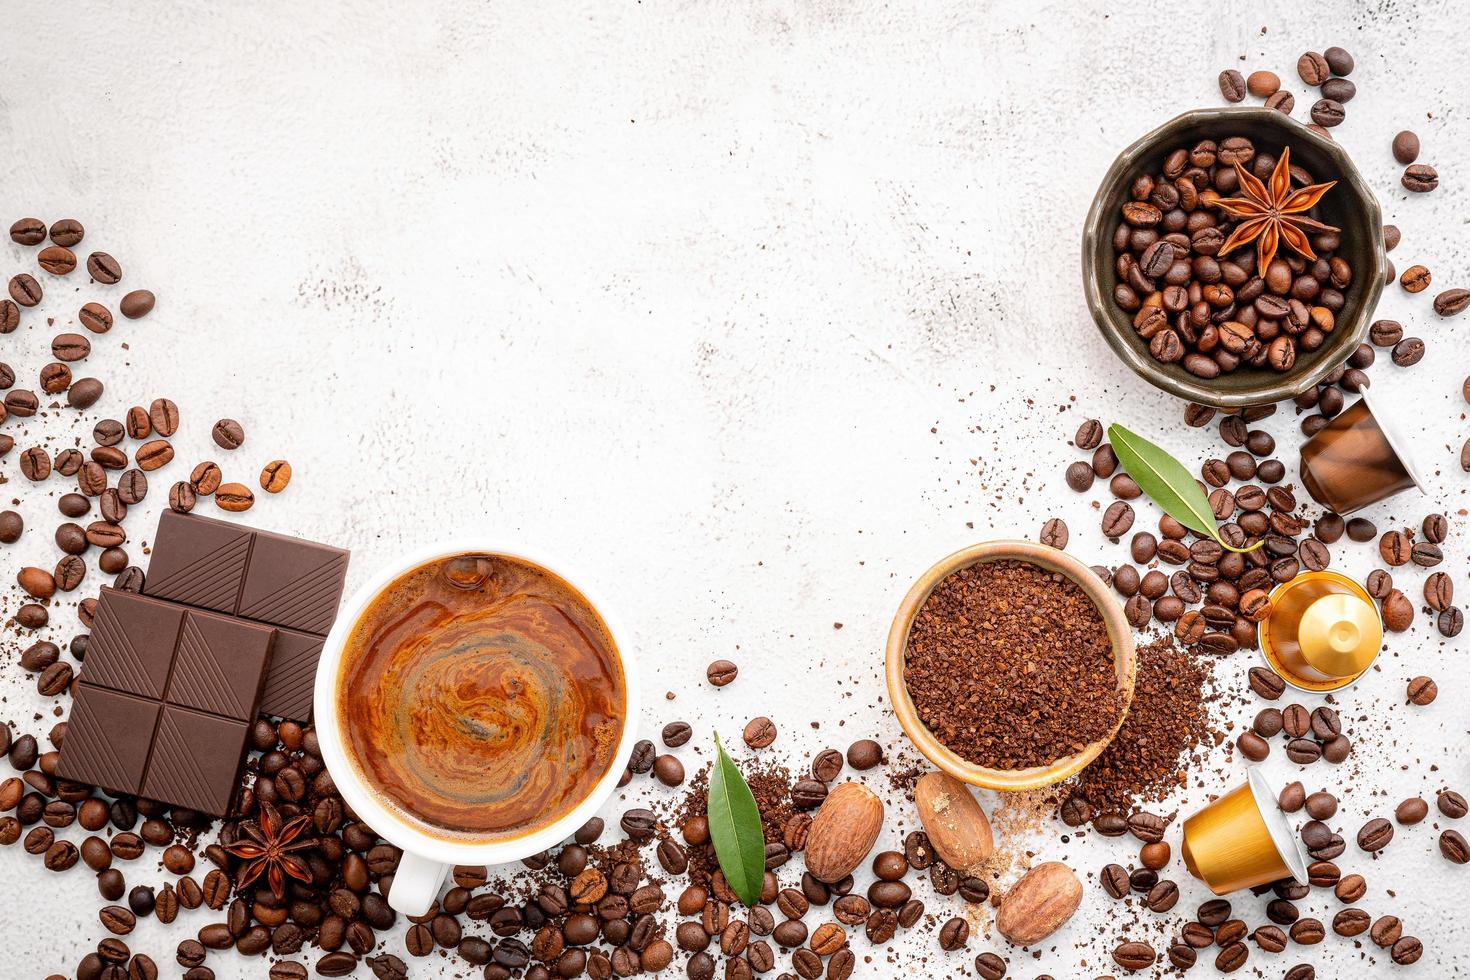
If you want to make a name in creative coffee photography, be inventive and capture methods of preparing different types of coffee, e.g., espresso and americano, Irish coffee and macchiato. Besides, you can show several ways of drinking coffee – with or without milk, hot or iced, etc.

Images of coffee can include not only the drink but also accessories, ingredients, and other items related to it. The most fitting option, in this case, is coffee beans. You can use them to deliver any message while practicing tabletop photography and food typography. You can spell words with coffee beans or combine them with other elements such as cardamom, cookies, sweets, etc., to make sentences.

It is a great idea to write “Good Morning” or any motivational quote by arranging coffee beans on a surface and then taking an image. But you need to think about a word or a sentence you’ll create in advance, draw an outline, and fill it with coffee beans. Of course, the process can be very time-consuming but your efforts will fully pay off. Another thing to keep in mind is to prepare enough beans.

Coffee looks its best when it is hot with curls of steam rising high. So, your task is to capture this moment. I highly recommend adhering to the backlight technique to show the steam in an eye-pleasing way. You can pour boiling water into a cup of coffee and take several shots in a raw to capture steam.
Keep a kettle a bit higher so it won’t be visible in the frame. Moreover, you have to be very careful with hot water not to hurt yourself and damage electronic equipment.

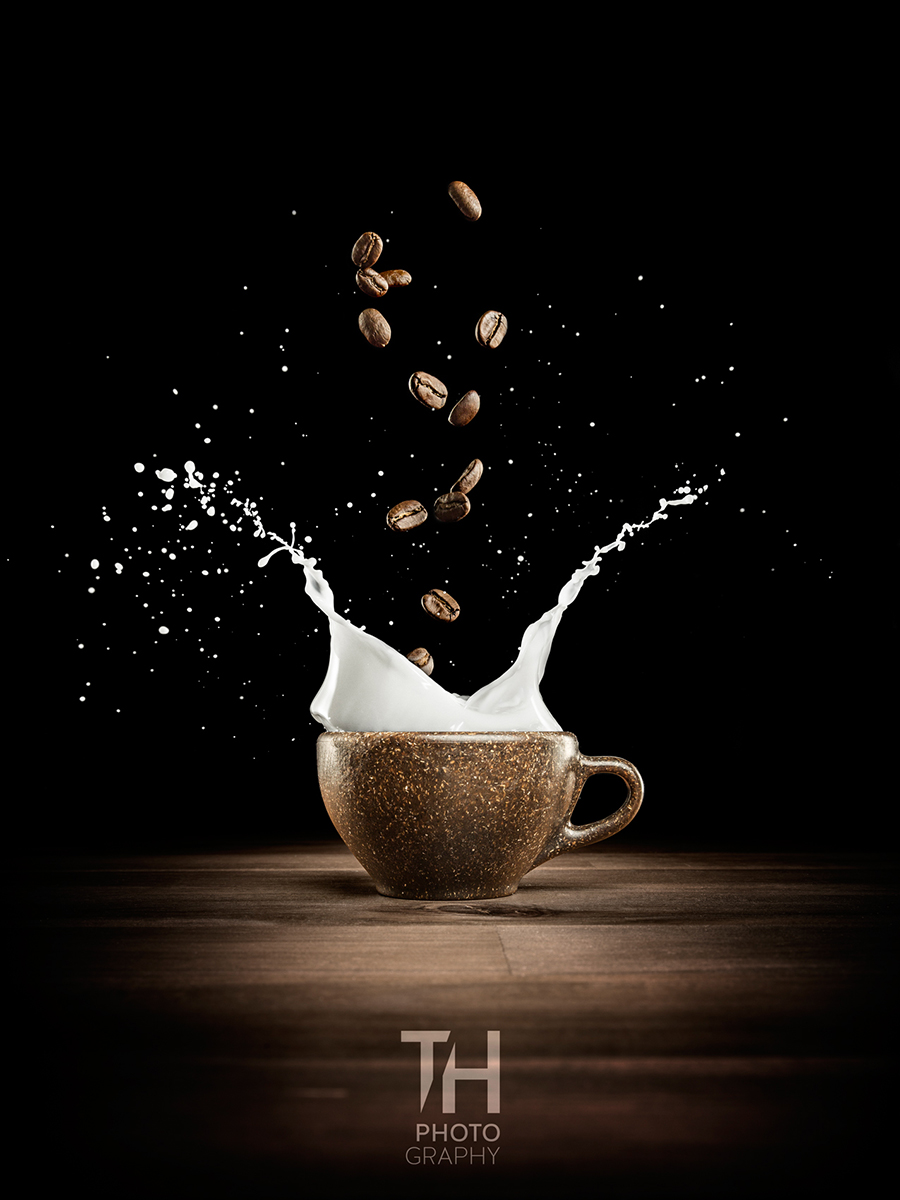
If you want to add action to coffee photography, you need to snap splashes. The quickest way to make them is to pour coffee high or drop something (a sugar cube) into a cup. The bigger splashes you need, the higher you should keep a kettle or an item you’ll drop.
However, the first photo you’ll take, must be the one without action. In most cases, splash images are composed of several shots that depict the moment before your drop something, the phase when splashes go in different directions, and the stage in between. Moreover, you can photograph an empty cup and a full cup in order to have more flexibility during image processing.
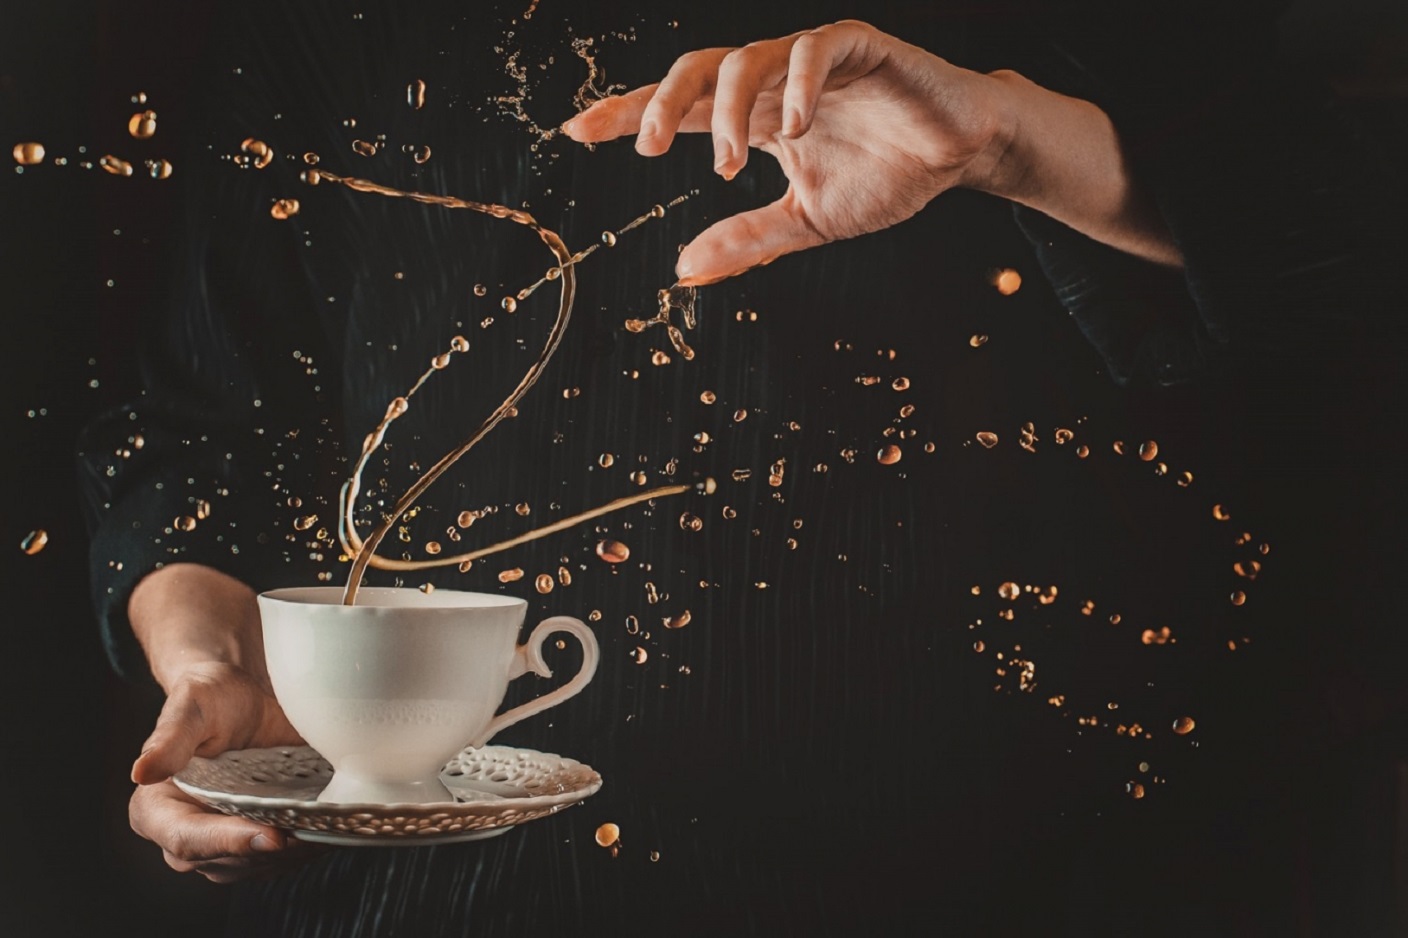
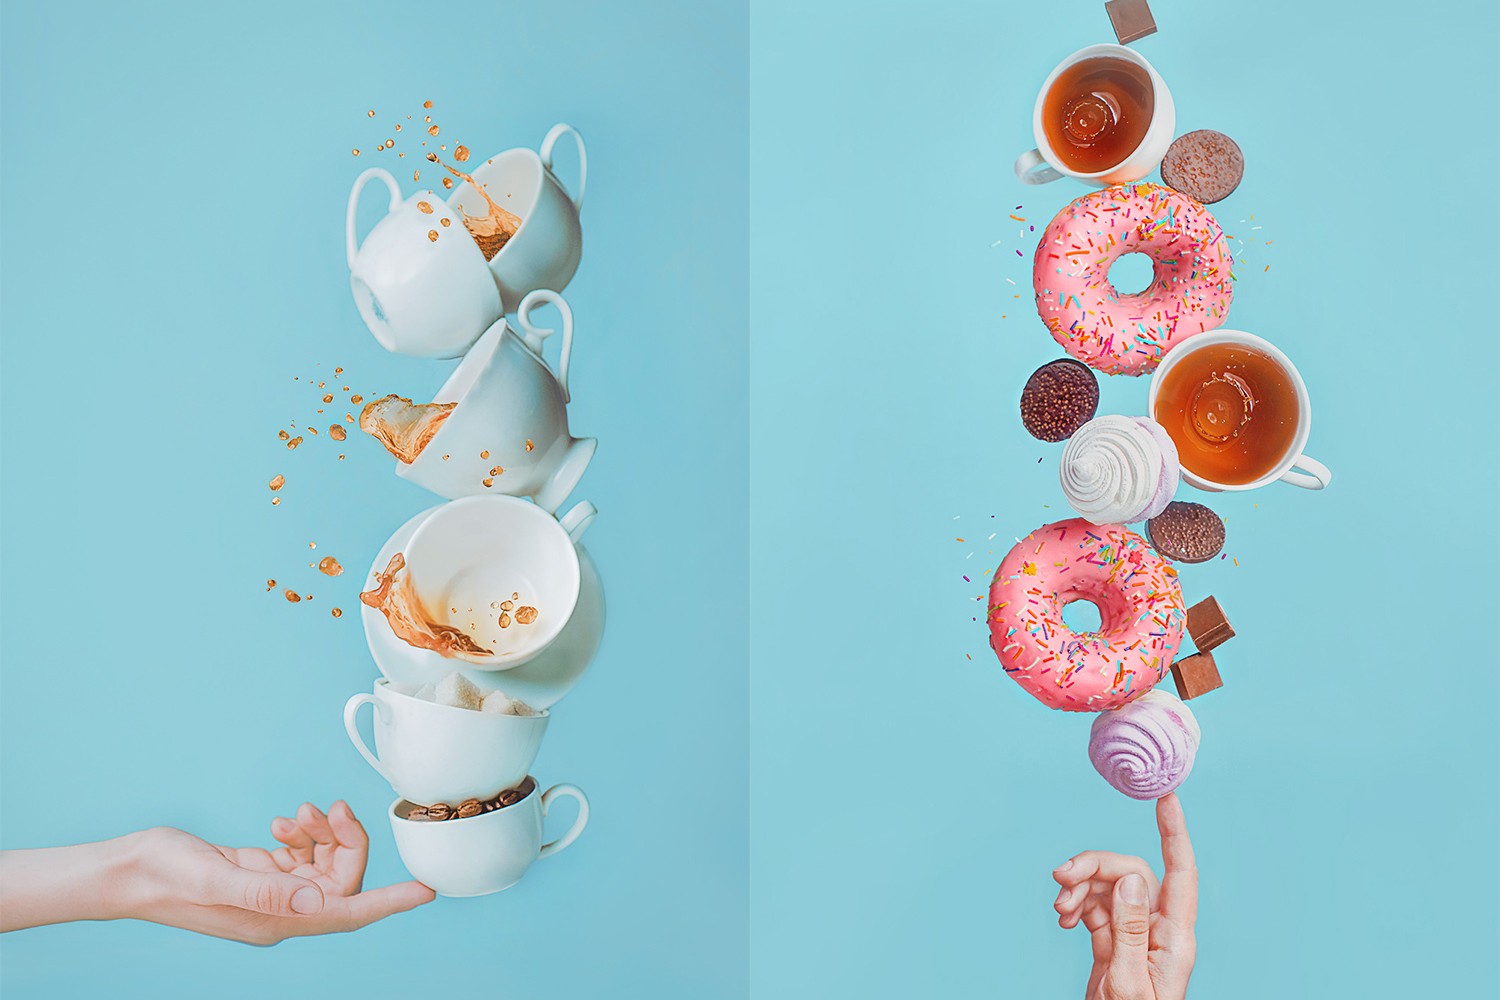
Motion in still life photography is indispensable if you want to get lively images and interest people with offbeat compositions. Nowadays, levitation photography ideas are in high demand.
Typically, the process requires shooting every levitating object separately and then combining them all in photo editing software for PC. This technique allows achieving amazing results, but you need to draw all shadows and reflections manually.

Not only props but also models can totally change the perception of coffee photos. In fact, if an image features a human, it attracts more attention than shots with a cup of coffee only. The simplest way to include a human element is to ask your relative or friend to hold a mug in hands. However, don’t shift focus to a person.
In this case, a model doesn’t serve as a secondary prop but adds meaning to the whole scene. You can also include different parts of a model’s body to the frame – hands, fingers, lips, etc.
Want to edit your coffee photos fast and professionally? Then use this collection of tools for editing. You will find here lots of cool instruments for improving colors. Images you’ll get can be used for recipe websites, catalogs, café menus, food photography blogs, and an Instagram feed.