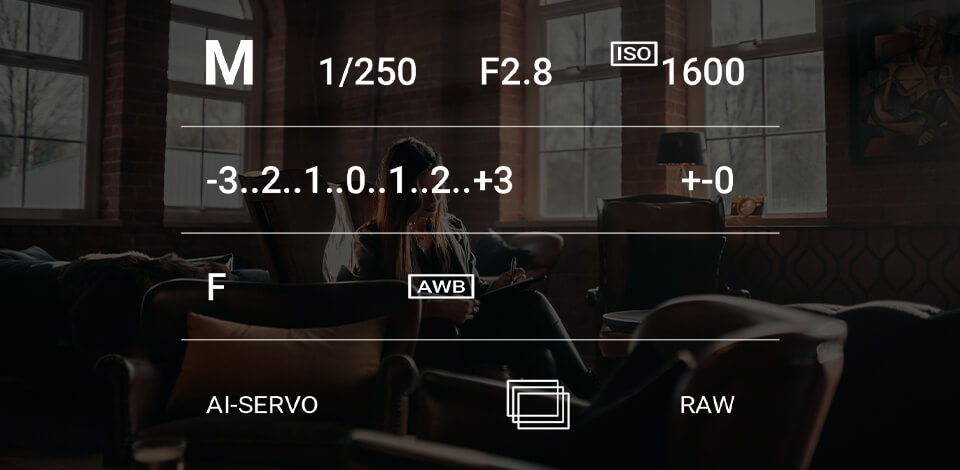
Appropriate camera settings for indoor photography are half the battle on the way to eye-catching and crisp shots. The trouble is that such photos often suffer from poor lighting, so proper settings are a must-have.
The ability to find a balance between the exposure triangle, i.e. aperture, shutter speed, and ISO will be the key to a beautiful shot for you.
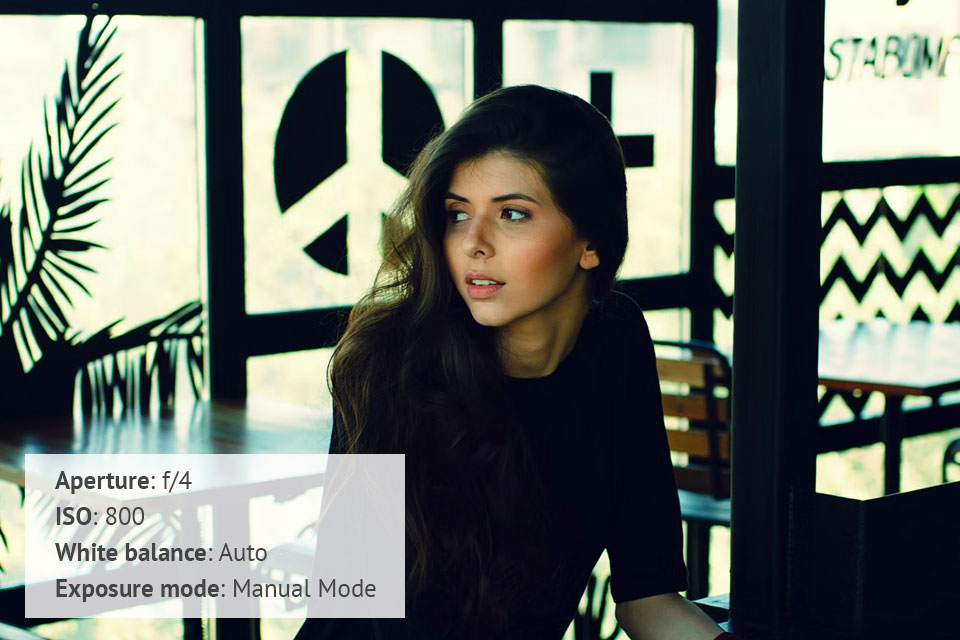
The first thing I recommend for beginner indoor photographers is to buy a reliable tripod for DSLR or any other camera to stabilize your device and the footage you get.
What’s more, it will give you the ability to set slower shutter speeds and lower ISO values, which will certainly help overcome poor lighting problems. The following settings for indoor photography will be optimal in combination with a tripod.
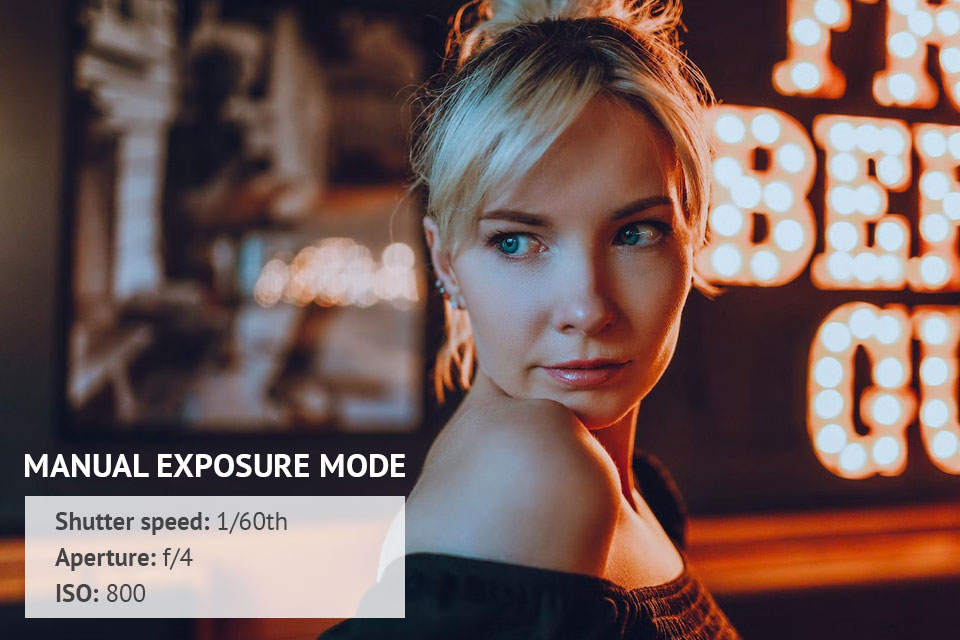
The benefits of manual mode are full control over exposure settings, aperture values, and shutter speeds to fine-tune the frame. This is an excellent choice for indoor photography ideas where the camera is usually unable to properly set the exposure due to difficult lighting conditions.
Portraits and close-ups in the automatic mode decrease volume and make the faces in the photo flat. In this mode, the camera may not focus where it should, so sticking to proper indoor photography settings is a must.
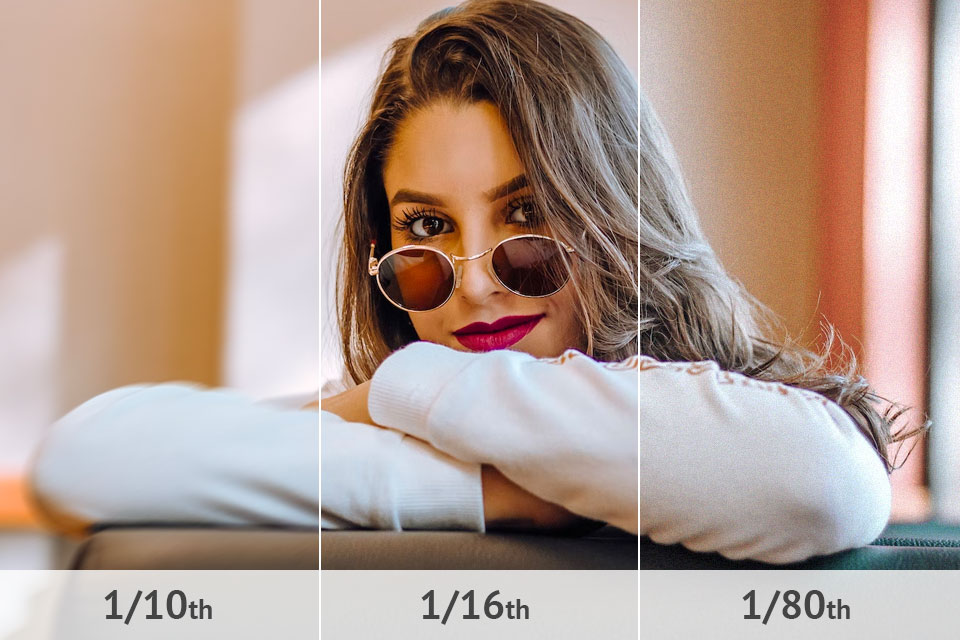
As an experienced portrait photographer, I recommend that you set your shutter speed between 1/60th – 1/80th. It all depends on many factors, including the stability of the camera, the length of the lens, the speed of the object you shoot, and more.
Photographers use one simple yet effective trick when determining the initial shutter speed – the reciprocal rule. It’s simple – take the reciprocal of the focal length of your camera lens. More specifically, with a lens length of 50 cm, you can flawlessly photograph at 1/50 s, and at 10 cm – 1/100 s, and so on.
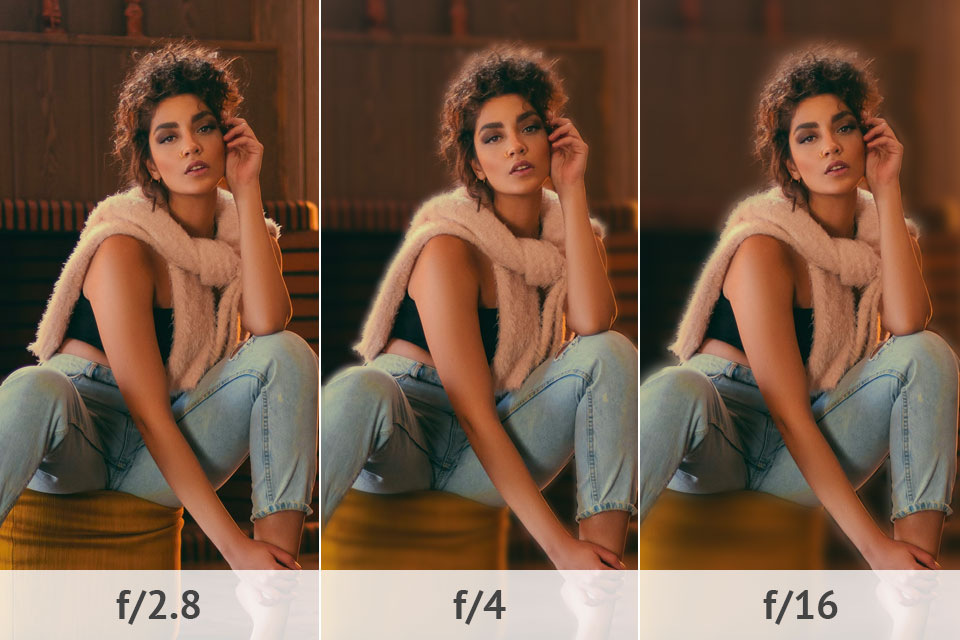
As far as the aperture is concerned, it’s worth starting with something similar to camera settings for portraits, namely the widest aperture available to your lens. Most often this is from f/2.8 to f/5.6, but if your lens offers more, then f/1.8, f/1.4, and above will be optimal.
This will ensure that more light enters the camera’s sensor, allowing you to end up with a longer shutter speed without lowering general brightness.
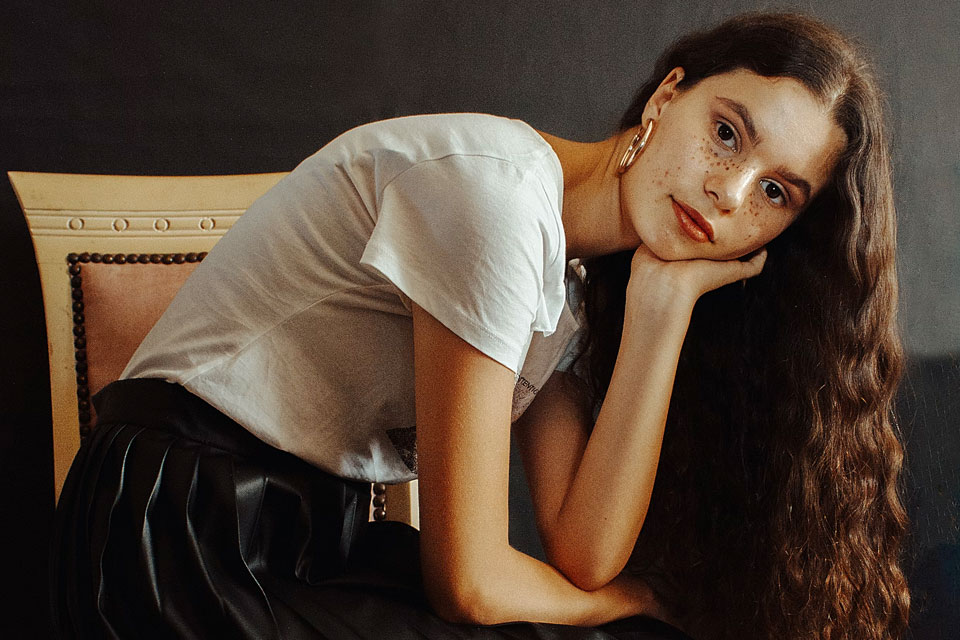
However, keep in mind that such camera settings for indoor portraits have the downside of limiting the depth of field in your photos. That is to say, if you want to capture a crisp picture from front to back, you will only achieve focus on part of the composition.
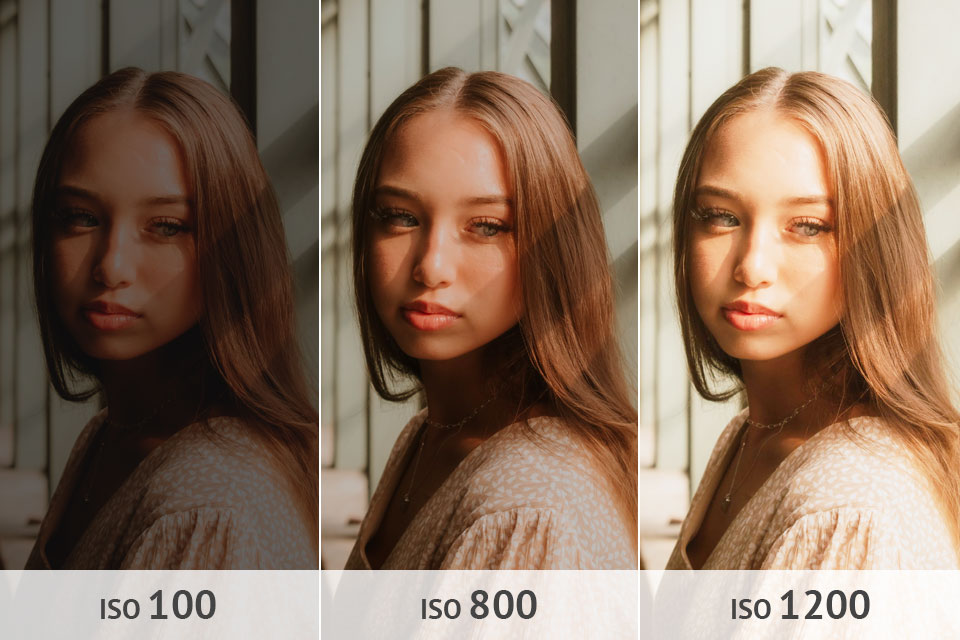
Photographers will probably never stop puzzling over the ideal ISO compensating for indoor darkness, allowing for faster shutter speeds and narrower apertures, while still keeping noise levels tolerable. The question remains open, but here’s a little trick to help you figure out the right ISO setting for indoor photography.
Shoot scenes, while playing around with all available ISO values, and then examine the resulting shots on a computer at 100% scale. Find the highest ISO that doesn’t ruin footage and refer to it when shooting indoors.
By analogy with camera settings for product photography, shooting indoors with a high ISO value is not always appropriate. Often photographers use a flash or shoot near a window that has enough light to end up with a good exposure and fast shutter speed even at ISO below 800.
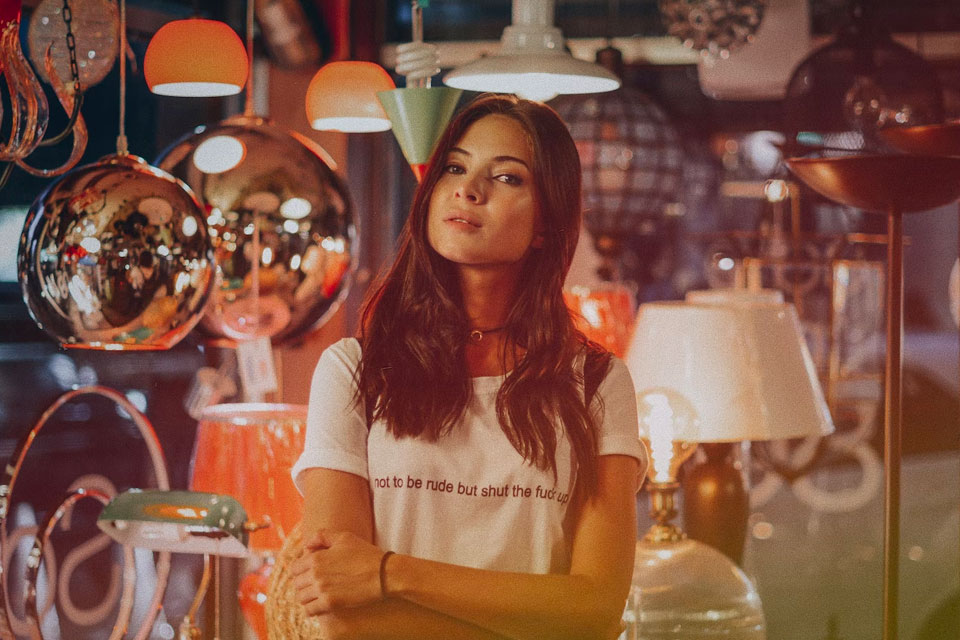
However, when shooting in low light conditions, gradually increase the ISO and opt for a satisfactory level. I recommend then not to increase it even more if necessary, but to adjust the shutter speed. In the end, the photo may look a little blurry, but it will still be better than a wrong-headed ISO.
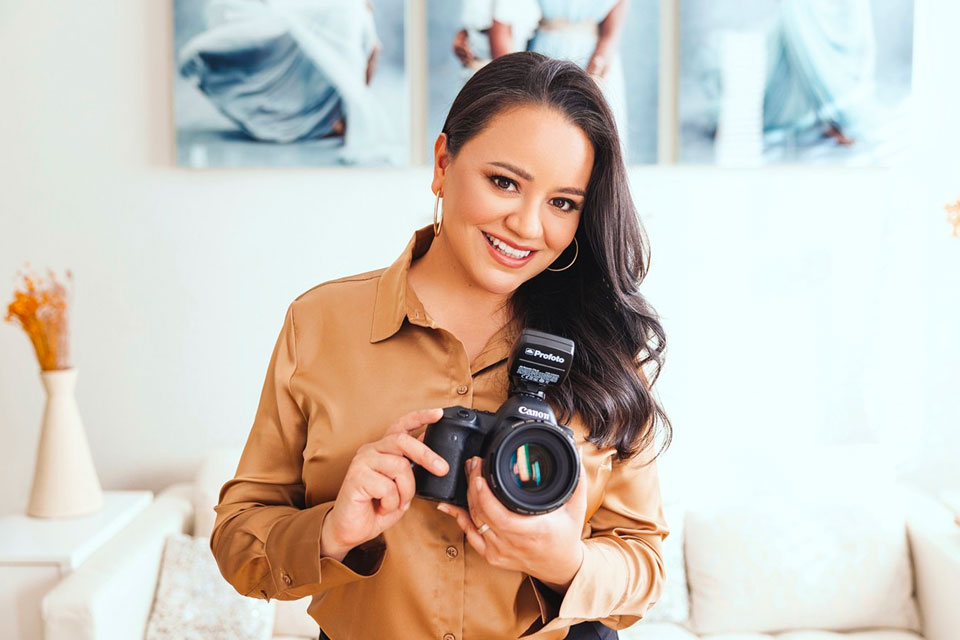
Choosing the right indoor camera setting for a particular situation depends on photography locations and lighting sources. Let’s say you’re shooting in a cozy bar that’s likely to be decorated with warm incandescent, fluorescent, and halogen spotlights with the same field of view, so such sources should definitely be considered.
This collection of actions offers you the main options to improve your eyes, teeth, and skin. It has everything you need to turn your headshot and portrait shots into eye-catching masterpieces.
These are semi-automatic camera modes, with one of the following priorities. AV mode is an aperture-priority mode for photos with a background blur effect. It allows for manual aperture and ISO settings, and the amount of light is automatically adjusted by shutter speed. TV is a shutter priority, which allows you to shoot dynamic scenes or blur moving objects. You can manually set the shutter speed and ISO, while the aperture is controlled automatically. In P mode, you can only change the ISO value.
Sure, especially if you use the recommended settings for indoor photography. If you’re shooting near a window, the natural light coming in from the window may be enough to free you from using an external flash. If you’re shooting indoors without a window, no problem. Install with artificial light, such as a shaded lamp or DIY light box.
If you are shooting without a tripod, then the shutter speed should provide sharpness without exceeding the necessary value. Typically, this is 1/80s, however, it varies depending on your lens focal length.