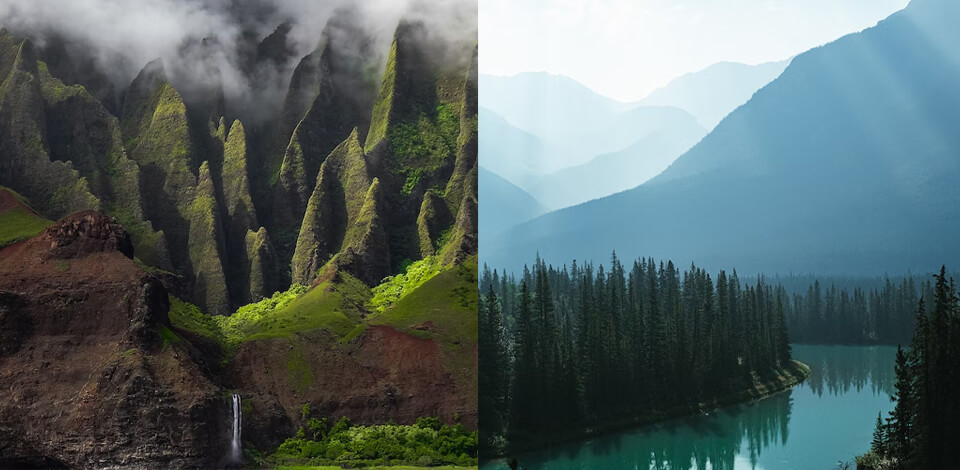
Those specializing in landscape photography state that it’s necessary to choose camera settings very accurately in order to get a crisp and detailed image with even the smallest details clearly visible.
If you want to get a high-quality photo, you need to use a narrow aperture, which also means choosing a slow shutter speed.
However, if you take images at a slow shutter speed, you risk blurring your frame due to hand shake. It is paramount to find a balance between the elements of the exposure triangle - aperture, shutter speed, and ISO.
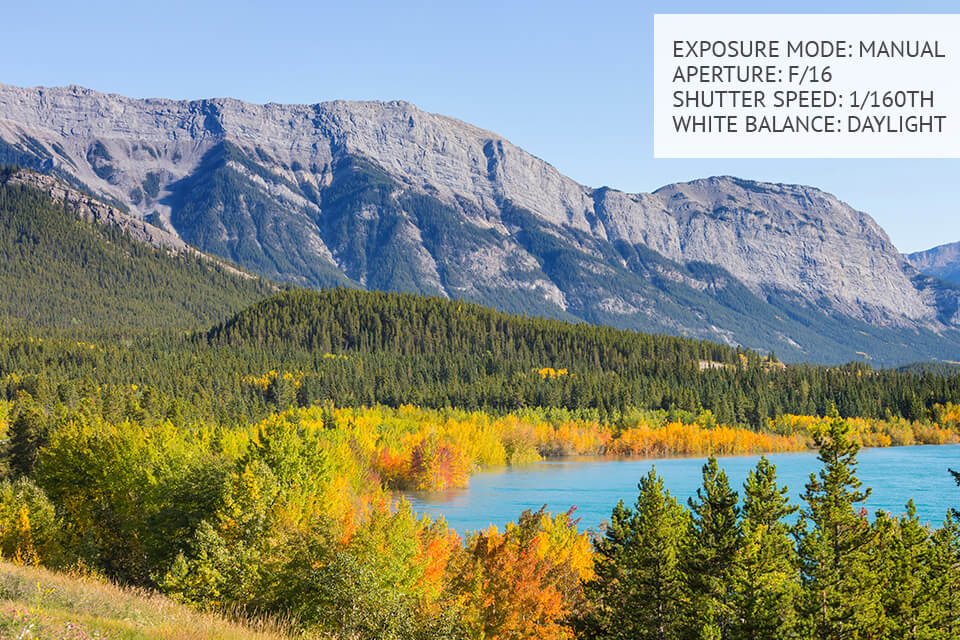
Adjusting your camera is like describing the scene in front of you in a way understandable to a shooting device. By choosing the proper values in the menu, you can receive a beautiful image that displays what your own eyes see as accurately as possible.
The basic camera settings landscape photographers should know are:
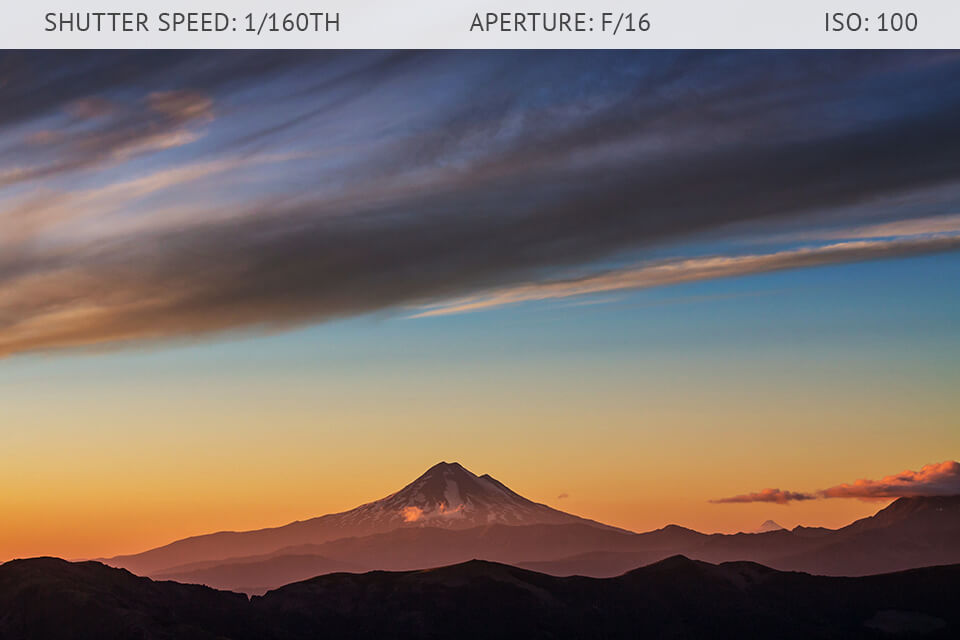
With the Manual Mode on, you have full control over the aperture and shutter speed. You should opt for manual adjustments if a camera fails to choose proper values automatically due to the intricacies of the shooting spot and overall conditions. This happens quite frequently in landscape photography.
Getting the correct exposure is also possible by activating the Aperture Priority Mode. Thus, you’ll be able to customize the aperture manually and the system will select the shutter speed automatically. In the end, you will receive the exposure that is ideal for your current scene.
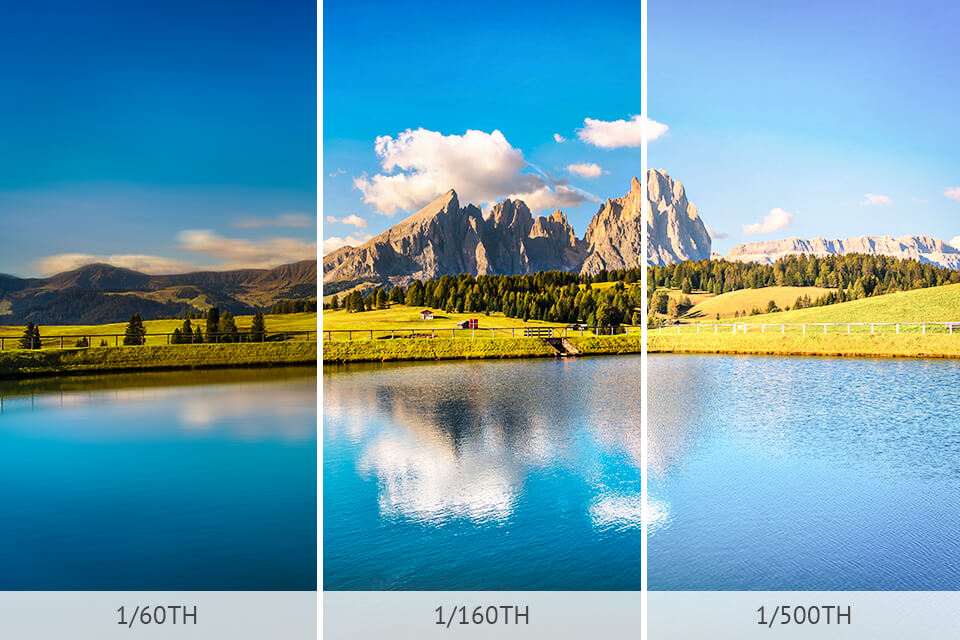
I have extensive experience in landscape photography and highly recommend you choose a shutter speed of around 1/160th. With such a shutter speed for landscape shooting, your images will be properly lit. Besides, there will appear no blurring that can spoil a photo.
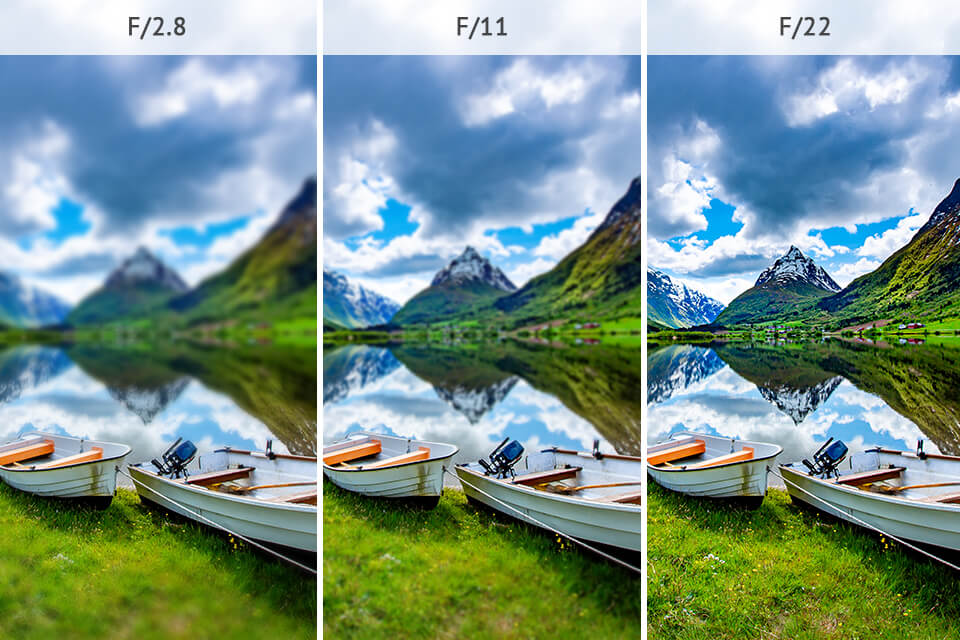
Similar to camera settings for sunset, you’d better choose higher values, e.g., f/16 - f/22. Such apertures are known as narrower.
A camera sensor will collect less light, so you’ll need to pick longer shutter speeds. Such a combo will result in perfect light exposure.
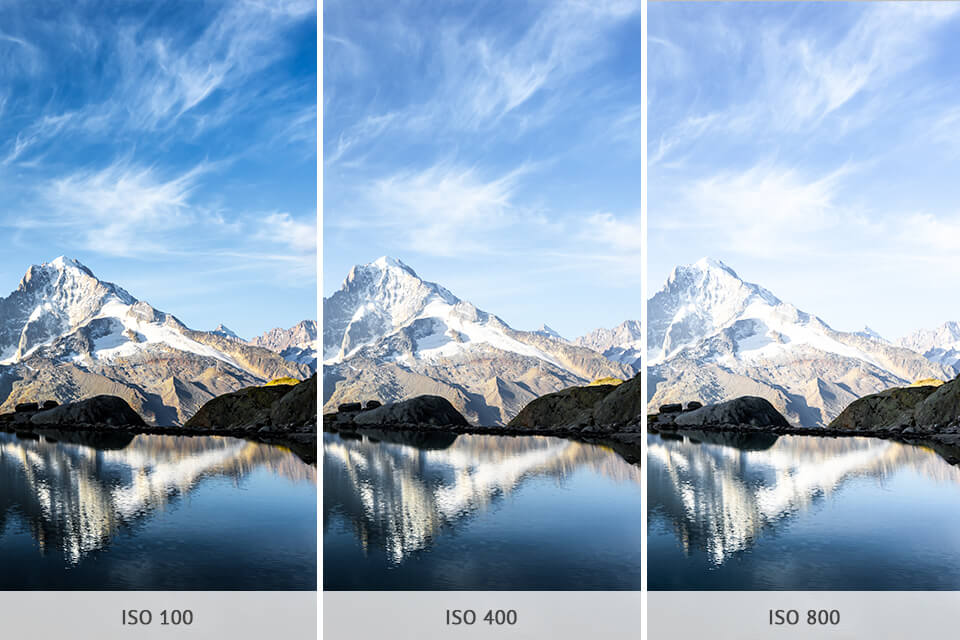
In fact, the best ISO landscape value is 100. However, it doesn’t mean you should always stick to it considering that shooting conditions change all the time.
If you want to fill your image with light, you should raise ISO a bit. But keep in mind, that the performance of a camera at higher ISO values depends much on its capabilities and age.

When it comes to landscape and nature photography, it is common to set WB to 5000K. It is called a neutral range when images receive slight warmth.

If you want to receive the best possible image quality, you should opt for RAW shooting. All JPEG files have less technical data, which means you don’t receive enough details to use for image editing. This is probably the main reason why JPEGs take up so little space.
Such a problem usually chalks up to incorrect focusing. If you adjust the focus manually, you may accidentally the focus too far or vice versa. Such slight mismatches cause sharpness issues. It takes time and practice to understand how to focus properly. Or, you can use AF if it’s available in your camera.
The caveat concerning auto white balance to keep in mind is that such a setting isn’t very accurate in terms resulting of colors. Moreover, the produced tones are different from frame to frame. The general idea behind this auto setting is that Wb should constantly change and adapt to different conditions and photography locations.
Experts recommend choosing 28mm on a 35mm camera because this focal length covers a wide angle of view without bringing many distortions to a photo.
Bracketing is needed only if you are interested in HDR or digital blending at the editing stage. If you adjust your camera for bracketing photography, you will get 3 images of the same scene with different exposure values, namely, +1, 0, and -1. Make sure to use a tripod for camera stabilization.