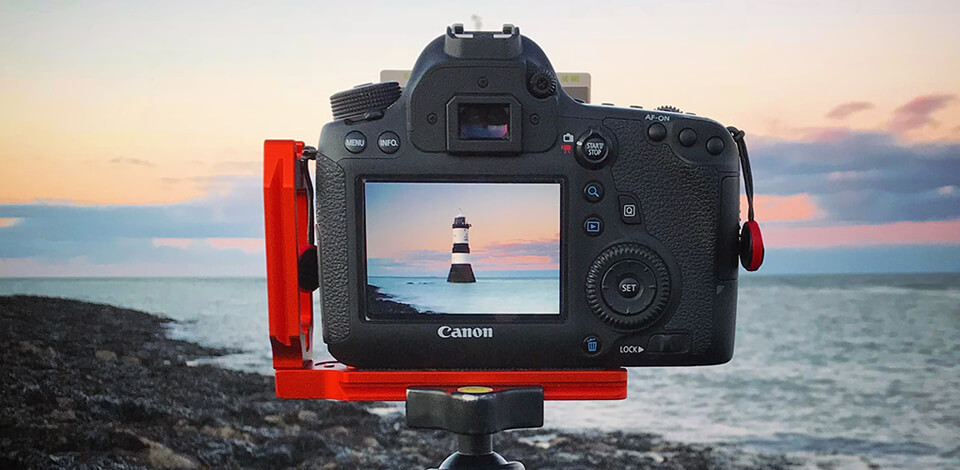
When shooting sunsets, there are a few camera settings for sunsets that you can adjust to capture the scene and sun photography in the best possible way. Shoot in manual mode, set the white balance, use a low ISO, a smaller aperture, faster shutter speed and always use a tripod.
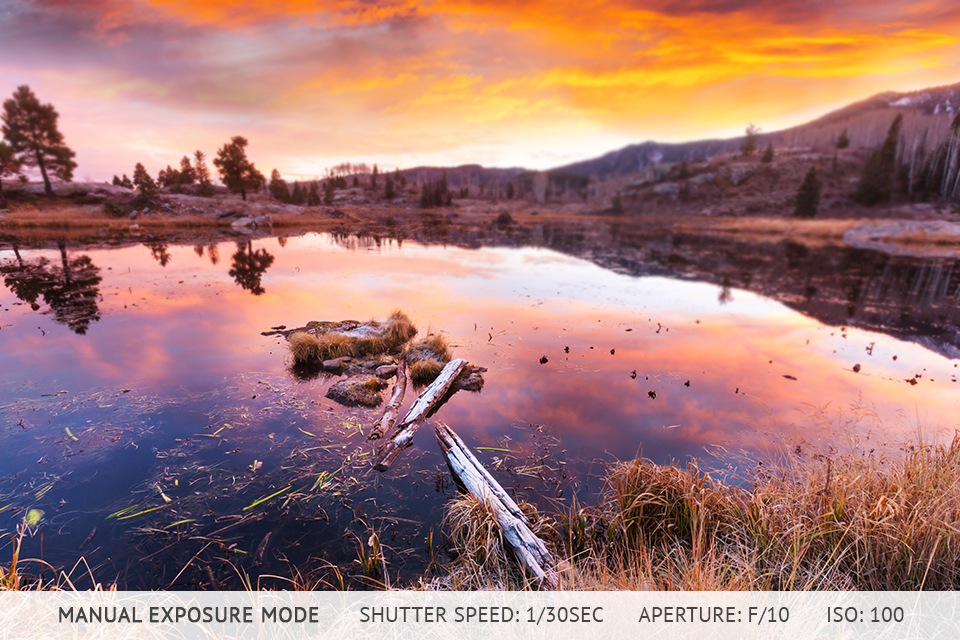
If you’re taking photos in manual mode, you can tweak the exposure by individually adjusting the aperture, shutter speed, and ISO parameters, which are known as the exposure triangle in the professional circle.
For instance, if you set a low aperture, you can increase the ISO to have higher light sensitivity. Alternatively, you can boost the exposure by increasing the shutter speed.
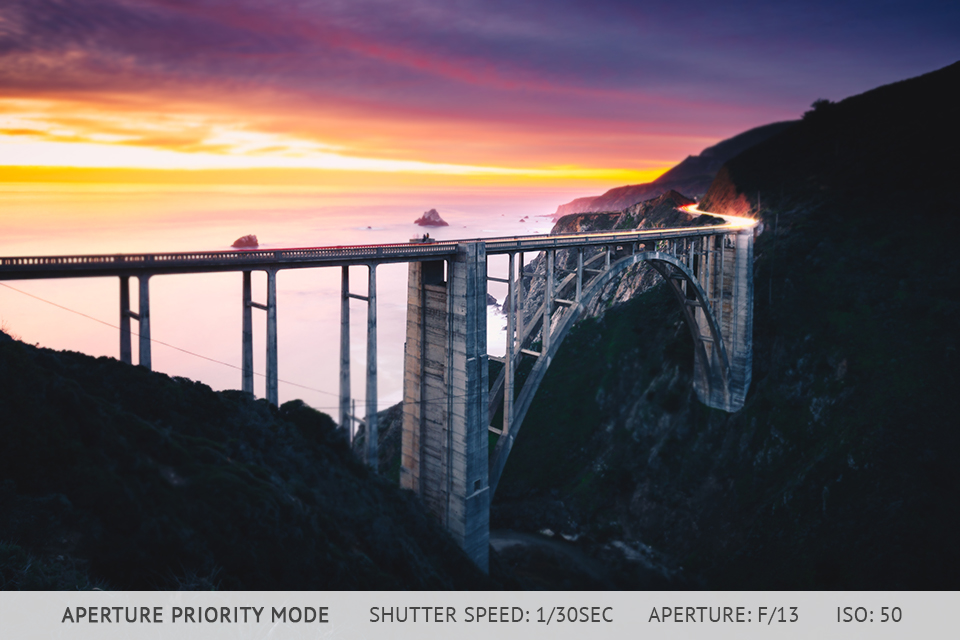
Another method you can use to receive the optimal exposure is to set your camera to Aperture Priority Mode. This mode allows you to manually adjust the aperture while the system automatically alters the shutter speed to ensure you get the correct exposure.
You can experience focusing problems when taking sunset photos because of the dramatic lighting conditions and the fact that sunset subjects rarely have a clear focal point. If your photos typically end up looking blurry, use manual mode to set the best camera settings for sunsets while enjoying improved focusing controls and accuracy.
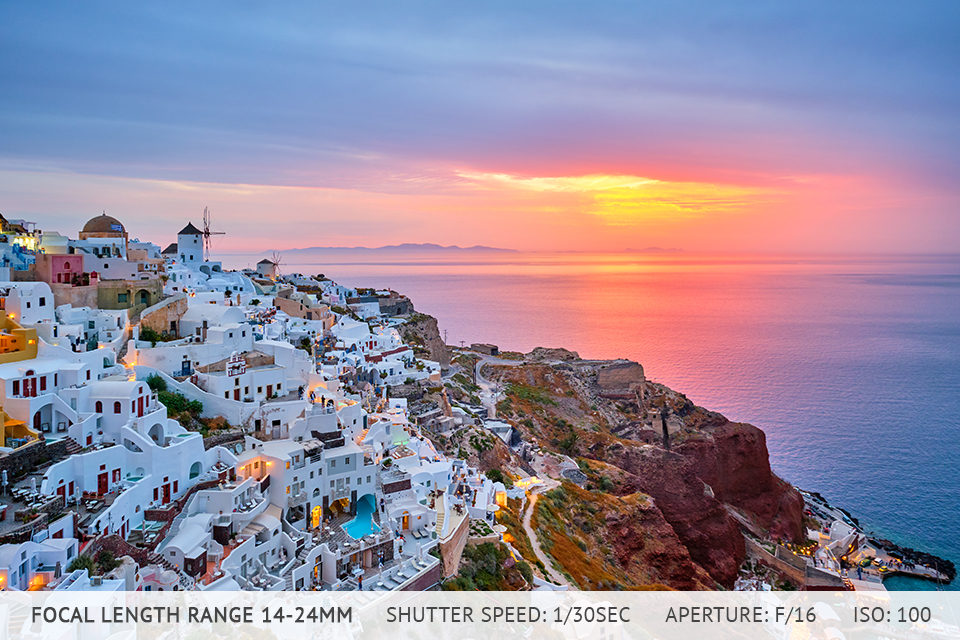
Pick a focal length within the 14 mm to 24 mm range. These values are a great foundation for composing the shot.
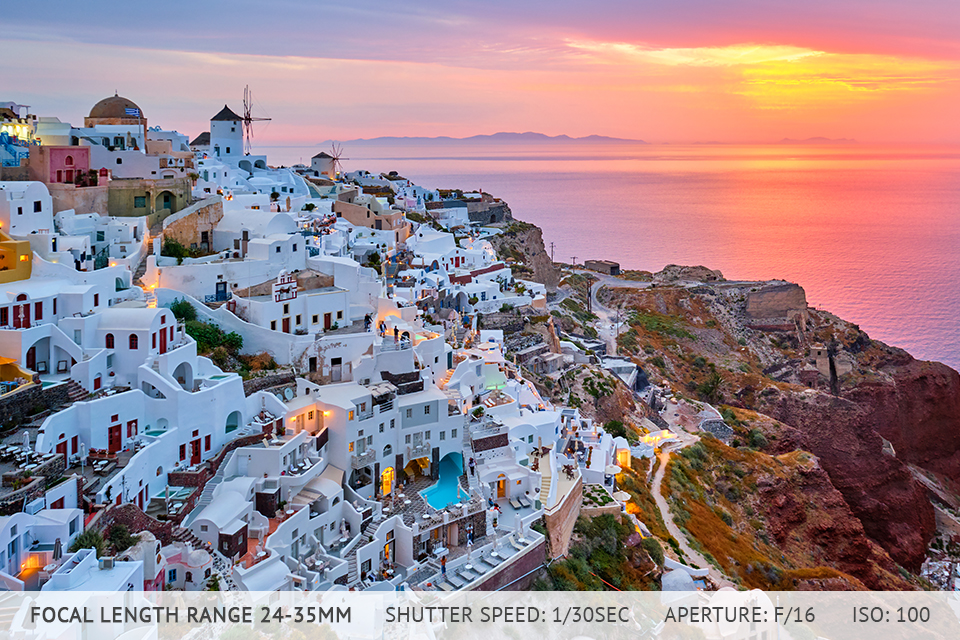
Alternatively, you can pick a wide-angle focal length in the 24 mm to 35 mm range if you want the photo to look more dramatic. You’ll make the sun look smaller but this way you’ll better convey the beauty of the surrounding scenery and the clouds.
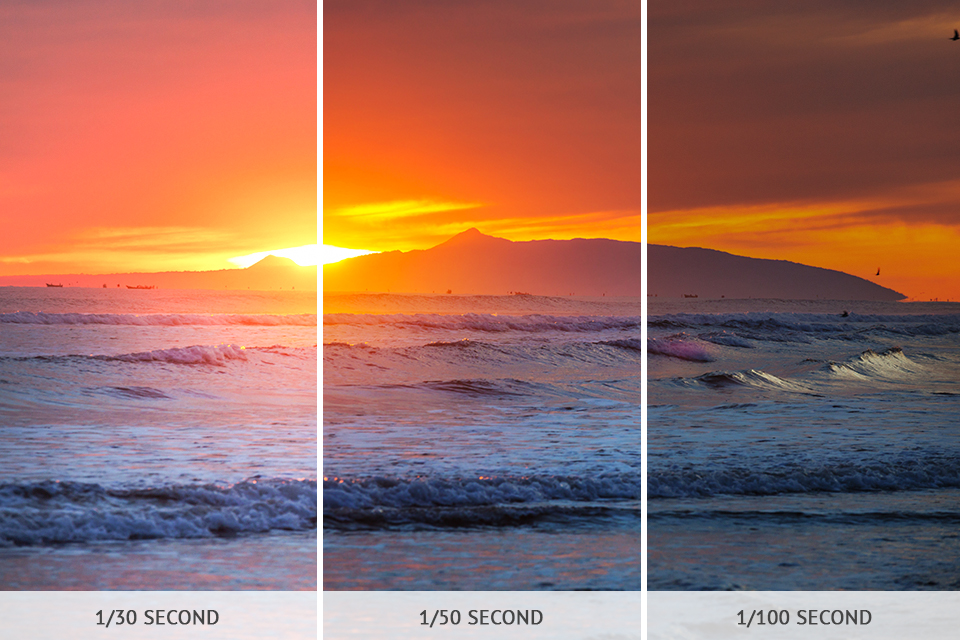
The shutter speed you choose will affect the sharpness and exposure of the image. You have to tweak this parameter based on the amount of light available in the shot while ensuring you don’t hurt the picture quality or depth of field. Start by setting the shutter speed in the 1/30-1/50 of a second range.
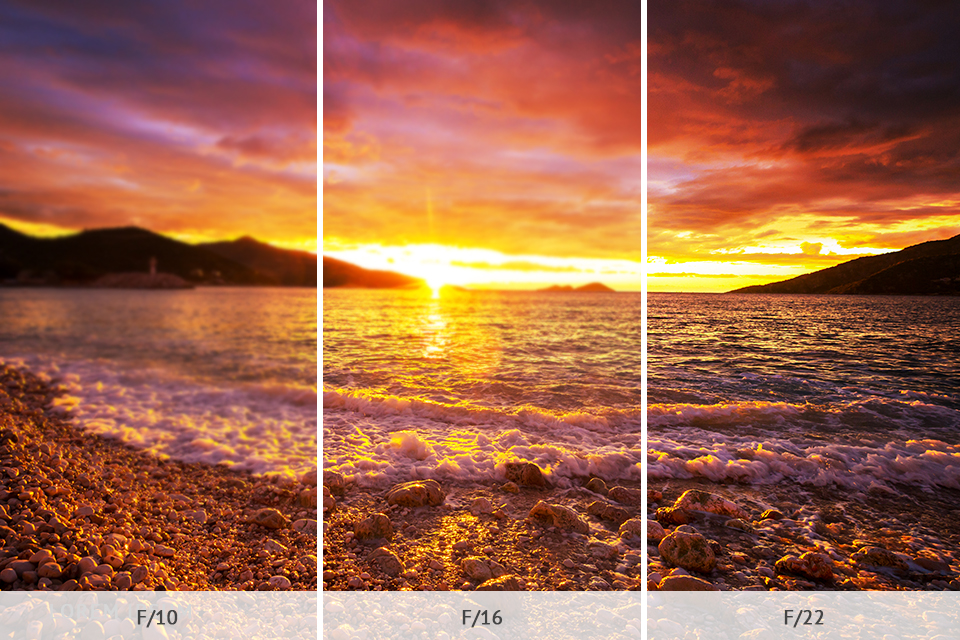
If you want to take a landscape photo at sunset, then you should use a lower aperture (by setting a higher f-stop value on your camera) to ensure you encompass a bigger part of the scene.
During a sunset photoshoot, I begin by setting the aperture between f/10 and f/16. A lower aperture will provide increased depth of field, which is essential for ensuring as much of the shot is in focus as possible.
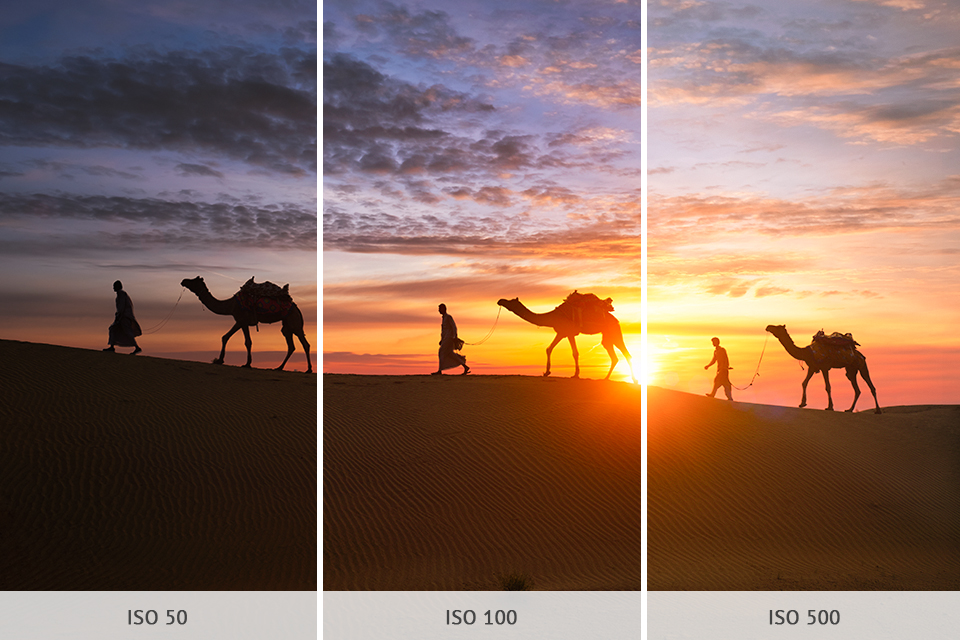
Try to set as low of an ISO value as you can to ensure the picture won't be grainy. In most cases, the optimal value will be around 100.
However, keep in mind that the closer the sun approaches the horizon, the higher the ISO setting you'll have to use. In some situations, you also need to use a higher ISO value if the sky is overly cloudy.
Other than those rare scenarios when I’m taking photos of fast-moving, dynamic subjects, I always have the drive mode set to “single shot.” This mode ensures that each time you press the shutter release button – the camera only takes one shot.
Taking multiple photos per shutter release is pointless when doing sunset photography unless you want to capture some birds flying past the sun.
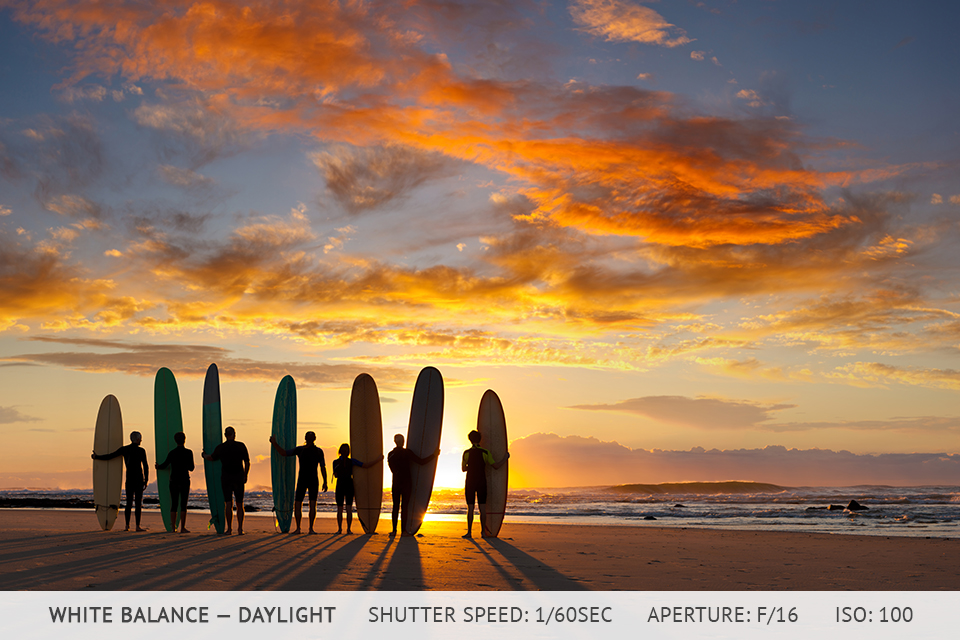
If you choose the Daylight preset in the white balance menu, you’ll be able to highlight the warm yellowish and orange hues of the sky. The Cloudy and Shade options will achieve a similar effect, only it won’t be as pronounced, which makes them better suited for situations when the sunset is especially stunning.
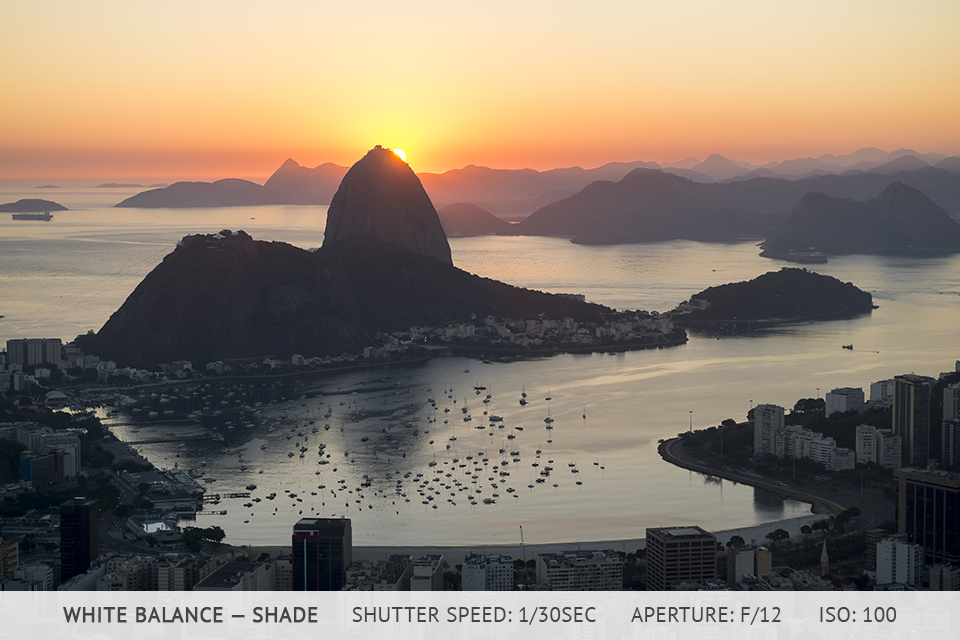
If you’re taking photos in RAW format, you can conveniently tweak the white balance with the help of your preferred photo editing software for PC or Mac, such as Adobe Photoshop, Adobe Lightroom, or GIMP.
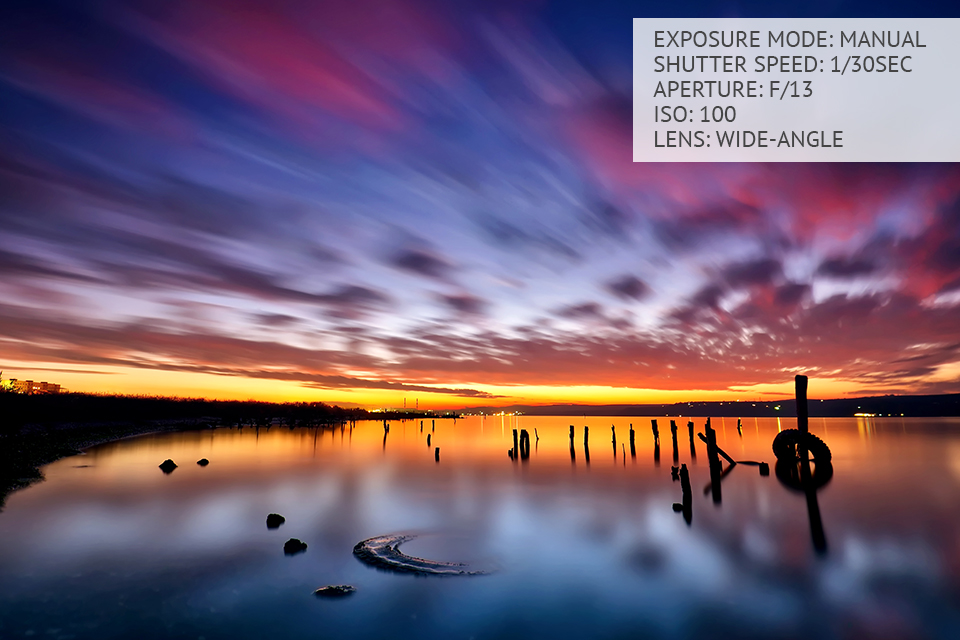
Occasionally, you’ll need to set a longer exposure to increase the color saturation, smoothen out water, or simply make your sunset photo more dramatic. The key to doing long exposure photography at sunset is mounting the camera on your tripod.
It’s also recommended to use a wide-angle lens or to set the widest focal length available on your regular lens. Strive to encompass as much of the skies as you can.
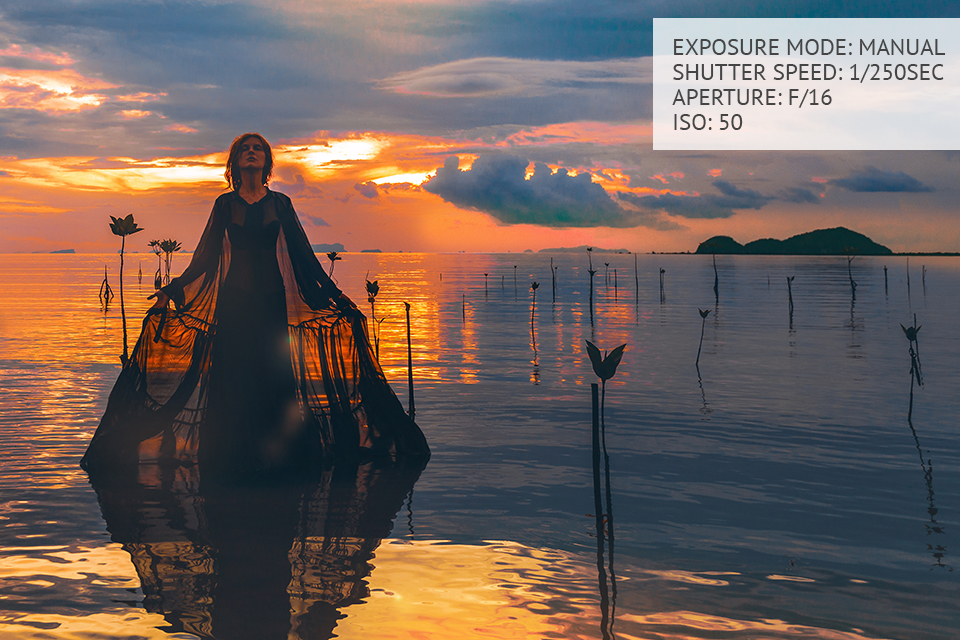
Sunsets can serve as mesmerizing backgrounds for outdoor portrait photography, as long as you’ll be able to properly expose the subject against such a harsh backlight.
If you want to improve the exposure in your sunset portrait photos, you can employ an off-camera flash like the Neewer TT560 Flash.
Most cameras allow you to open the histogram or exposure graph in live view mode. This feature is incredibly useful for checking the current balance levels of the highlights, mid tones, and shadows.
It's rather easy to restore shadow details during the image post processing stage, so it's a good idea to focus on preserving the highlight details by not overexposing the shot.
Camera. A model with high-quality color reproduction and dynamic range will allow you to take photos with a broad range of hues and smooth gradations while ensuring the highlights aren’t easily burnt out and the shadow areas preserve their detail.
Recommended by Fixthephoto Team:
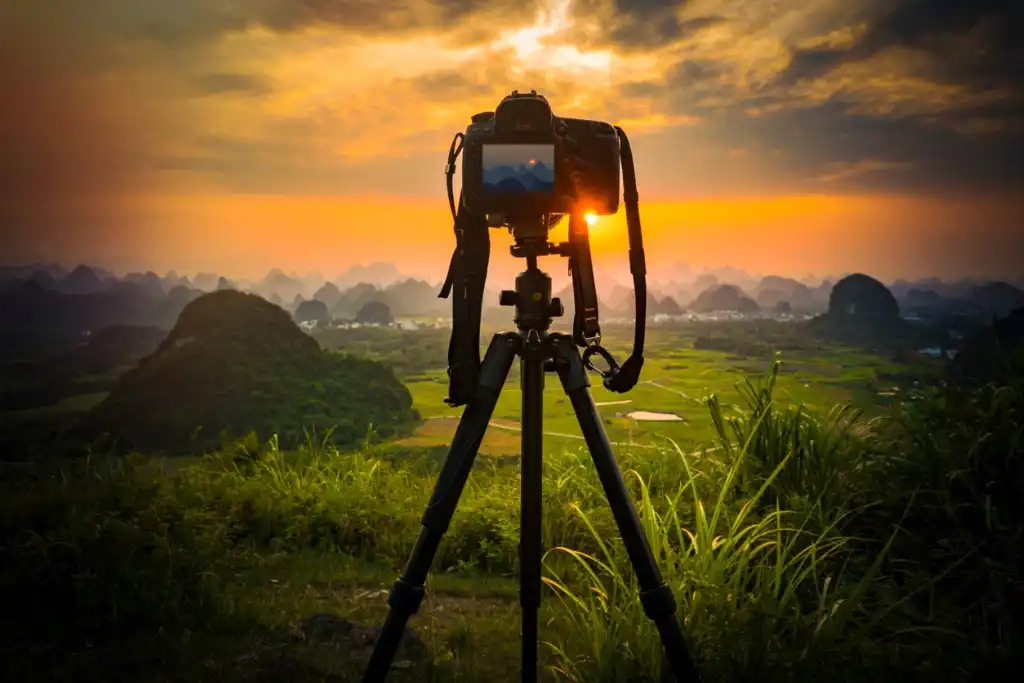
Tripod. There’s no better method for dealing with camera shake than mounting your camera on the best tripod for landscape photos according to your needs. As the sun gradually goes down, you’ll need to set longer exposures, meaning even the smallest camera movement can easily ruin an otherwise perfect shot.
Recommended by Fixthephoto Team:
Lens. Most kit lenses offer a focal length in the 18mm and 55mm range. Stick to the lower end of the aforementioned values. Should you need to take an even wider photo, it might be a good idea to purchase a wide-angle lens that offers a focal length as low as 10mm, 14mm, or 15mm.

If the skies don’t look particularly interesting, consider pairing your camera with a longer lens and focusing on a foreground subject that you’ll isolate while having the sun in the background. Possible options include a mountain, tree, lighthouse, a person, or an animal.
Recommended by Fixthephoto Team:
Remote release. This accessory will remove the necessity of having to touch the camera to release the shutter, which is incredibly useful for eliminating camera shake.
Recommended by Fixthephoto Team:
Sunset calculator. Such applications let you know the exact time when the sun will be setting and at which angle while accounting for your specific location and date.
Recommended by Fixthephoto Team:
Shoot in RAW. RAW format ensures all image data remains intact and thus provides far superior editing capabilities. Having such editing freedom is particularly relevant for high-dynamic range scenes like sunsets.
When shooting in JPG, you need to pick the exposure perfectly as you’re taking the photo. Meanwhile, RAW images allow you to tinker with the highlights and shadows during post processing without hurting the overall picture quality.
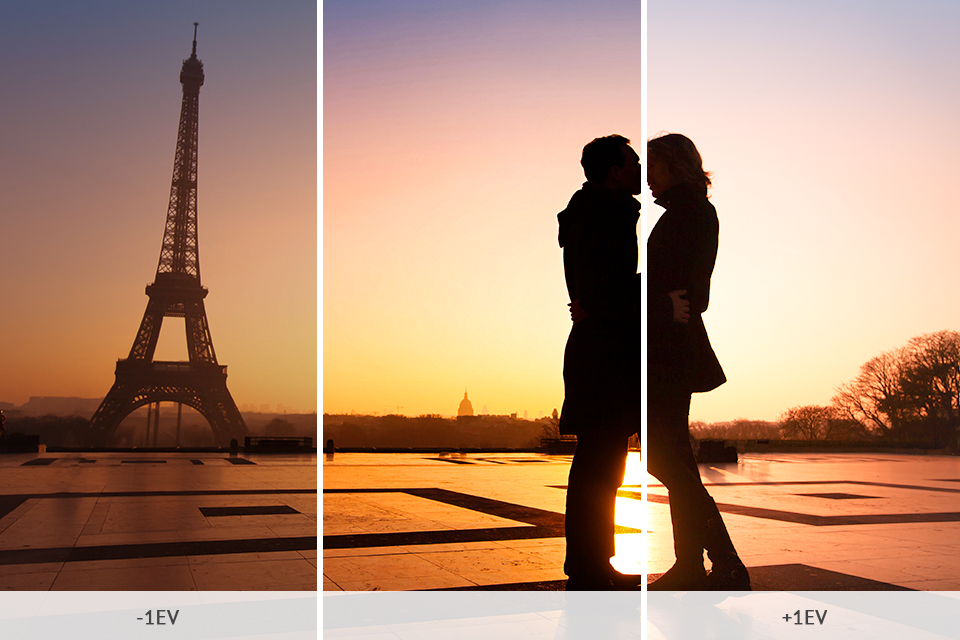
Experiment with the bracketing technique. It’s recommended to take a couple of shots with different exposure values for each scene you plan to capture. You can do this by either manually tweaking the exposure after every shot or employing the auto bracketing function included in the majority of modern cameras.
For instance, for your first photo, expose for the sky, and for the second, expose for the land. Later you can merge both pictures using the blending feature in any advanced image editing tool to create bracketing photography with a higher dynamic range that will closely resemble the scene as was seen by your eyes when you were taking the shot.
Employ an ND graduated filter. Taking a photo of a bright, colorful sky and a dark foreground is no easy task. Thankfully, a graduated neutral density filter can help you accomplish that goal with ease. By applying it, you’ll be able to properly expose the foreground while lowering the amount of light reaching the skies.
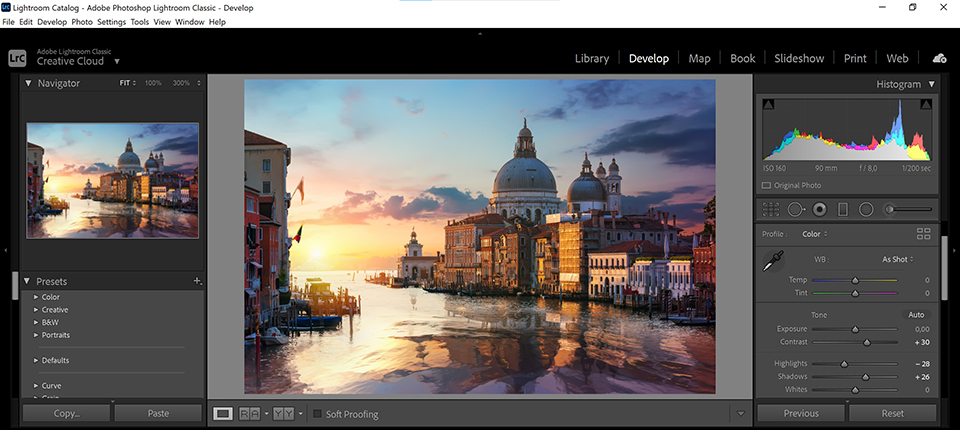
Editing your sunset pictures. Elevate the quality of your sunset and golden hour photos to the next level by using software like Lightroom. It allows you to adjust the color temperature, hues, saturation, and exposure while also being supplied with convenient and easily customizable landscape Lightroom presets created by experienced photographers.
This bundle of tools can be used for enhancing your sunset photos by highlighting the orange, yellow, and brown tones that help establish a warm, cozy mood. You can apply these presets in all recent Lightroom editions including Lightroom Mobile, Lightroom 4, 5, 6, and CC.